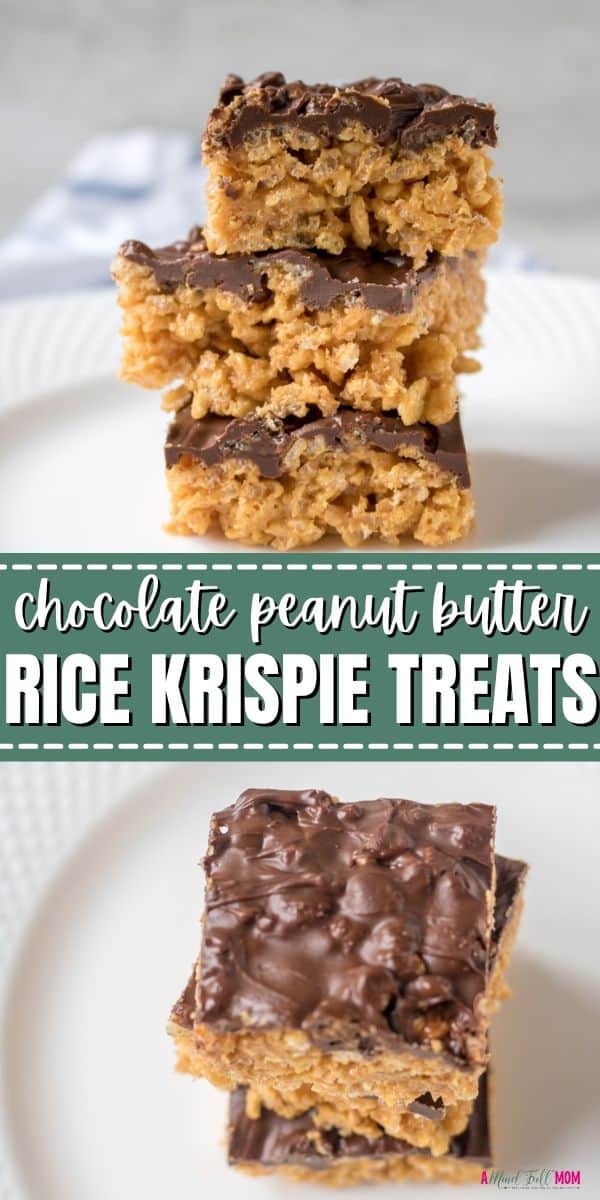
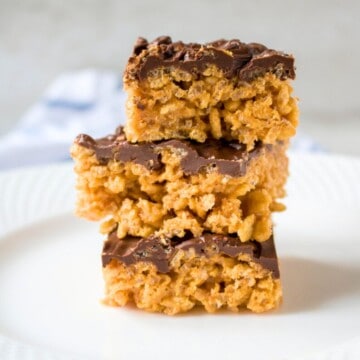
Peanut Butter Rice Krispie Treats are a peanut-butter lovers dream come true! These marshmallow-free Rice Krispie treats are naturally sweetened, full of rich and creamy peanut butter, and finished with a layer of chocolate to deliver a simple, yet satisfying no-bake dessert.

Calling all peanut butter chocolate lovers! These Chocolate Peanut Butter Rice Krispie Treats are for you!
Just like my recipes for Peanut Butter Cups and Buckeye Candy, this Peanut Butter Rice Krispie Treat recipe combines chocolate and peanut butter to create a no-bake dessert that will satisfying the most intense craving for peanut butter and chocolate!
Reasons to Love Peanut Butter Rice Krispies
- Only 4 Simple Ingredients. Just like my PB Oat Bars, these Peanut Butter Rice Cereal Treats are a no-bake treat made with just 4 ingredients. Okay, five ingredients if you add a layer of chocolate--which I strongly encourage!
- Marshmallow-Free & Naturally Sweetened. Honey and peanut butter replace the marshmallows and butter in a traditional rice cereal treat, to create a version that it is still perfectly sweet and delicious, while being peanut butter forward.
- Kid-Friendly Prep. While I recommend adult supervision when it comes to heating the honey, peanut butter Rice Krispie treats come together with just minutes of prep and are a perfect recipe for kids of all ages to help make.
- Adaptable Recipe. This recipe for Peanut Butter Rice Krispie Treats can be made with many dietary needs in mind. You can even makes these treats without peanut butter! I have provided adaptations to make these treats gluten-free, dairy-free, and nut free.
Notes on Ingredients

- Crisp Rice Cereal: Use the classic Rice Krispies brand of cereal, a generic Crispy Rice cereal, or opt for Brown Crisp Rice Cereal for a serving of whole grains.
- Peanut Butter: Use natural or shelf-stable peanut butter to make these rice cereal treat bars. If you peanut butter is unsalted, you will want to add a pinch of salt to the recipe as well.
- Vanilla Extract: A bit of pure vanilla just enhances the flavor and sweetness in this treat.
- Honey: The honey keeps these bars intact and adds sweetness to the recipe.
- Chocolate: Adding a layer of melted chocolate chips to top off these Peanut Butter Rice Krispie Treats takes them over the top, but it is totally optional.
Recipe Modifications
- Dairy-Free: Use dairy-free chocolate chips or omit the chocolate from the topping.
- Peanut-Free: Replace the peanut butter with sunflower seed butter or almond butter.
- Gluten-Free: Be sure your crisp rice cereal is certified gluten-free.
- Add Coconut Oil: To help the chocolate layer harden, you can opt to stir in 2 teaspoons of coconut oil to the melted chocolate.
How to Make Peanut Butter Rice Krispie Treats
The following tips are provided to help you achieve perfect results. You will find the detailed instructions in the recipe card at the bottom of this post.
- Prepare Baking Dish. Instead of buttering your baking dish, as classic rice cereal treat recipes call for, line your pan with parchment paper. The peanut butter mixture is sticky, just like the classic bars, so you need parchment paper to keep the cereal treats from sticking to the pan.
- Boil the Honey. Bring the honey to boil over medium-high heat in a heavy-bottomed saucepan. Once the honey begins to boil, IMMEDIATELY turn off the heat. This allows the texture of the honey to change consistency to become thicker and stickier, which will help keep the bars intact.
- Combine Ingredients. To the honey, add in the peanut butter and vanilla extract and stir until just combined. Add in the cereal and stir the cereal into the peanut butter mixture until the cereal is well coated. Have a bit of patience. Just like classic Rice Krispie treats, it takes a little bit to coat the cereal with the mixture.
- Press Mixture Into Pan. Once combined, firmly pat down the rice cereal mixture into the prepared pan. I like to use a second piece of parchment paper to keep my hands clean.

- Chill. Whether adding chocolate or not, you want to chill your peanut butter Rice Krispie treats for at least 15 minutes to allow the bars
- Melt Chocolate. If adding a chocolate layer to the peanut butter cereal treats, place the chocolate chips or chunks into a heat-safe bowl. Microwave the chocolate in 20 to 30-second intervals, stirring in between each interval until the chocolate is completely melted and has a smooth consistency. Feel free to add in 2 teaspoons of coconut oil to help the chocolate layer harden. I find this to be unnecessary.
- Ice Peanut Butter Rice Krispie Treats. Pour the melted chocolate over the peanut butter cereal treats and use a spatula or spoon to spread the chocolate out and evenly coat the bars.

- Chill. Place the peanut butter treats back into the refrigerator for 10-15 minutes to allow the chocolate to set up. Slice into squares and enjoy.

Storage Instructions
- Without the layer of chocolate, Peanut Butter Rice Krispie treats can be stored in an airtight container at room temperature for up to 3 days.
- With the addition of chocolate, I recommend storing the treats in an airtight container in the refrigerator for up to 3 days.
More Recipes Starring Peanut Butter
- Peanut Butter Banana Bars
- Chocolate Peanut Butter Protein Smoothie
- Peanut Butter Pancakes
- Peanut Butter Blossom Cookies
- Peanut Butter Coffee
- Peanut Butter Banana Muffins
- Peanut Butter and Jelly Oatmeal
If you enjoyed these Chocolate Peanut Butter Rice Krispie Treats, I would love for you to leave a comment and review below.
Peanut Butter Rice Krispie Treats
Ingredients
- ½ cup creamy peanut butter shelf-stable or natural
- ½ cup honey
- 1 teaspoon vanilla extract
- dash of salt if peanut butter is unsalted
- 4 cups rice crisp cereal
- 2 cups chocolate chips optional
- 2 teaspoons coconut oil optional
Instructions
- Line a 7x11 or 8x8 pan with parchment paper. Set aside.
- Grease a ½ cup measuring cup with oil or nonstick spray and measure out the honey. Pour the honey into a large saucepan. Bring the honey to boil over medium-high heat and then IMMEDIATELY turn off the heat.
- Add the peanut butter, vanilla, and dash of salt if needed, into the honey and stir until smooth. Add in the cereal and stir to evenly coat the crisped rice with the mixture.
- Pour the cereal mixture into the prepared pan and firmly flatten out the mixture, using another piece of parchment paper. Place the treats into the fridge to harden for 10-15 minutes.
- To top with chocolate, place the chocolate chips into a heat-safe bowl and microwave in 30 second intervals, stirring after each interval, until chocolate is melted. Stir in the coconut oil if desired.
- Remove the chilled peanut butter bars from the refrigerator. Pour the chocolate over cereal mixture and spread out with the back of a spoon or a spatula.
- Return the treats to the refrigerator and for 15-20 minutes to fully firm up before slicing.
- Remove from fridge and cut into squares.
Aimee
These were so good! My whole family loves them!
Kristen Chidsey
Wonderful! Thank you for sharing your review.
Liz
These were so good! I love anything with chocolate and PB and these did not disappoint. So tasty!
Kristen Chidsey
Absolutely the best combo! Thanks for leaving a review, Liz 🙂
Lisalia
Yummy! Thanks for a non-marshmallow treat. My son can't eat any pork products and appreciated that this is ready to go and still SO SO yummy. We all loved it.
Izzy
As far as no-bake recipes go, this one is the most decadent that I've seen this far. So easy to make and incredibly tasty!
Ksenia
These bars look super yum! I just wanted to say though; while the honey is easily subbed out, it is not a vegan ingredient. Please consider either amending the recipe, or labelling it vegetarian instead of vegan. Thanks for sharing this fabulous recipe! 🙂
Kristen Chidsey
Ksenia--good catch. I updated the recipe to please vegans Enjoy--these are scrumptious!
Sarah
Yum! These sound great! Thanks for linking up to the Blogger Brags pinterest party. I have pinned your post to the Blogger Brags pinterest board.
Kristen Chidsey
Thank you Sarah!
cuteheads
Found you through the linkup! These look AMAZING. Must make them! I'm gluten free and would love them as much as my kiddo.
Kristen Chidsey
I could have eaten the whole pan myself--you will love these!