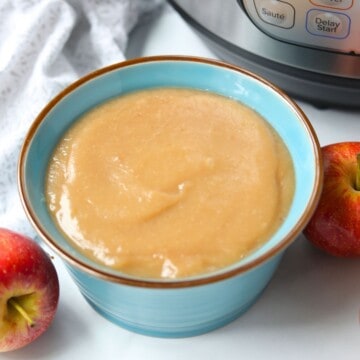
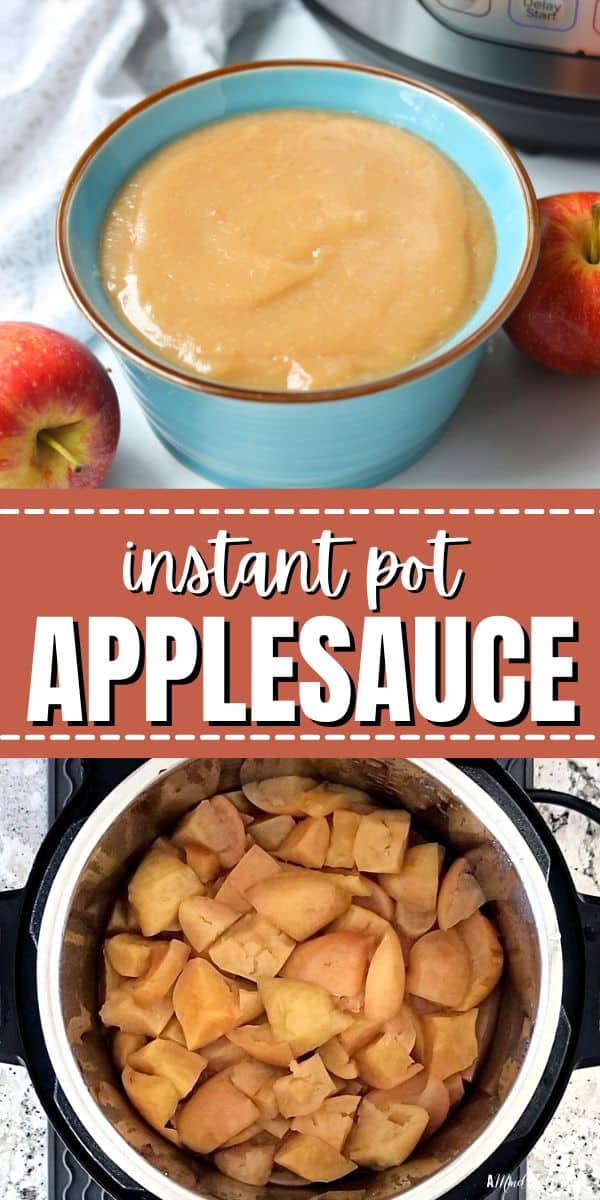
Instant Pot Applesauce is the easiest, fastest way to prepare delicious homemade applesauce! This recipe for no-peel, naturally sweetened applesauce comes together with minimal effort to deliver the best-tasting homemade applesauce.
When apples are in season, you certainly should enjoy Dutch Apple Pie and Homemade Apple Crisp, but you can't let the season pass without making homemade applesauce using your Instant Pot. It is a ridiculously easy recipe and unbelievably delicious.
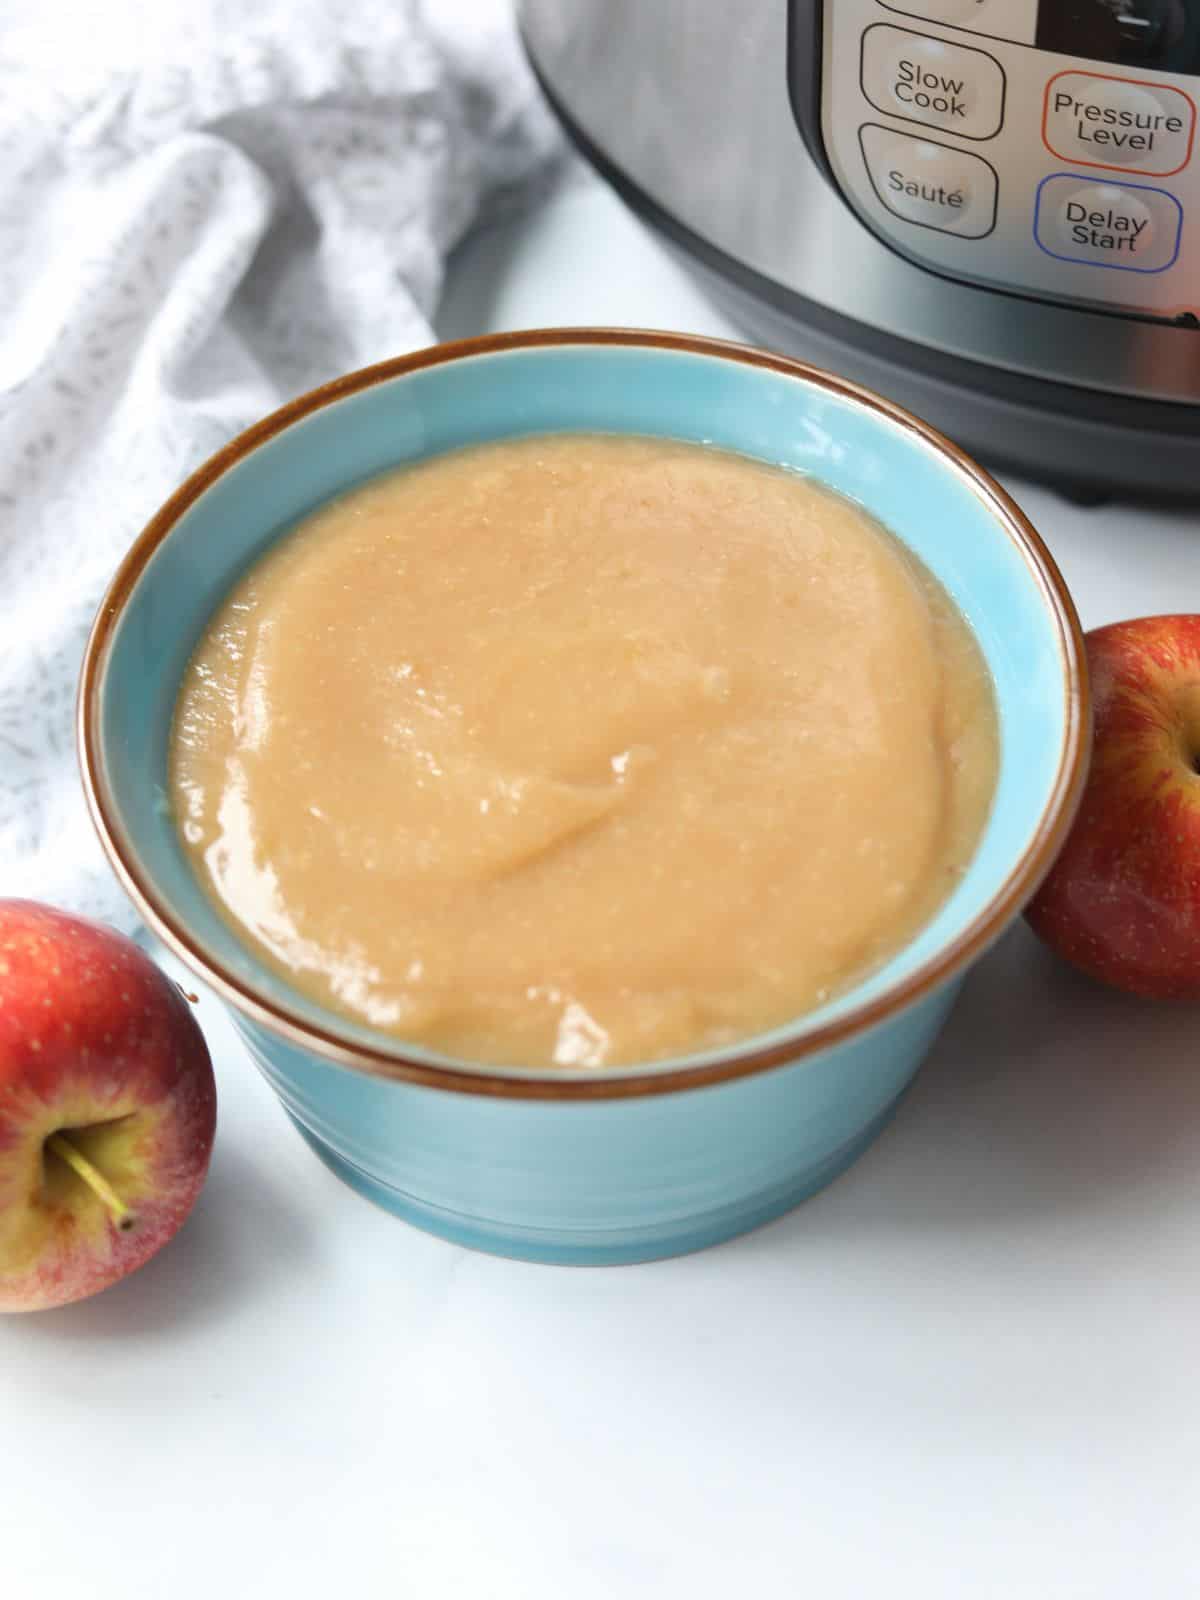
My kids get more excited when I announce I am making applesauce than they do when I say I am making cookies.
Thankfully, with the help of the Instant Pot, I can deliver Instant Pot Applesauce with minimal effort and with less effort than stovetop applesauce.
Why You Will Love Instant Pot Applesauce
- Flavor. The taste of homemade applesauce made with fresh apples is unbeatable. It is perfectly sweet and deliciously fresh. After one bite, you will never settle for store-bought applesauce again!
- No Peeling Required. After pressure cooking the apples, the skins will be so soft they will blend right into the applesauce. Not to mention those peels will add fiber and nutrients to the applesauce.
- No Sugar Added. The flavors of fresh apples deliver perfectly sweet applesauce, without the need to add sugar.
- Customizable. Based on the type of apples you use, you can make your Instant Pot Applesauce sweet or tart.
- Perfect Use for Less than Perfect Apples. One of my favorite money-saving tips is to purchase apples that are marked down at the grocery store due to being less than perfect. They may not look pretty, but they still yield tasty homemade applesauce.
What You Need To Make Applesauce
You only need two ingredients to make perfect Instant Pot applesauce; apples and liquid to help the Instant Pot come to pressure.
- Apples: Granny Smith, Honey Crisp, Gala, Fuji, Pink Crisp, and Golden Delicious are varieties I love using to make homemade applesauce.
- Liquid: For the best flavor, use 100% apple juice or apple cider, which will help to naturally sweeten the applesauce. Keep in mind that because the apples release liquid as they cook, this recipe calls for less liquid than other Instant Pot recipes.
- Optional Additions: I have included recipe variations for adding lemon juice, cinnamon, and/or sugar if desired.
What are the Best Apples for Applesauce?
While you can use just about any combination of apples to make homemade applesauce, there are a few things you should keep in mind when selecting apples.
- Keep in mind, that the apples you choose will determine the flavor of your applesauce. Tart apples, like Granny Smith, yield tart applesauce. Sweet apples, like Honeycrisp or Golden Delicious, yield sweet applesauce. I love using a combination of sweet and tart apples to yield a perfectly balanced applesauce.
- Avoid Red Delicious apples, as they get mushy when heated.
How to Make Instant Pot Applesauce
While this is an incredibly simple recipe, if you are unfamiliar with cooking in an Instant Pot or the functions of your Instant Pot, be sure to start with How to Use an Instant Pot for the best results on this and future recipes. You will find the full recipe in detail in the recipe card below.
Step One: Prepare Apples. The most efficient way to clean apples is to dissolve 1 tablespoon of baking soda in a large bowl of water. Add the apples to the water and let them soak for 5-10 minutes. Rinse them well. After washing and drying the apples, remove the core from your apples, dice the apples into 2-inch chunks, and place them in the inner pot of your Instant Pot.
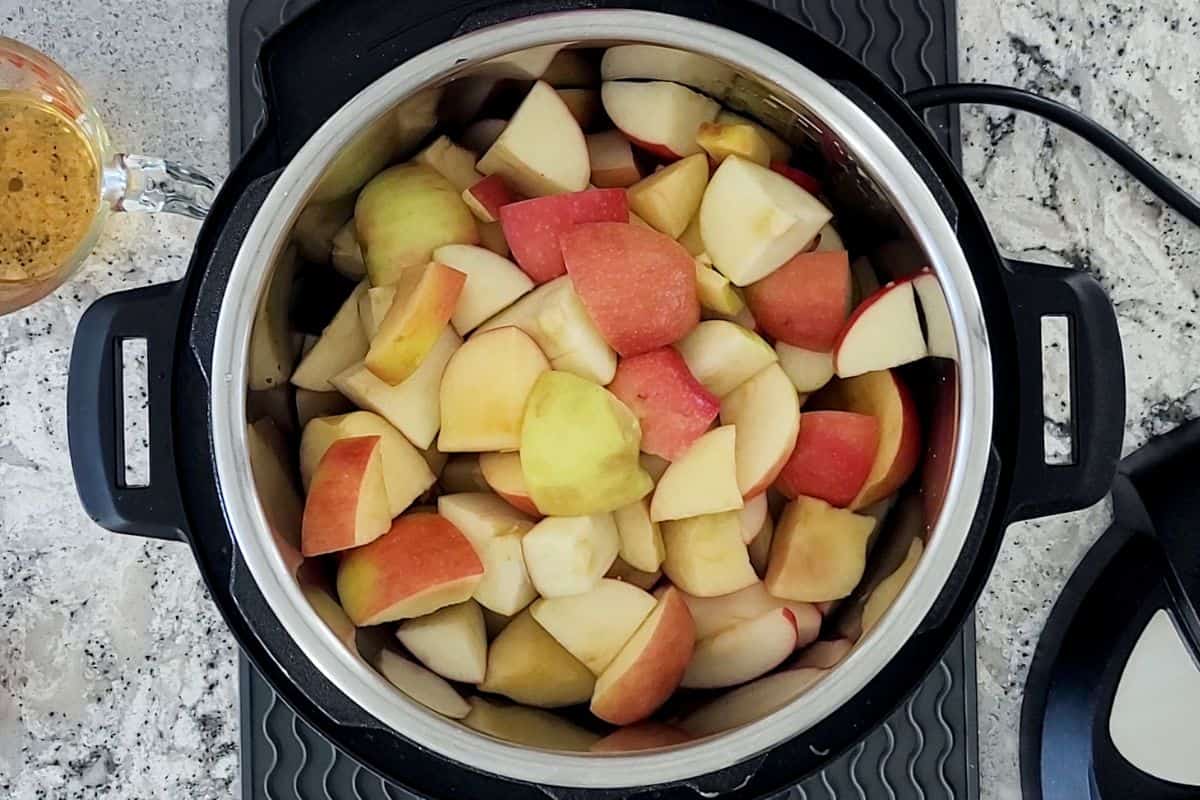
Step Two: Pressure Cook Apples. In order for pressure to be reached, you need to add thin liquid to the inner pot, along with the apples. For the best flavor, use apple juice or apple cider. Because the apples will release liquid as they cook, this recipe calls for less liquid than other Instant Pot recipes. Keep in mind it is best to allow pressure to release for at least 10 minutes after the cooking time has elapsed.
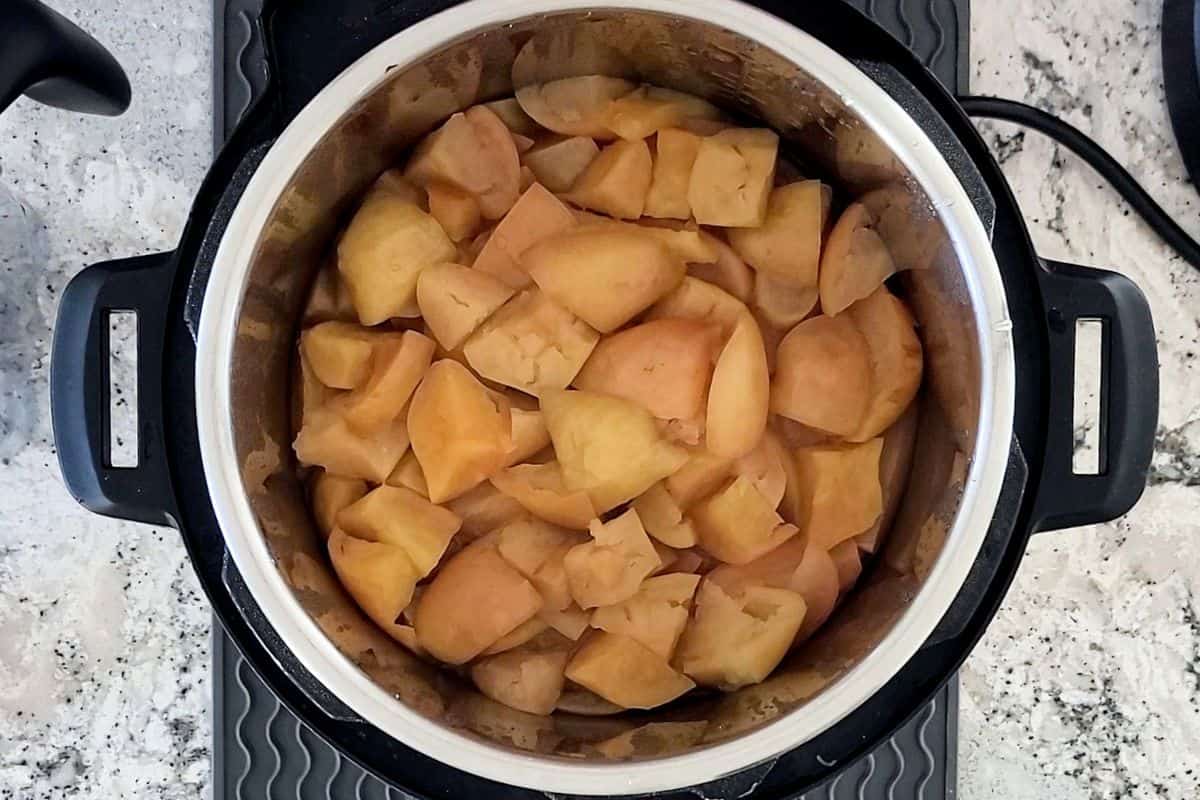
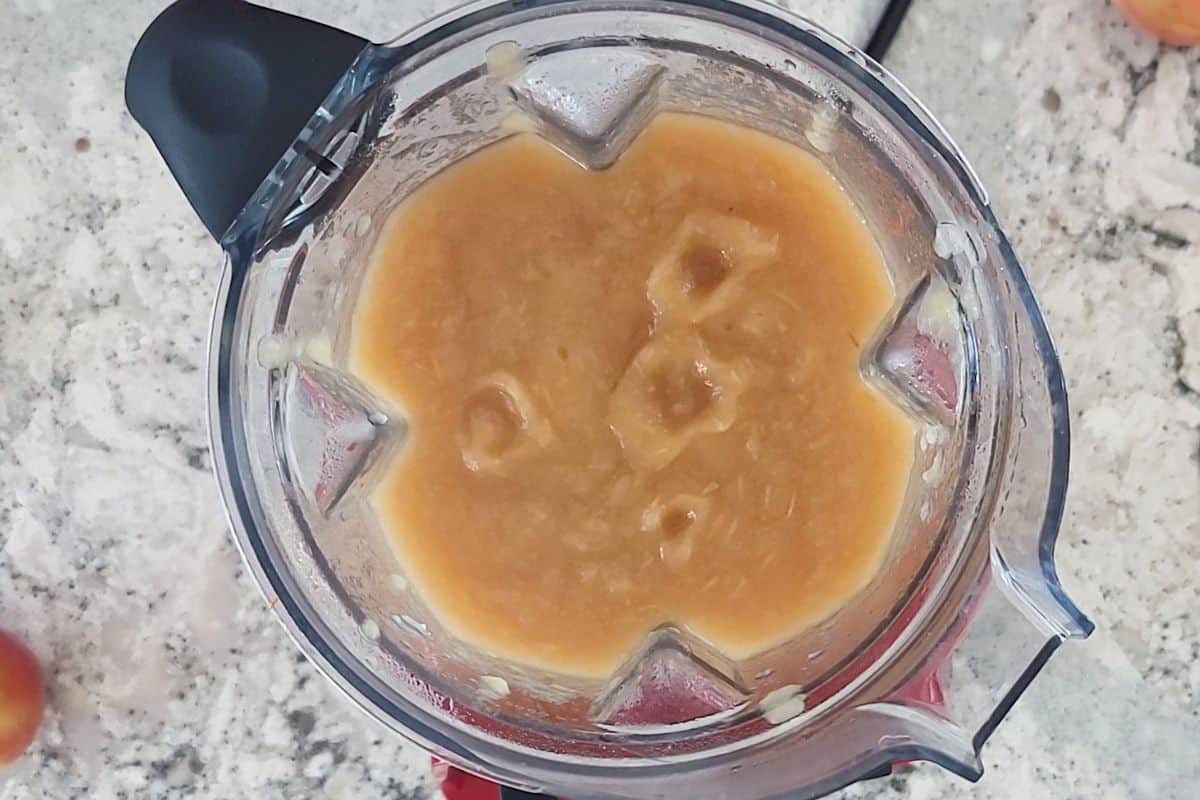
Step Three: Blend Applesauce. In order to achieve smooth applesauce and not have to deal with the texture that the peels add, you need to blend the apples. I recommend using a spider spoon or slotted spoon and transferring the pressure-cooked apples to a blender or a food processor fitted with an S-blade. Leave the lid cracked open, to allow steam to escape, and then blend until the apples are smooth, adding cooking liquid to thin if needed/desired.
Recipe Modifications
- Cinnamon Applesauce: If you like cinnamon applesauce, add 1 teaspoon of cinnamon to the apples before pressure cooking.
- Tart Applesauce: Use granny smith for half the amount of apples and add 1 teaspoon of fresh lemon juice.
- Chunky Applesauce: Peel and dice the apples into 2-inch chunks and pressure cook as the recipe indicates.
- Sweetened Applesauce: If you enjoy super sweet applesauce add in 1-2 tablespoons of granulated sugar, brown sugar, maple syrup, or honey prior to pressure cooking. You can also opt to stir in maple syrup or honey to taste after pressure cooking if you find your prepared applesauce is not as sweet as you desire it to be.
Storage Instructions
- Refrigerate: Allow the applesauce to cool slightly before transferring to glass jars or plastic containers. And then store in the refrigerator for up to 5 days.
- Freeze: Allow the applesauce to cool completely and then place in freezer-safe bags or containers and fill ⅔ of the way full, to allow for expansion. Store in the freezer for 4-6 months. Defrost in the refrigerator overnight before serving.
FAQs on Instant Pot Applesauce
No. The pressure cooker softens the skins of the apples enough that they will blend undetected into the applesauce However, if you find that your blender is not powerful enough to make a silky, smooth applesauce, you can opt to strain the applesauce over a fine-mesh strainer after pureeing the applesauce.
Unfortunately, once the applesauce is blended it is hard to thicken up without simmering it on the stovetop. Instead, it is better to only add in the liquid as needed to reach the consistency desired.
You can fill the inner pot of your instant pot up to ¾ of the way full when making applesauce. Keep the cooking time and the amount of added juice the same, regardless if you are cooking more or fewer apples than the recipe calls for as written.
More Instant Pot Staple Recipes
Just like this Instant Pot Applesauce recipe, the following recipes are simple recipes made even easier using the Instant Pot.
- Instant Pot Hard Boiled Eggs
- Instant Pot Spaghetti Sauce
- Instant Pot Yogurt
- Instant Pot Brown Rice
- Instant Pot Beans
If you enjoyed Instant Pot Applesauce, I would love for you to leave a comment and review below.
Instant Pot Applesauce
Ingredients
- 3 pounds apples about 12 small apples or 9 medium apples
- ½-¾ cup apple juice see note
Instructions
- Wash the apples well. If not peeling your apples, dissolve 1 tablespoon of baking soda in a large bowl of water. Add the apples to the water and let them soak for 5-10 minutes. Rinse them well.
- Remove the core from the apples, dice the apples into 2-inch chunks, and place them in the inner pot of the Instant Pot. Add ½ cup of apple juice if using a 6-quart Instant Pot and ¾ cup of apple juice if using an 8-quart Instant Pot.
- Place the lid on the pressure cooker and be sure your vent knob is closed or your lid is sealed and locked.
- Hit manual or pressure cook and adjust the cooking time to 12 minutes on high pressure.
- Once the cooking time has elapsed, allow the pressure to release naturally for at least 10 minutes, 15 minutes is best, before releasing the remaining pressure.
- To control the thickness and consistency of the applesauce, remove the apples from the inner pot, using a slotted spoon or spider strainer. Place the pressured cooked apples into a high-powered blender or food processor fitted with an S-blade.
- Place the lid on the blender, crack open the top to release steam, and blend until smooth, adding cooking liquid as needed to thin and smooth.
- Serve warm or allow to cool, then store the applesauce in an airtight container for up to 5 days in the refrigerator.


Anastasia G
I wanted an easy recipe where I didn't have to peel the apples and this was perfect. I doubled the recipe and used 1 1/2 cups water using my 8 quart. I will do it again and only use 1 cup of water. I drained about 3 1/2 cup of juice after it was done. I did add 1 tbs of cinnmmon, 4 tablespoons of lemon juice because I was canning this for long term storage. After draining, I added 2 tsp vanilla and used an immersion blender. Thank you for a great base recipe.
Susan B
This is a great applesauce recipe. Very easy. I used cider as the liquid. I really appreciate the tip to remove some of the liquid before you purée or blend. I plan to use the liquid in baking or to cook pork.
The skins did not purée out, so I had to pick many of them out. The sauce came out a pretty pink color.
I did not have to add sugar, but I did throw in about a teaspoon of cinnamon. Thanks for the recipe!
Kristen Chidsey
Great idea to use the cooking liquid for pork or baking! As for the skins, I am sorry to hear that. It may have been the type of apples or the power or your blender. But happy to hear you still enjoyed the recipe.
Theresa Hilton
Thank you!
Had some apples to use, found your recipe, filled my 6 & 8 quart instant pots. Followed your directions. Delicious applesauce and two quarts of apple juice!
Kristen Chidsey
Awesome! Homemade is the best.