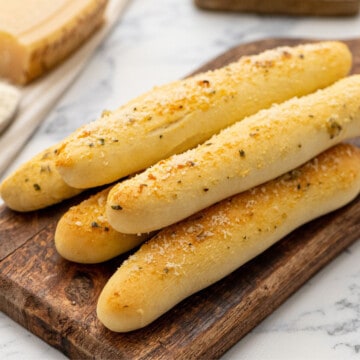
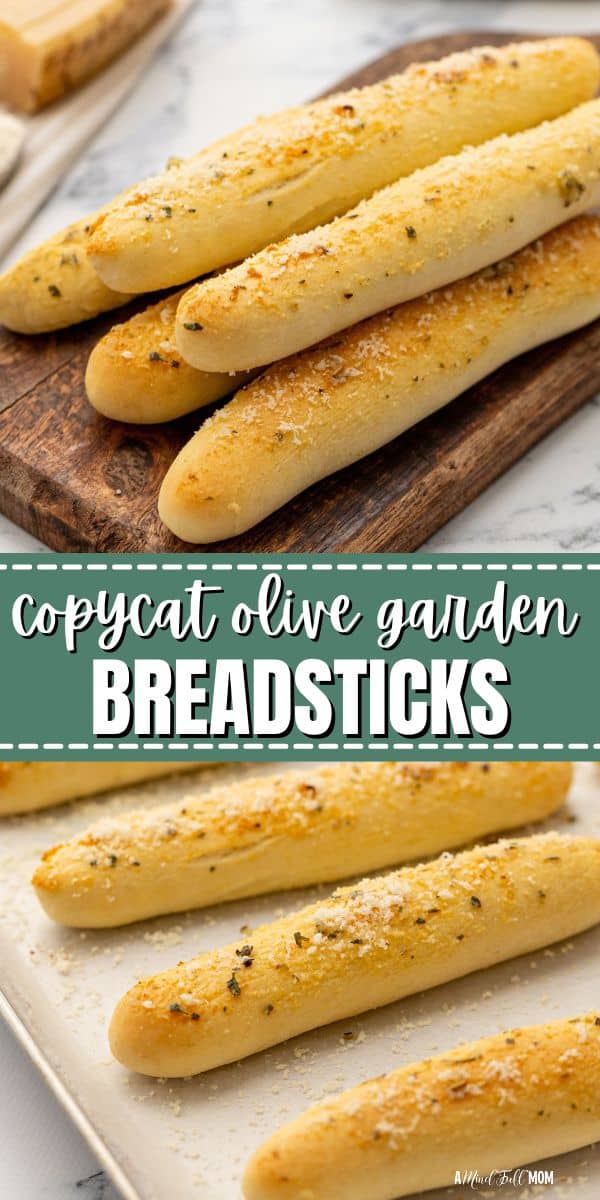
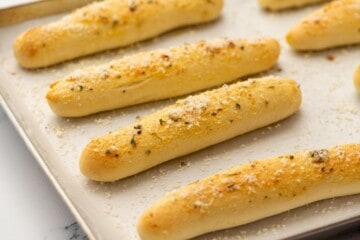
Love Olive Garden's breadsticks? Now you can make them at home with this easy copycat recipe. These homemade breadsticks are tender, buttery, cheesy, and perfect for serving alongside soup or pasta.
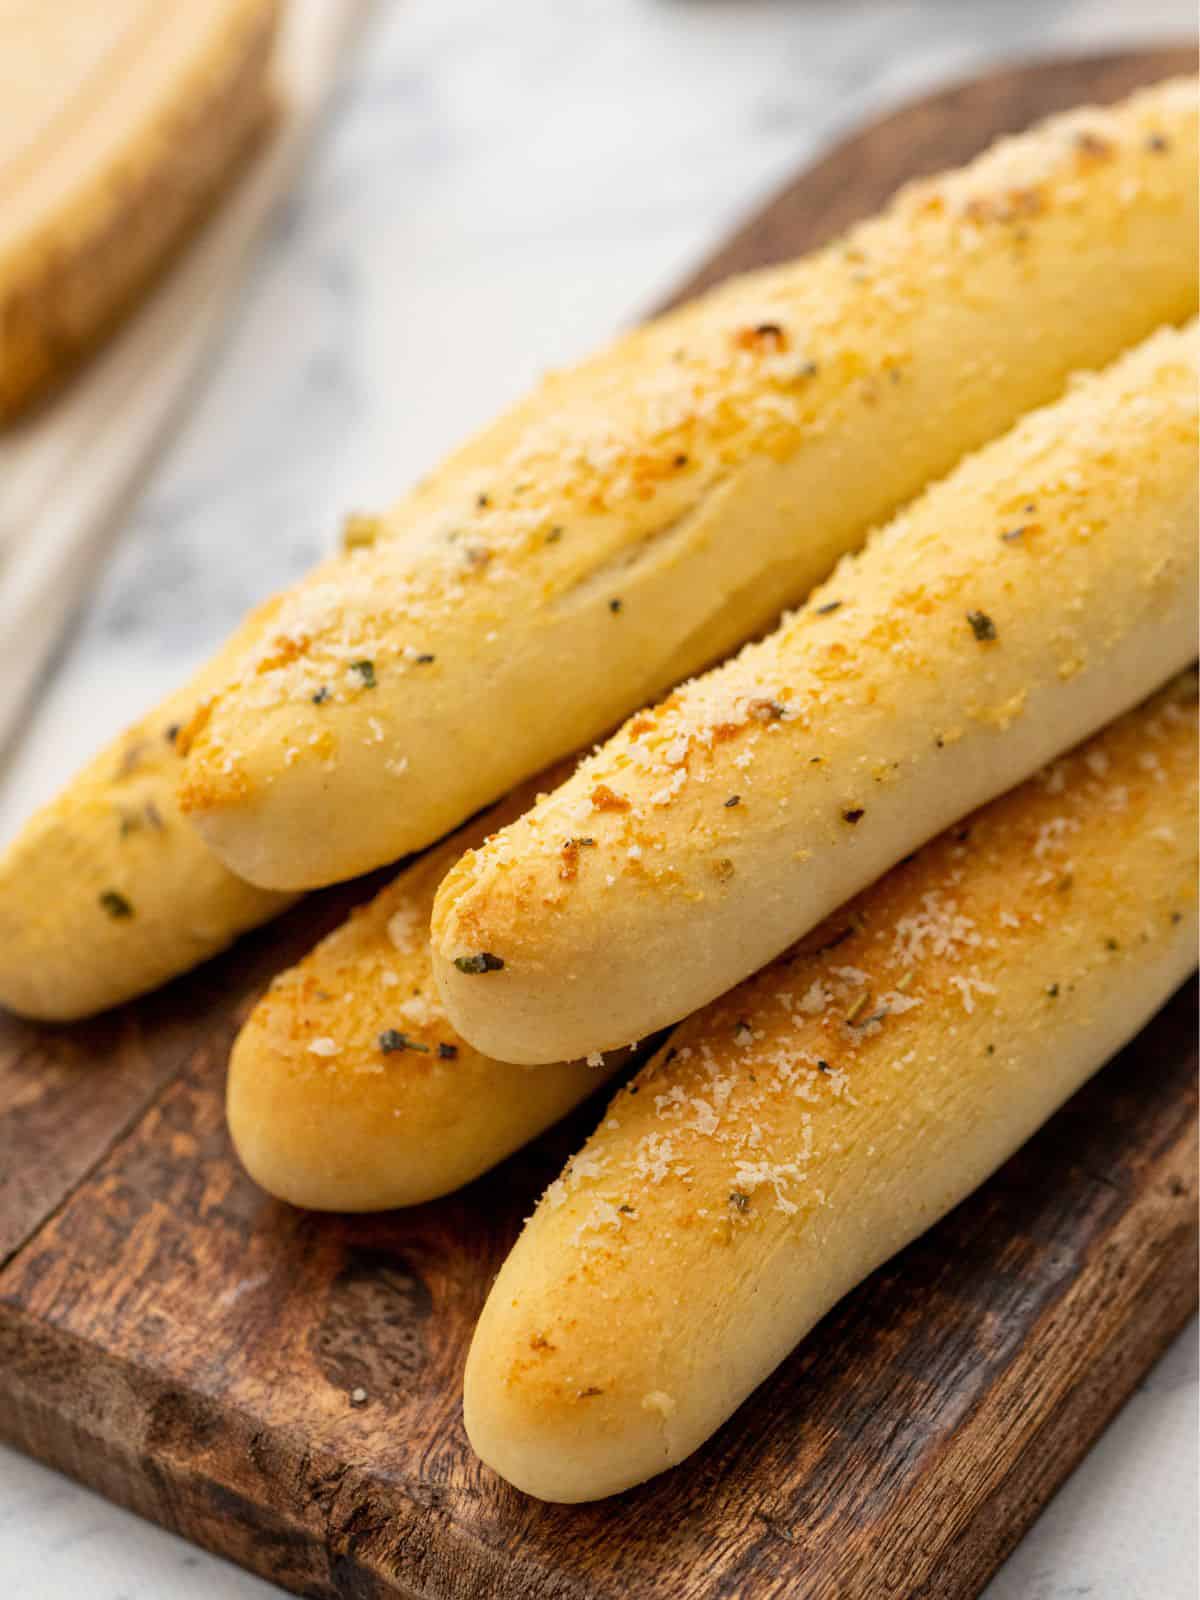
While it has been a long time since I have been to Olive Garden, I still think back fondly to their soup, salad, and breadsticks combo.
But there is no need to make a trip to Olive Garden! My copycat recipes for Olive Garden Salad, Pasta e Fagioli, Zuppa Toscana, Chicken Gnocchi Soup and this recipe for Olive Garden Breadsticks, allows you to enjoy your own soup, salad and breadsticks in the comfort of you own home.
Reasons to Love This Breadstick Recipe
- Seasoned to Perfection. Brushed with seasoned garlic butter and parmesan cheese, these breadsticks are insanely flavorful.
- Soft and Tender. These breadsticks are so fluffy they nearly melt in your mouth.
- Relatively Easy Bread Recipe. With only 15 minutes of hands-on prep, this breadstick comes together with ease.
- Perfect for Endless Meals. These copycat Olive Garden Breadsticks are the obvious choice for serving alongside soup and salad, but they also are delicious served with a side of spaghetti sauce or alongside Pasta Puttanesca or Instant Pot Rigatoni.
Notes on Ingredients
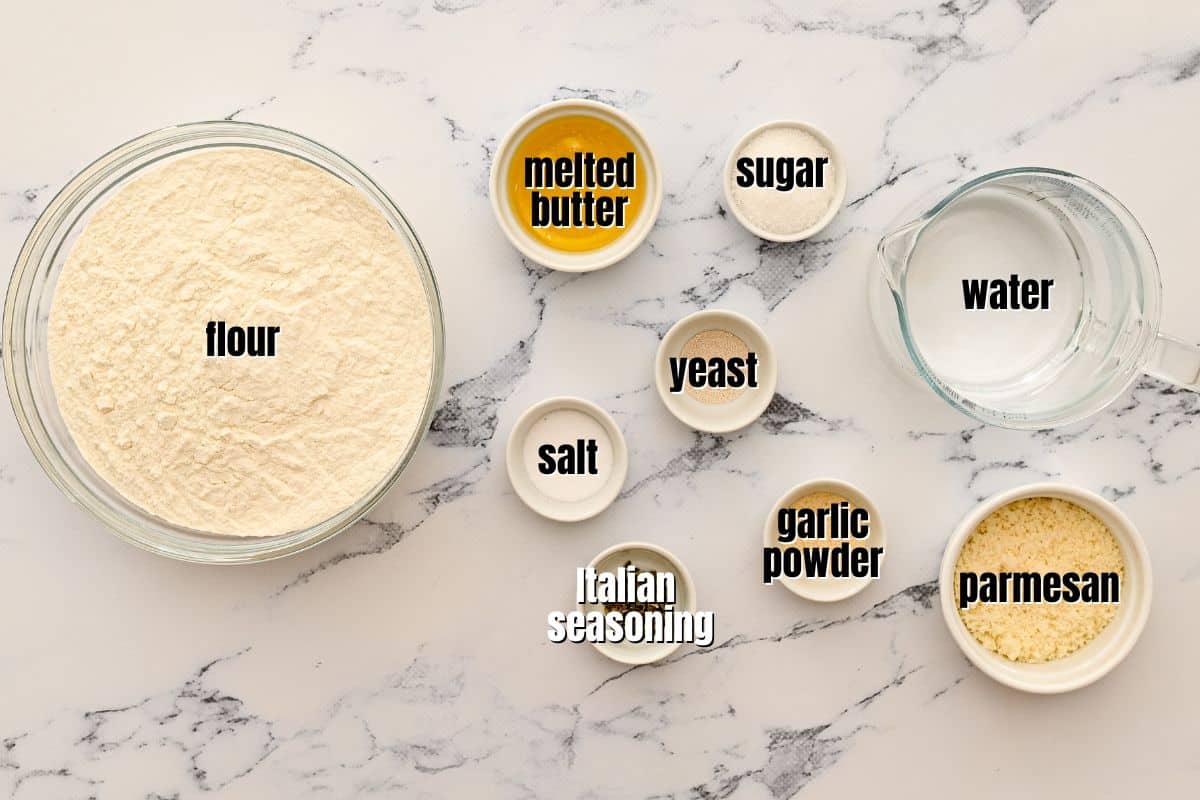
- Flour: All-purpose flour or bread flour is best for this recipe.
- Yeast: Use active dry yeast, not instant yeast for this recipe. And always ensure your yeast is fresh and not expired.
- Sugar: To help activate the yeast, use granulated sugar.
- Butter: Melted unsalted butter is used in both the breadstick dough and for creating the flavoring that is brushed on the breadsticks before and after baking.
- Seasonings: To season the breadsticks, I highly recommend adding Italian seasoning and garlic powder to melted butter to help season the breadsticks.
- Parmesan: Adding grated parmesan to the breadsticks after baking them is optional but adds a finger-licking good flavor.
Recipe Modifications
- Dairy-Free Breadsticks: Omit the parmesan and replace the melted butter with extra virgin olive oil.
- Serve with a Dip: For the ultimate Italian flavor, serve these homemade breadsticks with Italian Bread Dipping Oil or marinara.
How to Make Homemade Breadsticks
The following tips are provided to help you achieve perfect results. You will find the detailed instructions in the recipe card at the bottom of this post.
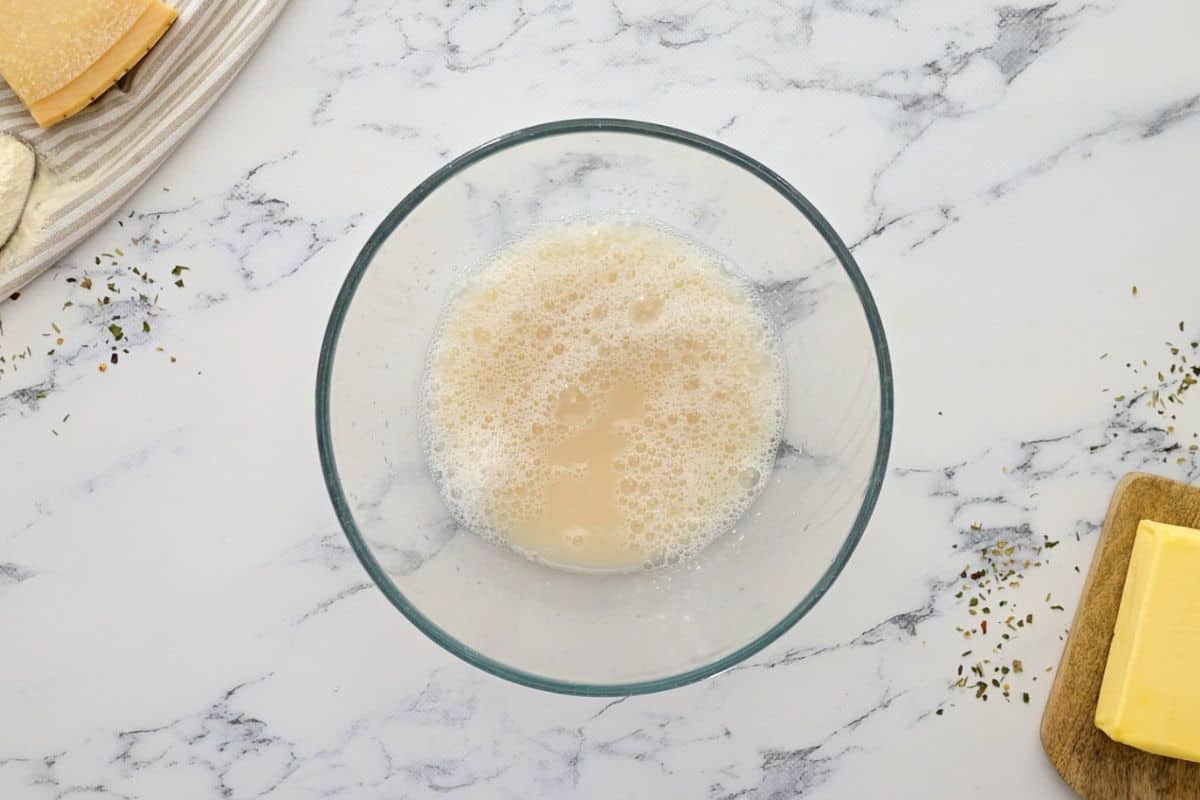
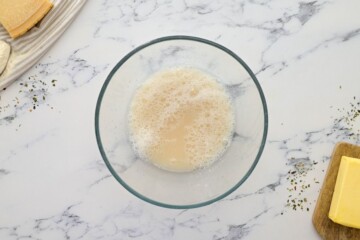
- Bloom the Yeast. Blooming the yeast just means to activate the yeast. This is done by combining water, sugar, and yeast together and letting it sit until it gets foamy. Be sure your water is between 100-110 degrees F. If the water is colder the yeast will not activate and if any warmer and the yeast will be killed.
- Form the Dough. Once the yeast mixture is foamy, add the melted butter, salt, and 2 cups of flour to the bowl. Mix until the mixture comes together and easily pulls away from the sides of the bowl. Keep in mind you may need to add additional flour. This will depend on various factors that vary from house to house. If needed, add ¼ cup of additional flour at a time until the dough comes together.
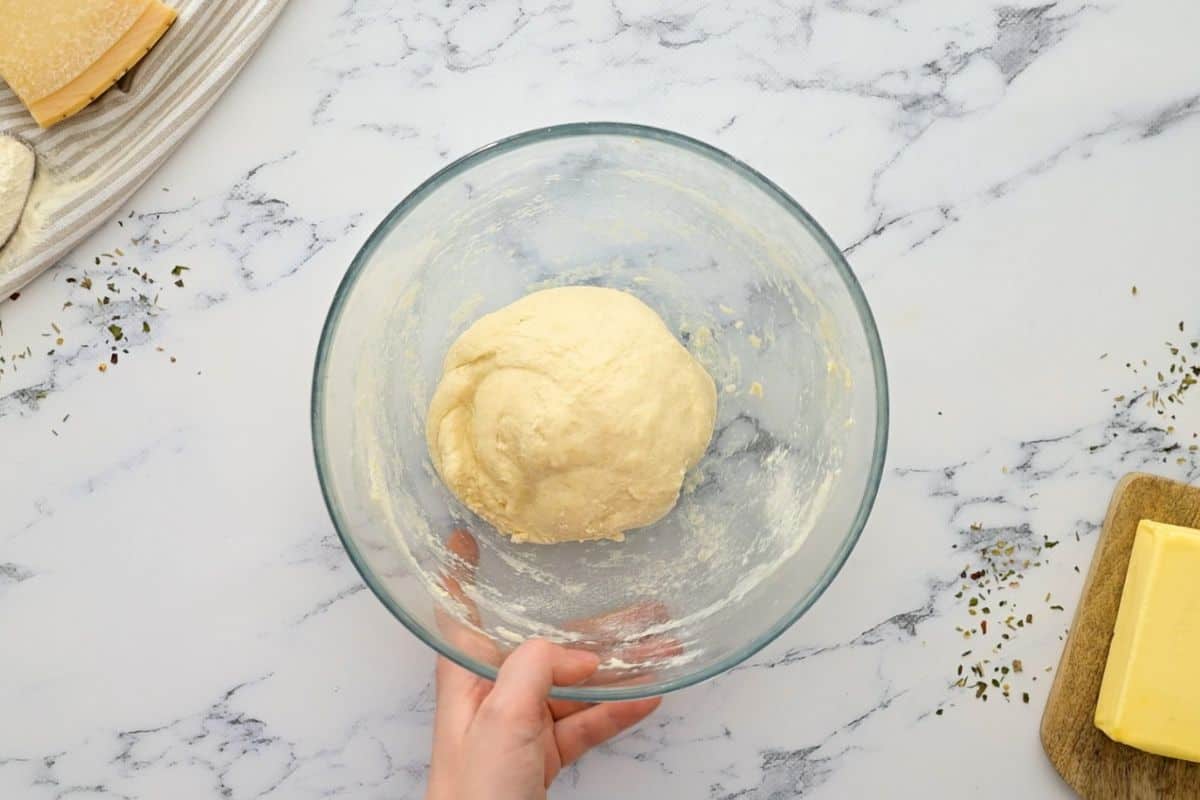
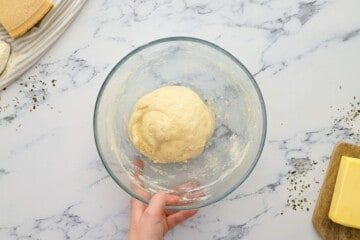
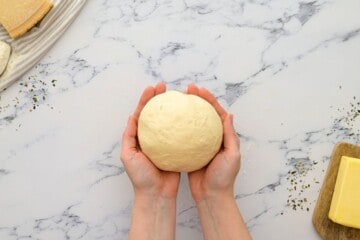
- Knead the Dough. This dough does not need kneaded long, just until smooth and elastic. Let the dough rise in a warm spot in your kitchen until doubled in size.
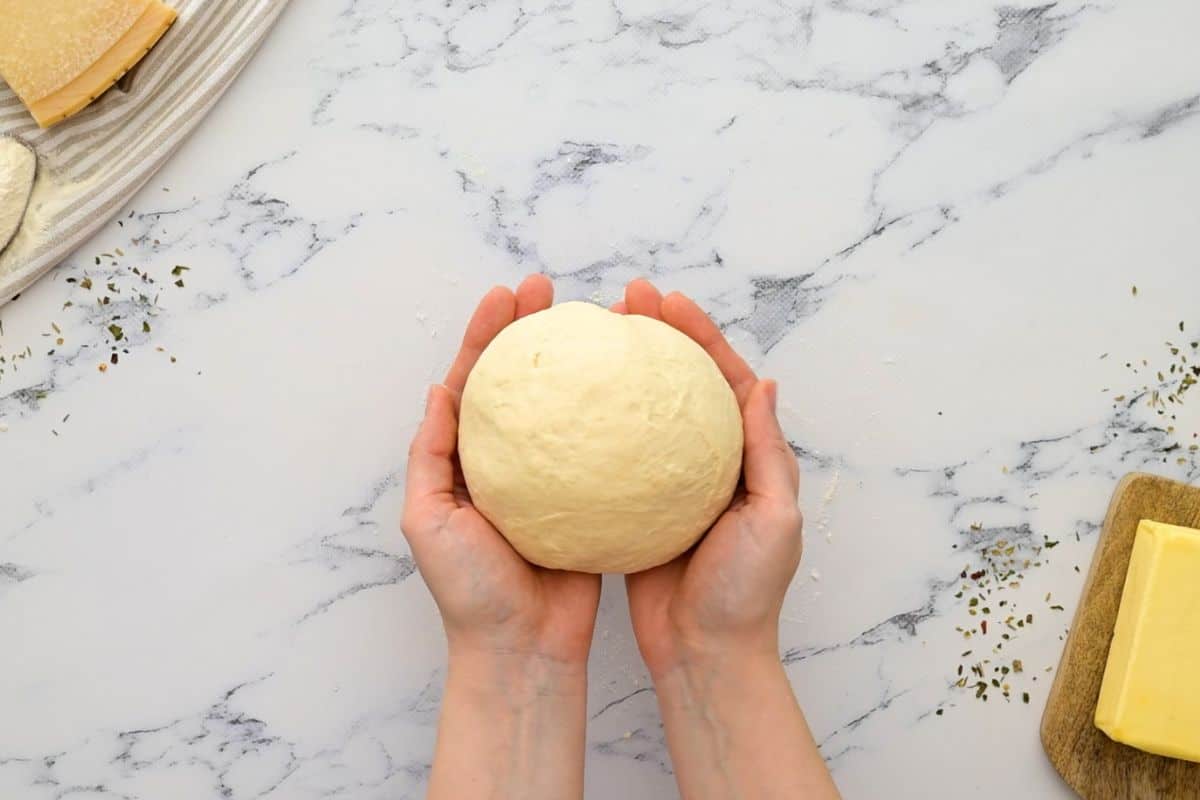
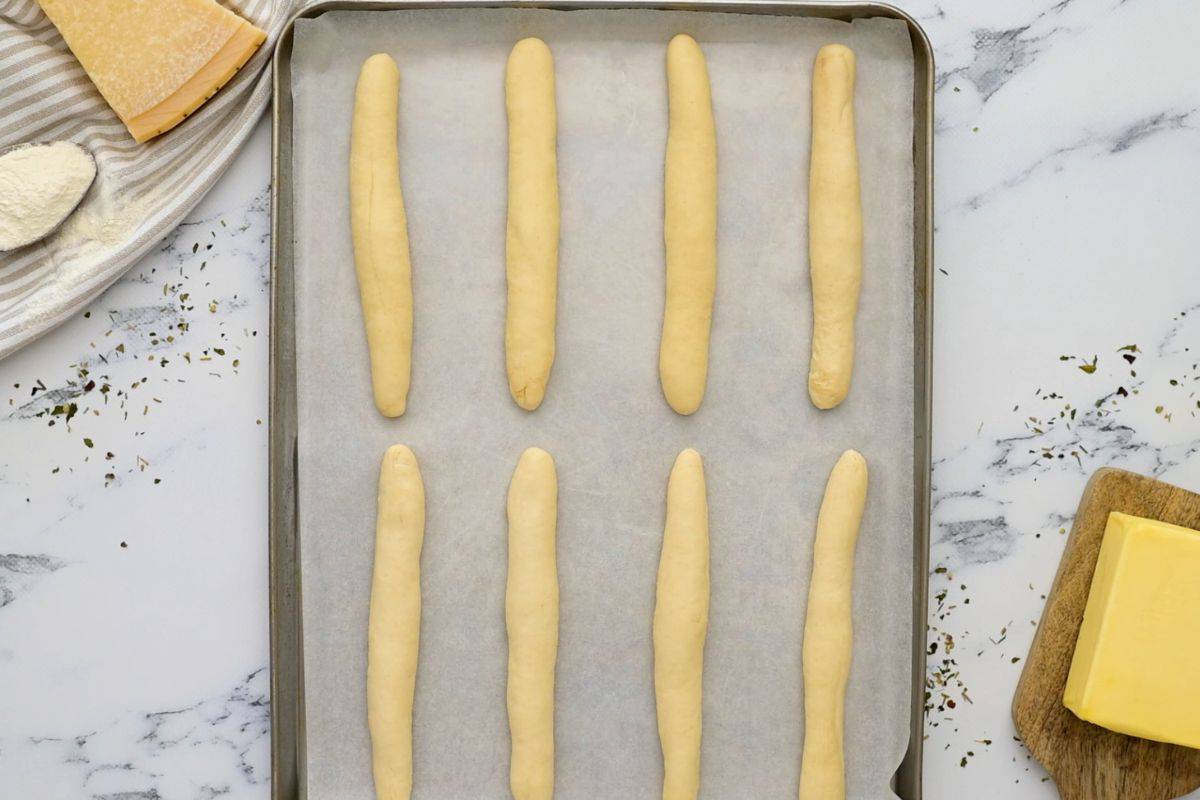
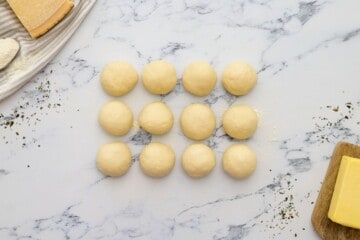
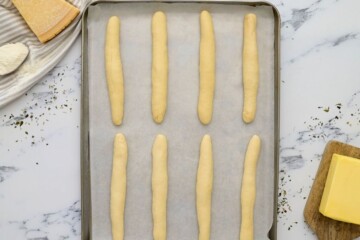
- Shape the Breadsticks. After the dough has risen, divide the dough into 8 even balls. Roll each ball into a 6-8-inch log shape. Place the shaped breadsticks on a baking sheet, cover and let rise until doubled in size.
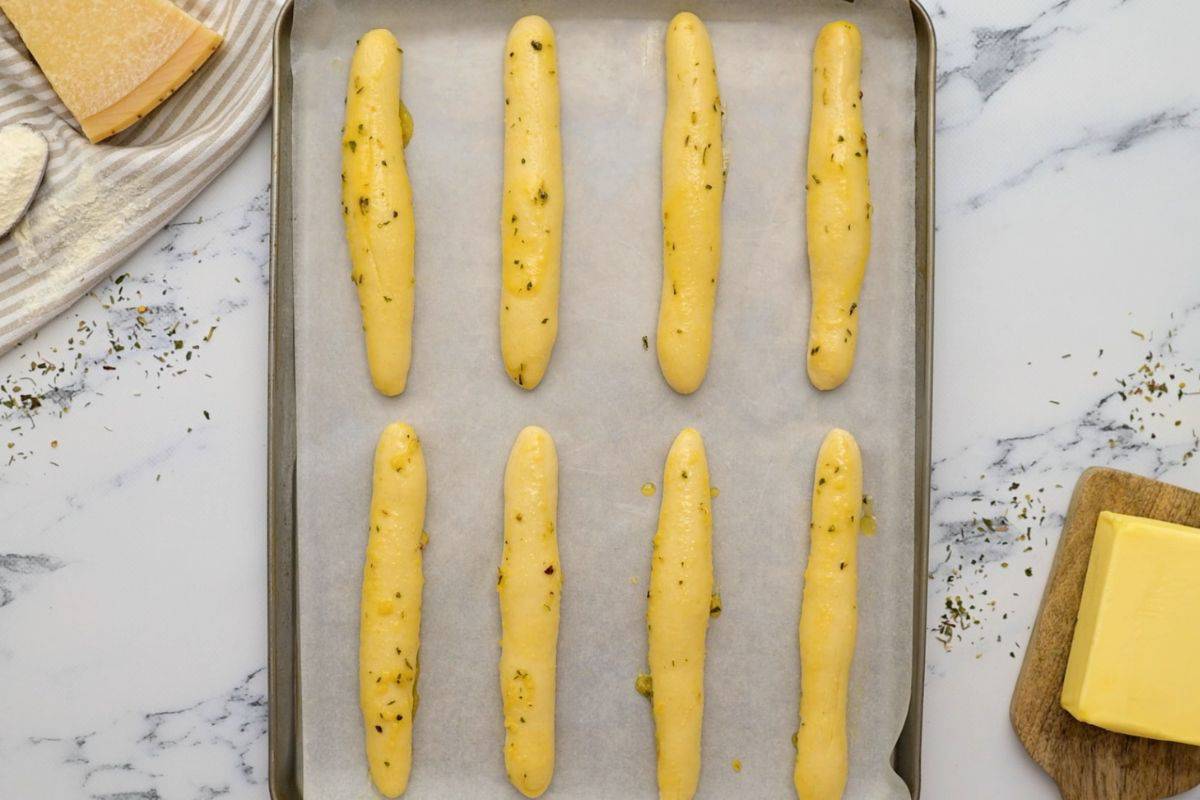
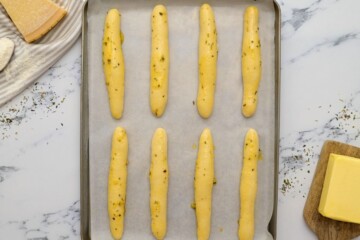
- Brush with Seasoned Butter. To add the ultimate flavor to these breadsticks that make them reminiscent of Olive Garden's famous breadsticks, brush each breadstick with melted butter than has been seasoned with garlic powder and Italian seasoning.
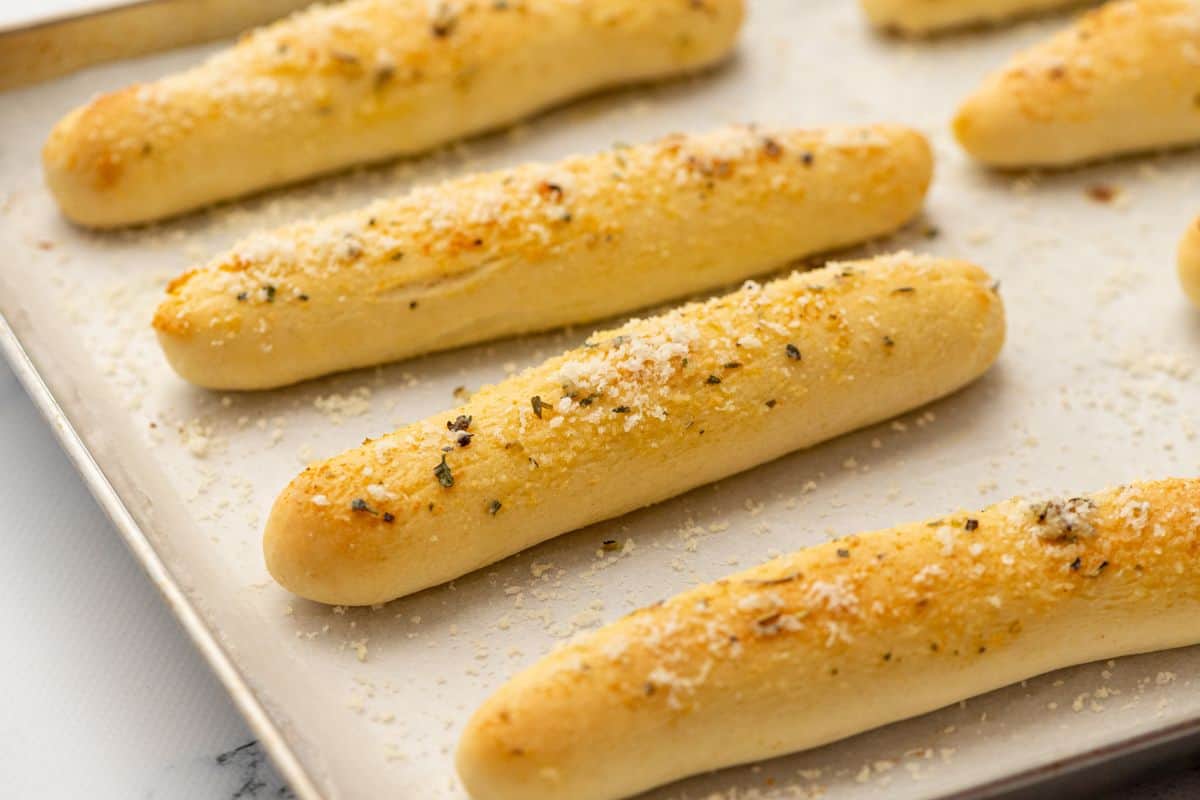
- Bake. Bake the breadsticks until lightly golden. Remove from the oven and brush them again with the butter mixture and finish by sprinkling them with parmesan cheese.
Serving Suggestions
Breadsticks pair with nearly anything, especially soups or pastas. Below are a few of my favorite pairing suggestions.
- Stuffed Shells
- Cottage Cheese Lasagna
- Lasagna Soup
- Baked Ravioli
- Bolognese
- Instant Pot Fettuccine
- Italian Wedding Soup
Storage Instructions
- Store: Breadsticks should be cooled completely and then stored in an air-tight bag, removing all excess air, or wrapped in foil at room temperature for 2-3 days.
- Reheat: Wrap breadsticks in foil and place them on a baking sheet. Bake at 350 degrees F until warmed through, about 10 to 15 minutes. Alternatively, wrap the breadsticks in a moistened paper towel and place on a microwave-safe plate. Heat for 10-15 seconds, or until warmed through.
- Freeze: While you can freeze breadsticks, they won't be a as soft ad when they are served after being freshly baked. To freeze them, let the baked breadsticks cool completely. Place them on a baking sheet in the freezer and freeze breadsticks until solid, about 1 hour. Transfer the breadsticks to a freezer bag, squeeze out excess air and freeze the breadsticks for up to 3 months. Let defrost and then reheat as directed.
More Easy Homemade Bread Recipes
- Honey Whole Wheat Bread
- Homemade Italian Bread
- No-Knead Whole Wheat Bread
- Cinnamon Raisin Bread
- Homemade Whole Wheat Rolls
If you tried this recipe for Copycat Olive Garden Breadsticks, I would love for you to leave a comment and review below.
Copycat Olive Garden Breadsticks
Ingredients
Breadsticks
- 1 cup + 2 tablespoons warm water about 100-110℉
- 1 tablespoon granulated sugar
- 1-¼ teaspoon active dry yeast
- 2 tablespoons unsalted butter melted
- 1½ teaspoon kosher salt
- 3 to 3-½ cups all-purpose flour
Garlic Butter Topping
- 2 tablespoons unsalted butter melted
- ½ teaspoon kosher salt
- 1 teaspoon garlic powder
- ½ teaspoon Italian seasoning
- ¼ cup grated parmesan cheese
Instructions
- Line 2 large baking sheets with parchment paper and set aside.
- In a large mixing bowl or bowl of the stand mixer, combine the 1 cup + 2 tablespoons water, 1 tablespoon sugar, and 1 and ¼ teaspoon yeast. Let that mixture sit for 5-10 minutes, or until the yeast is nice and foamy.

- Add 2 tablespoons of melted butter, 1½ teaspoon salt, and 2 cups of flour, and mix until combined. Add additional flour, ¼ cup at a time, until the dough pulls away from the sides of the bowl and is soft and only slightly sticky to the touch.

- Turn the dough out onto a lightly floured surface, and knead the dough until smooth and elastic, sprinkling with no more than 1 tablespoon of flour at a time as needed to make the dough manageable.

- Place the dough in a lightly greased bowl, cover it with a clean towel or plastic wrap, and let rise for one hour, or until doubled in size. Depending on the temperature of your kitchen this will be between 1 to 1½ hours.
- Once the dough has risen, turn it out onto a lightly floured surface and gently punch it down. Divide the dough into 12 equal-sized balls.

- Roll each ball out into a 6 to 8-inch rope. Place the breadsticks onto the parchment-lined baking sheet, about 2 inches apart. Cover, and let rise until doubled in size, about 1 hour to 1½ hours.

- After the dough has risen, preheat the oven to 400 degrees F.
- While the oven is preheating, combine 2 tablespoons of melted butter, salt, garlic powder, and Italian seasoning in a small bowl. Brush the dough with the butter mixture, using only about half the butter mixture.

- Bake the bread sticks until lightly golden brown, about 12-15 minutes, or until the internal temperature reaches 190-200 degrees F.
- Remove the breadsticks from the oven, and brush them with the remaining butter. Let them cool slightly on the baking sheet for 5 minutes.


Lisa
I can't believe I was able to make these! They were so tasty and the fact I can make a batch anytime is the best thing ever. I say better than Olive Garden breadsticks!
Kristen Chidsey
Love hearing this, Lisa! Thank you for sharing.
Lee
My kids went crazy for these garlic breadsticks. I can't wait to make them again. The recipe is straight forward and easy to follow, I am not a bread expert but they turned out so soft and delicious.
Kristen Chidsey
Love hearing you and your family enjoyed these, Lee! Thanks for sharing.
Wilhelmina
These are every bit as wonderful as the restaurant original! Now I can have these anytime at home!
Kristen Chidsey
I am thrilled to hear you enjoy this version 🙂