
This post may contain affiliate links. Please see our disclosure policy.
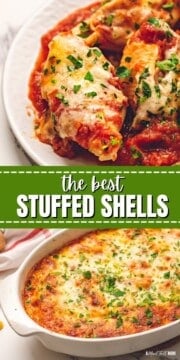
Stuffed with creamy ricotta and smothered in rich sauce and melty cheese, these Italian Stuffed Shells are the epitome of cheesy, cozy pasta!
If you love cozy pasta nights, this stuffed shells recipe is for you! It's family-friendly, freezer-friendly, and proof that you don't need fancy ingredients (or hours of prep) to make something restaurant-worthy.
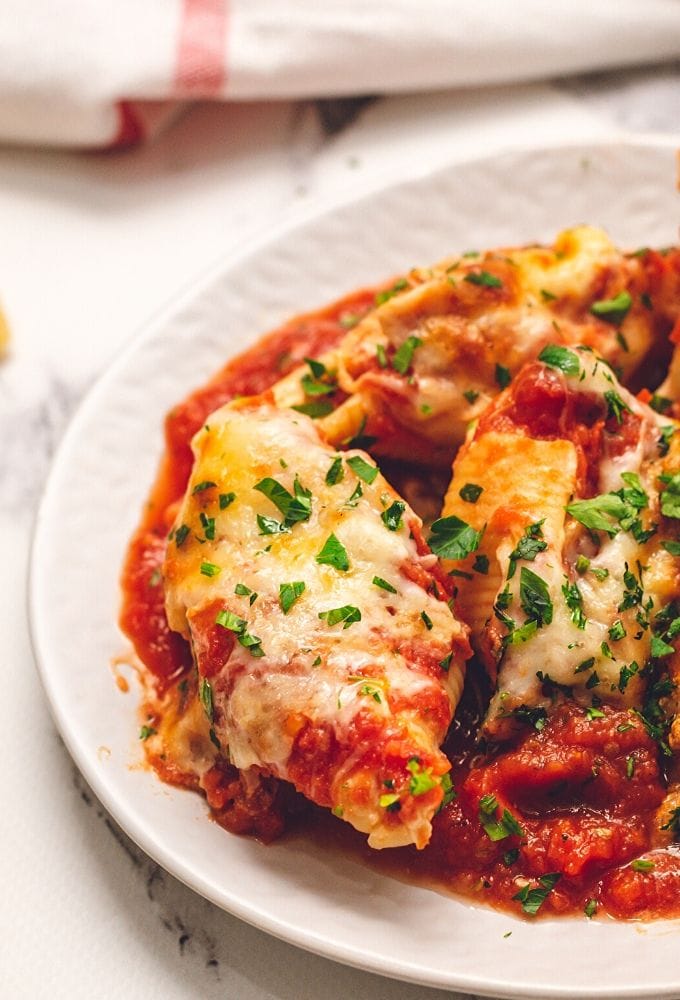
Kristen's Key Tips for Stuffed Shells
Before diving in, here are a few simple tricks that make all the difference between pretty good and unforgettable.

- Heavily salt the pasta water. This is your one shot to flavor the shells themselves. A good tablespoon (or two) of kosher salt per large pot of water is the sweet spot.
- Do NOT rinse the pasta. Rinsing the cooked pasta washes away the starches that help sauce cling to the shells.
- Moderation is key when stuffing. Aim for about 1½ tablespoons per shell, which is enough to be creamy, but still let the shell wrap around it. This will keep the filling from drying out when baked.
Happy Cooking! xo Kristen
How to Make Baked Italian Stuffed Shells
While stuffed shells are easier to make than you may think, the following steps-by-step walkthrough will help you achieve perfection--regardless of your skills in the kitchen!
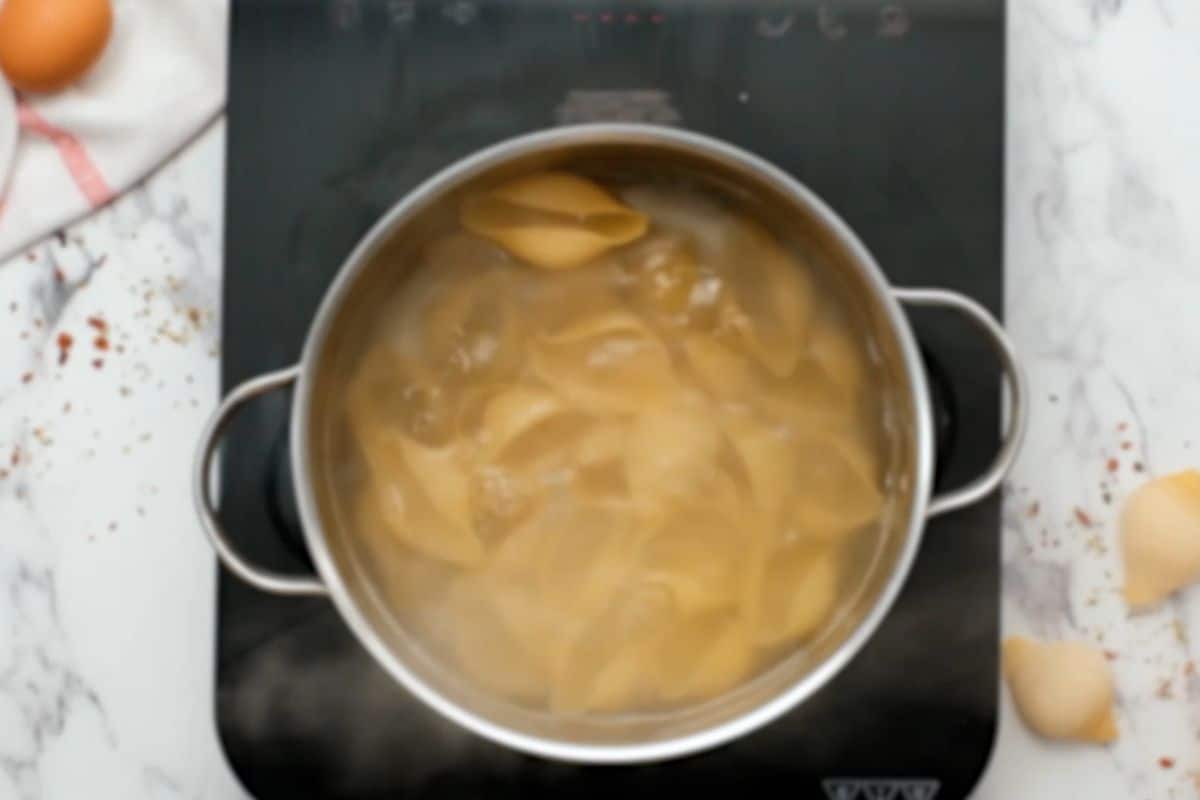
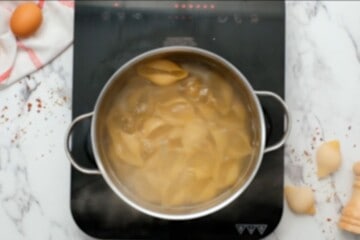
- Prepare Pasta. Cook the shells in a large pot of heavily salted boiling water for two minutes less than the package directions state. This will let the shells be just tender enough to stuff, without being so soft that they fall apart.
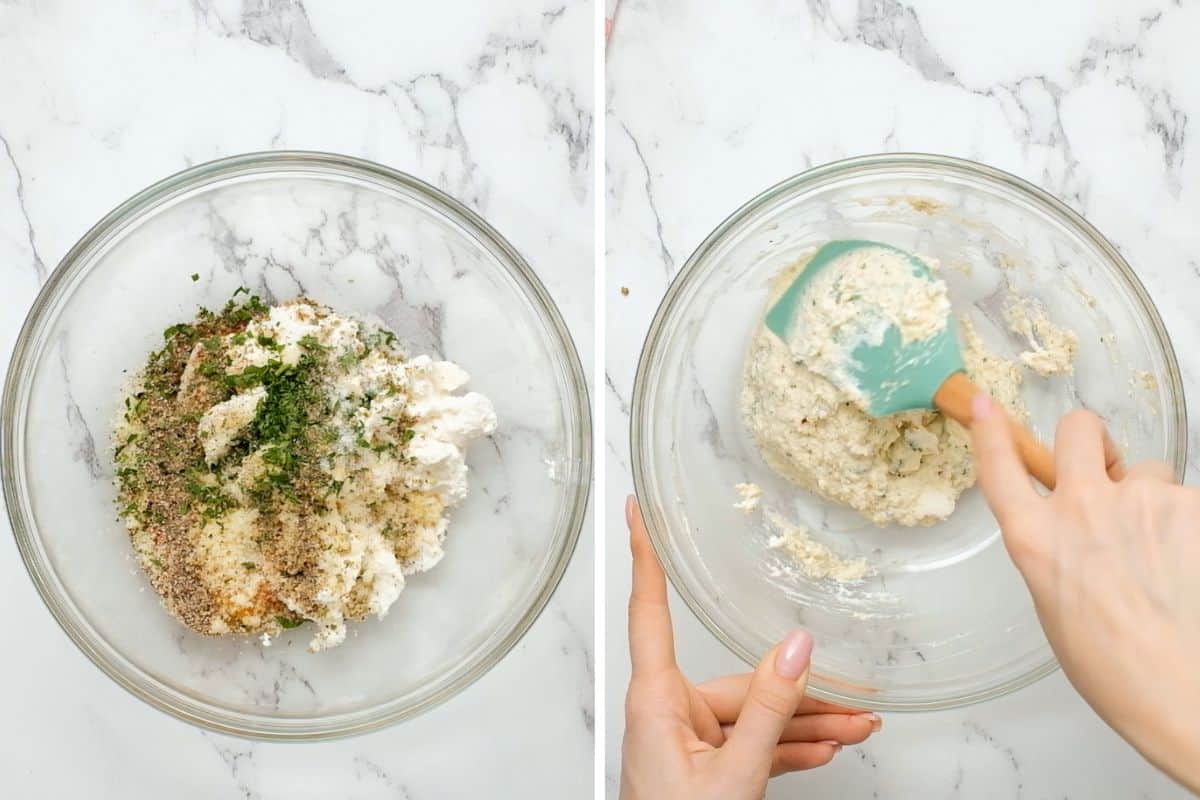
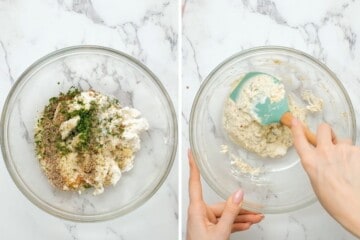
- Prepare Filling. While the shells are cooking, combine the ricotta, egg, parmesan, parsley, and seasonings in a large mixing bowl.
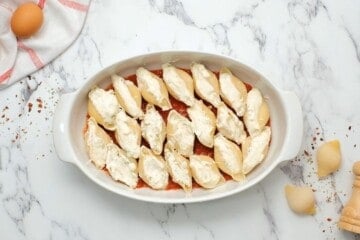
- Stuff Shells. Once the shells are cooked, allow them to cool slightly to make them easier to handle. Then use a spoon to gently fill the cavity of the shell with the ricotta mixture.
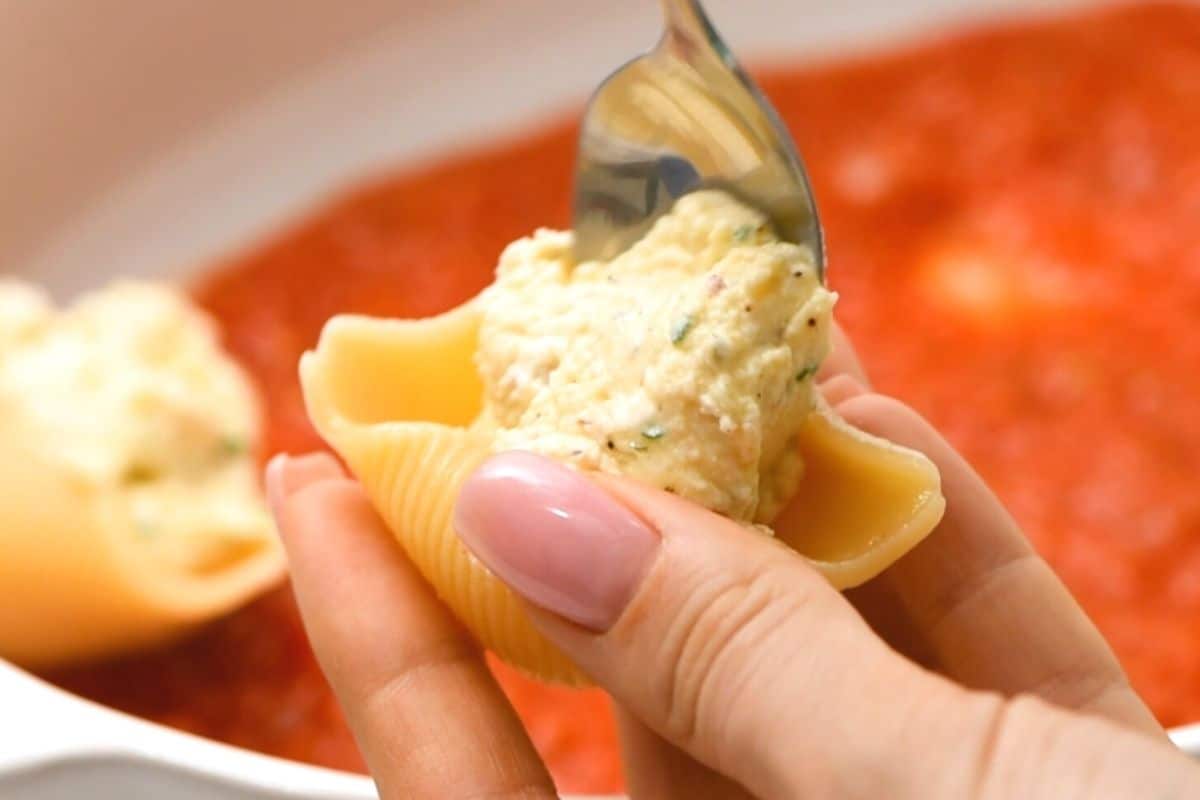
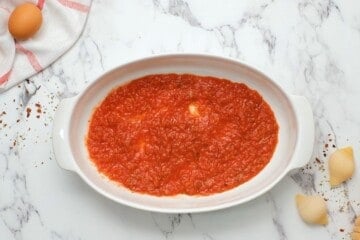
- Assemble. Spread a thin layer of spaghetti sauce on the bottom of casserole dish to help the shells to not stick to the dish. Place the stuffed shells in the baking pan, nestling them close together and then cover with additional sauce and top with shredded mozzarella cheese.
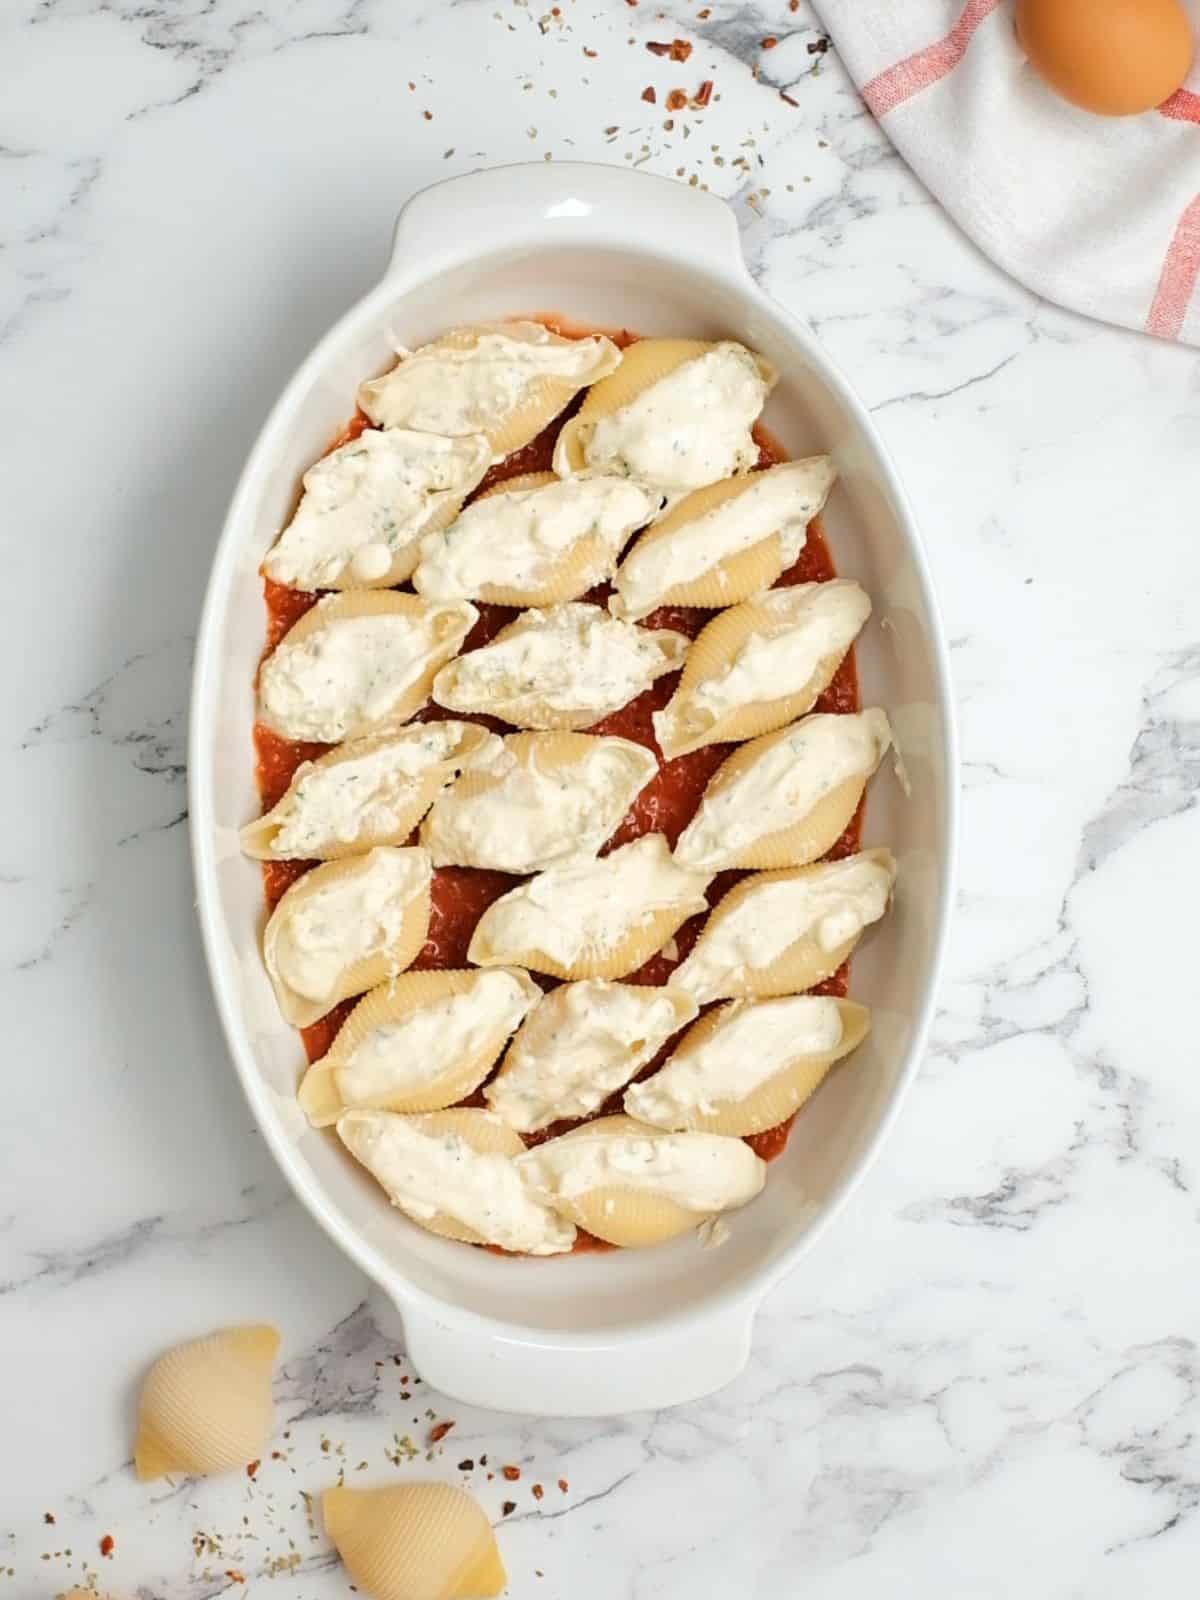
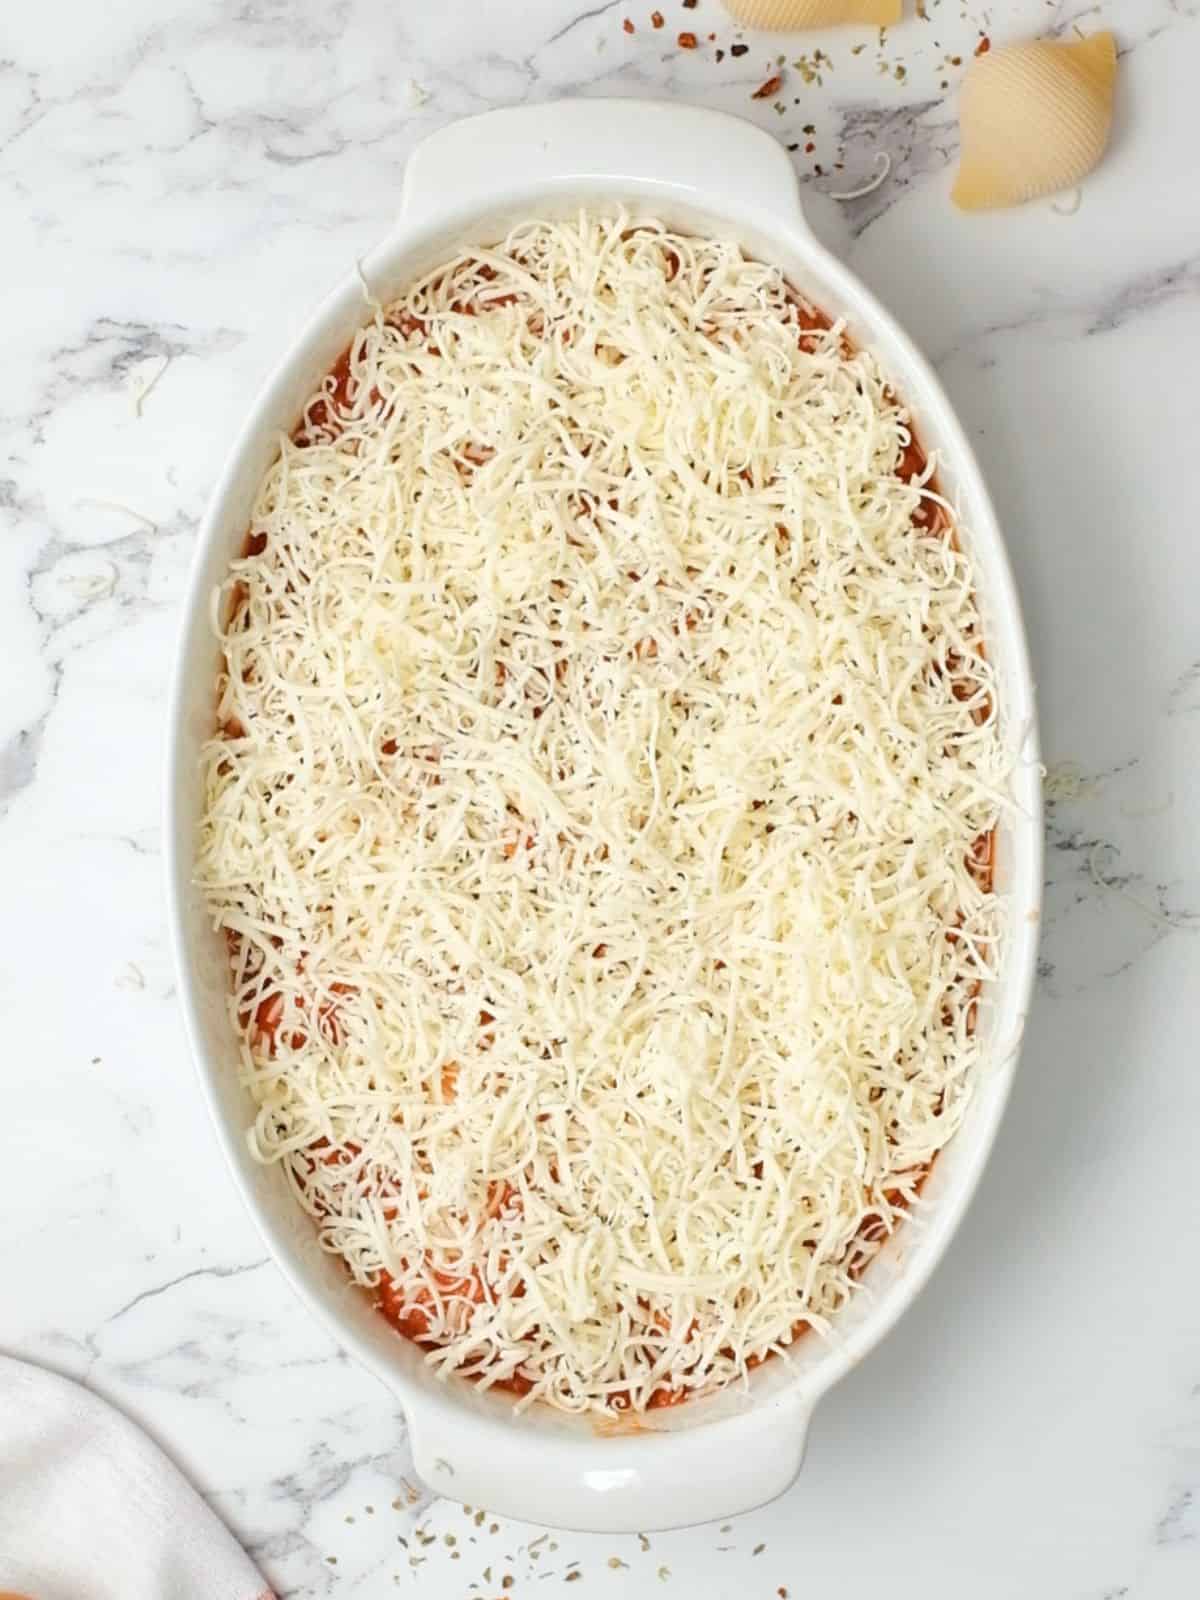
- Bake. Bake until the shells are fully warmed through and the cheese is melted and browned.
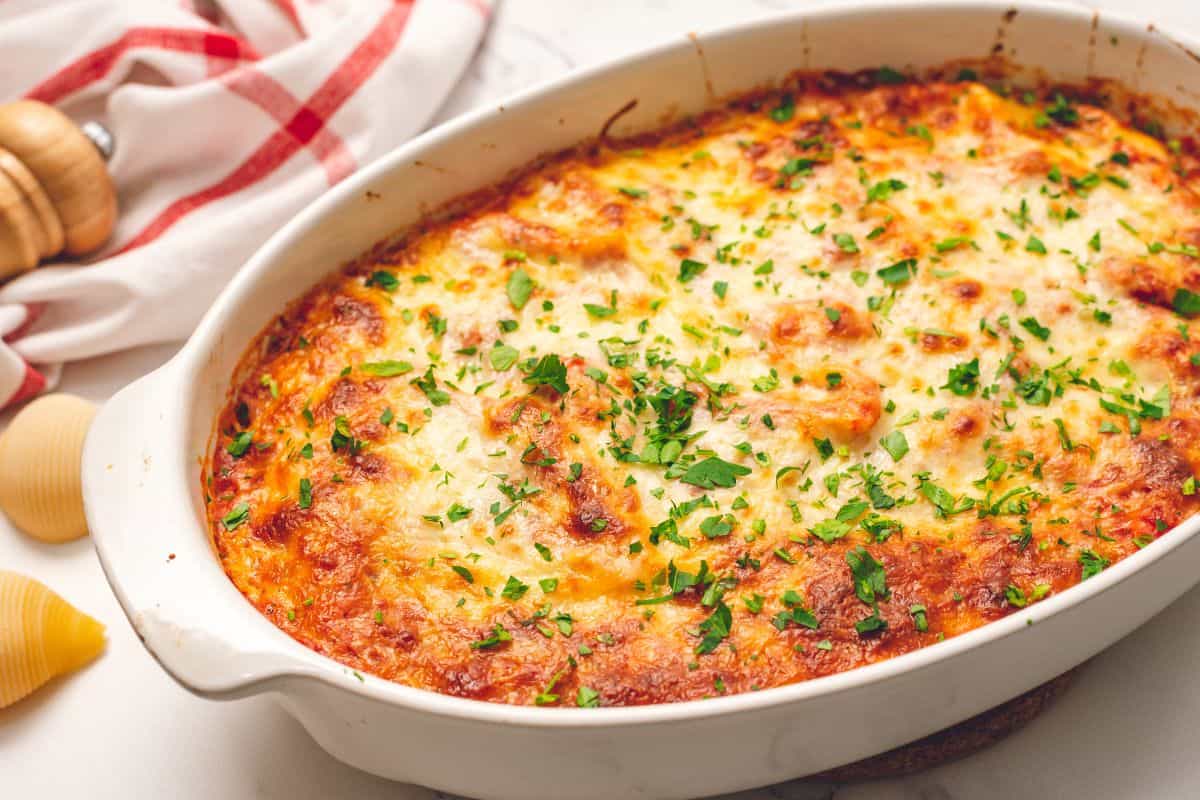
Serving Suggestions
What's a good pasta dinner without a side of bread (for even more carbs!) and a salad? While certainly not necessary, adding these pairings to your baked shells, makes dinner feel a bit more complete and special.
- Add Bread: Rolls, homemade garlic toast, or warm bread with bread dipping oil on the side.
- Add a Salad: You really can't go wrong with any salad, but my favorite companions for these stuffed shells are either a homemade Caesar salad or copycat Olive Garden salad.
Recipe Modifications
- Add Spinach: Stir in ½ to 1 cup of well drained, chopped or sautéed spinach to the filling.
- Add Pesto: Add 1-2 tablespoons of store-bought or homemade basil pesto to the ricotta filling for incredible fresh flavor.
- Add Meat: Mix in ½ pound cooked ground beef, turkey, or Italian sausage to the filling OR sauce for a heartier version. Another option is to serve alongside my baked meatball recipe.
- Prep and Freeze: Assemble the stuffed shells in a freezer-safe or disposable baking dish, cover tightly with two layers of foil, and freeze for up to 3 months. When ready to bake, remove one layer of foil and bake at 350°F for 1 hour. Uncover and bake 10-15 more minutes, until hot and bubbly.

Did you make this recipe?
If you enjoyed this recipe, please leave a comment with a 5-star review at the bottom of the post. Thank you!
Italian Stuffed Shells

Video
Ingredients
- extra virgin olive oil or cooking spray, for greasing pan
- ½ cup spaghetti sauce, for pan
- 6 ounces jumbo pasta shells, (half a standard-size box)
- 15 ounces ricotta cheese
- 1 large egg
- 1 teaspoon garlic minced
- ¼ cup parmesan cheese, freshly grated
- 1 tablespoon fresh parsley, or 1 teaspoon dried parsley
- ⅛ teaspoon crushed red pepper flakes, optional
- ½ teaspoon dried oregano
- ½ teaspoon kosher salt
- ½ teaspoon coarse ground black pepper
- 2½ cups spaghetti sauce, for topping shells
- 1 cup shredded mozzarella cheese
Instructions
- Preheat the oven to 375℉ (190℃). Grease a 2-quart baking dish very lightly with olive oil, spread ½ cup spaghetti sauce on the bottom of the dish, and set to the side.
- Bring a large pot of water to a rapid boil to cook the shells. Once the water is boiling, heavily salt the water, and add 6 ounces jumbo pasta shells. Cook for 9 minutes, or 2 minutes less than the package directions state. Drain the pasta, but do NOT rinse, and allow the shells to cool slightly.
- While the pasta is cooking, prepare the stuffing for the shells, by mixing 15 ounces ricotta cheese, 1 large egg, 1 teaspoon garlic minced,¼ cup parmesan cheese, 1 tablespoon fresh parsley, ⅛ teaspoon crushed red pepper flakes, ½ teaspoon dried oregano, ½ teaspoon kosher salt, and ½ teaspoon coarse ground black pepper in a medium mixing bowl. Set that aside to stuff the shells.
- Once the shells are cool enough to handle, stuff each shell with the ricotta mixture, about ¼ cup filling per shell. Remember to not overstuff the shells, so that the shells can somewhat close around the ricotta filling. Place each stuffed shell into the prepared baking dish.
- Top the shells with what is left from the 2½ cups spaghetti sauce and then cover with the 1 cup shredded mozzarella cheese.
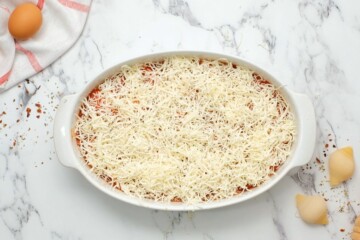
- Bake for 30 minutes, or until cheese is melted and browned.
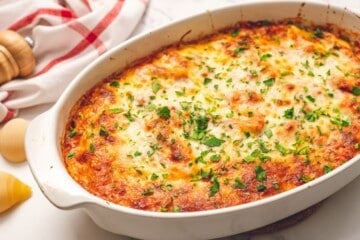
- Let sit for 5-10 minutes prior to serving.
Notes
Nutrition
Nutrition information is automatically calculated, so should only be used as an approximation.
This post was originally published in 2018 but was updated in 2025.




Very good!
I have tried many of your recipes in the last couple of months. My husband and son gave this one a thumbs up. I had some of my Wildtree garlic and herb on hand and added it also to the recipe. Very delicious and I am trying your pork chop recipe next.
Blessings,
Jennifer
Thank you so much for sharing, Jennifer! I love hearing you are trying (and enjoying) my recipes! I hope the pork chops deliver another round of thumbs up from your family!
Can I make the filling the night before? I am wandering that if I do that it will help the flavors to marry better.
Hi Maureen Ellen! Yes, feel free to prepare the filling up to 24 hours in advance. If you notice it becomes watery, drain it off and proceed with the recipe. Enjoy!
Thank you.