
This post may contain affiliate links. Please see our disclosure policy.
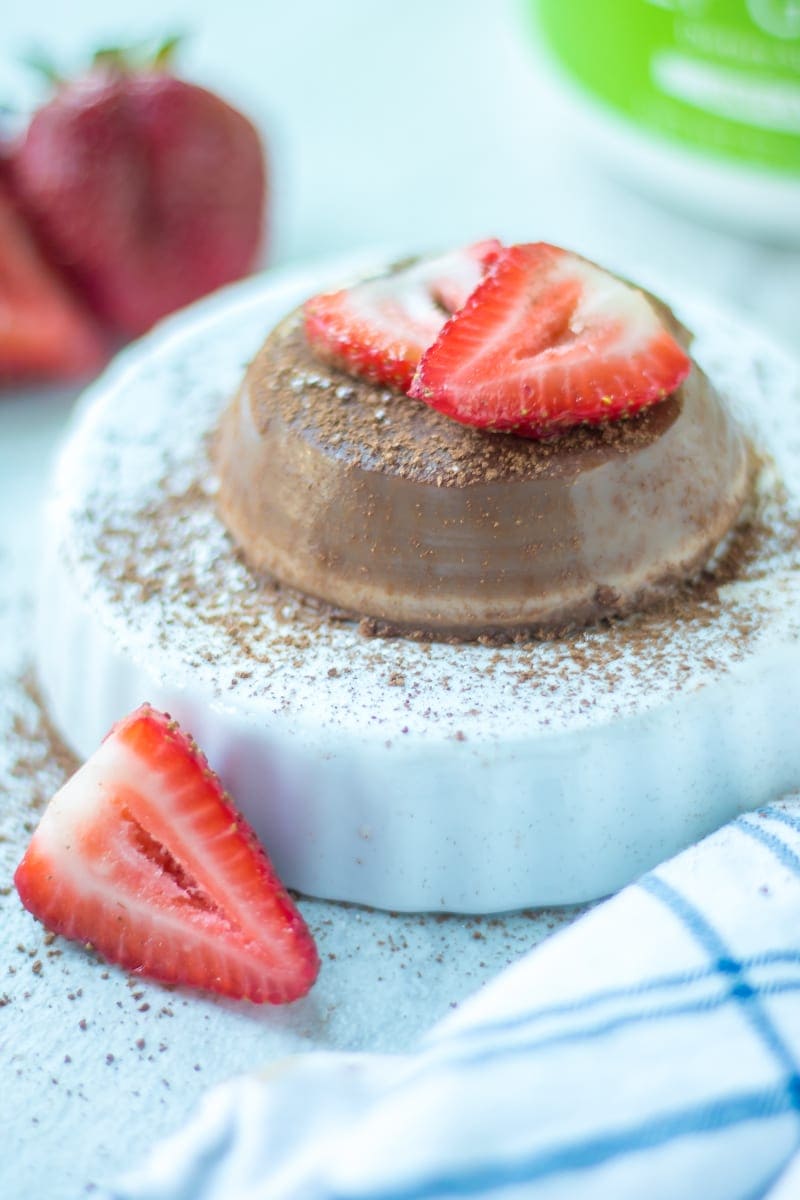
You won't believe how easy it is to make homemade panna cotta! Made with simple ingredients, this recipe for dark chocolate panna cotta comes together with ease to create a rich, creamy, allergy-friendly, no-bake dessert.
Looking for more delicious no-bake chocolate treats? Don't miss my recipes of Microwave Fudge, Crockpot Candy, and Buckeye Candy.
From chocolate in my peanut butter mocha to chocolate in my chocolate peanut butter smoothie to chocolate in my hot chocolate oatmeal, I find a way to sneak in chocolate throughout my daily eating routine.
And it should go without saying, that chocolate desserts, like fudgy brownies, homemade peanut butter cups, Instant Pot Lava Cakes, and these Dark Chocolate Panna Cottas are high on my list of all-time favorite dessert recipes.
And when you need an allergy-friendly no-bake chocolate dessert, look no further than this recipe for rich and creamy chocolate panna cotta.
Notes on Ingredients & Equipment for Panna Cotta
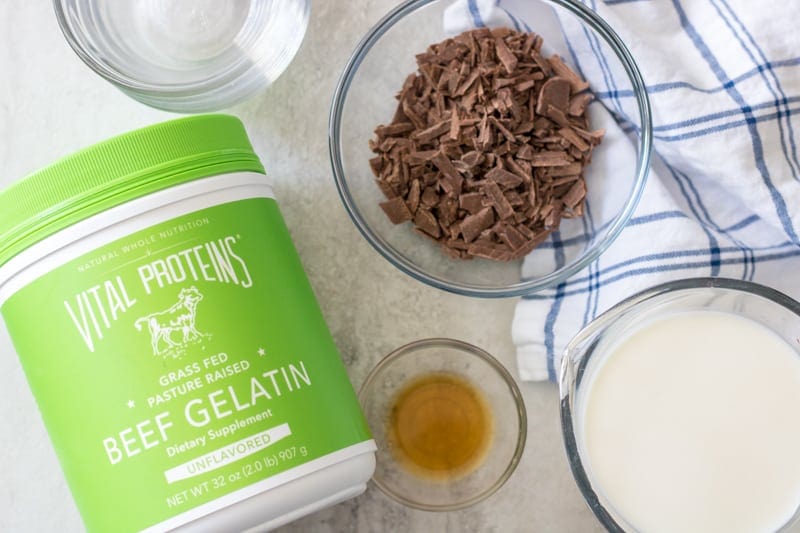
- Milk/Cream: Cream, whole milk, or canned coconut milk works best when it comes to making homemade panna cottas. I do not recommend low-fat milk when making a panna cotta, as you want a velvety, rich consistency that is not achievable when using low-fat milk.
- Chocolate: Use mini dark chocolate chips, a dark chocolate bar that has been finally chopped, or your favorite dairy-free chocolate.
- Vanilla Extract: Vanilla will work to enhance the flavor of the chocolate.
- Gelatin: Gelatin is a crucial ingredient needed to help set up pana cottas.
- Ramekins: 6 ounce glass ramekins or custom panna cotta molds work well for this recipe. However, any 6 to 8-ounce size mold will work.
How to Make Panna Cotta Using Gelatin
It is incredibly simple to make homemade panna cotta. The only hard part about the entire process is waiting for the panna cotta to set up.
Step One: Prepare your panna cotta molds. Grease the ramekins or molds with coconut oil.
Step Two: Bloom the Gelatin. To bloom gelatin just means to let the gelatin soften in liquid. Simply sprinkle the gelatin over a ¼ cup liquid and let it rest for 5 minutes---no mixing or anything!
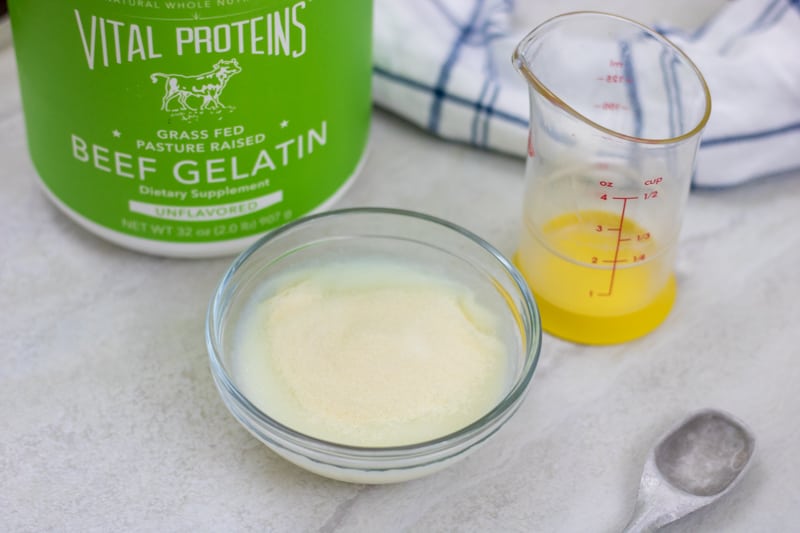
Step Three: Heat the Cream. Over medium-low heat, gently heat your choice of dairy (or non-dairy). Add in espresso powder and vanilla extract to bring out the rich chocolate flavor in the panna cotta.
Step Four: Whisk in the Bloomed Gelatin into the Panna Cotta. Once the cream mixture is just simmering, add in the gelatin and whisk well. Remove from heat. It is important to not allow the cream to boil.
Step Five: Pour the heated cream over the chocolate. Over a strainer, pour the cream over the chocolate. The sieve is not necessary, but I like to use it to produce a super creamy, smooth panna cotta. The warm cream will melt the chocolate as you whisk the chocolate into the cream.
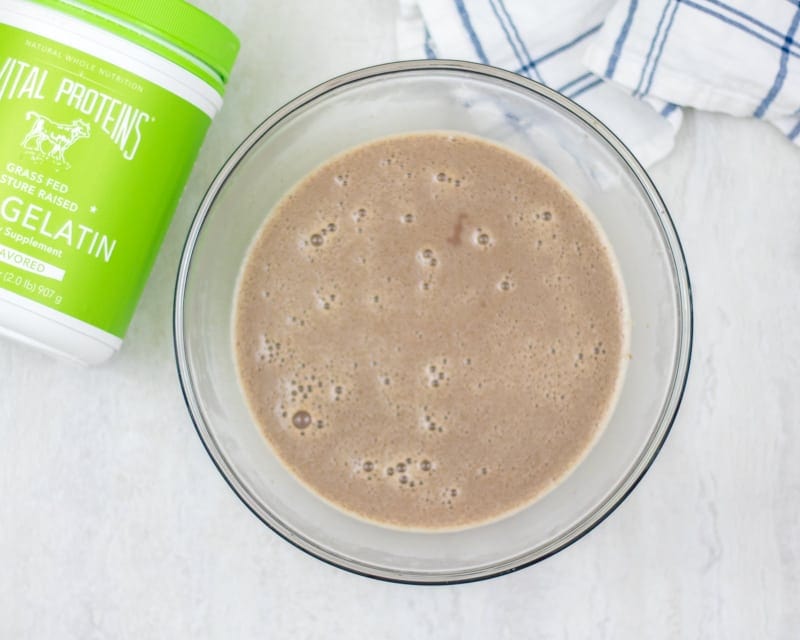
Step Six: Divide Panna between prepared ramekins. Once the chocolate is melted into the cream, divide the heated cream between the ramekins. You may want to pour your chocolate mixture back through the sieve again, to catch any lumps, but that step is not necessary.
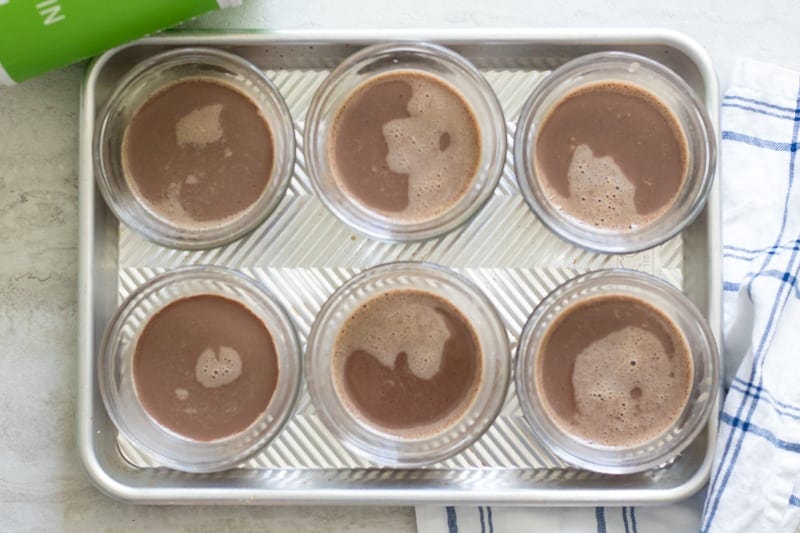
Step Seven: Chill the Panna Cotta. Place the chocolate panna cottas in the fridge for at least 4 hours. If you are leaving in the fridge for over 4 hours, cover with plastic wrap, for up to 3 days.
Step Eight: Unmold the Panna Cotta. To unmold panna cottas, place each ramekin in a bowl of warm water, that reaches halfway up the side of the ramekin, for 2-3 minutes. Remove the ramekin from the water and invert on a plate. Serve with berries, powdered sugar, or as is.
Storage
- Refrigerate: Chocolate Panna Cotta will keep in the fridge for up to 3 days.
- Freeze: While Panna Cotta is best served within 3 days of preparation, you can also place unmolded panna cottas in a freezer-safe container or bag and store them in the freezer for up to 3 months. Defrost in the fridge overnight before serving.
More Delicious Dessert Recipes
Dark Chocolate Panna Cotta

Video
Ingredients
- 4 ounces dark chocolate, chopped
- ¼ cup canned coconut milk , for blooming gelatin
- 2 teaspoons gelatin
- 1¾ cups canned coconut milk
- 1 teaspoon espresso powder
- 1 teaspoon vanilla extract
Instructions
- Grease 6 (6-ounce) ramekins with melted coconut oil. Place 4 ounces dark chocolate (chopped) into a large mixing bowl and set aside.
- Bloom the gelatin by sprinkling 2 teaspoons gelatin over ¼ cup canned coconut milk and let it rest for 5 minutes. No need to mix.
- Over medium-low heat, gently heat the remaining 1¾ cups canned coconut milk gently. Add in 1 teaspoon espresso powder and 1 teaspoon vanilla extract, and whisk well.
- Once the cream mixture is just simmering, add in the gelatin and whisk well. Remove from heat. It is important to not allow the cream to boil.
- For the smoothest results, pour through a fine-mesh strainer or sieve over the mixing bowl with the chocolate. Whisk the cream into the chocolate to fully incorporate and melt the chocolate.
- Once the chocolate is melted into the cream, divide it evenly between the ramekins.
- Place the chocolate panna cottas in the fridge for at least 4 hours. If you are leaving in the fridge for over 4 hours, cover with plastic wrap, for up to 3 days.
- To unmold the panna cottas, place each ramekin in a bowl of warm water, that reaches halfway up the side of the ramekin, for 2-3 minutes. Remove ramekin from water and invert on a plate.
- Serve with berries, powdered sugar or as is.
Notes
Nutrition
Nutrition information is automatically calculated, so should only be used as an approximation.




I love panna cotta! This recipe is great! I gave up dairy recently so I needed a dairy free option. Thank you!
WAHOO!!! You have to love when you can find something to that fits your dietary needs. I am so happy this recipe hit the spot Tayrn.
This was so so so good! We adored it and my sweet tooth was completely satisfied!
Yay!! That makes me so so happy Susanne!