• Skip to primary navigation
  • Skip to main content
  • Skip to primary sidebar
A Mind "Full" Mom
  • ingredient
    • Pasta
    • Beef
    • Poultry
    • Pork
    • Seafood
    • Vegetarian
    • soups
    • burgers
  • course
    • Beverages
    • Appetizers
    • Breakfast
    • Lunch
    • Main Courses
    • Sides
    • Salads
    • Snacks
    • Desserts
    • Condiments
  • method
    • 30-Minute Meals
    • Grilling
    • Instant Pot
    • Slow Cooker
    • Air Fryer
  • All Recipes
    • Main Courses
      • Beef Recipes
      • Chicken & Turkey
      • Pasta
      • Pork
      • Seafood
      • Soup, Stew, and Chili
      • Vegetarian
    • Breakfast
    • Breads and Muffins
    • Desserts
    • Kid-Friendly
    • Salads
    • Side Dishes
    • Slow Cooker
    • Snacks
    • Pantry Staples
    • Allergy Friendly Recipes
      • Plant-Based
      • Gluten-Free
      • Dairy-Free
  • Instant Pot
  • 30-Minute Meals
  • Meet Kristen
  • Subscribe
menu icon
go to homepage
subscribe
search icon
Homepage link
  • Instant Pot
  • 30-Minute Meals
  • All Recipes
  • Meet Kristen
  • Subscribe
    • Email
    • Facebook
    • Instagram
    • Pinterest
    • Twitter
  • ×

    Homemade Chicken Tenders

    30-Minute Meals Dairy-Free Recipes Easy Chicken Recipes Kid Friendly Main Courses Popular Posts Real Food April 22, 2023 | By Kristen Chidsey | 66 Comments | *This post may contain affiliate links. Read my disclosure policy.

    Jump to Recipe
    Made with a crunchy panko breading and baked until crispy, these Chicken Tenders are juicy, flavorful, crispy, and ready in less than 30 minutes! 

    Made with a crispy breading and baked until golden, this easy recipe for Homemade Chicken Tenders produces a healthier, yet just as delicious, version of deep-fried chicken strips.

    Make the ultimate kid-friendly dinner by serving these Crispy Baked Chicken Tenders with a side of Homemade Baked Fries, and a side of ranch dressing or ketchup for dipping.
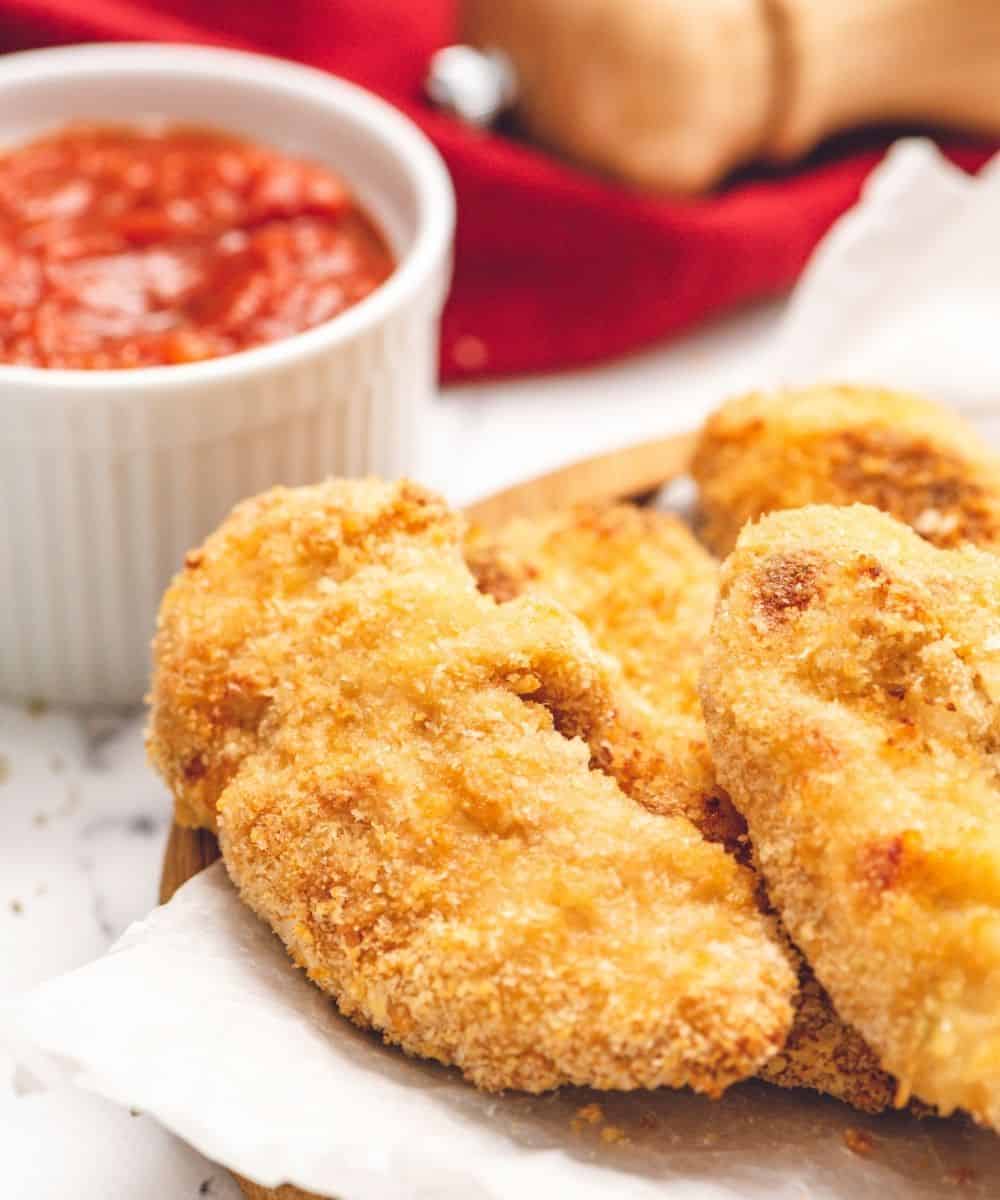
    Breaded Chicken Tenders on platter next to ketchup.

    Every kid, and most adults, loves chicken strips. The contrast between the salty crispy exterior to juicy, tender chicken is simply irresistible.

    And while delicious, most chicken strips, whether ordered out or baked from frozen, are often high in fat and calories, which may make many of us think twice before consuming them on a daily basis. 

    Thankfully, you can easily make crispy breaded chicken tenders at home that are healthy enough to be enjoyed with abandoned any night of the week!

    why you will love these chicken tenders

    • Perfect Results. Thanks to a few pro tips, they bake up to crispy perfection, while the chicken remains juicy and tender.  
    • Better for You. Baked Chicken Tenders are MUCH lower in fat and calories than fried chicken strips, yet just as delicious. 
    • Kid-Friendly Dinner Recipe. Crispy chicken strips--need I say more?!
    • 30-Minute Recipe. This recipe for homemade chicken strips is on the table in under 30 minutes.

    Ingredients Needed
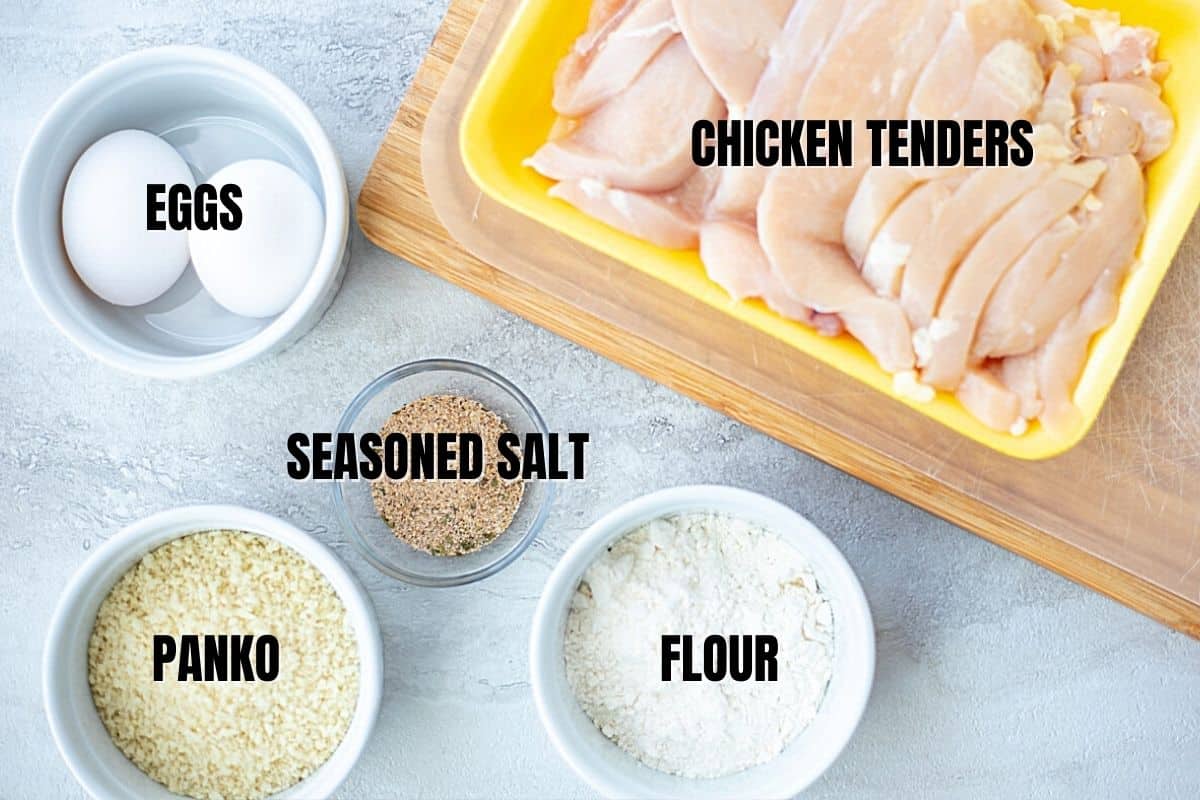
    Ingredients for chicken tenders labeled on white counter.
    • Chicken Tenders: You can purchase chicken tenderloins for this recipe, or use boneless, skinless chicken breasts that have been cut into 1-inch strips. If using tenders, be sure to clean off all fat and tendons from the chicken strips.
    • Breadcrumbs: Panko breadcrumbs, not regular breadcrumbs, are best for creating the crispiest of textures. Be sure to use unseasoned panko breadcrumbs to control the seasoning yourself.
    • Flour: A bit of flour will help the breading to stick evenly to the chicken. Use all-purpose, whole wheat, or even a gluten-free all-purpose flour blend.
    • Eggs: The eggs will help to bind the breadcrumbs to the chicken tenders.
    • Seasoning: It is crucial to season every layer of the breading on these chicken strips. Instead of using salt and pepper, I recommend using storebought or homemade seasoned salt as it adds more flavor to the chicken.

    ∗ Pro Tips for Crispy Chicken Tenders∗

    Before we begin the process of making homemade chicken tenders, I want to share with you three important tips to keep in mind that will ensure perfect results.

    • Use Panko Bread Crumbs. Panko gives chicken strips a crunchy coating that is reminiscent of a deep-fried restaurant chicken tender. They keep the coating light and crispy. While you can use traditional bread crumbs, the results will not be the same.
    • Use a 3-step breading process. This means dipping the chicken into flour, then egg mixture, then breadcrumbs. This process allows the breadcrumbs to adhere to the chicken evenly and ensures every bit is crispy and delicious.
    • Bake chicken strips on a baking rack. By placing the breaded chicken tenders onto a baking rack instead of directly onto a sheet pan, the air is able to circulate evenly around the chicken, allowing the breading to get crispy on all sides without flipping.
    How to Make Homemade Chicken Tenders

    • Trim Chicken. Prepare the chicken tenders, by trimming off the tendon or any fat from the chicken. If using boneless, skinless chicken breasts, slice the breast into 1-inch strips.
    • Prepare Breading for Chicken Tenders. Set out three shallow bowls or dishes. In the first dish, combine flour with seasoned salt. In the second dish, whisk the eggs with a bit of seasoned salt. In the final dish, combine the panko bread crumbs with a bit of seasoned salt. As stated before, we want to season every layer so that our chicken strips are perfectly seasoned. 
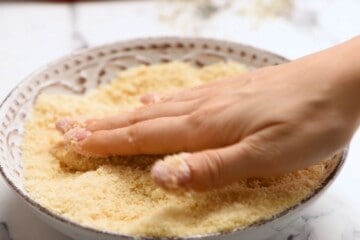
    • Bread the Chicken Tenders. Working one at a time, place each chicken tender into the flour mixture, flipping to coat evenly, and then shake off excess flour. Place the floured chicken strip into the egg wash and coat both sides, being sure to shake off excess egg wash before placing the chicken tender into the breadcrumb mixture. Evenly coat the chicken tender in the breadcrumb mixture, using your hands to help the breadcrumbs to adhere to the chicken.
    Hand pressing bread crumbs onto chicken tender.
    • Arrange on the Baking Sheet. Once breaded, place the chicken tenders onto a greased baking rack over a rimmed baking sheet.
    Chicken tenders breaded on baking rack.
    • Spray the breaded chicken tenders with a bit of cooking spray. This will help them to develop a golden exterior and get nice and crispy.
    • Bake. Bake the chicken tenders until they are golden brown and the internal temperature reaches 165 degrees F. There is NO NEED to flip your chicken strips halfway through baking. Because we are cooking the chicken on a rack, the air is able to evenly circulate around the chicken, crisping it up evenly.
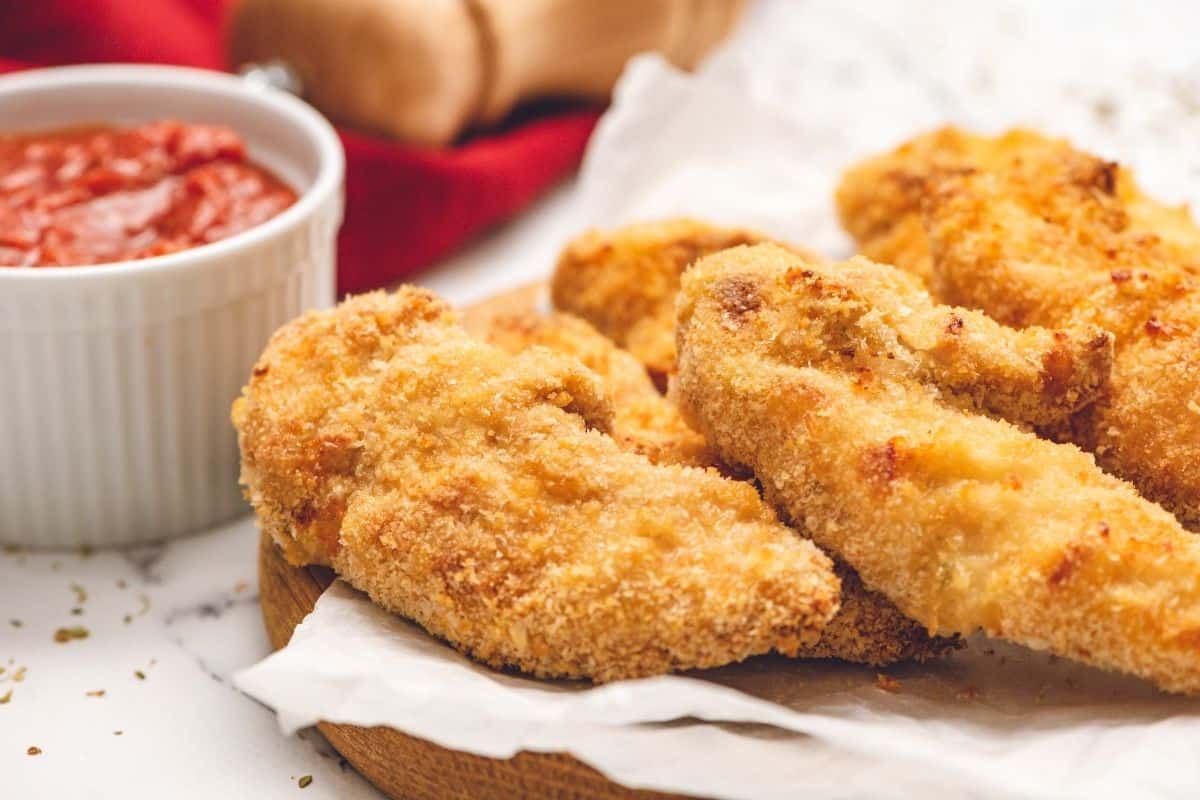
    Chicken fingers on platter next to ketchup.

    Serving Suggestions

    These crispy chicken strips can be served plain, or as most kids prefer, with a dipping sauce. I love pairing these homemade chicken tenders with a side of ketchup, Homemade Ranch, BBQ Sauce, honey mustard, or Sweet Chili Sauce and a side of baked fries and a fruit salad, for a kid-friendly meal everyone will rave about.

    However, don't just limit these baked chicken tenders for dipping! They are delicious when cut up and served on a salad or served whole on a homemade biscuit or bun with coleslaw for a tasty crispy chicken sandwich.

    Storage & Reheating

    Leftover Chicken Tenders will keep for 3 days in the refrigerator in an airtight container To reheat, place them on a baking sheet and bake at 400 degrees F for 5-6 minutes. This will keep the breading crispy. If you try to reheat the chicken tenders in the microwave, the breading will become soggy.

    How to Freeze Homemade Chicken Tenders

    Instead of stocking your freezer with pre-made chicken nuggets or chicken strips, freeze a batch of these homemade chicken tenders for a fast, wholesome meal.

    • Place baked, cooled chicken strips on an oven sheet lined with wax or parchment paper and place them into the freezer until frozen solid. This will take an hour or two and helps to keep them from sticking together.
    • Once frozen solid, transfer to a freezer-safe bag and store in the freezer for up to 3 months.
    • To Prepare Chicken Tenders from frozen, place frozen chicken tenders onto a baking rack over a rimmed cookie sheet and bake at 400 degrees for 18-22 minutes or until warmed through.

    Recipe Modifications

    • Air-Fryer Instructions: Use my recipe for Air Fryer Chicken Tenders.
    • Make Healthier: Use whole wheat flour and whole wheat panko bread crumbs in place of all-purpose flour and regular panko breadcrumbs for a serving of whole grains.
    • Gluten-Free Chicken Tenders: Use an all-purpose gluten-free 1:1 flour blend and gluten-free panko breadcrumbs in place of the all-purpose flour and breadcrumbs. 
    • Egg-Free Option: If you happen to have an egg allergy, dip your chicken strips into flour first, then something moist, like buttermilk or mustard, and finally panko.
    • Egg-Free Option: If you happen to have an egg allergy, dip your chicken strips into flour first, then something moist, like buttermilk or mustard, and finally panko.

    Step-By-Step Video

    If you learn better with step-by-step video instructions, check out my YouTube video for making breaded chicken tenders. I will walk you through the steps, along with sharing my tips for success.

    More Kid-Friendly Meals

    • Homemade Hamburger Helper
    • Ham and Cheese Hot Pockets
    • Baked Ravioli Lasagna
    • Homemade Fish Sticks
    • Instant Pot Sweet and Sour Chicken
    • Pizza Meatloaf

    I would love it if you tried this recipe for chicken tenders for you to leave a comment and review below. 

    Homemade Chicken Tenders on platter.

    Homemade Chicken Tenders

    Made with a panko breading and baked until crispy, these Chicken Tenders are juicy, flavorful, crispy, and ready in less than 30 minutes! 
    4.81 from 73 votes
    Print Pin Rate
    Course: Main Course
    Cuisine: American
    Prep Time: 10 minutes minutes
    Cook Time: 12 minutes minutes
    Total Time: 22 minutes minutes
    Servings: 4
    Calories: 257kcal
    Author: Kristen Chidsey

    Ingredients

    • 1 pound chicken tenderloins or boneless, skinless chicken breasts cut into 1-inch thick strips
    • 1 cup all-purpose flour
    • 3 large eggs
    • ¼ cup water
    • 2 ½ teaspoons seasoned salt divided
    • 2 cups plain panko bread crumbs
    • cooking spray
    Prevents your screen from going dark while preparing the recipe.

    Instructions

    • Preheat oven to 425℉. Place an oven-safe baking rack on a rimmed baking sheet. Lightly spray with non-stick spray.
    • Place the flour and 1 teaspoon of seasoned salt in one shallow dish and mix well. 
    • Whisk eggs and water together with an additional 1 teaspoon of salt in a second shallow dish.
    • Place panko bread crumbs in a third shallow dish and mix with the remaining ½ teaspoon of seasoned salt.
    • Trim off all fat and tendons from chicken tenders. Or if using boneless, skinless chicken breasts, cut them into 1-inch strips.
    • Dip each chicken strip into the flour, tossing to coat. Shake off excess. Dip into the egg wash, and then finally into panko breadcrumbs, using your hands to help panko coat chicken strips. 
    • Place the breaded chicken tenders onto the prepared baking sheet. Lightly spray the surface with cooking spray to achieve a golden exterior.
    • Bake for 10-13 minutes, or until the chicken reaches an internal temperature of 165℉. There is no need to flip during the baking process if using a baking rack, as the air will circulate around the chicken, evenly crisping it up.

    Equipment Needed

    • Baking Sheet with Rack

    Notes

    Using Chicken Breasts: It is much cheaper to purchase boneless, skinless chicken breast instead of cut into 1-inch strips than to purchase chicken tenders. 
    Healthier Swap: Use whole wheat flour and whole wheat bread crumbs for a serving of whole grains. 
    Bread Crumbs: I don't recommend regular bread crumbs for the breading on chicken tenders, as they will not yield a crispy baked chicken strip. 
    Air-Fryer Chicken Tenders Instructions: Bread the chicken tenders as directed and spray them with cooking spray. Preheat an air-fryer to 400 degrees F and cook for 4 minutes on each side. 
    Egg-Free Option: If you happen to have an egg allergy, dip your chicken strips into flour first, then something moist, like mustard, and finally panko.
    Leftovers: Leftover Chicken Strips will keep for 3 days in the refrigerator. They are best warmed up in a 400-degree Fahrenheit oven for 5 minutes. 

    Nutrition

    Calories: 257kcal | Carbohydrates: 43g | Protein: 36g | Fat: 7g | Saturated Fat: 2g | Cholesterol: 195mg | Sodium: 279mg | Potassium: 632mg | Fiber: 4g | Sugar: 2g | Vitamin A: 210IU | Vitamin C: 1.3mg | Calcium: 89mg | Iron: 3.5mg
    Liked this Recipe? Tag me Today!Snap a picture and tag #amindfullmom on Instagram - I would love to see!

    This post was originally published in August 2017 but has since been updated in January 2023.

    « Shrimp Stir-Fry
    Homemade Seasoned Salt »

    About Kristen Chidsey

    Hi, I am Kristen, creator of A Mind "Full" Mom. I believe that making a wholesome family meal does not need to be hard or expensive! I love nothing more than to share with you delicious solutions for your hungry family.

    Reader Interactions

    Comments

      Leave a Reply Cancel reply

      Your email address will not be published. Required fields are marked *

      Recipe Rating


      This site uses Akismet to reduce spam. Learn how your comment data is processed.

    1. Rebecca Desai

      July 27, 2022 at 10:26 pm

      I baked them exactly for 15 min at 425. They are nowhere near done, and taste undercooked. What am I doing wrong?

      Reply
      • Kristen Chidsey

        July 28, 2022 at 6:39 am

        Hi Rebecca. It may be a difference in ovens or elevation. I would try adding 2-3 minutes to the cooking time.

        Reply
    2. Sandra

      April 17, 2022 at 2:25 pm

      Should I thaw the frozen chicken tenders beforehand?

      Reply
      • Kristen Chidsey

        April 17, 2022 at 4:17 pm

        Yes, or else the breading will not stick. Enjoy!

        Reply
    3. Emily

      October 05, 2021 at 10:51 pm

      They were quick to make and my family loved them. We had them with Caesar salad. Thank you!

      Reply
    4. Darlene

      May 20, 2021 at 7:40 pm

      5 stars
      I added my own spices to the bread crumbs and parmesan cheese mixture. Drizzle butter over them and baked. They were crispy and moist. Perfect!

      Reply
      • Kristen Chidsey

        May 22, 2021 at 8:22 am

        Thanks for sharing your modifications Darlene 🙂

        Reply
    5. Susan

      May 18, 2021 at 6:38 pm

      5 stars
      Used Lawrys seasoned salt and ritz crackers for breadcrumbs. Turned out delicious. My little picky eater gave it 1 kazillion thumbs up.

      Reply
      • Kristen Chidsey

        May 18, 2021 at 6:45 pm

        I love hearing that your picky eater enjoyed so much! Thanks so much for sharing.

        Reply
    6. Beth

      March 21, 2021 at 11:04 am

      This recipe is definitely a keeper! So easy and my family loved it. Had to make another batch!

      Reply
      • Abbey

        March 31, 2021 at 1:39 pm

        5 stars
        This recipe has become a staple in our meal planning. It’s so much lighter than store bought or restaurant chicken strips but tastes just as good. Loved it!!

        Reply
        • Kristen Chidsey

          March 31, 2021 at 4:17 pm

          Yay! I love hearing that you all enjoy so much Abbey.

          Reply
        • Ana

          June 01, 2022 at 8:25 pm

          Hi. How much seasoned salt is necessary for the recipe? Thanks.

          Reply
          • Kristen Chidsey

            June 02, 2022 at 7:41 am

            I use 2 1/2 teaspoons, but you could reduce it to 1 1/2 teaspoons.

            Reply
    7. Elizabeth Lee

      March 20, 2021 at 10:33 pm

      My teenagers requested more! Thank you for a healthy alternative to fried chicken tenders.

      Reply
      • Kristen Chidsey

        March 21, 2021 at 7:32 am

        YAY! It is always a winner when the teens are happy! Thanks for sharing Elizabeth!

        Reply
    8. Terry

      January 26, 2021 at 5:56 pm

      Followed the recipe and my tenders did brown and turn golden? What did I do wrong?

      Reply
      • Kristen Chidsey

        January 27, 2021 at 6:57 am

        Did you spray them with cooking spray before cooking?

        Reply
    9. Mandy

      January 07, 2021 at 4:27 pm

      5 stars
      My 10 year old foodie son said this is hands down one of his favorite home cooked meals EVER.

      Reply
      • Kristen Chidsey

        January 07, 2021 at 4:37 pm

        That's what I call WINNING!!! YAY! Love hearing this Mandy!

        Reply
    10. Anna Scott

      December 14, 2020 at 7:01 pm

      I was so tired of how my chicken tenders always seemed soggy and gross and really hate going to the drive thru for greasy chicken tenders. Man oh man this recipe is a game changer! My entire family LOVED these and so did our friends. The leftover were chopped up and used on homemade chicken parm pizza the next day and it was sooo good! Thank you for this recipe and the tips on the panko crumbs and rack for cooking. Now we have another dish to add to our regular rotation.

      Reply
      • Kristen Chidsey

        December 15, 2020 at 7:57 am

        I love hearing how much you enjoyed this recipe Anna! So glad you had success with these tips and I love the sound of the chicken parm pizza. YUM

        Reply
    « Older Comments
    Newer Comments »

    Primary Sidebar

    Made with a crunchy panko breading and baked until crispy, these Chicken Tenders are juicy, flavorful, crispy, and ready in less than 30 minutes! 

    Meet a Mind "Full" Mom

    A Picture of A Mind"Full"Mom

    Hi! I'm Kristen. I want to welcome you into my kitchen and my REAL, imperfect life. Let me share with you tips and tricks to help you make healthy eating a reality for your family in the chaos of life and on the constraints of a budget. Read more

    Instant Pot Favorites

    • jar of plain yogurt next to instant pot
      Instant Pot Yogurt
    • Perfect Hard Boiled Eggs Sliced Open on cutting board
      Instant Pot Hard Boiled Eggs
    • Instant Pot Pot Roast sliced up on white platter with carrots and potatoes.
      Instant Pot Pot Roast
    • Whole seasoned chicken on trivet inside inner pot.
      Instant Pot Whole Chicken
    • Bowl of Cold Start Yogurt
      Instant Pot Cold Start Yogurt
    • Inner pot of instant pot filled dried beans
      Instant Pot Beans
    • How to use the instant pot as a slow cooker
      How to Use Your Instant Pot as a Slow Cooker
    • 4 chicken breasts cooked inside instant pot.
      Instant Pot Chicken Breast (Fresh or Frozen)

    Reader Favorites

    • Bowl of creamy coleslaw made with shredded green cabbage.
      Easy Homemade Coleslaw
    • Homemade Chicken Tenders on platter.
      Homemade Chicken Tenders
    • Baked Instant Pot Sweet Potato on white plate topped with pat of butter.
      Instant Pot Sweet Potatoes
    • Chili seasonings labled on wooden board
      Chili Seasoning Recipe
    • 3 Salmon Fillets on green plate topped with limes.
      Easy Baked Salmon
    • Instant Pot Chicken Wing being dipped into ranch dressing.
      Instant Pot Chicken Wings
    • Latte in glass mug with coffee beans on the counter.
      Easy Homemade Latte Recipe
    • Creamy and Cheesy Chicken and Rice in yellow casserole dish
      Creamy and Cheesy Chicken and Rice

    Footer

    Made with a crunchy panko breading and baked until crispy, these Chicken Tenders are juicy, flavorful, crispy, and ready in less than 30 minutes! 

    Featured on:

    Websites AMind"Full"Mom has been featured on

    ↑ back to top

    About

    • Privacy Policy

    Newsletter

    • Sign Up! for emails and updates

    Contact

    • Contact
    • Work with me

    DISCLAIMER: THE SITE DOES NOT PROVIDE MEDICAL ADVICE AND IS FOR INFORMATION PURPOSES ONLY. IT IS NOT INTENDED TO BE A SUBSTITUTE FOR PROFESSIONAL MEDICAL ADVICE OR TREATMENT. AFFILIATE LINKS TO PRODUCTS I GENUINELY LOVE ARE OFTEN INCORPORATED IN MY POSTS. THANK YOU FOR YOUR SUPPORT.

    Copyright © 2020 · A MIND "FULL" MOM