
This post may contain affiliate links. Please see our disclosure policy.
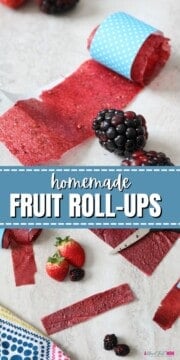
Replace store-bought fruit roll-ups permanently with this simple recipe. Made without any special equipment and with just 3 wholesome ingredients, Homemade Fruit Roll-Ups are a kid-friendly, parent-approved treat that's incredibly easy to make!
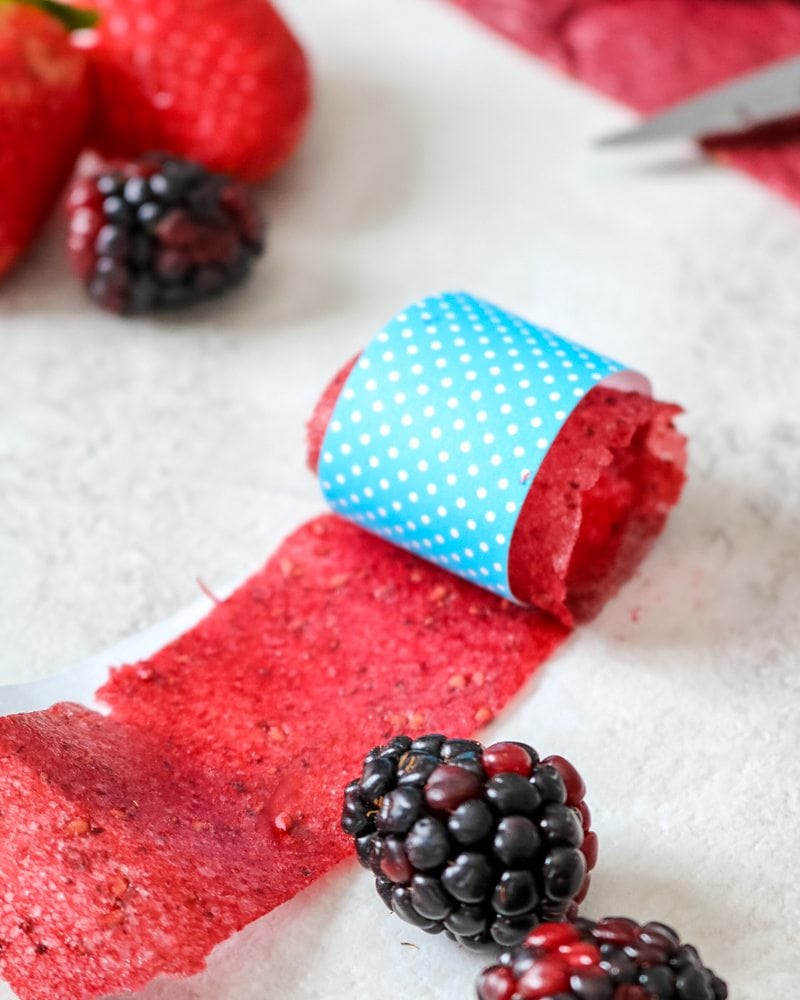
Homemade Fruit Roll-Ups at a Glance

Did anyone else grow up enjoying Fruit-by-the-Foot? Or am I dating myself? 😂 It was a brand of store-bought fruit roll-up that was very sugary and made with very little fruit.
This recipe for fruit roll-ups replaces that brand (and all other store-bought fruit roll-ups and fruit leathers) with a kid-approved snack that is made with real fruit and a lot of it!
And while homemade fruit roll-ups satisfy any child's sweet tooth, there are so many reasons that parents agree this recipe is the best!
- Free from Top 8 Allergens. Homemade Fruit Roll-Ups are gluten-free, dairy-free, nut-free, soy-free, corn-free, egg-free, and can easily be made vegan-friendly.
- Nothing Artificial. You won't find food coloring, artificial flavors, preservatives, or high fructose corn syrup in these homemade fruit roll-ups.
- No Dehydrator Needed. Instead of using a dehydrator, this recipe uses the oven to dry the fruit and make fruit leather.
Happy Cooking! xo Kristen
What You Need to Make Fruit Roll-Ups
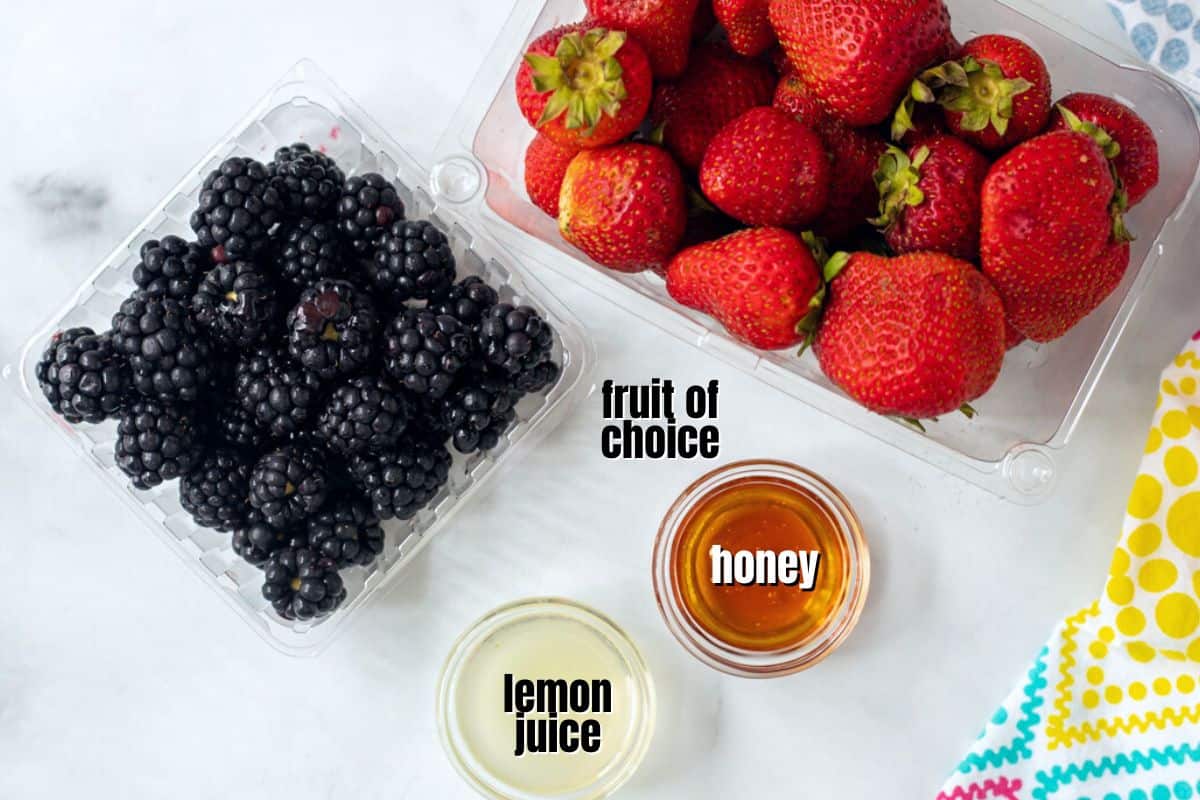
- Fruit: Any combination of berries, mango, kiwi, or peaches will work to make fruit roll-ups. I would avoid things like bananas or apples that brown easily, as they can make the color unappealing. However, feel free to add up to 1 cup of applesauce to the fruit mix.
- Sweetener: Use either honey, maple syrup, or agave syrup. Do not use granulated sugar, as it will not dissolve properly in the fruit and can leave the fruit roll-ups grainy. You can also opt to omit the sweetener altogether if the fruit is really ripe or if you prefer not to add sweeteners.
- Lemon Juice: Lemon juice helps preserve the fruit and brighten the flavors.
- Equipment: An oven, rimmed baking pan, and parchment paper.
Frozen Fruit?
To use frozen fruit to make homemade fruit roll-ups, defrost your fruit of choice in the refrigerator. Once thawed, drain off any excess liquid and then proceed with the recipe as directed.
How to Make Fruit Roll-Ups
The following tips are provided to help you achieve perfect results. You will find the ingredient quantities and detailed instructions in the recipe card at the bottom of this post.
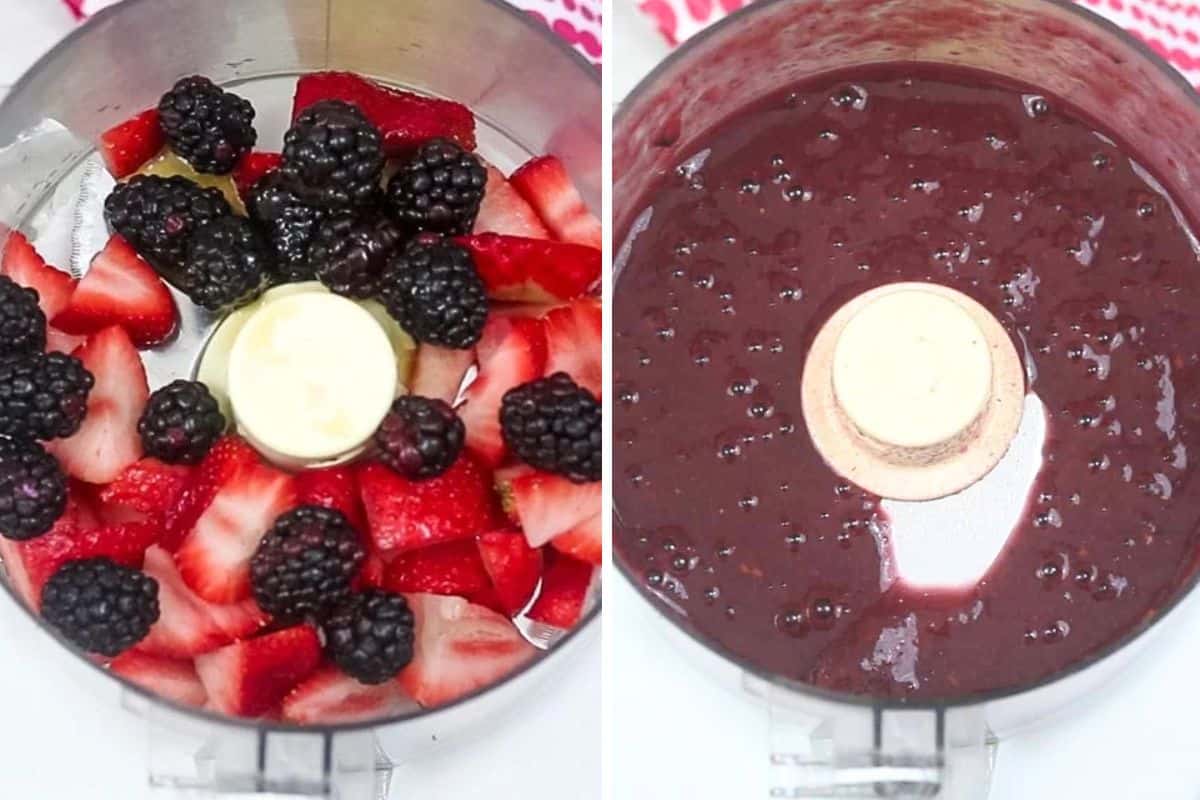
- Prepare the Fruit. Place the fruit of your choice in a food processor or blender, along with the sweetener of your choice and a bit of lemon juice.
Kristen's Tip
If you have a child with a sensitive digestive system who needs to avoid seeds, puree any fruit you like, then run it through a fine-mesh strainer to remove seeds, or use peaches, applesauce, or mangoes to avoid small seeds.
- Spread Out Pureed Fruit. Pour the pureed fruit mixture out onto a sheet pan lined with oven-safe parchment paper. Using a spatula, spread out the mixture into a very thin, even layer. Leave a ½-inch border along the sides of the pan to prevent the fruit roll-ups from sticking to the pan.
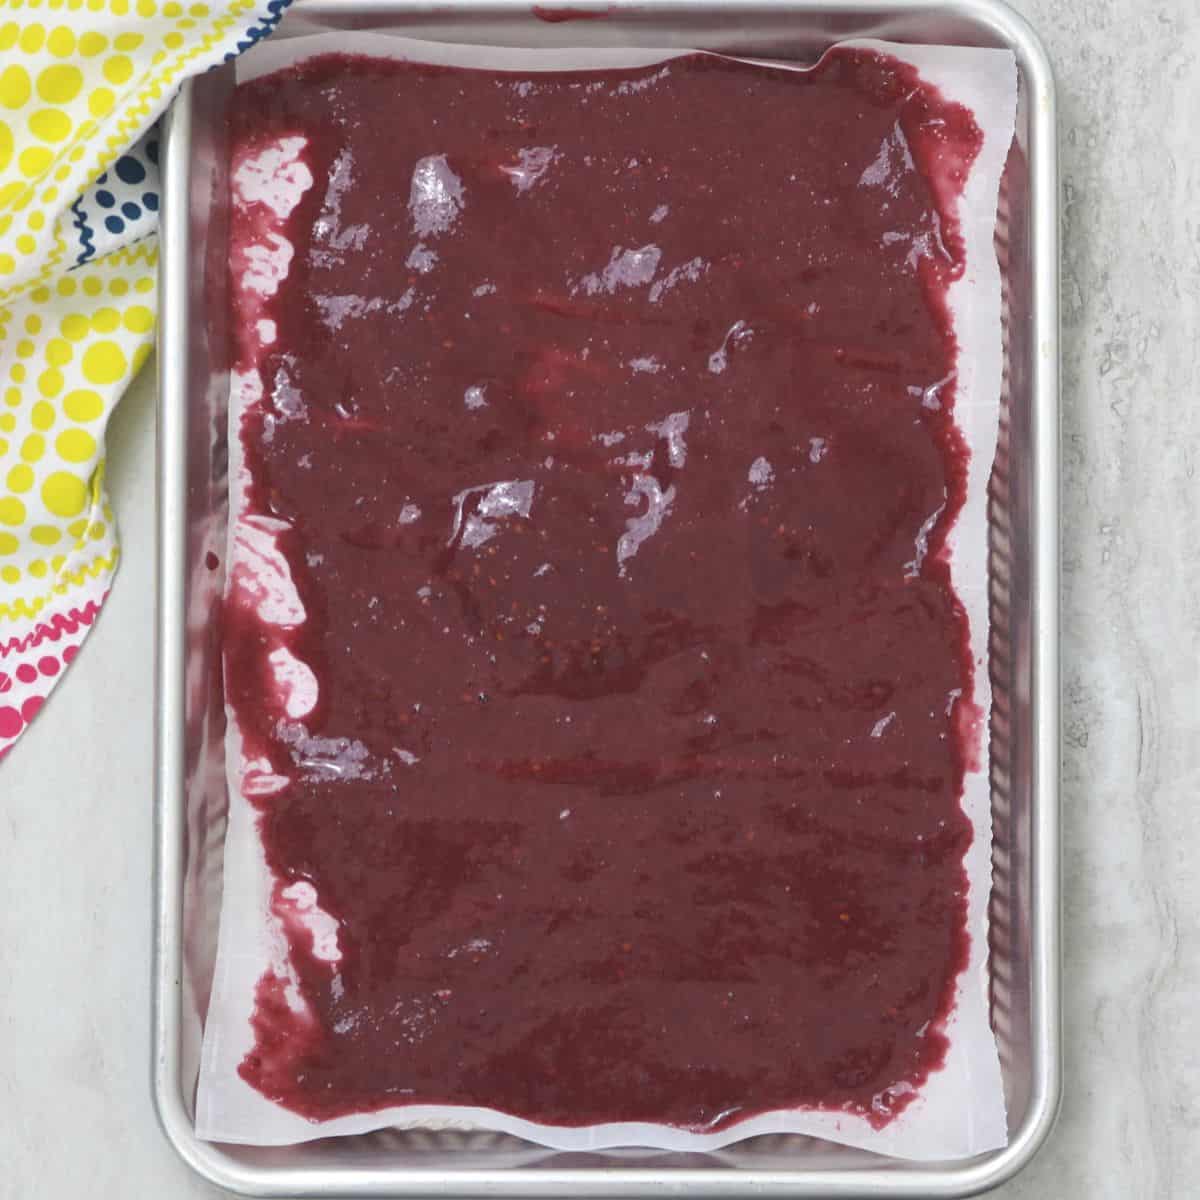
- Bake Fruit Roll-Ups. Using the lowest oven setting, bake the fruit leather until the mixture is no longer sticky to the touch. Timing varies based on the oven and moisture in the fruit, so start checking the fruit roll-ups every 30 minutes after 4 hours, keeping in mind it can take up to 8 hours to dry out.
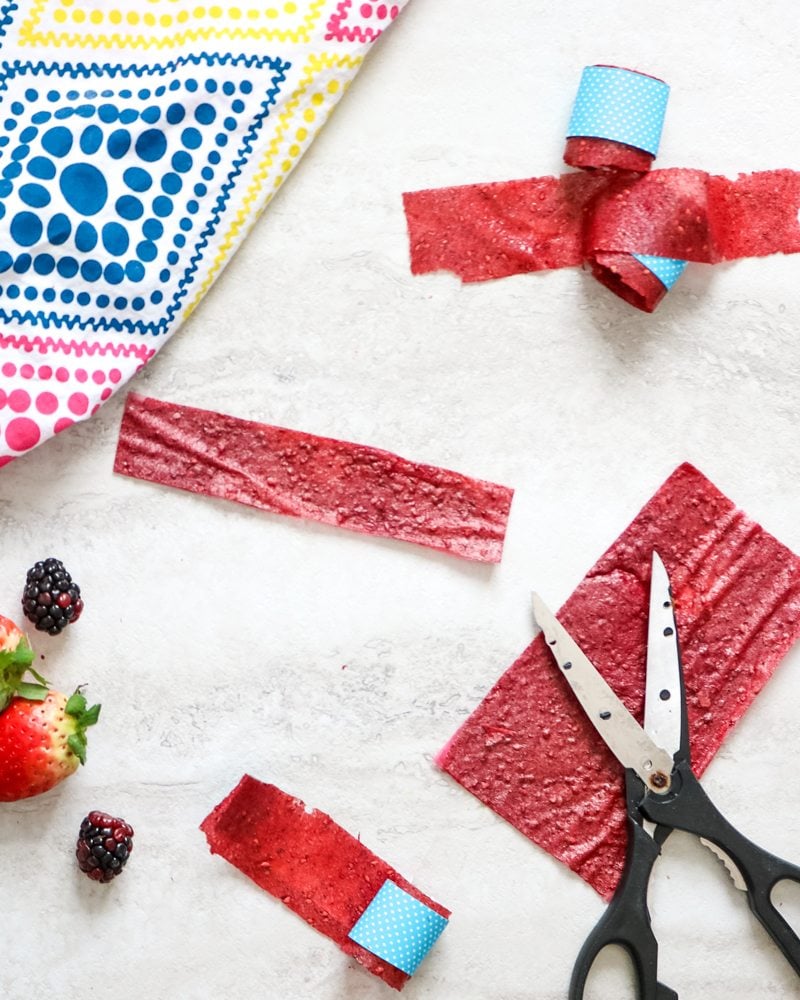
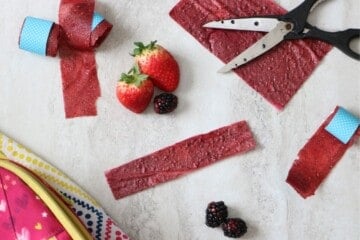
- Cool & Slice. After the fruit is fully dried out, remove it from the oven and let it cool to room temperature. Once cooled, cut the fruit leather into 1-inch strips using kitchen scissors or a pizza cutter. Using the parchment paper, roll it up into fruit rolls.
Make It Cute
While you can opt to roll your fruit leather up into roll-ups using simply just parchment paper, you can make it cute by cutting craft paper into strips slightly smaller than the size of the fruit leather. My daughter loved picking out pretty craft paper to use here.
- Peel the fruit leather away from the parchment paper and place it onto the cut strip of paper.
- Roll the fruit leather into the classic roll-up shape, securing it with a sticker or piece of tape.
- Then allow your kids (or you) to unwrap the magic and enjoy their special treat!
Storage Instructions
Homemade Fruit Roll-Ups will keep in an airtight container in a dry, cool spot in your pantry for up to 2 weeks. Place a fruit roll-up in a small plastic bag or container to pack in a school lunch or for a snack on the go.
More Kid-Friendly Favorites

Did you make this recipe?
If you enjoyed this recipe, please leave a comment with a 5-star review at the bottom of the post. Thank you!
Homemade Fruit Roll-Ups

Video
Ingredients
- 3 cups fruit, see notes
- 2 tablespoons maple syrup, agave, or honey
- 1 teaspoon fresh lemon juice
Instructions
- Preheat your oven to as low as it will allow you to go. Aim for 150-180℉. Line a rimmed baking sheet with parchment paper or a silicone mat.
- In a food processor or blender, puree the fruit with the sweetener and lemon juice until perfectly smooth.

- Pour the pureed fruit mixture onto the prepared pan and use an offset spatula to evenly spread the fruit out so that it is about ⅛-inch thickness, without any holes. Also, be sure to leave a ½-inch border around the edges of the pan.
- Place the fruit mixture into the oven and bake for 4-8 hours, until set and no longer sticky to the touch. The cooking time will depend on the fruit's moisture content and the temperature of your oven. After 4 hours in the oven, check every 30 minutes and remove from the oven when the fruit leather is no longer sticky to the touch.
- Once set, remove the pan from the oven and allow it to cool fully at room temperature.
- Cut the cooled fruit leather into 1-inch strips using kitchen scissors or a pizza cutter and peel away from the pan. Roll the fruit leather up with a strip of craft paper or parchment paper, and secure with tape or a sticker.
Notes
Nutrition
Nutrition information is automatically calculated, so should only be used as an approximation.
This post was originally published in 2017.




Hello, good evening. I am trying science fair in Wairarapa Cobham Intermediate. And I would like to use this recipe. One thing that I need to ask, is I would like to make a Vegetable roll up, and colour with silver and make it looks like fruit sweet candy. Do you think I can make with veges? Or Should I use just fruit to make this recipe?
Hi Konatsu! Good luck at your Science Fair. I can't think of a fruit or vegetable that would yield a silver color naturally once dehydrated. That said, you could use likely use a vegetable puree that was well cooked, strained, and mashed, but without experimentation myself, I can't say for sure. Cooking is a lot like a science fair itself.
Hi I tried this yesterday with parchment paper , it was gooey in the middle , and it stuck to the parchment paper. It tasted great. Any suggestions for sticking? Thank you
Hi Maggie! It sounds like it may have needed longer to dry out or wasn't quite spread out in an even layer.
If using frozen fruit do you measure the 3 cups before or after the fruit has thawed? 3 cups frozen ended up as about 1.5 cups thawed. Thanks!
That's a great question. Measure after thawed.
Great if you want your babies and yourself to cut down on sugar
If I ran the berries thru a food mill, would I just put 3 cups of berries in and use just what came out?
Hi Marie! That should work like a blender or food processor. Enjoy!
I used frozen fruit and forgot to thaw and drain the excess liquid. Will it still cook right?
Hi Margaret. I honestly don't know. My guess is that it will take much longer to dehydrate and may not be as flavorful due to excess moisture.