
This post may contain affiliate links. Please see our disclosure policy.

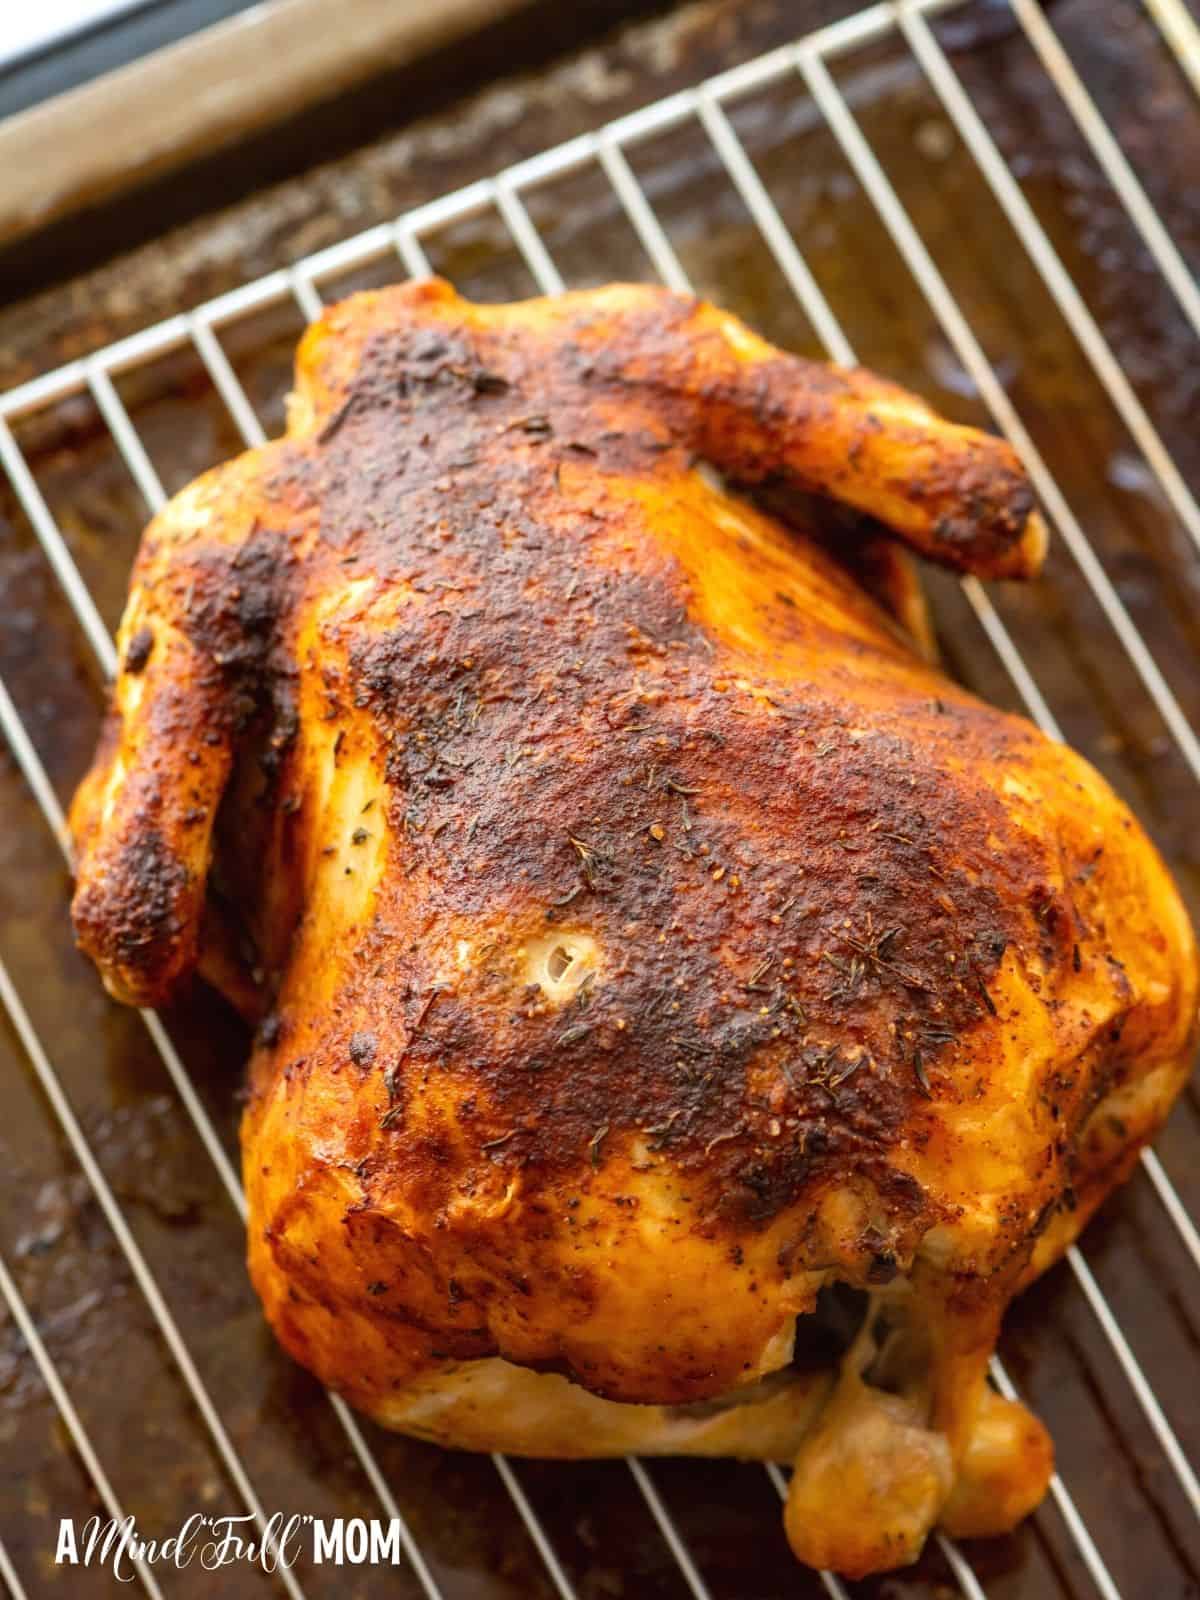
Skip the additives and preservatives found in many store-bought rotisserie chickens and make your own at home using this easy Homemade Rotisserie Chicken recipe. With just 5 minutes of prep and no special rotisserie oven needed, this recipe delivers a juicy, tender chicken packed with flavor every single time.
I first started making this Oven Baked Rotisserie Chicken nearly 20 years ago as a way to avoid allergens, and it quickly became a Sunday supper tradition at our house. I love serving it with roasted red potatoes and green beans almondine for dinner, and using the leftovers for easy meals calling for leftover cooked chicken and bones to make Homemade Chicken Stock or Instant Pot Chicken Stock.
Key Takeaways: Homemade Rotisserie Chicken
- Serves: 4-6 generously; easy to double or triple for meal prep
- Time Needed: 5 minutes prep + 2-3 hours roasting time
- No Rotisserie Oven Needed: This recipe uses a simple seasoning rub and the oven to deliver juicy, seasoned chicken with crispy skin and classic rotisserie-style flavor.
- Allergy-Friendly: Naturally gluten-free and easy to make without corn, sugar, gluten, or preservatives
- Meal Prep Bonus: Perfect for soups, casseroles, tacos, salads, sandwiches, and more throughout the week
- Why This Recipe: This easy recipe allows you to enjoy a rotisserie-style chicken without any fancy equipment, added allergens, or much effort.
Kristen's Keys

After decades of making this recipe, here are the things you will want to keep in mind. They are the difference makers between dry roasted chicken and truly juicy rotisserie-style chicken.
- Roast the chicken breast-side down. This allows the juices to flow into the breast meat while roasting, which keeps it incredibly moist.
- Don't skip the water in the roasting pan. The steam creates a moist cooking environment that helps mimic the texture of store-bought rotisserie chicken.
- Cook low and slow. Roasting at a lower temperature for 2½-3 hours gives the chicken time to become tender without drying out.
- Bake to temperature. Just like a roast turkey, the chicken is done cooking when the breast reaches an internal temperature of 165℉ and the thigh reaches 185℉. An oven-safe digital thermometer will alert you when the chicken is perfectly cooked.
- Rest before slicing. Let the chicken rest for at least 10-15 minutes so the juices redistribute instead of running onto the cutting board.
Happy Cooking! xo Kristen
5-Star REader Review
Kristen in my go-to person when I need a guaranteed recipe that is sure to please. We cooked a six pound chicken, following the recipe exactly. We dropped it off to a family who has recently lost someone. Several of them reached out to say it was the best chicken they've ever had. Thank you Kristen. God Bless. -Claudia
Recipe Highlights
Notes on Ingredients
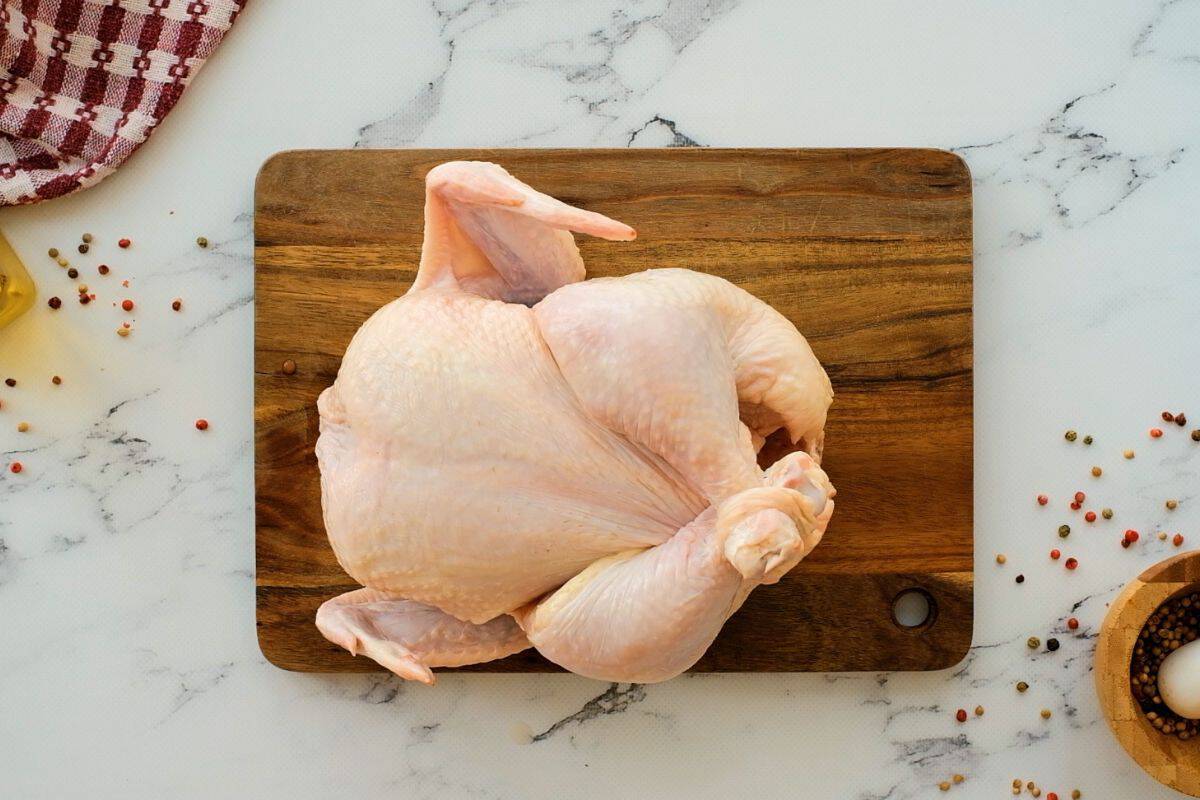
- Whole Chicken: A 3-5 pound chicken works best for even cooking and tender meat.
- Oil or Butter: Helps the seasoning stick and encourages golden, crispy skin. Light olive oil, avocado oil, canola oil, or melted butter all work well.
- Paprika: Gives the chicken that classic rotisserie color and flavor.
- Cayenne Pepper: Adds a subtle warmth without making the chicken spicy. Feel free to omit for sensitive palates.
- Dried Thyme: Adds savory depth and gives the seasoning blend that familiar rotisserie flavor.
Recipe Variations
- Spice it Up: Increase the cayenne or add smoked paprika for deeper flavor.
- Dairy-Free: Use oil instead of butter.
- Seasoning Variation: Swap thyme for rosemary or Italian seasoning. Or replace the spice blend with my homemade sweet and savory dry rub, seasoned salt, adobo seasoning, or even poultry seasoning.
- Meal Prep Shortcut: Roast two chickens at once and freeze shredded chicken for future meals like Chicken Enchilada Casserole or Creamy Cheesy Chicken and Rice.
How to Make Homemade Rotisserie Chicken
It really doesn't get much easier than this recipe for oven baked rotisserie chicken! Season the chicken, bake low and slow, and enjoy! The photos and step-by-step instructions are provided to help you feel confident in the process.
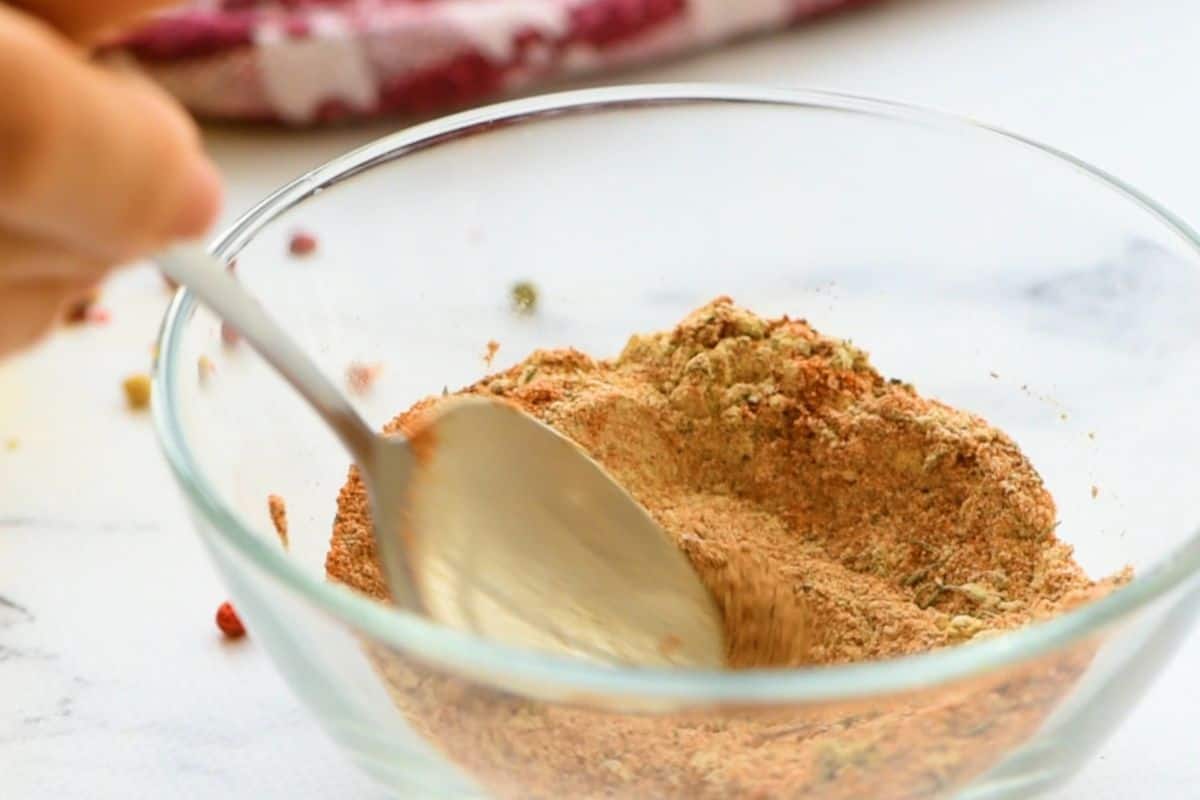
- In a small bowl, combine salt, pepper, garlic powder, onion powder, paprika, dried thyme, and a pinch of cayenne pepper.
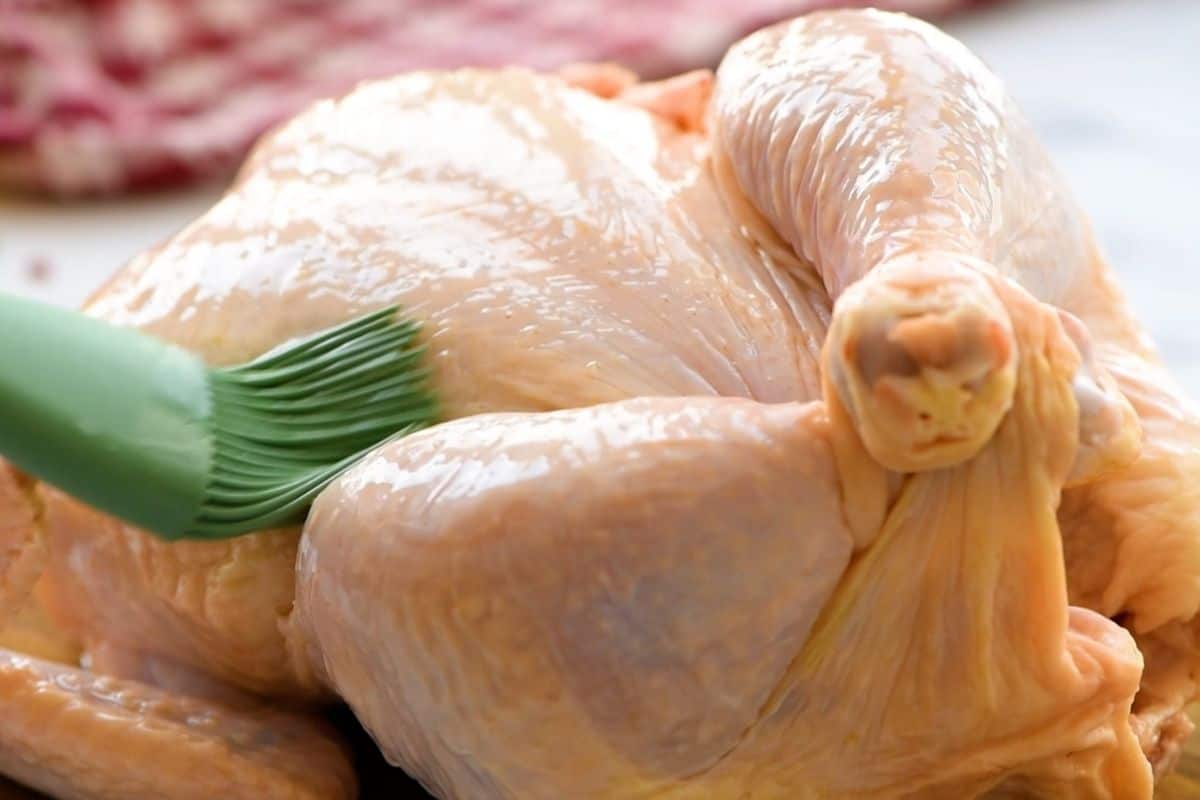
- Pat the chicken dry with paper towels, then brush the entire surface with oil or melted butter. This helps the skin crisp and gives the seasoning something to cling to.
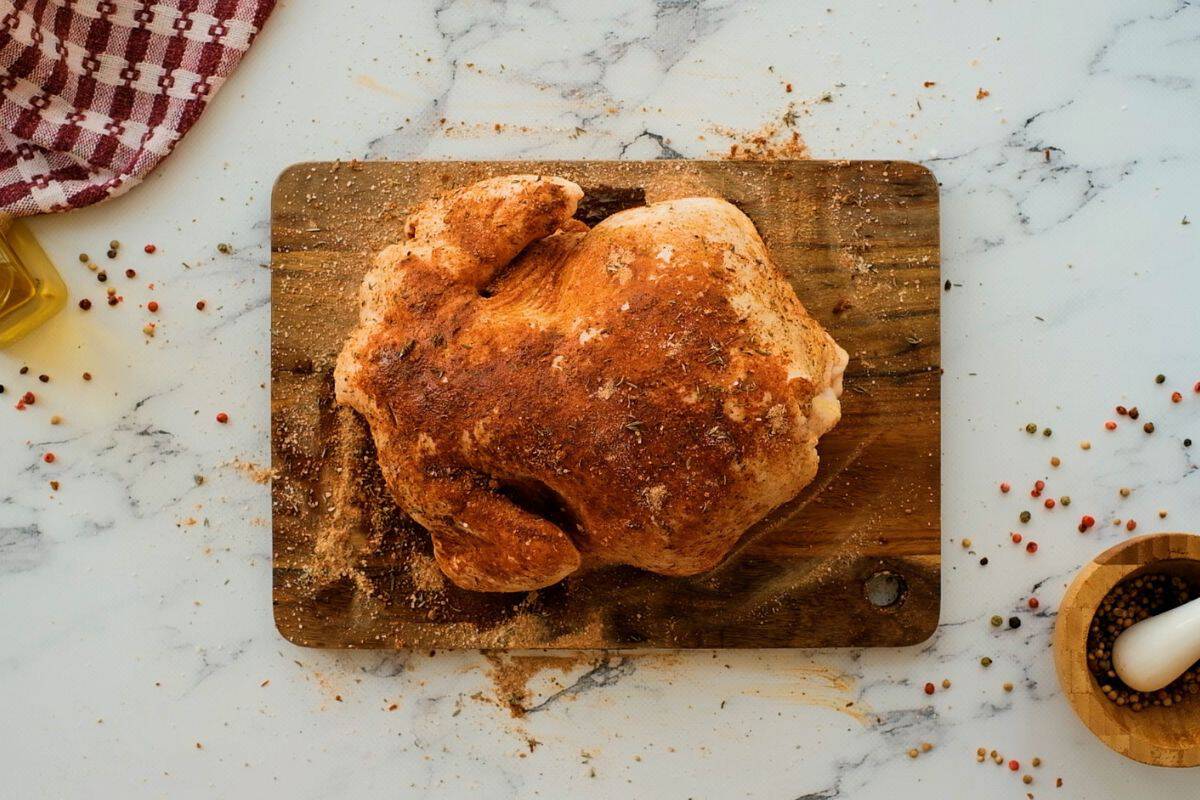
- Sprinkle the seasoning evenly over the entire chicken, including underneath the wings and legs, then use your hands to really rub or pat the blend onto the skin.
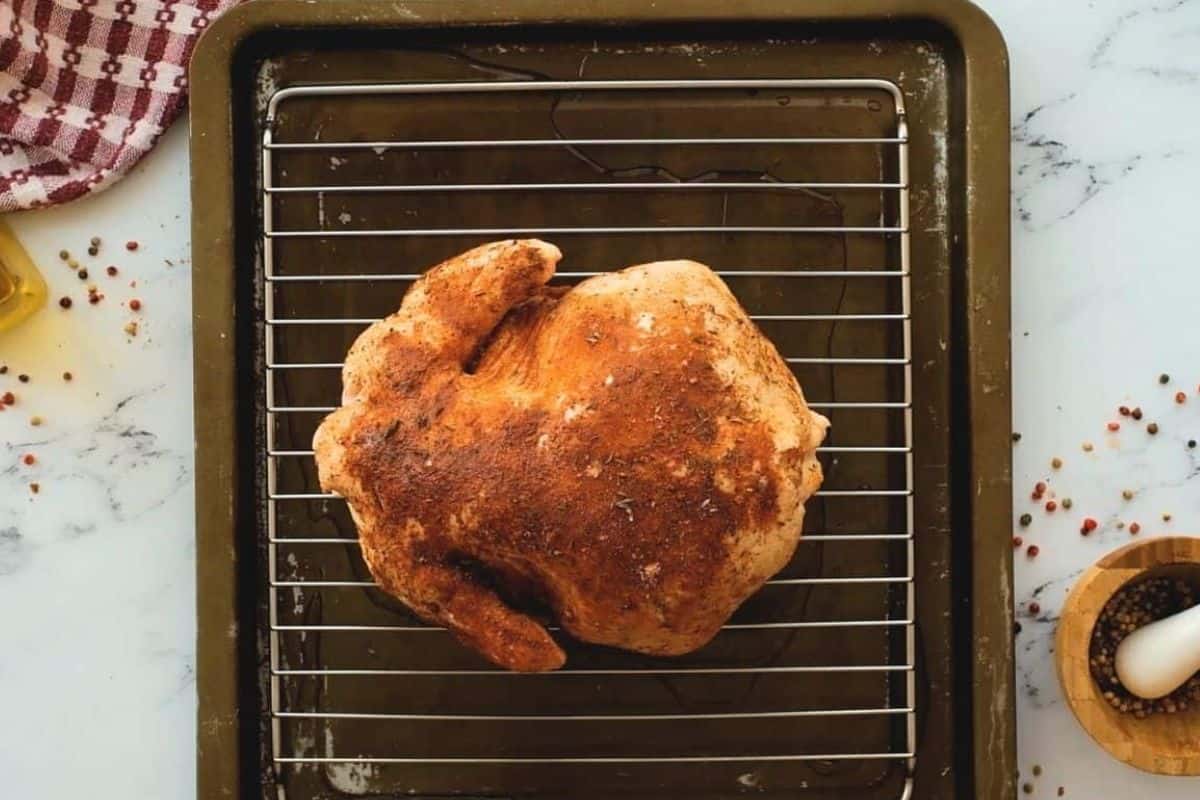
- Add water to the bottom of a roasting pan, fit with a rack above the water, and place the chicken breast-side down on the rack.
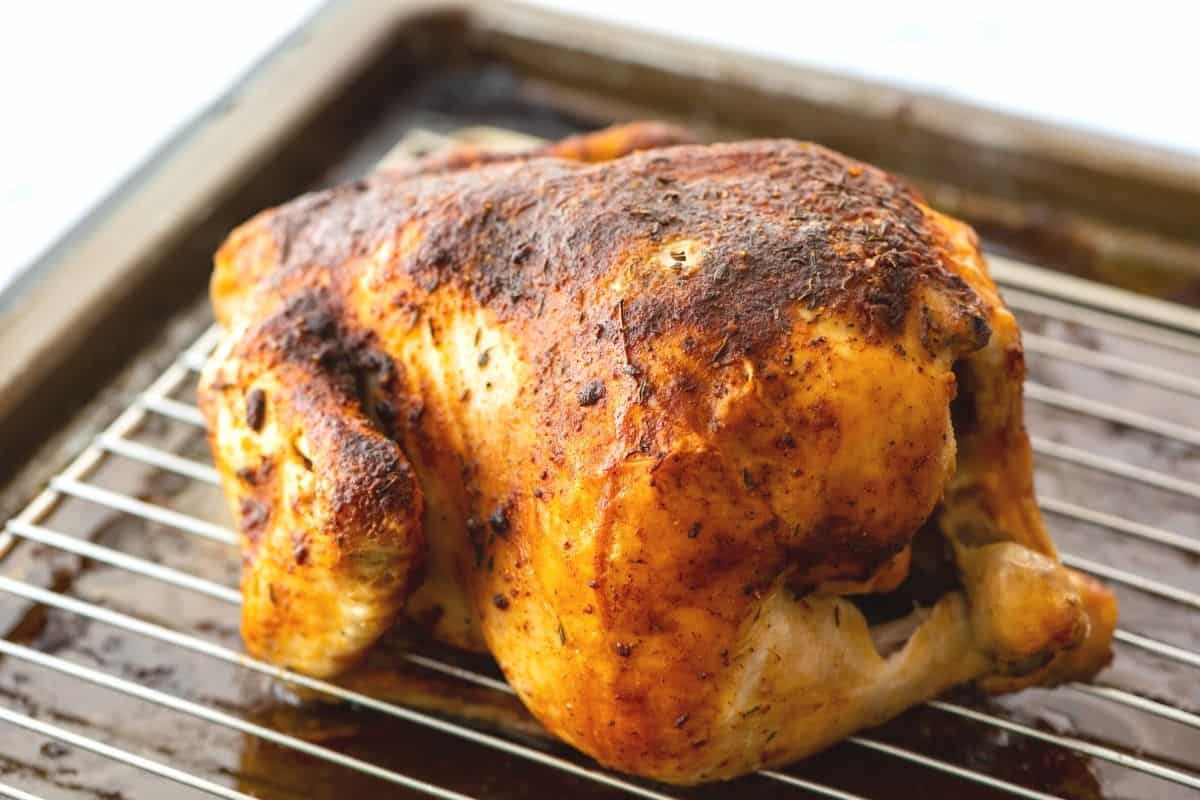
- Bake at 300℉ for 2½-3 hours, or until the thickest part of the thigh reaches 185℉.
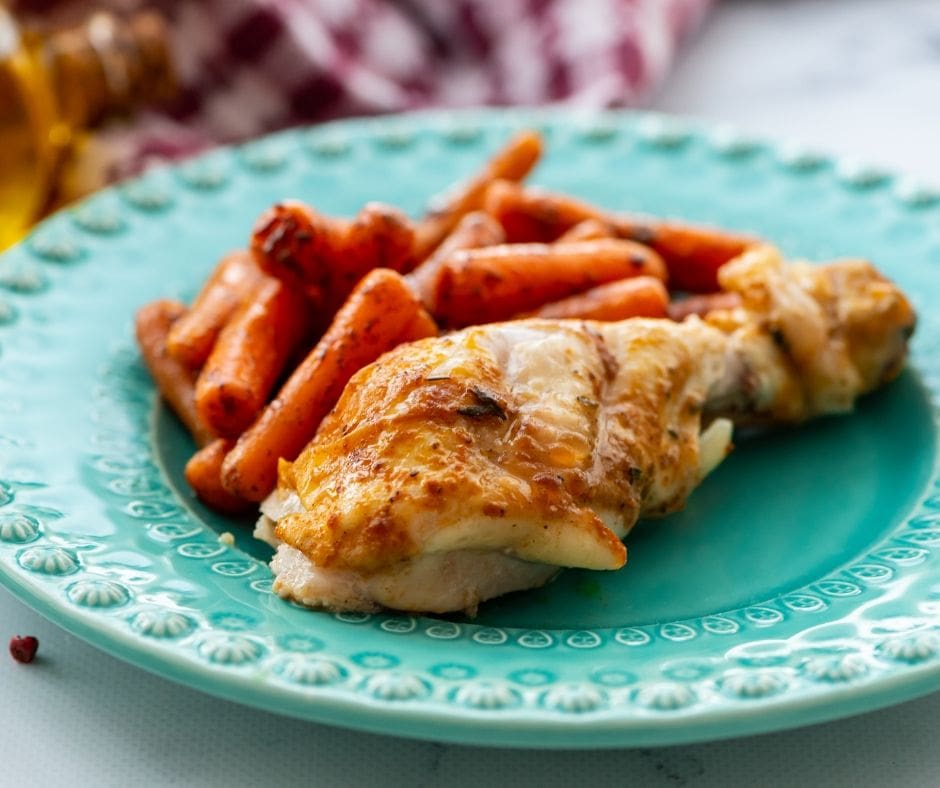
- Remove the chicken from the oven, tent with foil, and rest, for 10 minutes before slicing and enjoying.
Serving Suggestions
This chicken works just as well for Sunday supper as it does for weekly meal prep.
For Dinner:
- Roasted Fingerling Potatoes and Strawberry Spinach Salad with Poppyseed Dressing
- Yukon Gold Mashed Potatoes and Orange Glazed Carrots
- Instant Pot Corn on the Cob and Texas Caviar for a meal fit for summer
- Homemade Caesar Salad and Whole Wheat Rolls for a simple family dinner
You can also dice or shred the chicken to use in any recipe calling for rotisserie chicken
Storage Tips
- Refrigerate: Cool, then store whole or diced chicken in an airtight container in the refrigerator for up to 3 days.
- Freeze: Remove the meat from the bones and freeze in freezer-safe containers or bags for up to 3 months. Freezing in smaller portions makes weeknight meals much easier later.
- Don't Toss the Bones: Use the carcass to make Homemade Chicken Stock or Instant Pot Chicken Stock. It is one of the easiest ways to stretch your grocery budget and adds incredible flavor to soups and casseroles. (Plan to use the refrigerated carcass within 5 days of baking the chicken or freeze and use within 3 months.)
Homemade Rotisserie Chicken FAQs
Yes. You can place the chicken on top of thickly sliced onions, celery, or carrots to elevate it slightly while roasting.
Yes. Season the chicken up to 24 hours in advance and refrigerate uncovered for even better flavor and crispier skin.
Insert an oven-safe thermometer probe into the thickest part of the thigh and set the alarm for 185℉. Alternatively, use an instant-read thermometer and check the thickest part of the thigh towards the end of the bake time.
It is slightly crispy, just like classic store-bought rotisserie chickens. If you would like crispier skin, you can broil for 3-5 minutes after baking. Just keep a close eye on the chicken so it doesn't burn.
More Recipes Using Cooked Chicken
- Chicken Pesto Pizza
- Waldorf Chicken Salad
- Easy Salsa Verde Chicken Enchiladas
- Crockpot Buffalo Chicken Dip

Did you make this recipe?
If you enjoyed this recipe, please leave a comment with a 5-star review at the bottom of the post. Thank you!
Homemade Rotisserie Chicken

Video
Ingredients
- 3-4 pound chicken, gizzards removed
- 2 tablespoons canola, avocado, or light refined olive oil, or melted butter
For the Dry Rub
- 1 tablespoon kosher salt
- 2 teaspoons black pepper
- 1 tablespoon garlic powder
- 1 tablespoon onion powder
- 1 tablespoon paprika
- 1 teaspoon dried thyme leaves, not ground thyme
- ⅛ teaspoon cayenne pepper
Instructions
- Preheat the oven to 300℉ (150℃). Fit a roasting pan with a baking rack and pour in 1-2 cups of tap water into the bottom of the pan. You want just enough water to cover the bottom of the pan.
- In a small bowl, whisk together the 1 tablespoon kosher salt, 2 teaspoons black pepper, 1 tablespoon garlic powder, 1 tablespoon onion powder, 1 tablespoon paprika, 1 teaspoon dried thyme leaves, and ⅛ teaspoon cayenne pepper together.
- Brush the chicken skin with oil or butter. Sprinkle the prepared seasoning mixture evenly over the chicken on all sides, rubbing the spices into skin to adhere.
- Place the whole chicken, breast side down, on the rack on the roasting pan. If using, place an oven-safe digital thermometer into the thickest part of the chicken thigh and set the alarm for 185℉ (85℃).
- Bake until the thermometer inserted into the thigh reads 185℉ (85℃). This will take about 2 ½ hours to 3 hours depending on how large your chicken is. If you do not have an oven-safe thermometer, use a digital read thermometer and check the temperature after 2 hours and 15 minutes and continue cooking until the chicken reaches 185℉ (85℃) in the thigh and 165℉ (74℃) in the breast.
- Remove the chicken from the oven, tent loosely with the foil, and let rest 10-20 minutes.
- Serve the whole chicken as a roast chicken dinner or use the meat to shred, chop, or slice and use for any recipe that calls for cooked chicken.
Notes
Nutrition
Nutrition information is automatically calculated, so should only be used as an approximation.





Made this over the weekend. It was delicious and turned out wonderful! Very simple. Will try again with different combinations of spices.
Definitely a keeper recipe. Thanks for sharing!
Thanks for sharing, Doreen! I am so glad you enjoyed so much and appreciate you leaving a review.
Made this tonight and it was delish. I added a little too much pepper so will cut back on both the red and black pepper next time. Love knowing what I’m eating and I have big plans for the leftovers.
Hi Margaret! Thanks for taking the time to share your review 🙂 I love hearing you enjoy -- and I hope your meals with your leftovers are just as delicious!
I haven't tried this recipe yet, but it sounds easy and delicious! I was wondering, does the skin get crisp? Or would you put the breast side under the broiler for a few minutes to crisp it up?
Hi Cheryl! The skin is relatively crisp. But for really crispy skin, I would broil it. I hope you enjoy!
Hi, Kristen, I made a 5.45lb whole chicken with this yummy spice recipe and onions & garlic in the cavity. I did convection roast (without the liquid) in my oven at 375F and it was done in 1 1/2 hours. The meat was very moist and flavorful. Thanks for this recipe.
You are so very welcome! I appreciate you leaving a review and sharing the times used for convection (it cooks faster, so I am sure this is helpful for others!)
I'm a little confused from your photos..it looks like the breast side is UP (like how the normal chicken sits) and not turned over to have the breasts facing down with legs on top. Am I missing something? i can'r wait to try this, though! 🙂
Hi Ellen! The photos do in fact show the chicken with the breast side down. The wing tips are pointed down and legs crossed underneath. Breast side up is when the legs are sitting on top (and typically need tied together).