
This post may contain affiliate links. Please see our disclosure policy.

These Whole Wheat Waffles prove you don't need white flour or added sugar to make a really good waffle. Made with 100% whole wheat flour and no added sugar, they cook up crisp around the edges with a light, tender center. Even better, these freeze beautifully, so I almost always make enough to stash a few away for busy mornings.

Whole Wheat Waffles at a Glance
- Prep: About 5 minutes + a 10-minute batter rest
- Texture: Crisp edges with a soft, fluffy center
- Key Ingredients: 100% whole wheat flour, buttermilk, & eggs
- Freezer-Friendly: Freeze cooked waffles for up to 3 months, then reheat straight from frozen in a toaster or toaster oven.
- Perfect For: Weekend breakfast or stocking the freezer for busy mornings
Kristen's Keys for Whole Wheat Waffles

Whole wheat waffles have a reputation for being dense, but they don't have to be. You don't need pastry flour, whipped egg whites, or any complicated tricks. These few simple steps make all the difference.
- Use buttermilk, homemade or store-bought. The acidity reacts with the baking soda to help keep the waffles light instead of dense. And please don't make a special trip to the store for it. Milk mixed with a little lemon juice or vinegar works beautifully.
- Let the batter rest for 10 minutes. Whole wheat flour benefits from a little time to hydrate. That short rest makes a noticeable difference in the tenderness of the finished waffles.
- Make sure the waffle iron is fully hot. A properly preheated iron helps the exterior crisp before the inside overcooks and dries out.
- Don't stack finished waffles. Place them on a wire rack over a sheet pan in a 200°F oven while you cook the remaining batches. Stacking traps steam, which is the fastest way to turn crisp waffles soft.
Happy Cooking! xo Kristen
5-Star Reader Review
I made a batch of these again today for my freezer. Makes a quick breakfast or even dinner for me. I was buying an expensive name-brand frozen protein waffle, but no more. These are easy, cost-effective, wholesome, and delicious! Thank you. -Kate
Notes on Ingredients
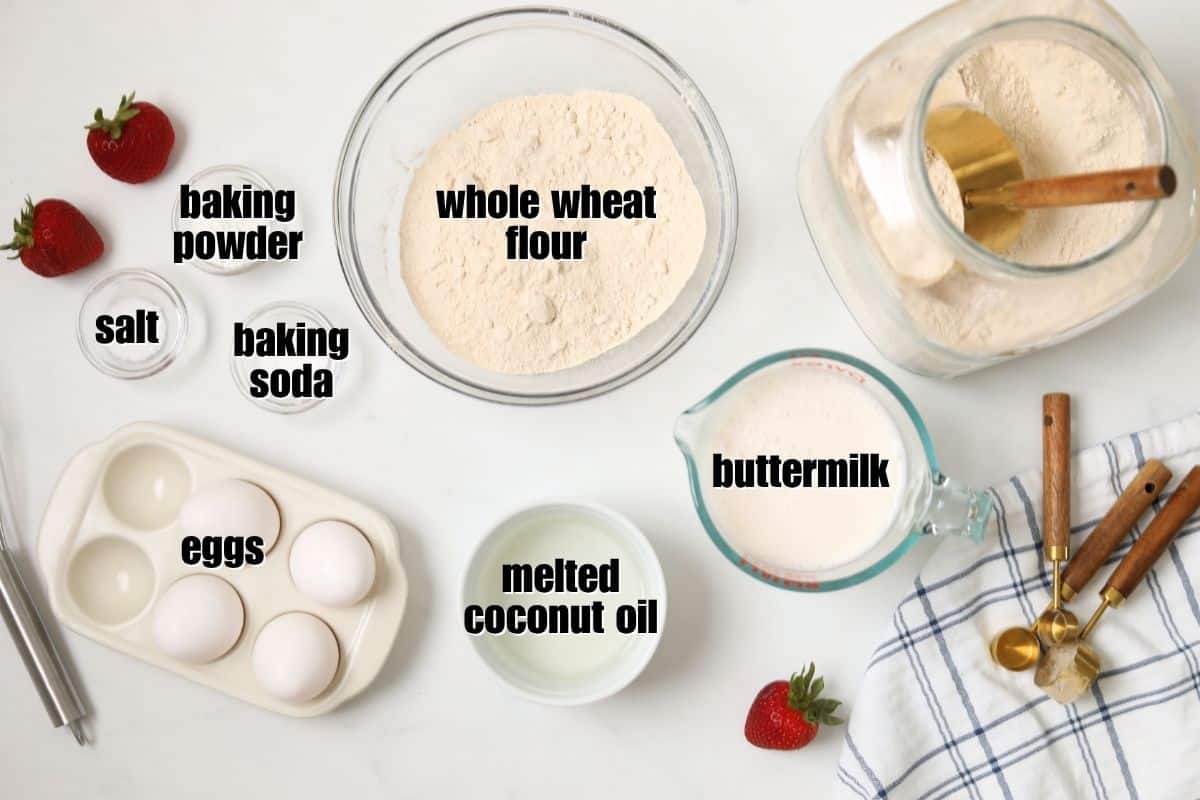
- Whole Wheat Flour: I developed this recipe specifically for regular 100% whole wheat flour, so you don't need whole wheat pastry flour or white whole wheat flour to keep the waffles tender. That said, I have also successfully made them with white whole wheat flour, all-purpose flour, and a 1:1 gluten-free blend.
- Buttermilk: If you don't have buttermilk on hand, add 3 tablespoons of distilled white vinegar, apple cider vinegar, or lemon juice to a large glass measuring cup. Add enough milk to equal 3½ cups. Let it sit for 5 minutes and use as the recipe directs. I often use almond milk, which lets you make dairy-free whole wheat waffles if needed.
- Oil or Butter: I have made this waffle batter using canola oil, melted butter, and melted coconut oil. I slightly prefer coconut oil for its rich, nutty undertones, but not enough that I won't happily use canola oil or butter when that's what I have on hand.
How to Make Whole Wheat Waffles
Before making the batter, prepare homemade buttermilk, if needed, and melt the coconut oil or butter. Then measure and combine the dry ingredients while those ingredients sit. This gives the milk time to react with the vinegar or lemon juice and lets the melted fat cool slightly before mixing it with the eggs.
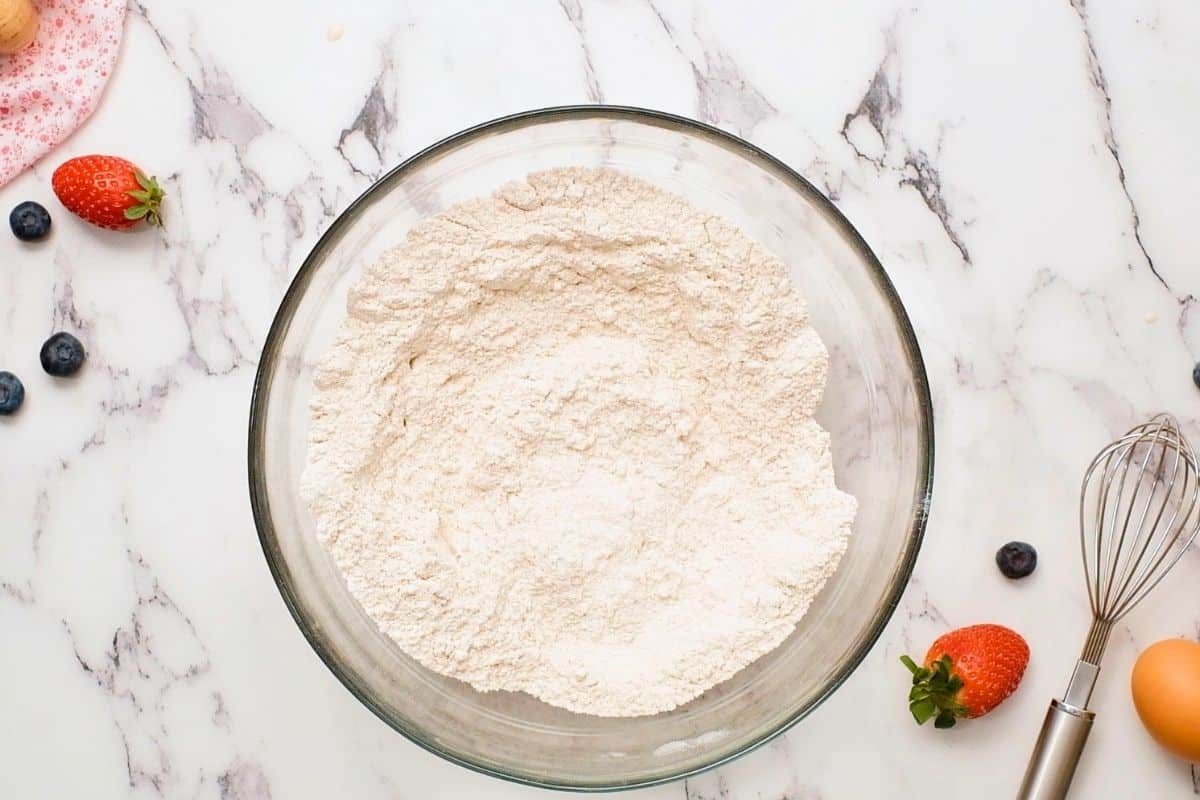
- Combine dry ingredients. In a large mixing bowl, whisk together the whole wheat flour, baking powder, baking soda, and salt until evenly combined. No need to break out a sifter here.
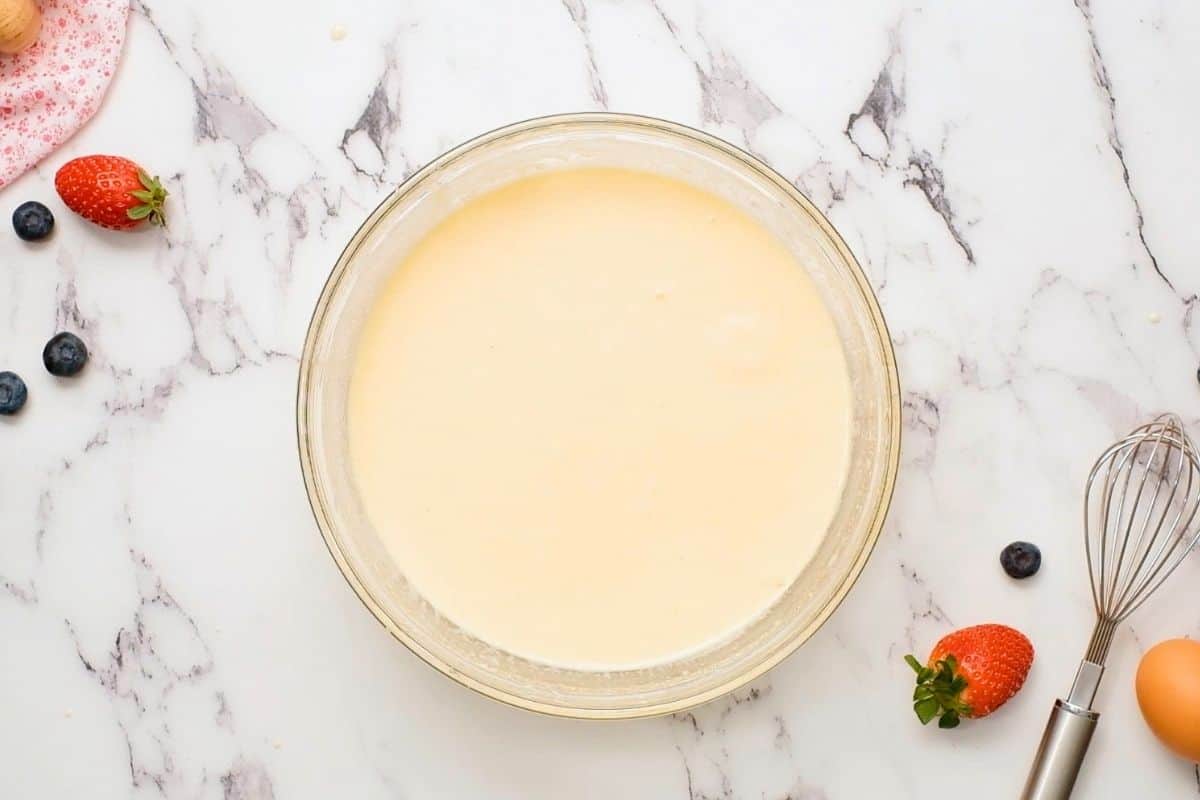
- Whisk together wet ingredients. In a separate bowl, whisk buttermilk, eggs, and oil (or butter) until the eggs are fully broken down and everything is evenly combined.
- Combine wet and dry ingredients. Pour the buttermilk mixture into the dry ingredients, then gently fold or whisk together until the flour is moistened. A few lumps are fine. Don't aggressively mix here, or the waffles can turn out tough.
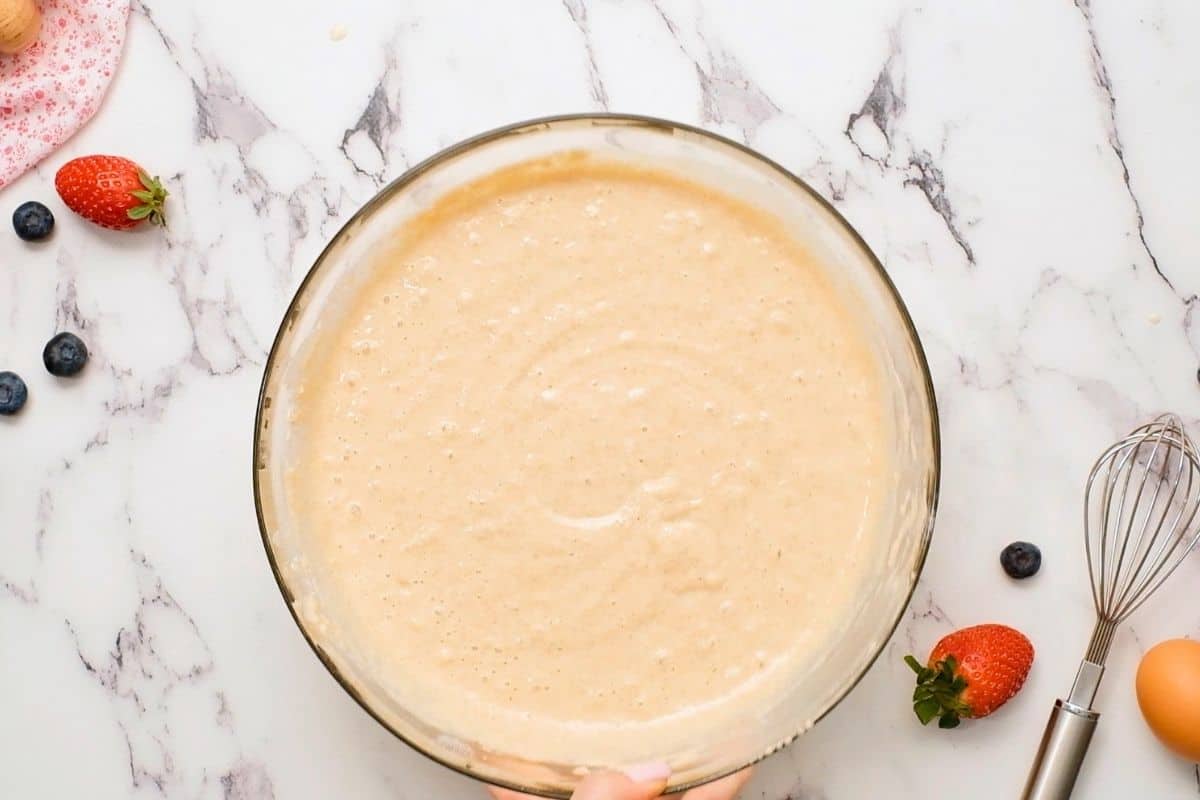
- Rest for 10 minutes. Let the batter sit at room temperature for 10 minutes. After about 5 minutes, I like to start preheating my waffle iron so it is ready when the batter is ready to cook.
- Portion batter. Use an ice cream scoop, measuring cup, or ladle to add the batter to the center of the waffle iron. It keeps the mess to a minimum and helps the waffles cook evenly. Most standard waffle makers use ¼ to ⅓ cup batter, but follow your manufacturer's recommendation.
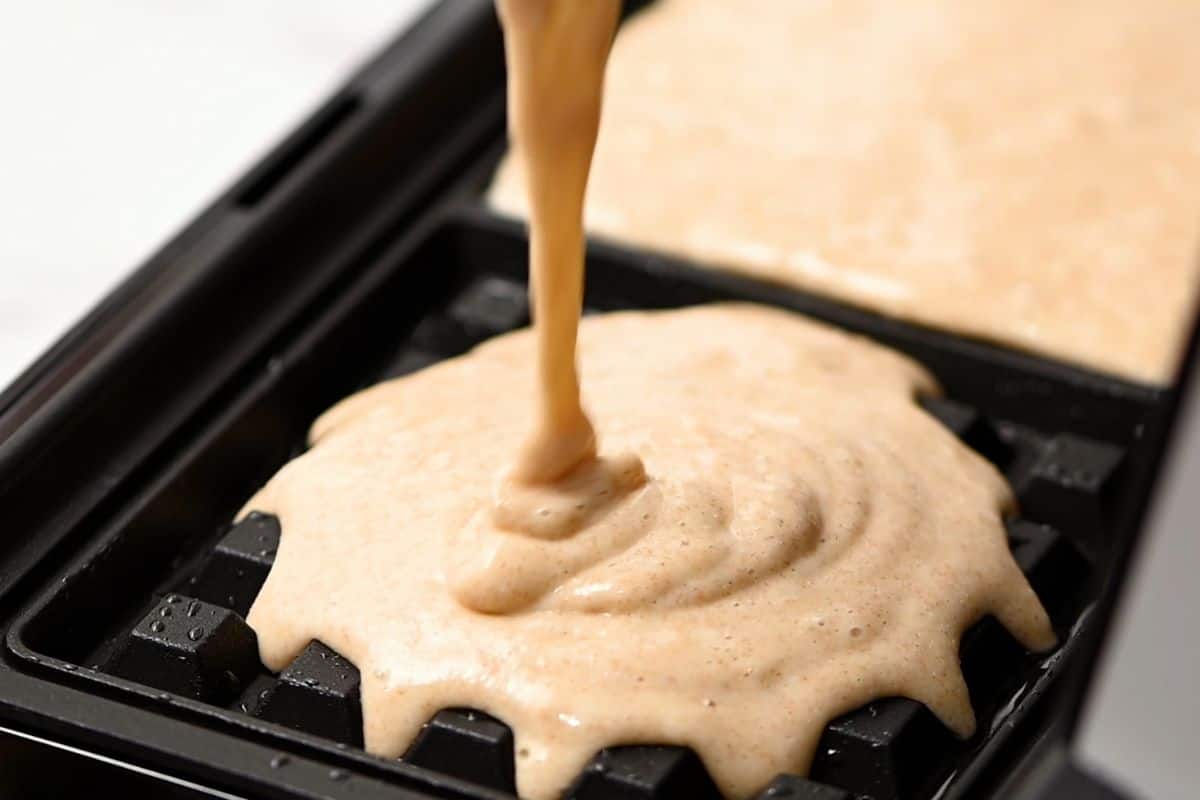
- Cook until crisp. Cook until the waffles are deeply golden and the edges are crisp, usually 3-4 minutes.
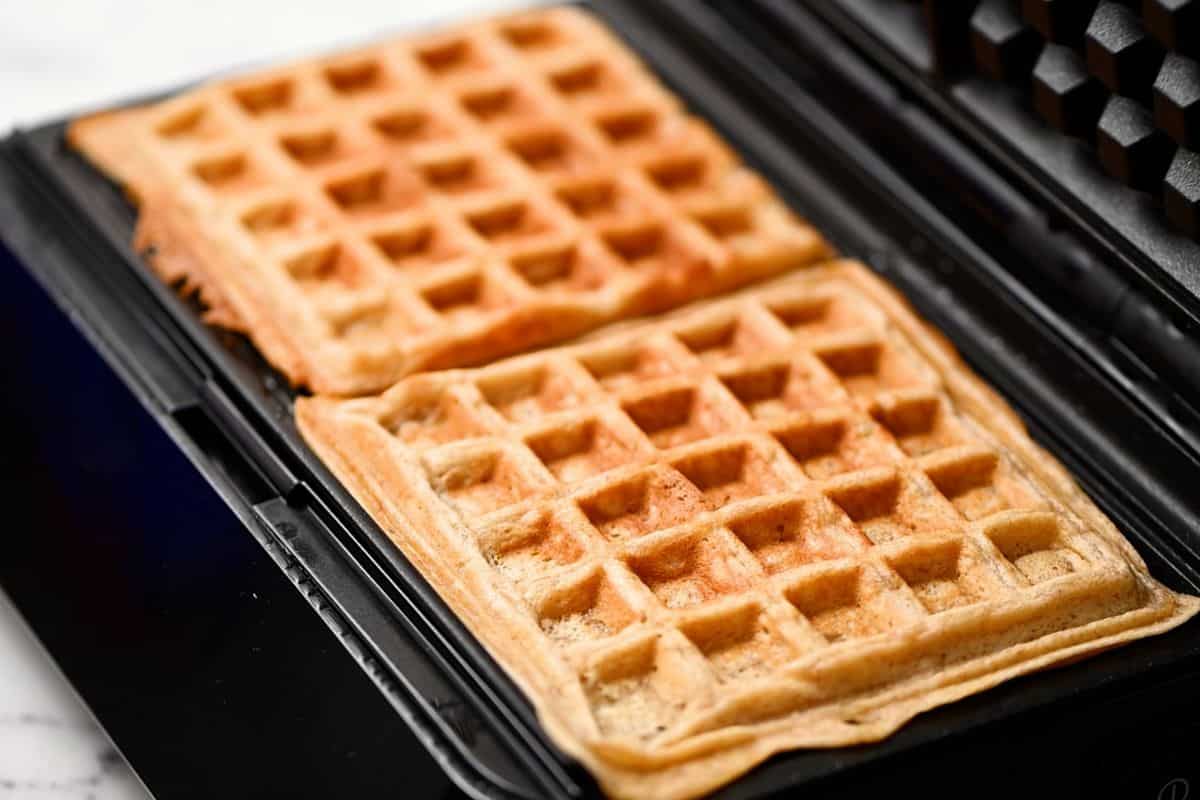
- Transfer to the oven (if needed). As you remove the waffles from the waffle iron, place them on a wire rack over a sheet pan. Hold warm in a 200℉ oven while you finish cooking the remaining waffles.
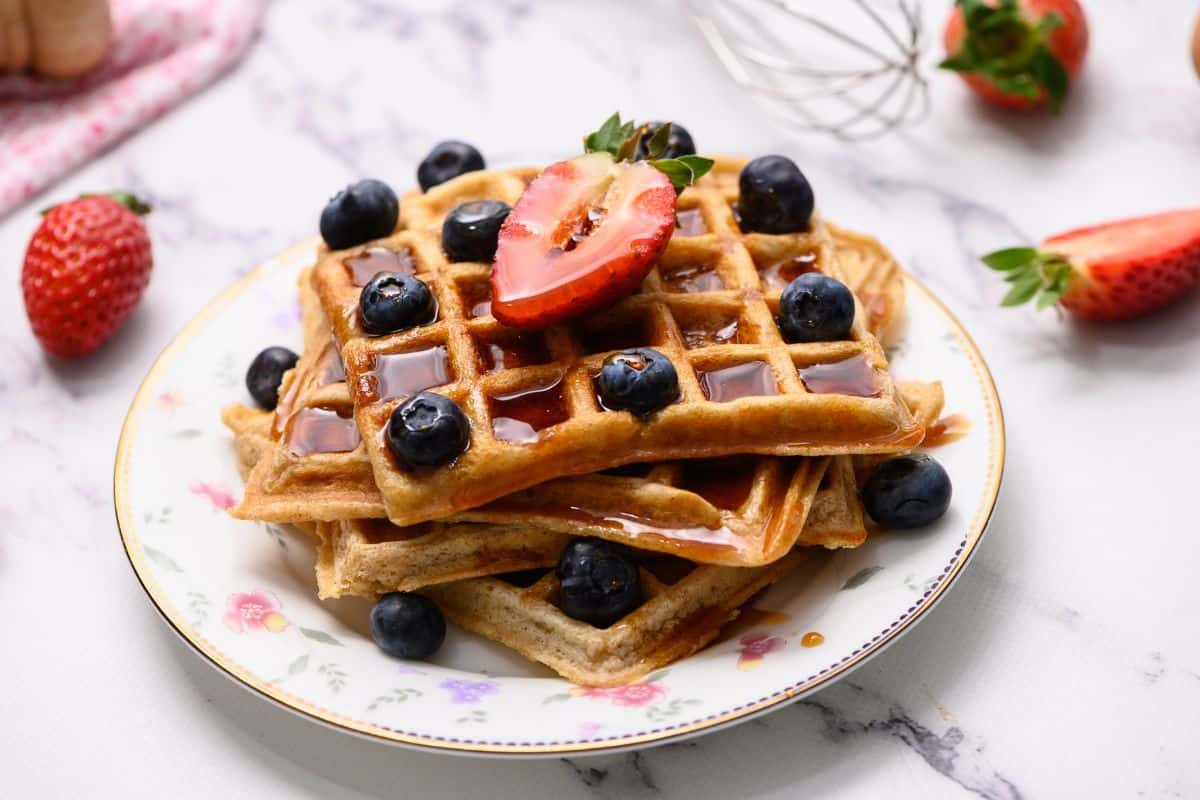
- Serve. Drizzle with maple syrup or your favorite toppings and serve immediately.
Serving Suggestions
Because the batter isn't sweetened, these waffles work just as well with berries and maple syrup as they do with savory options, such as eggs and chicken. Below are a few of my favorite ways to serve them.
- Top the waffles with fresh fruit or strawberry chia jam and fresh whipped cream.
- My favorite is nut butter with sliced bananas.
- Top with an oven-poached egg or homemade sausage gravy for a savory breakfast.
- Make a version of chicken and waffles by topping the waffles with baked chicken tenders and drizzling with hot honey.
- Top with vanilla ice cream and homemade hot fudge for a decadent dessert.
Storage + Freezing Tips
If you have leftover waffles, I recommend freezing them rather than storing them in the refrigerator. Freezing helps preserve their texture, and they reheat beautifully in the toaster or toaster oven
- To Freeze: Cool fully on a wire rack, then transfer to a sheet pan and flash freeze for 30-60 minutes. Once frozen to the touch, place the waffles into a freezer-safe container or storage bag. Store in the freezer for up to 3 months.
- To Reheat: Individually toast from frozen in a standard toaster or toaster oven.
Whole Wheat Waffle FAQs
Overmixing the batter, skipping the rest, expired baking powder, or an underheated waffle iron are the most common culprits.
If you only have regular milk or non-dairy milk on hand, follow my instructions for making homemade buttermilk rather than using milk alone. The added acid reacts with the baking soda, which helps give the waffles their light texture.
Yes. You can safely let the batter rest at room temperature for up to 30 minutes before cooking.
More Favorite Breakfast Recipes




Did you make this recipe?
If you enjoyed this recipe, please leave a comment with a 5-star review at the bottom of the post. Thank you!
Summarize and Save This Recipe Content On:
Whole Wheat Waffles

Video
Ingredients
- 3 cups whole wheat flour
- ½ teaspoon kosher salt
- 1 teaspoon baking soda
- 2½ teaspoons baking powder
- ½ cup melted coconut oil, or canola oil or melted butter
- 4 large eggs
- 3½ cups buttermilk, see note for homemade buttermilk
Instructions
- In a large bowl, whisk together 3 cups whole wheat flour, ½ teaspoon kosher salt, 1 teaspoon baking soda, and 2½ teaspoons baking powder until evenly combined.
- In a separate bowl, whisk together the 4 large eggs and 3½ cups buttermilk. Add in ½ cup melted coconut oil and mix again to combine. Pour the wet ingredients into the dry ingredients and gently mix just until the flour is moistened. A few small lumps are fine. Avoid overmixing, which can make the waffles tough.
- Let the waffle batter rest at room temperature for 10 minutes, or up to 30 minutes.
- Preheat the waffle iron according to the manufacturer's instructions. If you plan to keep the waffles warm between batches, preheat the oven to 200°F (95°C) and set a wire rack over a rimmed baking sheet.
- Once the waffle iron is fully heated, lightly grease it if needed. Add about ⅓ cup of batter per waffle, or the amount recommended by your waffle maker, pouring it into the center of each grid. Close the waffle maker and cook until the waffles are deeply golden brown with crisp edges, about 3-4 minutes, or according to your manufacturer's instructions.
- Transfer the cooked waffles to the prepared wire rack and keep warm in the oven while you finish cooking the remaining batches. Do not stack the waffles, or the trapped steam will soften the edges.
- Serve with any topping you desire.
Equipment
Notes
Nutrition
Nutrition information is automatically calculated, so should only be used as an approximation.







So is 1/3 cup one waffle or 2? Thanks! Looking forward to these.
Hi Susan! Great question! Each waffle needs about 1/3 cup of batter--so pour 1/3 cup of the batter onto the center of each waffle grid. Enjoy!
Used whole wheat flour (duh), 1/4c canola oil, 1/4c applesauce, almond milk and added 2TBSP syrup. My kids loved them!
Did you notice you list salt twice in Step 1 and don’t mention baking powder? Making these this morning for hubby and myself. Thanks for the recipe!
Thanks for the catch Dana! Updating now. It is supposed to say add salt, baking soda, and baking powder. Enjoy!
Hi Kristen,
The Nutrition list are per waffle or for the whole batch, thanks for these great recipes.
Hi Rodney! The nutrition would be per waffle 🙂
Hi,
If I don’t have canola or coconut oil what should I replace with? Vegetable oil or olive oil?
I would do vegetable oil Erica 🙂
When I added my coconut oil, vinegar, milk, and eggs together (second step), all of the coconut oil started to clump together. It was melted originally. And it stayed this way as I finished the recipe and made the waffles. Why?
It sounds like your milk and eggs were really cold. Try letting them come to room temperature first so that the warm coconut oil doesn't immediately solidify when it touches something really cold. I will be sure to bold that note so it is not overlooked. Sorry about the inconvenience.
Absolutely amazing! Easy, light, crisp and as unhealthy as you want to make it (with toppings, of course). I love that I can enjoy these as a healthier indulgence, but also serve them plain to my baby. Thank you!
I am so glad you enjoyed Patricia!! They are a great food for your baby!
Hi! Eventhough I am in the middle of making these already, I have two questions for next time: 1) Should I leave the batter lumpy like some in pancake recipes (if so, how lumpy)?
2) If we decide we would like to add sweetener next time, what would work and how much would you recommend? The options would be a small grain damerara sugar or maple syrup.
Thank you!
Hi Nava! I would leave the batter just about the same texture as pancakes. You don't want pockets of flour in the batter, but a few tiny lumps are fine. Also, feel free to add up to 2 tablespoons maple syrup to the batter. Enjoy!
That was a quick reply! I actually ended up gradually adding in 4 tbsp maple syrup based on our taste tests. This is now my go-to waffle recipe. It is so easy, quick and a wonderful base for anything. Thank you for a great recipe!
I am so glad you enjoyed Nava 🙂
These waffles are fantastic! My kiddos love them!
I am so glad your kids enjoyed Anna! I just made a big batch over the weekend for my kids. We have been having them with peanut butter and bananas on school mornings this week.