
This post may contain affiliate links. Please see our disclosure policy.

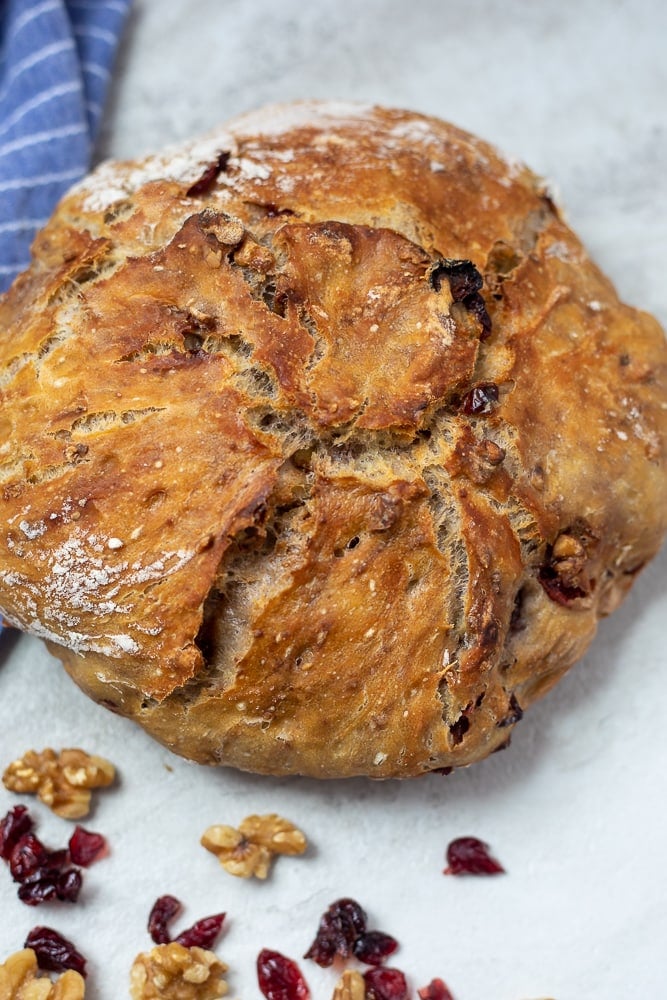
Sweet, chewy, and studded with dried cranberries and walnuts, this Dutch Oven Cranberry Walnut Bread comes together with minimal effort to deliver maximum flavor.
After trying Panera's Cranberry Walnut Bread years ago, I have been recreating the bread at home with spectacular results! Using my Dutch Oven Bread recipe as a starting point and adding dried cranberries and chopped walnuts, this cranberry walnut bread is chewy and yeasty, and downright FABULOUS!
Kristen's Tips For Perfect Results
While this Cranberry Walnut Dutch Oven Bread is one of the easiest bread recipes to make and suitable for beginners, I do have a few helpful tips to keep in mind.
- Select the right baking vessel. You need a heavy-bottomed Dutch oven pan with a lid for this recipe. It creates the perfect environment for cooking the bread, and if well-seasoned/cared for, the bread will not stick to your pan.
- Plan ahead. While this cranberry walnut bread is one of the easiest ways to make bread at home, it still needs to proof for at least 12 hours before baking.
- Check your yeast. Use active dry yeast (not quick-rise yeast), and make sure it hasn't expired. If it is not fresh, your bread will not proof and will be dense and flat when baked.
How to Make Cranberry Walnut Bread
The following tips are provided to help you achieve perfect results. You will find the ingredient quantities and detailed instructions in the recipe card at the bottom of this post.
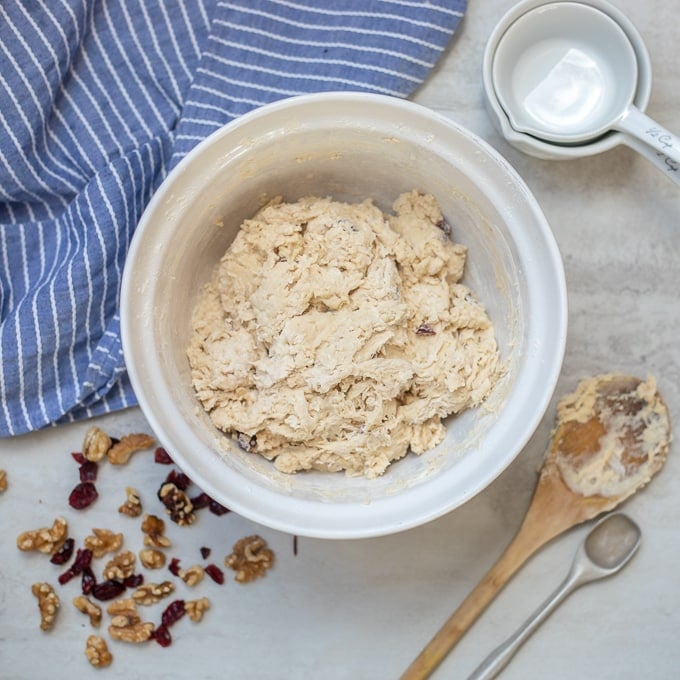
- Combine. In a large mixing bowl, toss the yeast, flour, salt, cranberries, and walnuts together. Add in the water and mix together with a wooden spoon or spatula until the dough comes together. Expect the dough to be sticky and wetter than traditional homemade whole wheat bread.
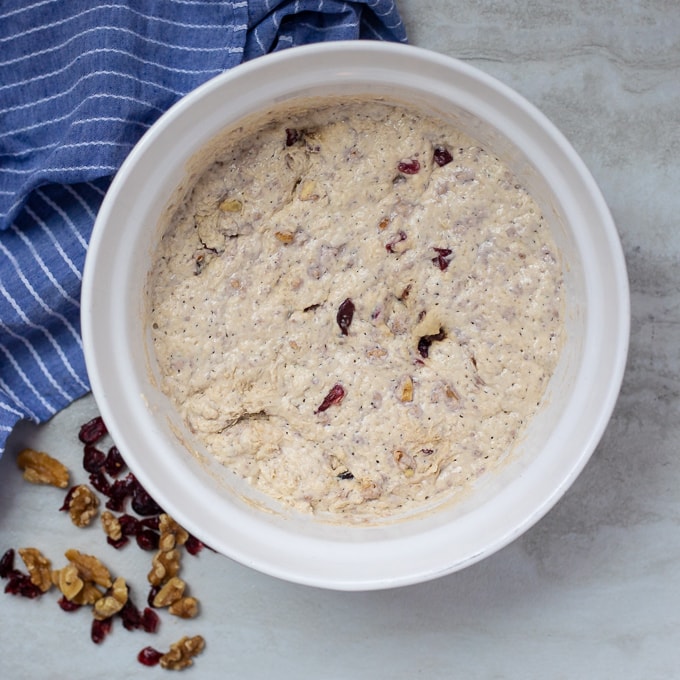
- Proof Dough. Once the dough is combined, cover with a clean kitchen towel or plastic wrap and let sit at room temperature for 12-18 hours. The yeast will activate, and the bread will get yeasty and bubbly.
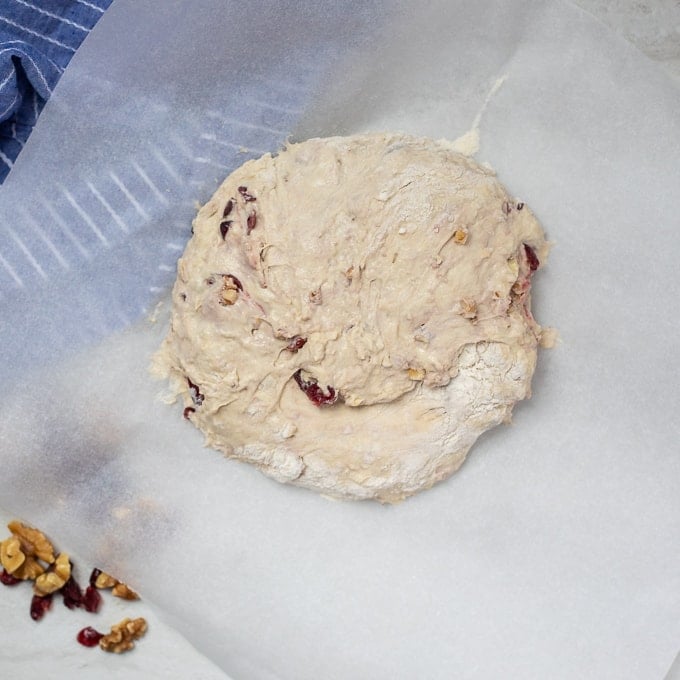
- Shape. Turn the risen bread dough out onto parchment paper LIGHTLY dusted with flour. With floured hands, quickly shape the dough into a circle. Let the dough rest on the parchment paper while the oven preheats.
- Preheat the Dutch Oven. Place the Dutch oven in the oven BEFORE turning it on to preheat. Let the pan preheat as well to give the cranberry walnut bread its chewy, crispy exterior.
- Transfer the Dough to Preheated Pan. Once the pan is preheated, carefully place the prepared dough into the pan and cover with the lid. *If using parchment paper, be sure it is safe for baking up to 450 degrees F. Otherwise, simply slide right into the pan--no need to grease.
- Bake. Bake the bread covered for 30 minutes, then uncover and bake for 20 minutes to crisp up the exterior.
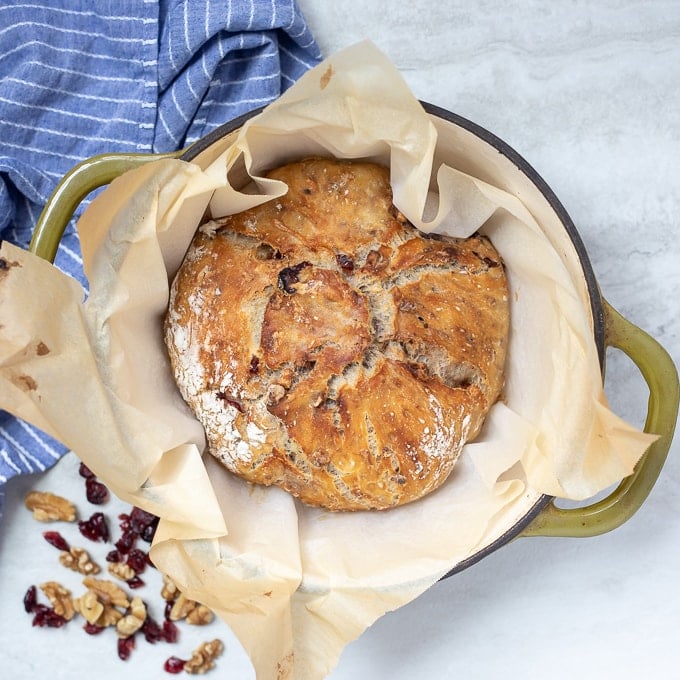
- Cool and Slice. Once baked, let the bread cool slightly in the pan, then turn out and finish cooling on a cooling rack. Let the bread cool fully before slicing.
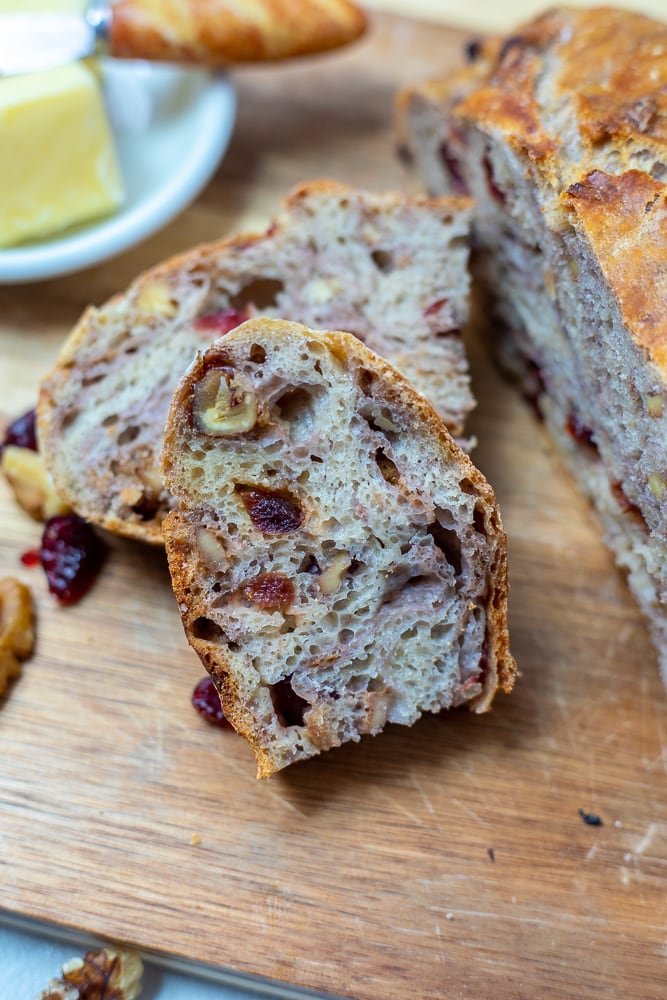
Serving Suggestions
Nothing is better than a slice of this Cranberry Walnut Bread warm from the oven, but you can use it in so many ways.
- Create a sweet and savory sandwich by using the cranberry walnut bread as a base for a ham or turkey apple sandwich.
- Make a delicious grilled cheese sandwich by layering slices of sharp cheddar cheese, leftover baked brie, or whipped brie between two slices of buttered cranberry walnut bread, then pan-frying until the bread is toasted and the cheese is melted.
- Spread Cranberry Walnut Bread with leftover cranberry orange sauce from your holiday for a little slice of heaven.
- Use chunks of this Cranberry Bread to create a sweet and savory Ham and Egg Breakfast Casserole or for a delicious spin on French Toast Casserole.
Storage Instructions
- At Room Temperature: Once the Cranberry Walnut Bread is fully cooled, store the bread in an airtight container or bag at room temperature for 3-4 days.
- In the Freezer: To freeze Cranberry Walnut Bread, let the bread cool completely after baking. Wrap well in plastic wrap, then a layer of foil, and then place in a freezer-safe bag. Store in the freezer for up to 1 month. Defrost at room temperature for 12 hours before serving.
Preventing the Bread from Sticking
If your Dutch oven pan is good quality, you shouldn't have any issues with the dough sticking to the pan. However, some people have reported this issue. To prevent this, use parchment paper or dust your bread with flour before transferring the dough to the pan. I don't recommend greasing the pan, as the oil can burn at the high temperature the bread is baked at.
More Homemade Bread Recipes
- Whole Wheat Cinnamon Raisin Bread
- Homemade Italian Bread
- Honey Whole Wheat Bread
- Whole Wheat Dutch Oven Bread
- Copycat Olive Garden Breadsticks
If you enjoyed this simple recipe for Cranberry Walnut Bread, I would love for you to leave a review and comment below.
Cranberry Walnut Bread

Ingredients
- 3 cups all-purpose flour, ~360 grams
- 1 teaspoon active dry yeast
- ½ cup dried cranberries
- ½ cup chopped walnuts
- 1 ½ teaspoons salt
- 1 ½ cups lukewarm water
Instructions
- In a large mixing bowl, mix together flour, yeast, salt, cranberries, and walnuts. Add in water and mix well with a wooden spoon.
- Cover with plastic wrap or a clean kitchen towel and set in a draft-free spot to rise undisturbed for 12-18 hours.
- After the proofing time has passed, turn the dough out onto parchment paper sprinkled lightly with flour and quickly shape into a circle. It will be sticky, so you may want to flour your hands as well. And try not to overwork the dough--just a rustic circle is all you are going for. Let the dough rest while the oven preheats.
- Place the Dutch oven fitted with its lid in the oven. Preheat to 450℉ (230℃). (Let the pan preheat in the oven.)
- Once the pan is preheated, carefully remove it from the oven and then carefully place the prepared dough into the pan and cover with the lid. If using parchment paper that is safe up to 450℉ (230℃), you can simply pick up the parchment paper and place it into the Dutch oven. If you don't have parchment paper, just place the bread dough directly into the Dutch oven. DO NOT USE wax paper or a silicone baking sheet.
- Bake covered for 30 minutes. Remove the lid and bake for an additional 20 minutes.
- Remove bread from the Dutch oven and let it cool completely on a wire rack before slicing and serving.
Equipment
Notes
Nutrition
Nutrition information is automatically calculated, so should only be used as an approximation.



What a beautiful loaf of bread! Love that cranberry walnut combo.
It is a perfect fall combination for fall bread!
Mmmmm, that looks delicious! And I really appreciate seeing a short ingredient list. I'm not much of a baker (or a cook if we're being honest) and I'm always super intimidated by anything with a ton of ingredients. This looks totally doable though!
Courtney--this is SO doable!! Nothing to be intimidated by at all. Pinky promise.
I've never baked a yeasted cranberry bread before. This looks wonderful! I bet it would make cream cheese sandwiches that are to die for. I'll have to try it!
Oh my Lucy!! What a great idea to make cream cheese sandwiches with this bread. I must try that.
It's been so long since I made bead - this loaf sounds wonderful - and so much better than store bought! 🙂
Homemade bread is so much better than any store bought loaf!I hope you give it a go Shashi!
Gorgeous fall loaf, Kristen!
Thanks Allie!! I hope you enjoy it!
There really is nothing better than fresh bread! This sounds so delicious!
Thanks Liz, fresh warm bread is the best for sure!
This looks so soft and delicious!! I can smell it now 🙂
It is so soft--and the smell is simply amazing!