
This post may contain affiliate links. Please see our disclosure policy.

Love Cheez-Its? You will love this Homemade Cheez-It recipe! Made with only a handful of ingredients, these homemade cheese crackers are crispy, crunchy, melt-in-your-mouth delicious!
Looking for more delicious snack ideas for kids? Don't miss my recipes for Homemade Granola Bars, Homemade Fruit Roll-Ups, and Copycat Gogurts.
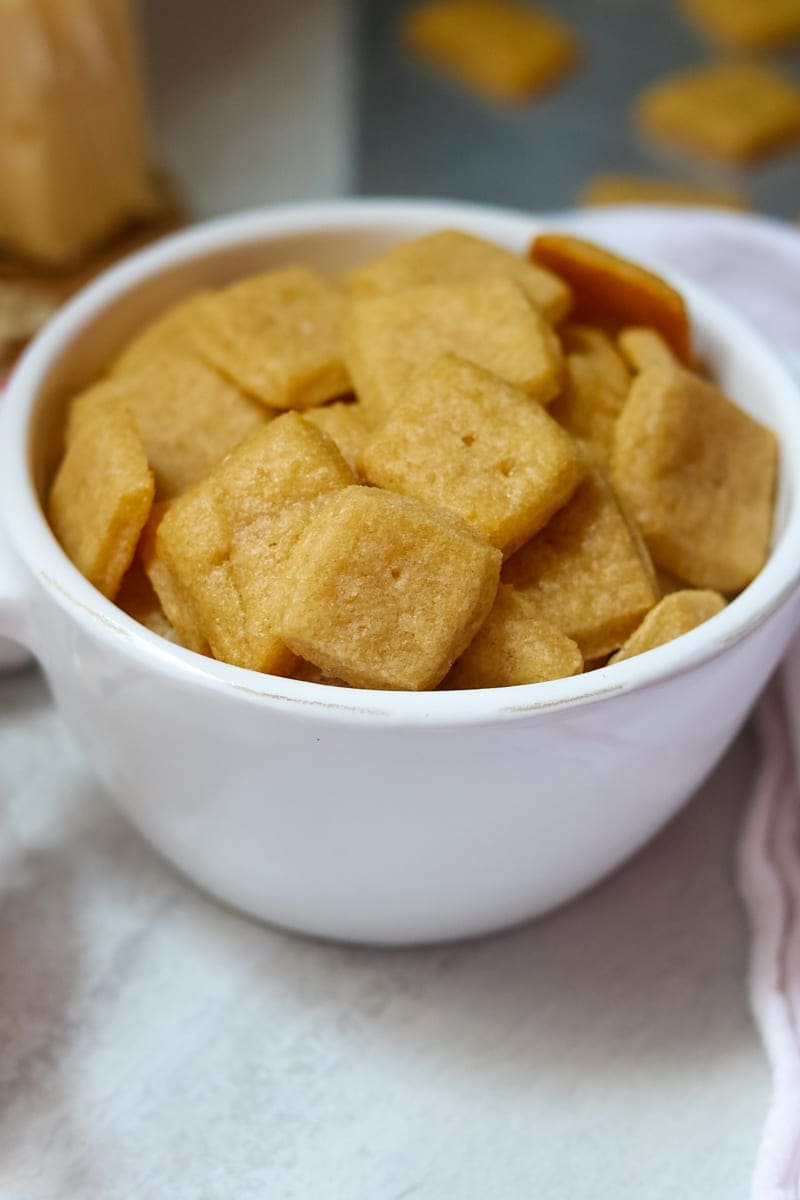
Better than Cheez-Its Cheese Crackers
If you or your kids love Cheez-Its, this cheese cracker recipe is a must-try.
They are savory, salty, and cheesy, just like Cheez-It crackers. But a few things make this copycat version better than store-bought.
- Homemade Cheez-Its taste better. Real butter and real cheese will do that!
- They are preservative-free.
- You can easily make these cheese crackers gluten-free.
And don't worry, making cheese crackers is not complicated! With just a few ingredients and a few minutes of prep work, you can easily whip up Homemade Cheez-Its that are rich, buttery, flaky, and oh so good. Let's get to it!
How To Make Homemade Cheese Crackers
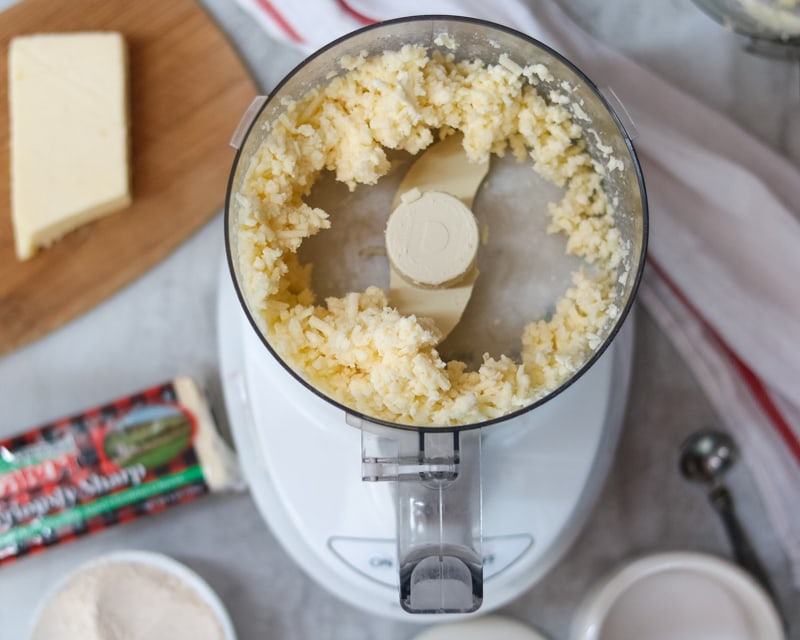
Freshly Grate the Cheese
I can not stress the importance of using freshly grated cheese as opposed to shredded cheese when making cheese crackers. Pre-shredded bagged cheese is coated in anti-caking agents, which will change the consistency and texture of the crackers. Use either a box grater or food processor fitted with a grating blade to grate the cheese.
Process Dough
While you can use your hands or a stand mixer to make the cracker dough, I strongly recommend using a food processor fitted with a dough hook. A food processor quickly incorporates the butter and cheese into the flour and helps prevent overprocessing, which can easily happen with a stand mixer.
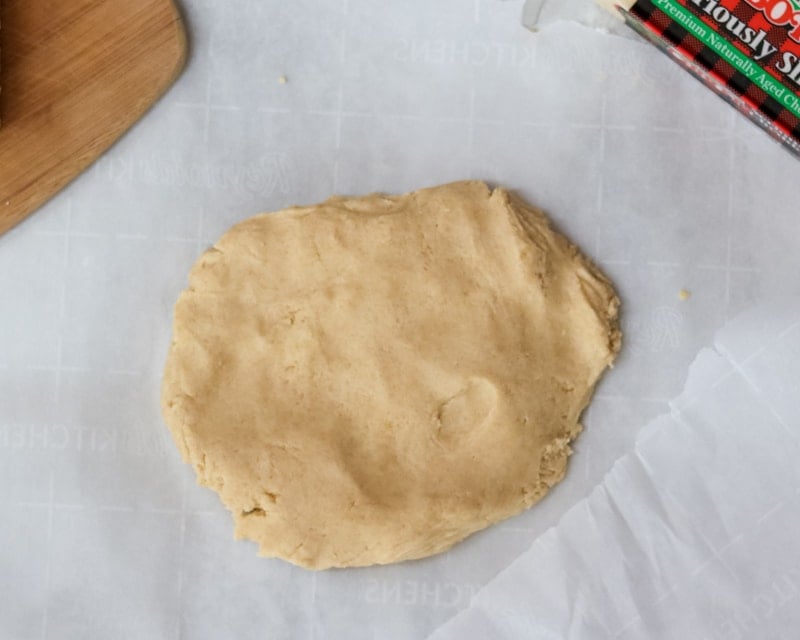
Form Cracker Dough
Once the dough comes together, turn it out onto a lightly floured surface or piece of parchment paper and gently form into a flattened disk, much like you would fo shortbread cookies or homemade buttermilk biscuits.
Chill The Cracker Dough
Chill the dough for at least 1 hour, or up to 24 hours. This lets the butter get cold and creates air pockets in the crackers as they bake, so the cheese crackers hold their shape and stay light and crunchy.
Cut the Dough into Crackers
Using a very sharp knife, pizza cutter, or a fluted pastry wheel, cut the crackers into 1-inch squares.
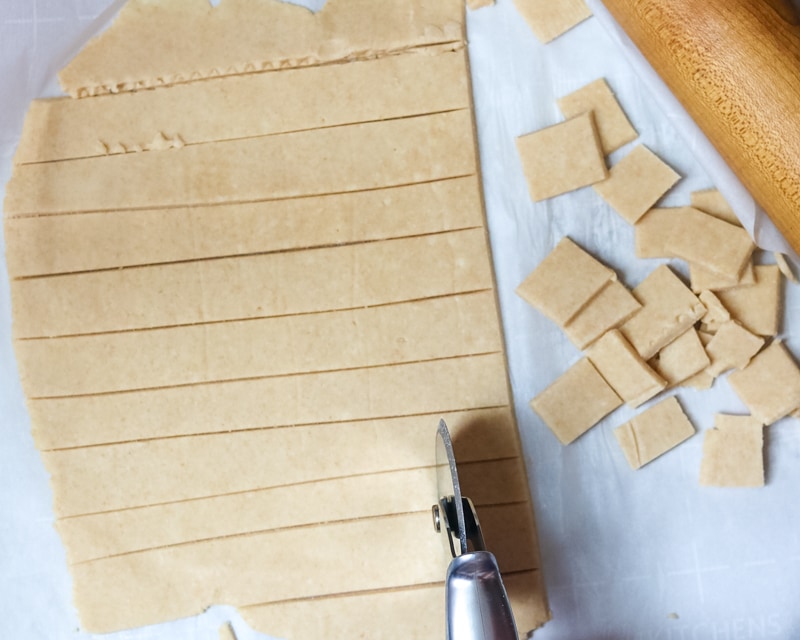
Dock the Crackers
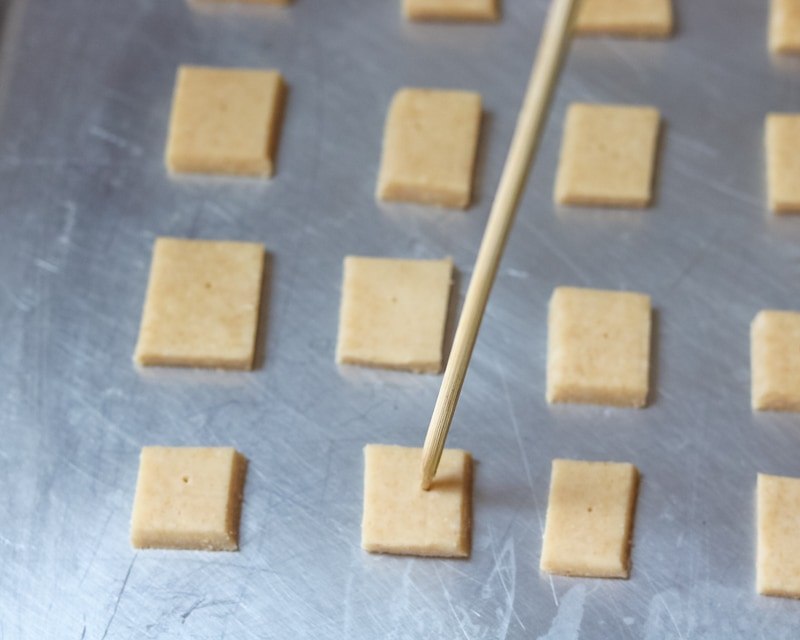
Using a toothpick or the end of a skewer, poke a hole in the center of each cracker. This allows air to escape as the crackers bake, keeping the cheese crackers crispy.
Bake Until Golden
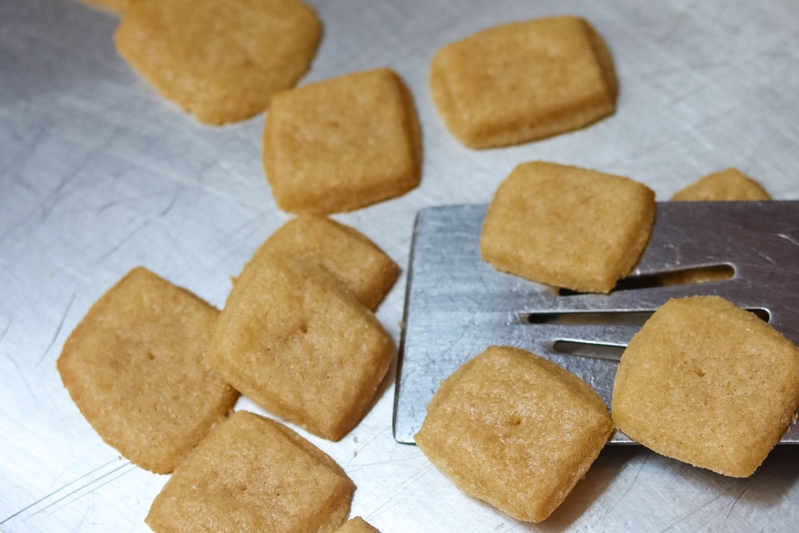
Bake until the crackers are just set, and the edges are slightly browned. Watch the crackers carefully during the last couple of minutes of baking so they don't burn.
Cheese Cracker Variations
- Vary the Cheese: I recommend using a sharp white cheddar or sharp yellow cheddar for a classic Cheez-it flavor. You can opt to replace up to 4 ounces of the cheddar cheese with Monterey Jack, Gouda, Colby, or Swiss cheese. If you would like to add parmesan, use no more than 1 ounce of freshly grated parmesan combined with 7 ounces of cheddar cheese.
- Add Additional Seasonings: Feel free to add up to 1 teaspoon each of garlic powder and/or paprika in addition to the
- Gluten-Free Cheese Crackers: Replace the all-purpose flour with a 1:1 gluten-free all-purpose flour blend.
- Whole-Grain Cheez-its: Replace the all-purpose flour with whole wheat pastry flour.
Storage Instructions
- Storage: Once baked and fully cooled, store the Homemade cheese crackers in an airtight container at room temperature for up to 5 days.
- Freeze: Bake and fully cool. Once cooled, place the crackers in a freezer bag and seal tightly. Store in the freezer for up to 3 months.
- Pack for Lunch: Homemade Cheez-Its are perfect for a school lunch. Just be sure to pack them in a sealed container, separate from anything with moisture, say from a Veggie Wrap or Turkey Club Wrap, so they stay crisp and fresh.
More Favorite Homemade Snack Recipes
- Homemade Larabars
- Oatmeal Chocolate Chip Muffins
- Peanut Butter Oat Bars
- Homemade Granola
- Chocolate Zucchini Muffins
- Oatmeal Date Energy Balls
If you enjoyed this recipe for Homemade Cheese Crackers, please be sure to leave a comment and review below.
Homemade Cheez-Its

Ingredients
- 8 ounces sharp cheddar cheese, freshly grated
- 4 tablespoons unsalted butter
- ½ teaspoon kosher salt, plus more for serving
- ¼ teaspoon onion powder
- 1 cup all-purpose flour
- 2 tablespoons cold water
Instructions
- Using a food processor fitted with a grating blade or a box grater, grate 8 ounces sharp cheddar cheese and remove the cheese from the food processor. Alternatively, use a box grater to grate the cheese.
- Fit a food processor with a dough blade. Place the grated cheese into the food processor, with 4 tablespoons unsalted butter, ½ teaspoon kosher salt, and ¼ teaspoon onion powder. Pulse until the butter is distributed throughout cheese and mixture begins to resemble coarse sand.
- Add 1 cup all-purpose flour to the food processor and pulse 2-5 times just until dough comes together. Add in 2 tablespoons cold water and pulse 2-3 times, until a dough begins to form.
- Turn the dough out onto a lightly floured surface and gently form into a flat disk, no more than ½-inch thick. Cover the dough with plastic wrap and chill for 1 hour or up to 24 hours.
- When ready to shape and bake the cheese crackers, preheat the oven to 350℉/175℃.
- Remove the dough from the refrigerator and place between two pieces of parchment paper. Gently roll the disk out to about ⅛-inch thick. Remove the top layer of parchment paper, and use a knife, pizza cutter, or pastry cutter, cut the dough into ~1-inch strips lengthwise and then repeat width-wise to form ~1-inch squares.
- Place cheese crackers onto a baking sheet about 1-inch apart from each other. Using, a toothpick or end of a skewer, poke a hole in the center of each cracker.
- Bake for 10-13 minutes or until crackers are just set and edges slightly browned. Be sure to watch carefully last couple minutes so crackers don't burn.
- Let cool fully before enjoying or storing the cheese crackers.
Equipment
Notes
Nutrition
Nutrition information is automatically calculated, so should only be used as an approximation.
This post was originally published in 2018 but was updated with new tips in 2024.



Delicious! Thanks for this recipe!
Thanks for taking the time to leave a review Gina!
Can you use Almond or Coconut Flour ?
Hi Melissa! I have not tried these crackers with either, but have used gluten free flour blend with success. The recipe would significantly change in amounts used for flour if using almond or coconut flour.
We made these crackers today when my son wanted cheez-its. They were definitely a winner! We used preshredded cheese because that's all we had. We ended up needing to double the water (I'm guessing to counteract the anti-caking agent). Everyone in the family loved these! We made a double batch and ate almost all of it in one afternoon.
Oh my goodness I love these crackers!!! 🙂
Oh thank you so much! They are quite tasty for sure!
I love the idea of homemade crackers because then you can lower the salt amount! Thanks for an amazing recipe!
Yes, and for so many people that is SO important. Always best to be able to control what is in your food!
I had no idea homemade crackers could be so simple! Can't wait to try it!
So simple!! I hope you enjoy!
These look good. I like the nutrition information but there is no serving size indicated. What is a serving? Thanks!
Hi Barbara, the total recipe makes 16 servings--about 18-20 crackers each.