
This post may contain affiliate links. Please see our disclosure policy.

Instant Pot Mac and Cheese is hands-down the easiest way to make homemade macaroni and cheese. In under 20 minutes, this dump-and cook Instant Pot recipe delivers tender pasta coated in a rich and creamy cheese sauce.
Inspired by my stovetop mac and cheese, this Instant Pot version takes an already simple recipe and makes it even more hands-off. It's a kid-approved dinner that's just as easy as the boxed kind, but tastes so much better.
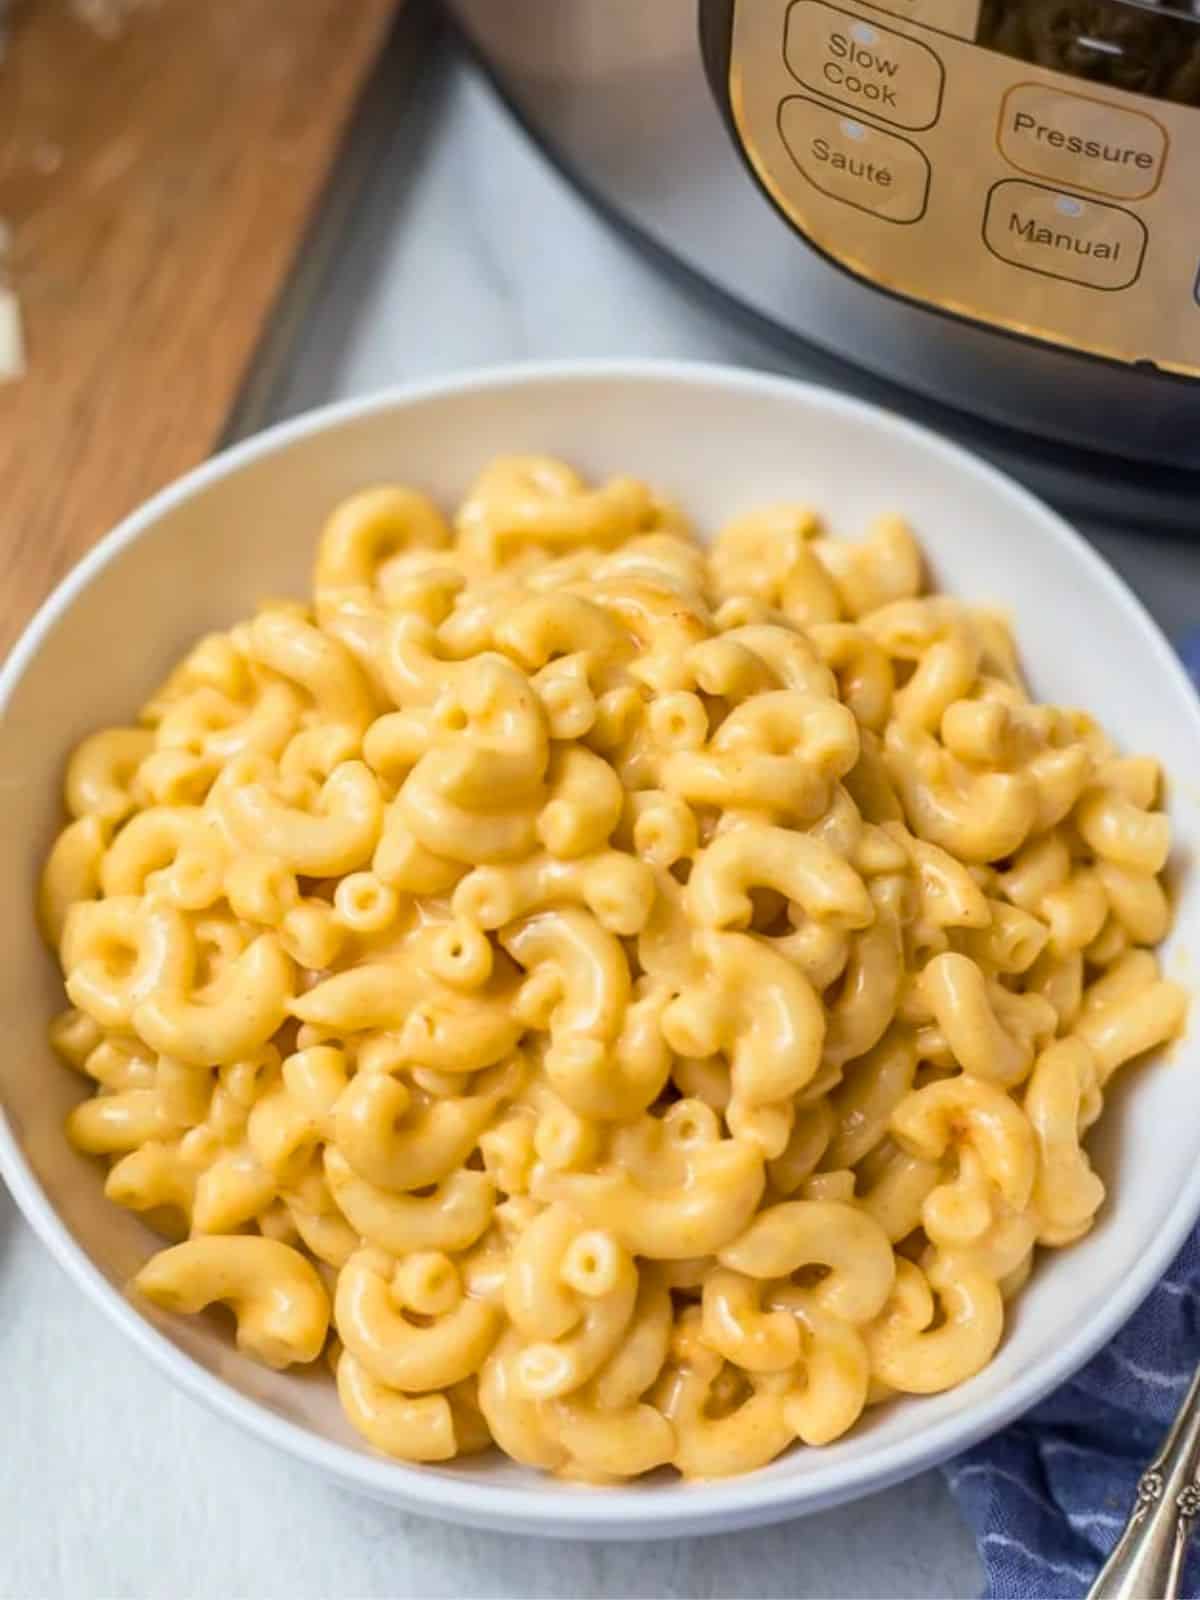
Kristen's Keys for Creamy Instant Pot Mac and Cheese
For perfectly cooked noodles coated in a creamy, cheesy sauce, pay close attention to these tips. They will help you avoid undercooked or mushy pasta and keep the sauce smooth, not grainy.
- Use elbow noodles for precise timing. The timing has been perfected using dried elbow noodles. If you change the type of pasta, the cooking time will change.
- Cook the pasta in broth or stock. That helps to flavor the noodles as they cook more than water alone can do. Chicken stock or vegetable broth work equally well.
- Go for bold cheese. A blend of Swiss, sharp cheddar, and Parmesan gives this macaroni and cheese a deeper, richer flavor than cheddar alone.
- Hand grate the cheese. Pre-shredded cheese is coated in anti-caking agents that prevent a smooth and creamy melt.
- Don't doubt the sour cream. Just a bit helps to balance the rich, sharp cheesy sauce and contribute to the creaminess of dish.
How To Make Instant Pot Mac and Cheese
Whether you are just learning how to use the Instant Pot, or are a seasoned-pro, this step by step section will walk you through how to make the creamiest, cheesiest macaroni and cheese using the Instant Pot. It doesn't get much easier than this!
Step One: Combine
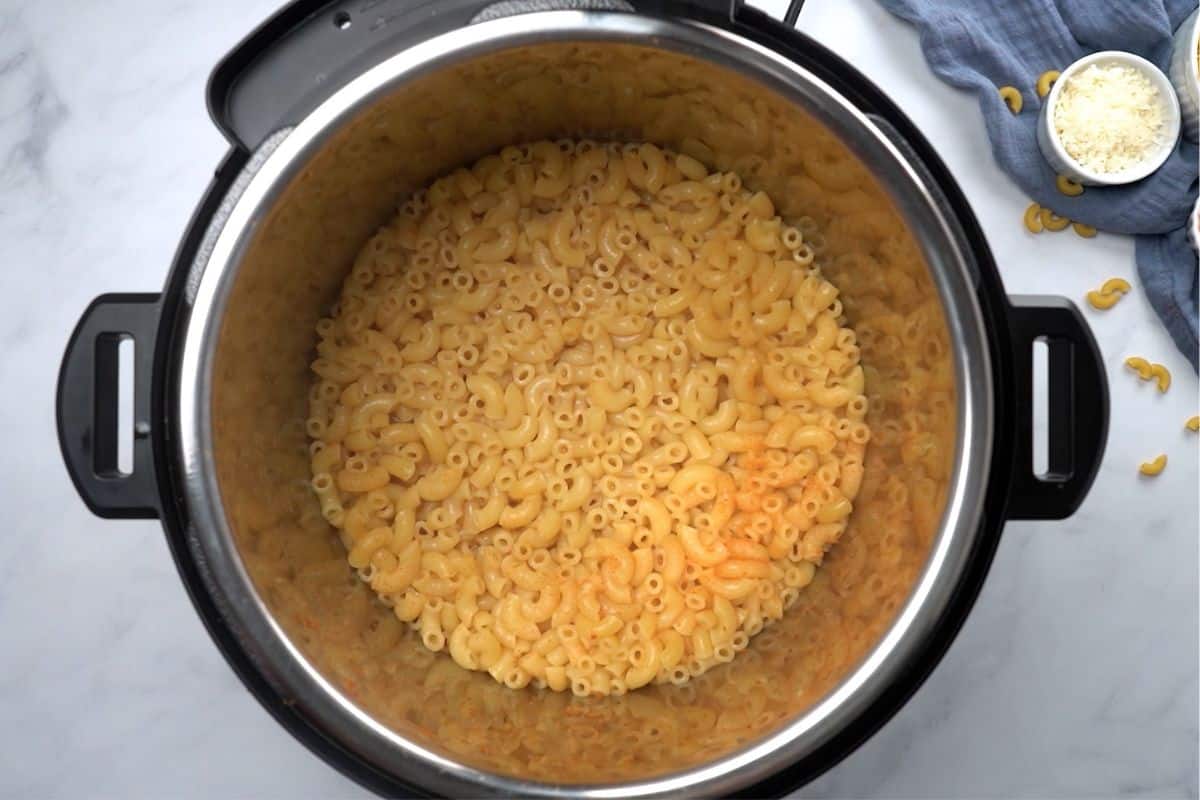
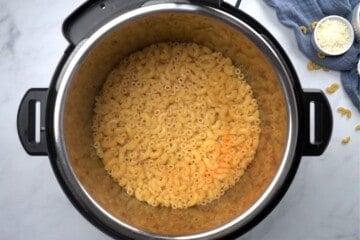
Add broth and seasonings to the pot, stirring to combine. Then, layer in the pasta, pressing it gently into an even layer in the liquid.

Step Two: Pressure Cook
Place the lid on the Instant Pot, lock the vent knob, and use the manual or pressure cook button to set to cook on High Pressure for 3 minutes.
Once the cook time has elapsed, let the pressure release naturally for exactly 5 minutes. After 5 minutes, do a quick release of pressure by knocking the venting knob slowly from the sealed to venting position with a long wooden spoon. Stand back a bit to prevent yourself from getting burned from the steam.
Remember, the key to perfectly cooked Instant Pot pasta is to be precise.
Step Three: Add Cheese and Milk
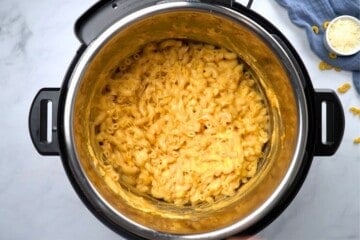
Stir in a bit of milk, then add the cheese a handful at a time, giving it a good stir between each addition so it melts smoothly.
Once combined, stir in the sour cream. If it feels a bit thick, add a bit more milk, a tablespoon at a time, until it's perfectly creamy.
If the cheese is not fully melted at this time, pop the lid back on the Instant Pot and let it sit for a few minutes, that will typically do the trick.

Step Four: Serve Immediately
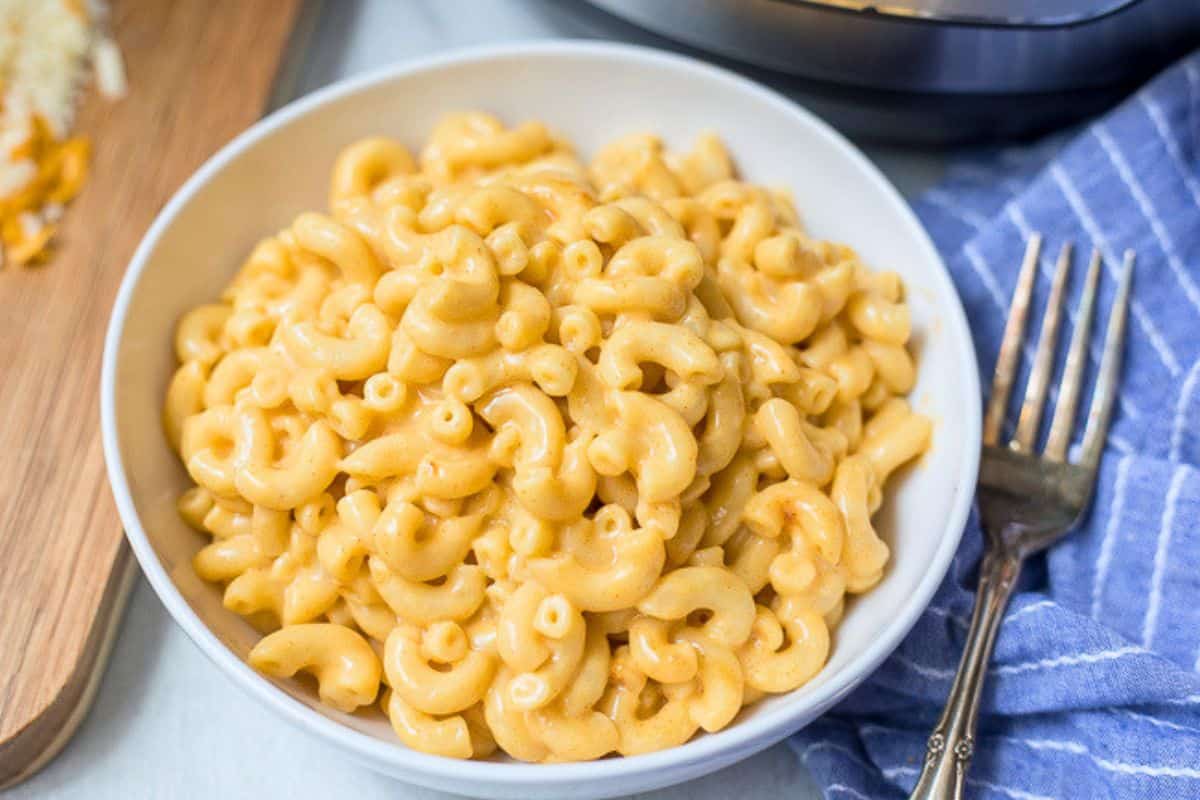
Instant Pot Mac and Cheese is best served immediately. As the noodles sit, they will continue to absorb liquid, which can cause the dish to dry out. And macaroni and cheese is best when it is creamy!
That said, if you do happen to have leftovers, they will keep well for up to 3 days in the refrigerator. You will just want to loosen up the pasta with a splash of milk before reheating to restore that creamy consistency.
Recipe Modifications
- Gluten-free: I have used Barilla gluten-free elbow noodles with success. I have not had success with other gluten-free brands.
- Use a Different Noodle: Rotini noodles can be used with success. Adjust the cook time to 4 minutes on High Pressure with 5 minutes natural pressure release.
- Vegetarian: Use vegetable broth.
- Add Ham: My recipe for Instant Pot Ham and Cheese Pasta adds diced ham and peas to the mix to make this dish feel like a complete dinner.
- Note on Size of Instant Pot. This recipe works as written in a 6 and 8-quart Instant Pot, and needs to be cut in half for a 3-quart Instant Pot. You can also double this recipe successfully in an 8-quart Instant Pot. The cooking times remain the same.
More Easy Kid-Friendly Instant Pot Recipes
- Instant Pot Chicken Tacos
- Instant Pot Hamburger Helper
- Instant Pot Meatloaf and Mashed Potatoes
- Instant Pot Chicken and Rice
- Instant Pot French Dip Sandwiches
- Instant Pot Taco Pasta

Did you make this recipe?
If you enjoyed this recipe, please leave a comment with a 5-star review at the bottom of the post. Thank you!
Instant Pot Mac and Cheese

Video
Ingredients
- 4 cups low-sodium chicken stock, or vegetable broth
- 1 teaspoon kosher salt
- ½ teaspoon garlic powder
- ½ teaspoon onion powder
- ½ teaspoon paprika
- 16 ounces elbow noodles, whole wheat or regular (~4 cups)
- 2 cups shredded sharp cheddar cheese
- 1 cup shredded Swiss cheese
- ¼ cup grated Parmesan cheese
- ¼ cup milk, + more if needed to thin
- ¼ cup sour cream, optional
Instructions
- Add 4 cups low-sodium chicken stock to the inner pot. Stir in 1 teaspoon kosher salt, ½ teaspoon garlic powder, ½ teaspoon onion powder, and ½ teaspoon paprika. Add 16 ounces elbow noodles and gently push the noodles into the broth so that they are in an even layer and fully submerged.

- Place the lid on the pressure cooker and be sure the vent knob is pointed towards sealed. Set to cook on high pressure for 3 minutes by hitting manual or pressure cook and use the +/- buttons to adjust the time.
- When the cooking time has finished, let the pressure release naturally for EXACTLY 5 minutes. Then do a quick release of pressure by using a pot holder or long spoon to move the venting knob from the sealed to the venting position. Stand away from the steam, so as to not get burned.
- Add in ¼ cup milk and stir well. Add the cheese, one handful at a time, stirring to melt in between each addition. Once the cheese is added, add in ¼ cup sour cream and stir well. If needed, add an additional tablespoon of milk more at a time to loosen up macaroni and cheese if needed.
- Taste and add in additional salt or pepper if needed and then serve.

Notes
Nutrition
Nutrition information is automatically calculated, so should only be used as an approximation.
This recipe was originally shared in 2019 and updated in 2026.



Can you bake the result?
Hi John! I have added a breadcrumb topping before and browned lightly (at 375 for 15 minutes or so) but I wouldn't go longer than that, as the sauce may dry out.
I accidentally got large elbow macaroni. The directions say that you should boil noodles for 10-12 minutes. I bet that’s a little bit longer than regular macaroni. So I’m wondering if you have any advice on adjusting the time. I thought maybe just add one minute… Appreciate your help.
Hi Raquel. I would cook for 5 minutes with 5 minutes natural pressure release. Enjoy!
I make this with gluten free noodles. I am in Canada so use brands of noodles I find there. It always turns out. I use exactly the same amounts as in this recipe and the same timing. I do use bagged cheese very often. I never have a problem with it, but it’s possible our cheese does not have as many caking agents on it. It always goes to school in a thermos the next day for lunches. I add a few tablespoons of milk to the top of the thermos and I don’t get any complaints. Great easy recipe.
Thank you so much for sharing your experience, Donna! I would be curious to compare the shredded cheese sold in US to Canada. There may be differences. And love your tip on adding milk for lunches 🙂
Did not care for this nor did the kids. I love the idea of using the instant pot and the cooking method was perfect. I guess what we didn't like was the broth , combination of spices and the Swiss cheese. I will use the cooking method but change the recipe to our liking.
Hi Debbie. I am sorry you didn't care for the flavor. If you were looking for a Kraft Mac and Cheese flavor, this is not going to deliver that. Feel free to omit all the seasonings, cook in water and add salt and cheddar or grated American cheese if desired.
Thank you I will try that. Yes we do like the Kraft Mac and Cheese flavor.
Thanks for this recipe! Can't wait to try it but I do have a question or should I say mystery. I buy the organic or grass fed block cheddar cheese at Natural Grocers and grate my own. But every time I use this cheese in dishes it tends to get stringy. I have even tried other brands. What keeps the cheese in this recipe from getting stringy? Any suggestions would be helpful.
Oh that is a mystery. I only have that issue when I don't grate my own cheese. Can you tell me the brand you are using, I may need to experiment with it.
Is homemade broth the best? Of course, but one doesn’t always HAVE homemade broth on hand. In that case I recommend using Better Than Bouillon. You can choose Roasted Vegetable or any number of other broths - Seasoned Garlic, Mushroom, Sauteed Onion or many others from which you may choose. I've used many broths from BTB and find them to be excellent.
I also like Kristen's idea of using several varieties of cheese.
I bet those would all be delicious options in this Mac and Cheese and would add additional flavor. Just keep in mind (for those reading), Better than Bouillon is higher in sodium so you will need to adjust the added seasonings.
Very good and great directions! I added stoneground prepared mustard and omitted sour cream…So good! Have you ever tried with sautéed onions? Thank you so much for sharing such great information and healthy recipes!
Hi Rachel! I love the addition of mustard! As for onions, you can opt to saute the mushrooms in the inner pot before pressure cooking and proceed with the recipe (being sure to scrape up any browned bits) OR add after pressure cooking for a caramelized texture.