
This post may contain affiliate links. Please see our disclosure policy.

Homemade Yogurt has NEVER been easier than with this Cold Start Instant Pot Yogurt. Two ingredients and time is all you need to have perfect, creamy, thick yogurt.
If you are looking to make yogurt without ultra-pasteurized milk, be sure to grab my recipe for Instant Pot Yogurt. If you are looking for more Instant Pot Recipes, please check out all Instant Pot Recipes.
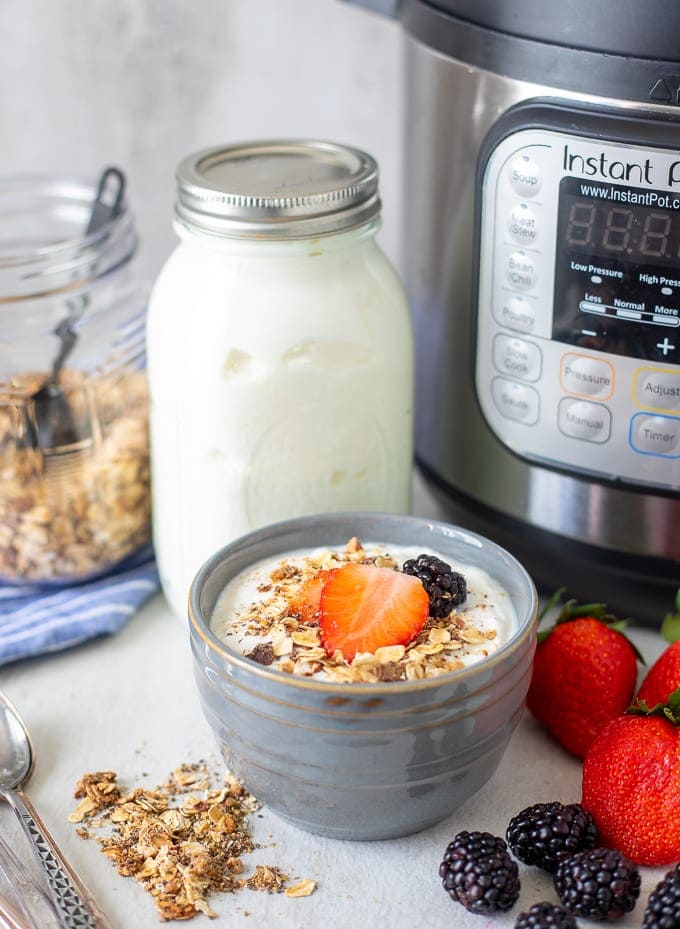
One of the biggest reasons I love my pressure cooker is for Homemade Yogurt.
It was one of the first recipes I mastered and I make it every week.
But a lot of people have been asking how to make Cold Start Yogurt, and I am here to say, that Instant Pot Cold Start Yogurt is so much easier than my original Instant Pot Yogurt Recipe.
Cold Start Yogurt
It could not be easier to make yogurt using cold start yogurt, and it is nearly IMPOSSIBLE to mess up--the same can not be said about my traditional Instant Pot Yogurt.
There are no thermometers needed, no boiling of milk, and no wondering if your milk didn't reach the right temperature to achieve perfect yogurt. Plus cold start yogurt comes out thick, just like Greek yogurt--no need for straining!
Just two simple ingredients and a pressure cooker are all that is needed for this cold start yogurt.
Ingredients for Cold Start Yogurt
- Ultra Pasteurized Milk or Ultra-Filtered Milk
- 2 tablespoons plain yogurt with active cultures or a yogurt starter
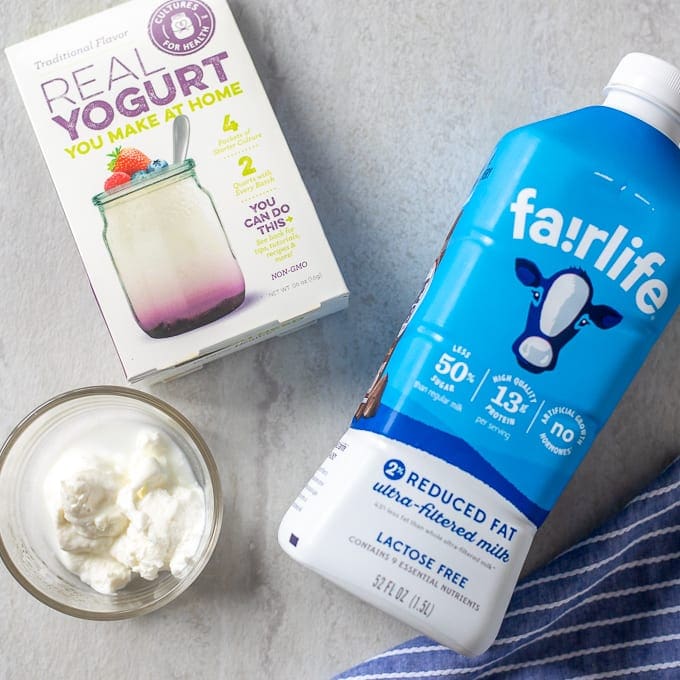
Ultra Filtered or Ultra Pasteurized?
Cold start yogurt works using milk that is ultra-pasteurized. That said, for the creamiest, thickest yogurt, ultra-filtered milk works best.
Ultra-Filtered milk is still pasteurized, but it also goes through a special filtration process. The result is ultra-filtered milk with 50% more protein, 30% more calcium and half the sugar of regular milk and lactose free. Which yields a yogurt that is creamier and thicker. It also is higher in protein and calcium and lower in sugar--perfect for anyone watching their sugars.
You can look for a brand, like Fairlife brand for ultra-filtered milk.
How To Make Cold Start Yogurt
Step One: Clean your Instant Pot
- Be sure your pressure cooker is clean and you use a clean inner ring when making yogurt--no one wants yogurt tasting like Instant Pot Chili!
- I wipe my inner pot down with vinegar and then rinse well and dry.
- I also recommend a separate sealing ring to use for yogurt--not necessary but it does help!
Step Two: Add Milk and Starter to Pressure Cooker
- Whisk 1 cup of the milk with the starter until well combined.
- Pour remaining milk into inner pot of pressure cooker.
- Whisk in starter mixture.
Step Three: Incubate Yogurt
- Place lid on pressure cooker.
- Hit "Yogurt" and it should read 8:00. Be sure NORMAL is lit up. If LOW is let up, you must change to normal heat for incubation to occur, by hitting yogurt again until normal is lit up.
- Let it begin to incubate.
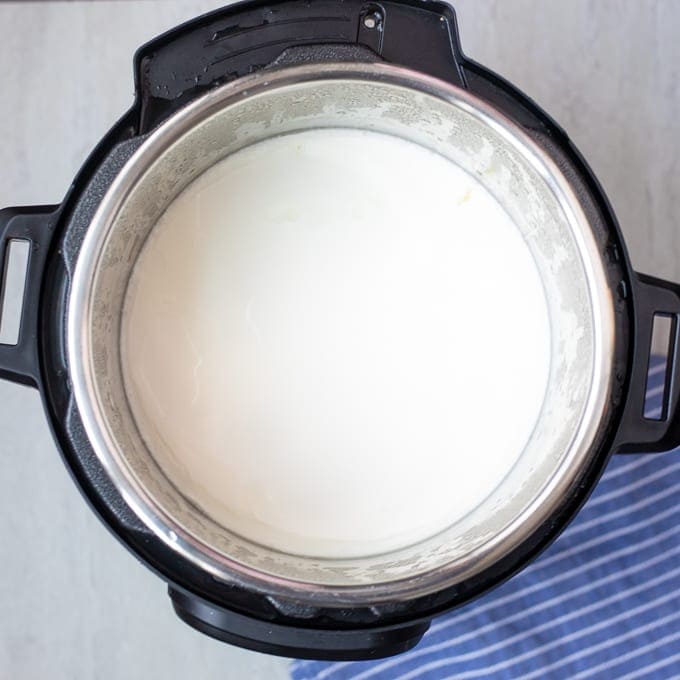
Step Four: Refrigerate Yogurt
- After 8 hours, remove inner pot from pressure cooker.
- Cover with plastic wrap and refrigerate for another 8 hours.
- Place yogurt in glass jars to store in refrigerator.
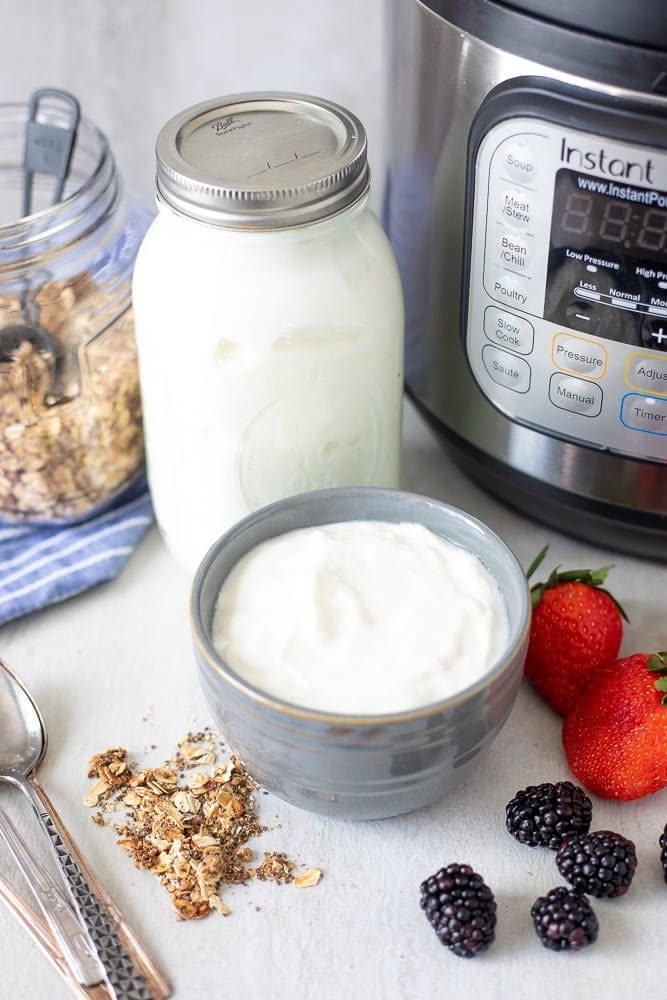
Tips for Making Cold Start Yogurt
- There is NO substitution for ultra-pasteurized milk. If you do not use ultra-pasteurized milk, you need to follow these instructions for Instant Pot Yogurt. Most Organic Milks are Ultra-Pasteurized as well--but be sure it is labeled "ultra-pasteurized"
- Use any percentage of fat milk you like for this cold start yogurt, the higher the fat percentage the creamier the yogurt. I prefer 2% Ultra Pasteurized Milk.
- You can cut this recipe in half, or if you have an 8-quart pressure cooker, you can also double this recipe for homemade yogurt.
- For homemade yogurt, you must use either use a yogurt starter or plain yogurt with active live cultures. I like to use plain Greek yogurt--Chobani or the store brand.
- Feel free to sweeten yogurt with vanilla extract, honey, maple syrup, or fruit AFTER incubating.
- A huge tip for making yogurt in the future is to FREEZE your starter immediately after fresh yogurt is made. I recommend using an ice cube tray. Each ice cube holds 1 tablespoon of yogurt so you will know exactly how much yogurt to defrost when making a new yogurt batch. Just be sure to thaw your yogurt cubes in the fridge to not alter the cultures in the yogurt.
- If you would like tangier yogurt, set the incubation period to 10 hours instead of 8 hours.
- Homemade yogurt should last for up to 10-14 days in your refrigerator.
More Instant Pot Basic Recipes
- Instant Pot Chicken Stock
- Instant Pot Spaghetti Sauce
- Instant Pot Chicken Breasts
- Instant Pot Beans
- Perfect Instant Pot Hard Boiled Eggs
- Instant Pot Steel Cut Oats
Instant Pot Cold Start Yogurt

Video
Ingredients
- 52 ounces Ultra Pasteurized Milk, Ultra-Filtered is BEST--see notes
- 2 tablespoons prepared yogurt with live cultures, or yogurt starter
Instructions
- Whisk 1 cup of milk with 2 tablespoons prepared yogurt with live cultures (or starter) until well combined.
- Pour the remaining amount of 52 ounces Ultra Pasteurized Milk into the inner pot of pressure cooker and then whisk in starter mixture.
- Place lid on the pressure cooker. There is no need to seal.
- To set the incubation time, hit yogurt function and then adjust function until the time reads 8:00 (be sure pressure is at normal and not low--if at low hit yogurt again.) *See recipe notes on using a Duo Plus Model.
- After the 8 hour incubation period, remove inner pot from pressure cooker. Cover with plastic wrap and place in refrigerator for 8 hours.
- After refrigeration, store yogurt in glass containers for 10-14 days.
Notes
Nutrition
Nutrition information is automatically calculated, so should only be used as an approximation.
This instant pot yogurt method was named "Cold Start" by Freida Loves Bread to the best of my knowledge.




I would like to make the yogurt sweeter. Is it okay add sweetened condensed milk.
Hi Louise. Feel free to add 1/2 to 1 can of sweetened condensed milk. I don't add it because I don't want added sugar in my yogurt (and this is still thick and smooth) but it does not change the process if you add it in.
Thank you.
I have a EVO DUO PLUS so do I press manual and set @ 110 and then press yogurt??
will the it also show the normal function??
Hi Angie! To use the yogurt funtion, press the yogurt button and turn the knob to the ferment and then press the start button. The display will read 08:00 which will begin the incubation stage.
I used organic ultra pasteurized 2% milk and after 10 hours it did not set up. Any idea what went wrong? I have used this method before and it worked. I use my homemade organic yogurt as a starter. Weird.
Hi Mary! I am sorry you had an issue with the yogurt setting up. Was it a different brand of milk than what you used before? If not, I would suggest purchasing a small container of yogurt and using that as a new starter. I have found that ultra-pasteurized, ultra-filtered milk works better than simply ultra-pasteurized.
I find that I must use the sanitize selection on my instant pot Duo before makeing a batch of yogurt. I put 3 cups water and my metal measuring spoons and whisk into the instant pot and close the seal and let it pressurize for 3 minutes. When done in quick release the steam and open top. Now everything is sterilized. If I don't do this I get watery yogurt that's doesn't set up and smells yeasty .
Thanks for sharing this, Deidre!
Ultra pasteurized is not same as ultra filtered. Would still have to heat and cool as if using regular milk. Otherwise the enzymes in milk would prevent yogurt from forming properly. I learned this from experience too
If I double the recipe, would the incubation period still be 8 hours?
Yes 🙂 Enjoy!
I LOVE making this. So easy and tastes great. However, I messed up and need help.
Something came up this evening and I forgot to put it in the fridge. So after the incubation, it sat for about 5 hours in the instant pot. Will it still be okay? I just moved it to the fridge. 😬. Help please.
Hi Jill! First of all, I am so happy to hear you enjoy this yogurt recipe. As for leaving out for 5 hours, I personally would discard it. Anything after 2 hours at room temperature is at risk for bacterial growth and with dairy that time is even less. Sorry!
Hi!
Thank you so much for the recipe, I have a question, I need to put the yogurt in the fridge right away after the instant pot finishes the process?? Is it hot?? It doesn't matter?
Hi Diana! It will be about 100 degrees--so not horribly hot. Refrigeration right away should not hurt.
I make this every week. My husband loves it. I have found a few things out since I started. Oikos plain Greek yogurt makes the best starter. Add 2 tbsp along with the milk. It needs to be fresh. Stir very well using a wire whisk to get it evenly mixed or it will stick to the bottom. I use Fairlife milk and never have to strain it.
I have the instant pot pro crisp model which does not have the yogurt setting. I haven’t seen any methods for machines that don’t have the yogurt option on the web. Perhaps this is one of the first machines not to have the option.
I am tempted to try this recipe using the sous vide setting as I can regulate the temperature to 115 F (I tested the water to see if it reached 110 but it came out slightly shy). I understand a range of 110 to 115 is ok for producing yogurt. Seeing you are starting cold with ultra filtered milk, I think using that product with the sous vide setting may work. Any thoughts or suggestions will be appreciated.
I would love to figure out how to do the traditional method with regular milk but that will have to wait. One experiment at a time.
Hi Cynthia! Given the precise temp and control over the sous vide function, this should work well!
So, I posted about this yesterday but I didn’t post as a reply here so it may be lost in the conversation. I got the Duocrisp for Christmas and tried yogurt yesterday for the first time according to this question, as I also don’t have the yogurt button. I had no idea what I was doing and totally expected it to be a big mess when it came out. But for not knowing what I was doing and having no idea what to expect, I was pretty happy with the results! The only thing I was a little disappointed with was that I had confirmation that I need to get extra seals because it had a slight smell and taste of chicken soup, but the consistency was pretty good! I really appreciate that I was able to follow these comments and know what to do to try this! And I can g do infirm for anyone who may not have tried it yet that yes, it does work to use the sous vide setting at 115 degrees for 8 hours. Thank you so much for your advice and help!!