
This post may contain affiliate links. Please see our disclosure policy.
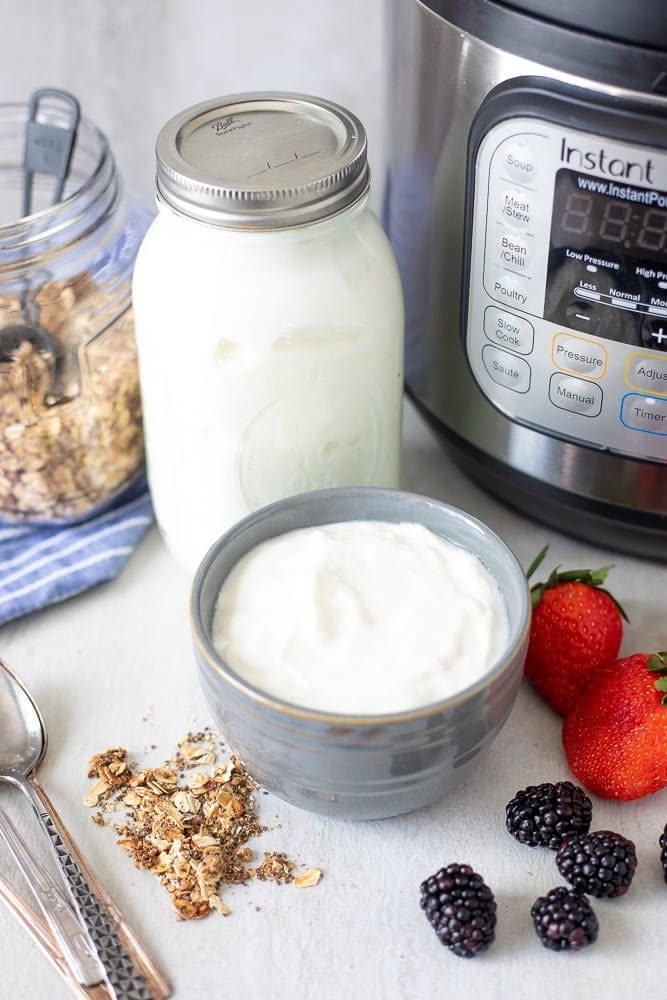
Homemade Yogurt has NEVER been easier than with this Cold Start Instant Pot Yogurt. Two ingredients and time is all you need to have perfect, creamy, thick yogurt.
If you are looking to make yogurt without ultra-pasteurized milk, be sure to grab my recipe for Instant Pot Yogurt. If you are looking for more Instant Pot Recipes, please check out all Instant Pot Recipes.
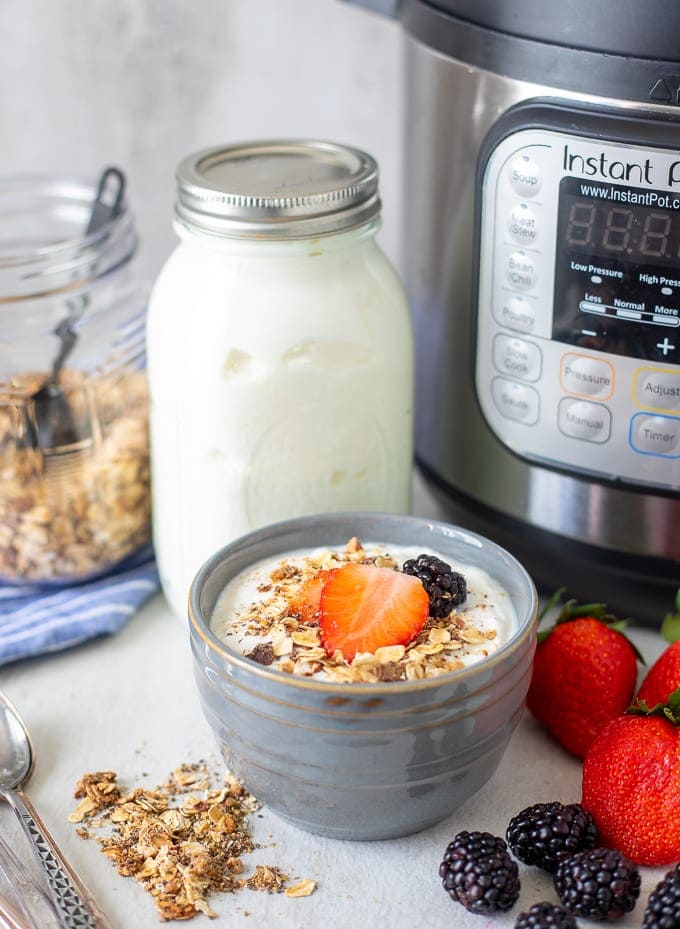
One of the biggest reasons I love my pressure cooker is for Homemade Yogurt.
It was one of the first recipes I mastered and I make it every week.
But a lot of people have been asking how to make Cold Start Yogurt, and I am here to say, that Instant Pot Cold Start Yogurt is so much easier than my original Instant Pot Yogurt Recipe.
Cold Start Yogurt
It could not be easier to make yogurt using cold start yogurt, and it is nearly IMPOSSIBLE to mess up--the same can not be said about my traditional Instant Pot Yogurt.
There are no thermometers needed, no boiling of milk, and no wondering if your milk didn't reach the right temperature to achieve perfect yogurt. Plus cold start yogurt comes out thick, just like Greek yogurt--no need for straining!
Just two simple ingredients and a pressure cooker are all that is needed for this cold start yogurt.
Ingredients for Cold Start Yogurt
- Ultra Pasteurized Milk or Ultra-Filtered Milk
- 2 tablespoons plain yogurt with active cultures or a yogurt starter
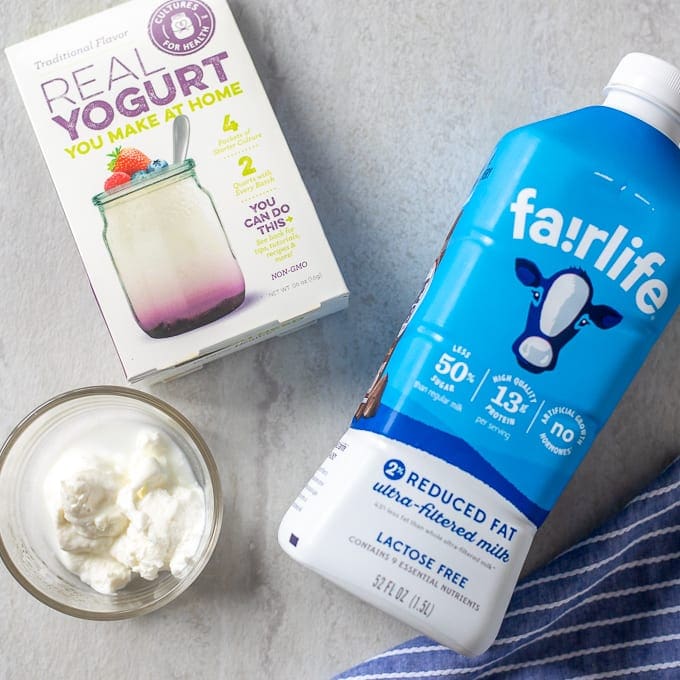
Ultra Filtered or Ultra Pasteurized?
Cold start yogurt works using milk that is ultra-pasteurized. That said, for the creamiest, thickest yogurt, ultra-filtered milk works best.
Ultra-Filtered milk is still pasteurized, but it also goes through a special filtration process. The result is ultra-filtered milk with 50% more protein, 30% more calcium and half the sugar of regular milk and lactose free. Which yields a yogurt that is creamier and thicker. It also is higher in protein and calcium and lower in sugar--perfect for anyone watching their sugars.
You can look for a brand, like Fairlife brand for ultra-filtered milk.
How To Make Cold Start Yogurt
Step One: Clean your Instant Pot
- Be sure your pressure cooker is clean and you use a clean inner ring when making yogurt--no one wants yogurt tasting like Instant Pot Chili!
- I wipe my inner pot down with vinegar and then rinse well and dry.
- I also recommend a separate sealing ring to use for yogurt--not necessary but it does help!
Step Two: Add Milk and Starter to Pressure Cooker
- Whisk 1 cup of the milk with the starter until well combined.
- Pour remaining milk into inner pot of pressure cooker.
- Whisk in starter mixture.
Step Three: Incubate Yogurt
- Place lid on pressure cooker.
- Hit "Yogurt" and it should read 8:00. Be sure NORMAL is lit up. If LOW is let up, you must change to normal heat for incubation to occur, by hitting yogurt again until normal is lit up.
- Let it begin to incubate.
Step Four: Refrigerate Yogurt
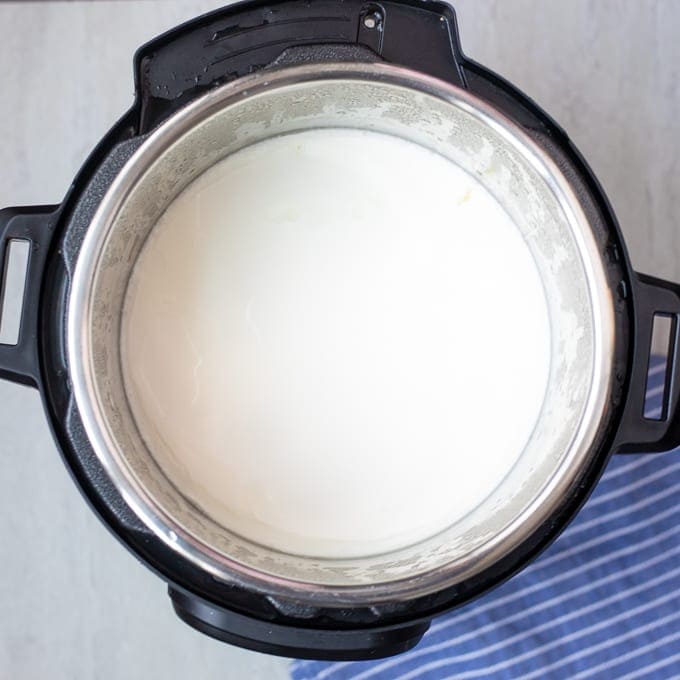
- After 8 hours, remove inner pot from pressure cooker.
- Cover with plastic wrap and refrigerate for another 8 hours.
- Place yogurt in glass jars to store in refrigerator.
Tips for Making Cold Start Yogurt
- There is NO substitution for ultra-pasteurized milk. If you do not use ultra-pasteurized milk, you need to follow these instructions for Instant Pot Yogurt. Most Organic Milks are Ultra-Pasteurized as well--but be sure it is labeled "ultra-pasteurized"
- Use any percentage of fat milk you like for this cold start yogurt, the higher the fat percentage the creamier the yogurt. I prefer 2% Ultra Pasteurized Milk.
- You can cut this recipe in half, or if you have an 8-quart pressure cooker, you can also double this recipe for homemade yogurt.
- For homemade yogurt, you must use either use a yogurt starter or plain yogurt with active live cultures. I like to use plain Greek yogurt--Chobani or the store brand.
- Feel free to sweeten yogurt with vanilla extract, honey, maple syrup, or fruit AFTER incubating.
- A huge tip for making yogurt in the future is to FREEZE your starter immediately after fresh yogurt is made. I recommend using an ice cube tray. Each ice cube holds 1 tablespoon of yogurt so you will know exactly how much yogurt to defrost when making a new yogurt batch. Just be sure to thaw your yogurt cubes in the fridge to not alter the cultures in the yogurt.
- If you would like tangier yogurt, set the incubation period to 10 hours instead of 8 hours.
- Homemade yogurt should last for up to 10-14 days in your refrigerator.
More Instant Pot Basic Recipes
- Instant Pot Chicken Stock
- Instant Pot Spaghetti Sauce
- Instant Pot Chicken Breasts
- Instant Pot Beans
- Perfect Instant Pot Hard Boiled Eggs
- Instant Pot Steel Cut Oats
Instant Pot Cold Start Yogurt

Video
Ingredients
- 52 ounces Ultra Pasteurized Milk, Ultra-Filtered is BEST--see notes
- 2 tablespoons prepared yogurt with live cultures, or yogurt starter
Instructions
- Whisk 1 cup of milk with 2 tablespoons prepared yogurt with live cultures (or starter) until well combined.
- Pour the remaining amount of 52 ounces Ultra Pasteurized Milk into the inner pot of pressure cooker and then whisk in starter mixture.
- Place lid on the pressure cooker. There is no need to seal.
- To set the incubation time, hit yogurt function and then adjust function until the time reads 8:00 (be sure pressure is at normal and not low--if at low hit yogurt again.) *See recipe notes on using a Duo Plus Model.
- After the 8 hour incubation period, remove inner pot from pressure cooker. Cover with plastic wrap and place in refrigerator for 8 hours.
- After refrigeration, store yogurt in glass containers for 10-14 days.
Notes
Nutrition
Nutrition information is automatically calculated, so should only be used as an approximation.
This instant pot yogurt method was named "Cold Start" by Freida Loves Bread to the best of my knowledge.




Cold start yogurt is revolutionary! Thank you so much!
Here are a couple hacks that I found by on-line research and my own practice:
-You can place a dinner plate on top of your IP for a cover. (Right? Is it necessary to seal with your appliance's lid?) I do this all the time. Much easier.
-There are several brands that have brought out ultra-filtered milk. We have a NW brand, Darigold, and I've also found it at Trader Joe's. Both work great.
-My 59-oz finished batch fits beautifully into an old half-gallon recycled yogurt container I saved years ago. When it's been almost all eaten up but is still healthy, I whisk around the next batch's cup of milk to scrape off all the remains and add them to the 2Tbsp starter I froze when the previous batch was fresh. I get great yogurt! Thick, creamy, mild. My original starter was Fage 5%.
Okay … I will try again with Fair life milk - I did use ultra pasteurized milk, however, as I had 32 ounces (not making a full batch as it was my first time), I used about 2 1/2 tablespoons of starter from Chobani non fat yogurt. My yogurt gave out runny.
Two questions:
1) can you use non fat yogurt with full or whole ultra pasteurized ultra filtered milk?
Or should I use whole plain yogurt for the starter?
If not, recommendations.
2) As I am eating homemade yogurt for the first time, should I ease into eating it (like a tablespoon at a time)?
Thank you!
Hi Wendy! First, be sure your temperature was set to NORMAL not low for incubation, as that is a a common error. But Fairlife is the best option for cold start method. Now for your questions, nonfat yogurt is fine when using whole milk. And I find no difference in tolerance eating homemade vs. store-bought. I hope that helps.
So happy I found your recipe. I used the cold start method and the yogurt came out perfect. I was just wondering how to make it sweeter because I find it's a little too bland for me. I already put the batch in individual 4 ounce jars so I just have to experiment with how much maple syrup or honey to put in. Can I add a can of sweetened condensed milk at the start? Does adding it change anything?
Hi Miriam! I am thrilled you found this process so easy for you 🙂 Feel free to add 1/2 to 1 can of sweetened condensed milk prior to incubating.
Thanks for getting back to me. One last question. Do I change the time or keep to the 8 hours?
The timing and other instructions will remain the same. 🙂
This didn’t work at all for me…. I followed the instructions- set to 110 for 8 hours and then out in the fridge. All I have is tart smelling milk. Any ideas???
Hi Lisa! I am sorry this didn't work out. It sounds like your starter may have not been good OR you used milk that was not ultra-pasteurized. Let me know the starter and type of milk you used and I can further troubleshoot.
Why? Why? But why did I wait so long to make my own yogurt. So easy and delicious. I only used 1.5 tbsp of starter yogurt because fairlife milk is not quite half gallon and it's amazing that it's not as tart as the starter yogurt i used and I love it. Will make regularly. 💖
So thrilled you finally gave this a try, Caterina! Thrilled you enjoy!
I’ve made this yogurt every week for years; sometimes twice weekly! It’s delicious, healthy, and easy peasy! Recently though, I’ve noticed that the yogurt is coming out runny compared to the thick yogurt my family has enjoyed for years. I’m really glad that I came across this recipe this evening with the note about the yogurt function being set to “normal” and not on “low”. I do not know why my recent batches were runny, but seeing the note in your recipe will remind me to check that (and adjust it) next time. Thanks!
Hi Angela! I hope that helps you solve the issue! If not, it may be a quality issue with the milk you are using. Some brands make small changes and that can impact things.
I’m about to try the recipe. But I’m so excited to write about what I just learned, I couldn’t wait to tell you all.
The way to get the odor out of the I P ring is to bake it. At least at 180 degrees for… I did mine for 10 minutes. Maybe less time is ok too.
What a difference having an odor free ring.
Thanks for all you do.
Lisa in San Rafael, California
Thanks for sharing, Lisa! That is one trick I haven't tried before. And enioy the yogurt.