
This post may contain affiliate links. Please see our disclosure policy.

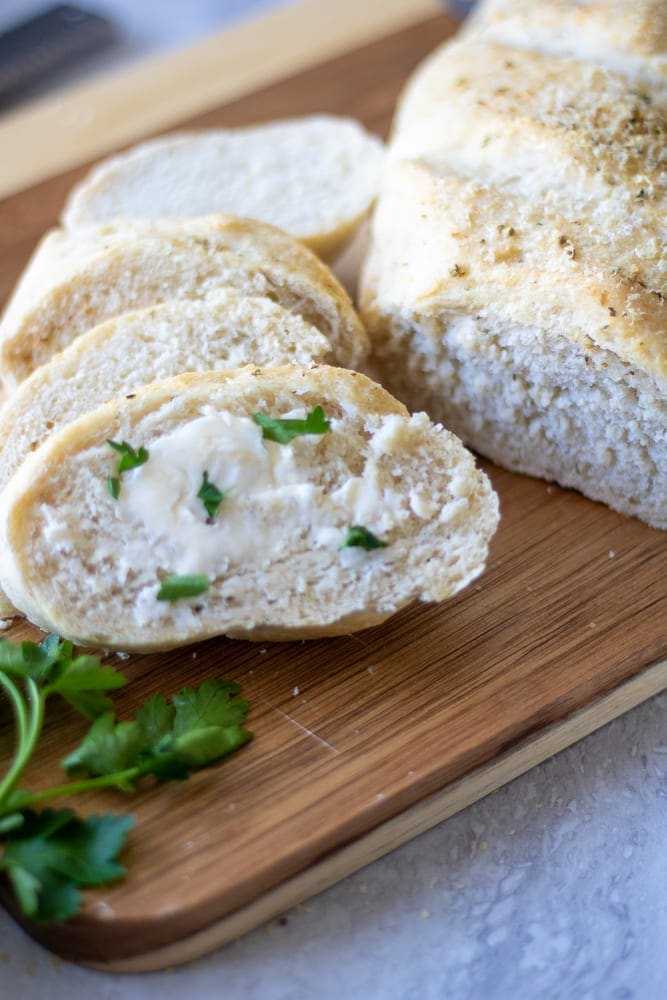
You will be amazed at just how easy it is to make Italian Bread at home. This recipe comes together with pantry staples and features a crispy crust and a soft, tender interior. Add Italian spices or garlic for extra flavor, or keep it simple. Either way, you can't go wrong!
Looking for more homemade bread recipes? Don't miss my recipes for Honey Whole Wheat Bread, Whole Wheat Cinnamon Raisin Bread, and Dutch Oven Bread.
Kristen's Keys for Homemade Italian Bread
While people can be intimidated by the thought of making homemade bread, Italian bread is quite easy to make -- as long as you pay attention to the following tips.
- Get the water temperature right (about 105°F). Too hot kills the yeast, too cool won't activate it. Either way, your dough won't rise, and that's a hard stop before you even begin.
- Use dry active yeast, not instant yeast. And check the expiration date to ensure your yeast has not expired.
- Measure flour correctly (spoon and level, don't scoop). Too much flour leads to dense, heavy bread instead of that soft, tender interior you're after.
- Don't rush the rise. Under-proofed dough equals a tight, dense texture. Giving it time for the dough to double creates that light, airy crumb that makes homemade bread worth the effort.
How to Make Italian Bread
Let me walk you through the step-by-step process of making Italian bread at home. I promise it is easier than you may think.
Step One: Bloom Yeast
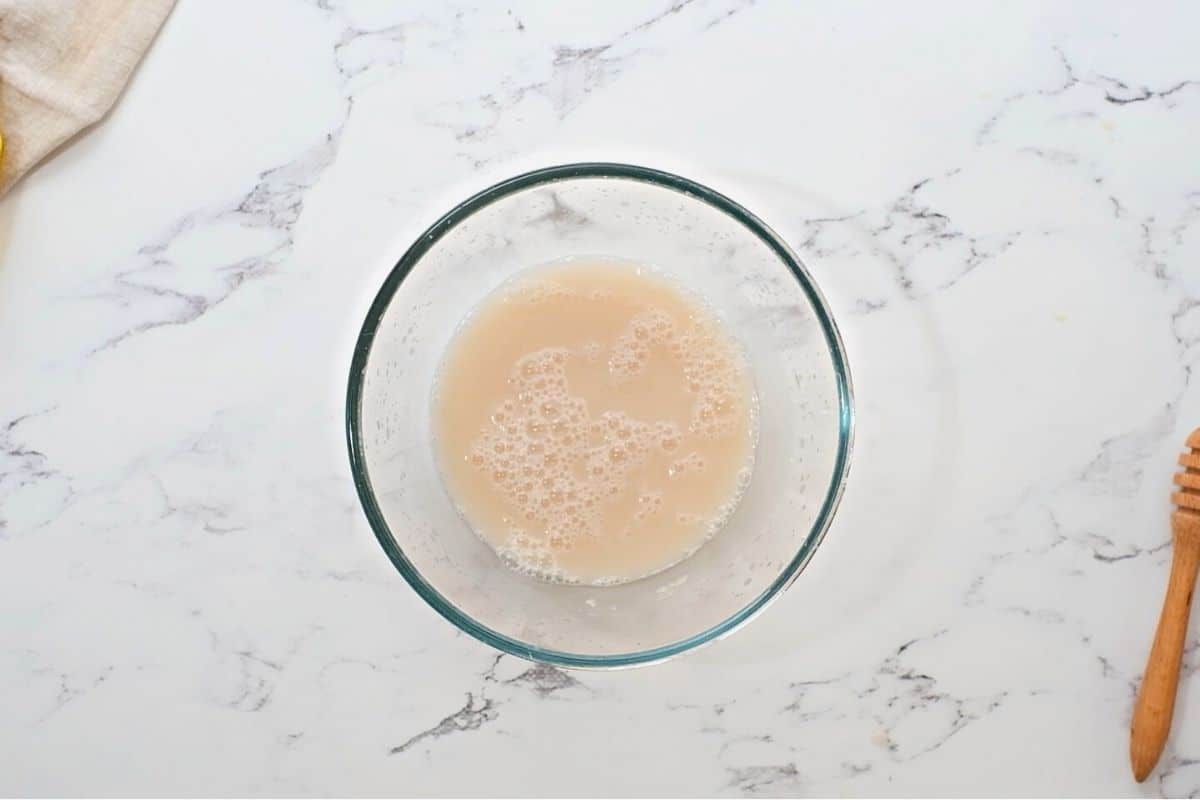
Combine warm water and sugar in a bowl. Sprinkle yeast over the mixture and let the yeast bloom in the water for 5-10 minutes or until foamy. If your mixture is not foamy, discard and start over. It may be that your yeast has expired or the water was too hot or too cold to activate the yeast.
Step Two: Prepare Dough
While the yeast is blooming, mix the flour, salt, and optional seasonings in either the bowl for the stand mixer or a large mixing bowl. Pour the yeast water into the flour mixture and using either a wooden spoon or the mixing hook on a stand mixer, mix until just combined.
Step Three: Knead the Dough
Once the flour is fully moistened, it is time to knead the dough. You can do this by using the dough hook on a stand mixer OR by hand on a floured surface.
- If using a stand mixer, mix at medium-low speed until the dough is nice and smooth and pulls away from the bowl easily. This will take about 5 minutes.
- If you are kneading the dough by hand, turn the dough out onto a floured surface and knead by hand until the dough is nice and smooth. This will take about 10 minutes.
Step Four: Let the Dough Rise
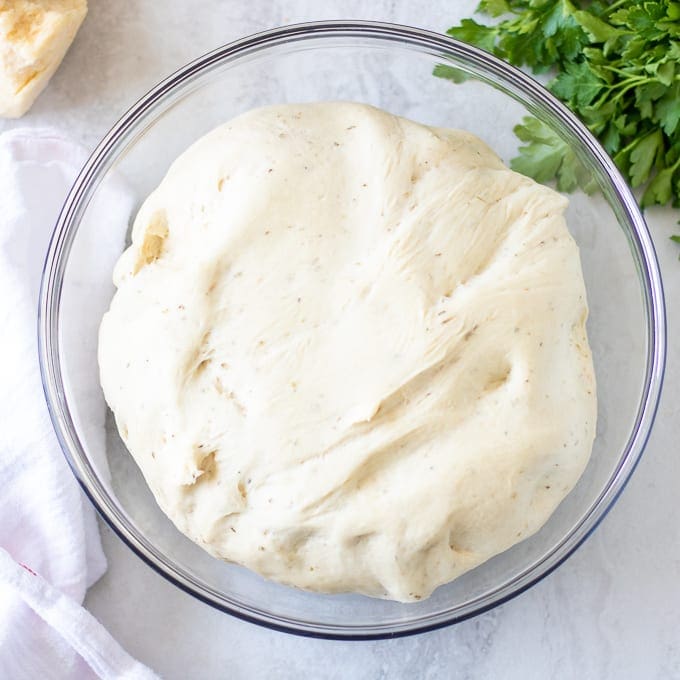
Place the dough in an oiled bowl, cover, and let rise in a warm place until double in size, about 1-2 hours depending on the temperature of your house.
Step Five: Shape
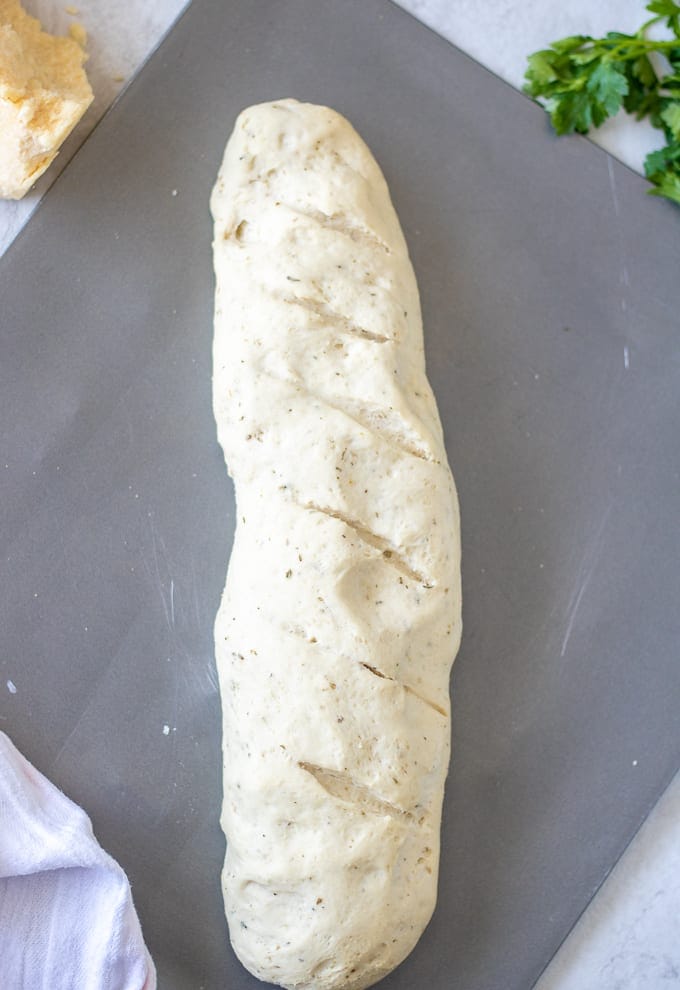
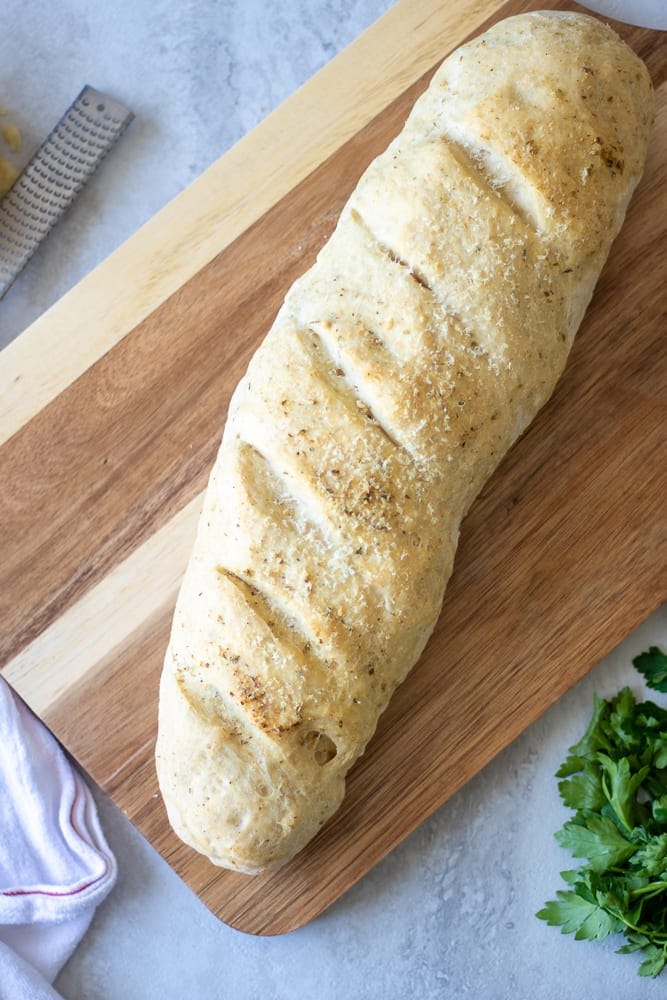
Once the dough has doubled in size, punch down the dough and shape it into a long oval shape. Cut diagonal slits on top of the bread every 2-3 inches. Cover Italian Bread Dough with a kitchen towel and let double in size again.
Step Six: Bake
Once doubled in size, brush the dough LIGHTLY with olive oil to help achieve a nice golden crust. If desired, sprinkle with a bit of parmesan cheese.
Then bake until golden and the internal temperature reaches 190℉. No thermometer? Tap the bottom of the loaf of bread, if it sounds hollow, is baked through.
Bread Machine Instructions
You can prepare the dough for Italian Bread using a bread machine if you happen to have one, making this recipe even easier!
To prepare the dough using a bread maker, place the ingredients into the loaf pan in the order indicated per your machine's instructions. For most bread makers, this would be to pour in the warm water, top with the flour and salt, make a well for the yeast, and add the yeast to the well. Set the cycle to "dough" and let the bread machine do its thing. After the dough is prepared proceed with the recipe by shaping and baking as directed.
Storing Italian Bread
- At Room Temperature: Once cooled, store the Italian bread in an airtight container for up to 3 to 4 days at room temperature.
- Freeze: Allow the baked Italian bread to fully cool. Wrap the cooled bread well wrapped in plastic wrap and/or a freezer-safe container for up to 3 months. Defrost at room temperature.
Recipe FAQs
Chances are you used too much flour in the bread dough. It is important to measure the flour by lightly spooning the flour into a measuring cup, rather than scooping the flour, to ensure accurate measurement.
King Arthur Flour has a guide for baking at high altitudes that will help you make the appropriate adjustments.
If you don't store the bread in an airtight container, the bread will quickly dry out. Prevent this from happening, by storing it in an airtight container. But in the meantime, use the stale bread to make croutons or french toast casserole.
Serving Suggestions
Italian bread is delicious when served in any shape or form, but below are a few of my favorite suggestions.
- Serve warm with butter or an Italian bread dipping oil.
- Use leftover or stale Italian bread to make homemade croutons.
- As a base for garlic toast.
- Serve Italian bread with a bowl of pasta topped with Bolognese Sauce or Homemade Spaghetti Sauce.
- Alongside a cozy soup, such as Lasagna Soup, Instant Pot Zuppa Toscana, or Instant Pot Minestrone Soup.
Homemade Italian Bread

Ingredients
- 1 cup warm water (100-110℉)
- 2 teaspoons granulated sugar
- 2¼ teaspoons active dry yeast, NOT instant yeast
- 2½-3 cups all-purpose flour
- 1 teaspoon kosher salt
- olive oil, for greasing pan and to brush dough with before baking
Instructions
- In a glass measuring cup, combine the warm water and sugar. Add the yeast, gently mix and let the yeast bloom for 5-10 minutes, or until the mixture is foamy.
- In a separate mixing bowl, or bowl of a stand mixer fitted with a dough hook, combine 2½ cups flour and salt. Add in the water mixture and mix on low speed or with a wooden spoon until incorporated and the dough comes together to form a sticky ball. If needed, add small amounts of flour (¼ cup at a time) until the dough just comes together.
- Once a dough ball is formed, continue to mix on low speed using a dough hook until shiny and smooth. This will take 3-5 minutes. Alternatively, turn the dough out onto a lightly floured surface and knead by hand for 5-10 minutes, until shiny and smooth.
- Place the dough into a large greased mixing bowl and cover with a clean kitchen towel. Leave at room temperature to rise until doubled in size, about 1-2 hours depending on the temperature of your house.
- Once the dough has risen, punch the dough down and shape it into a large oval-shaped loaf. Place it onto a greased baking sheet and cut diagonal slits on top of bread dough every 2-3 inches. Cover with a clean kitchen towel and let rise for another 30 to 60 minutes, or once the dough has nearly doubled in size.
- While the dough is rising the final time, position a baking rack in the center of the oven and preheat to 375℉ (190℃).
- Once the dough has doubled, remove the towel, and brush with olive oil. Bake for 20-25 minutes, until lightly browned and the internal temperature of the bread reaches 190℉ (85℃). Remove from oven and place on a cooling rack to cool completely.
Directions for Bread Machine
- Place water, sugar, flour, and salt into the bread machine in the order specified by your machine. Make a well into the flour and add the yeast to the well. Set to dough cycle and turn on. Once the dough cycle is complete, punch the dough down shape into a large oval shape and place on baking sheet. Cut diagonal slits on top of bread dough every 2-3 inches. Cover with a clean kitchen towel and let rise for 30 to 60 minutes, or until nearly doubled in size. Bake as directed.
Equipment
Notes
Nutrition
Nutrition information is automatically calculated, so should only be used as an approximation.



sooooooo yummy
Just made this week for garlic bread with cheese and spaghetti. Will never buy store bought again. All your recipes never seem to fail. Made the no knead again also. Next is the traditional bread, wish me luck!
Hi Brian! I love hearing you have come to trust my recipes! I just made this bread yesterday myself to serve with lasagna soup. SO good!
can I make the dough, let rise etc...and refride over night and bake in morning? I want to make it for a dinner party but I need to prep day prior? Thanks so much
Hi Melissa! Yes, this is possible, with a few tricks. Prepare the dough as directed place it into an oiled, large, deep bowl, cover with a towel or plastic wrap, and let rise for about 30 minutes. Remove the towel or wrap and cover the bowl with a tight-fititing lid or a couple of layers of plastic wrap. Place the bowl into the refrigerator overnight. In the morning, remove the dough from the fridge and let come to room temperature (about an hour). Shape into loaves, let rise again and then bake as directed.
Great staple recipe - makes the house smell amazing and tastes delicious with any meal!
This Italian bread turned out perfectly light and fluffy on the inside! I can't believe I made this bread... it was so easy and tasted GREAT!
Any suggestions for how to convert this to high altitude? I live at 6,500 feet above sea level. Thanks!
King Arthur is my go-to for high altitude baking adjustments
Is there a way to make this low carb? Also confused about bread machine instructions. I thought by using a bread machine you just add all ingredients and let the machine do it’s thing until bread is done.
Hi Chrissy. Without significantly altering this recipe and using a flour alternative, there is no way to make this low-carb. Also, the order in which you place the ingredients into the bread machine matter, hence why I break that down for you.