
This post may contain affiliate links. Please see our disclosure policy.

Candy Cane Cookies are buttery, tender, and while they scream festive, they are easier to make than you may think!
These festive Candy Cane Cookies have been on my must-make Christmas Cookies baking list since I was child. They have a flavor and texture similar to shortbread cookies with the appeal of a cut-out sugar cookie. Perfect for dunking into a mug of homemade hot chocolate or Christmas tea.
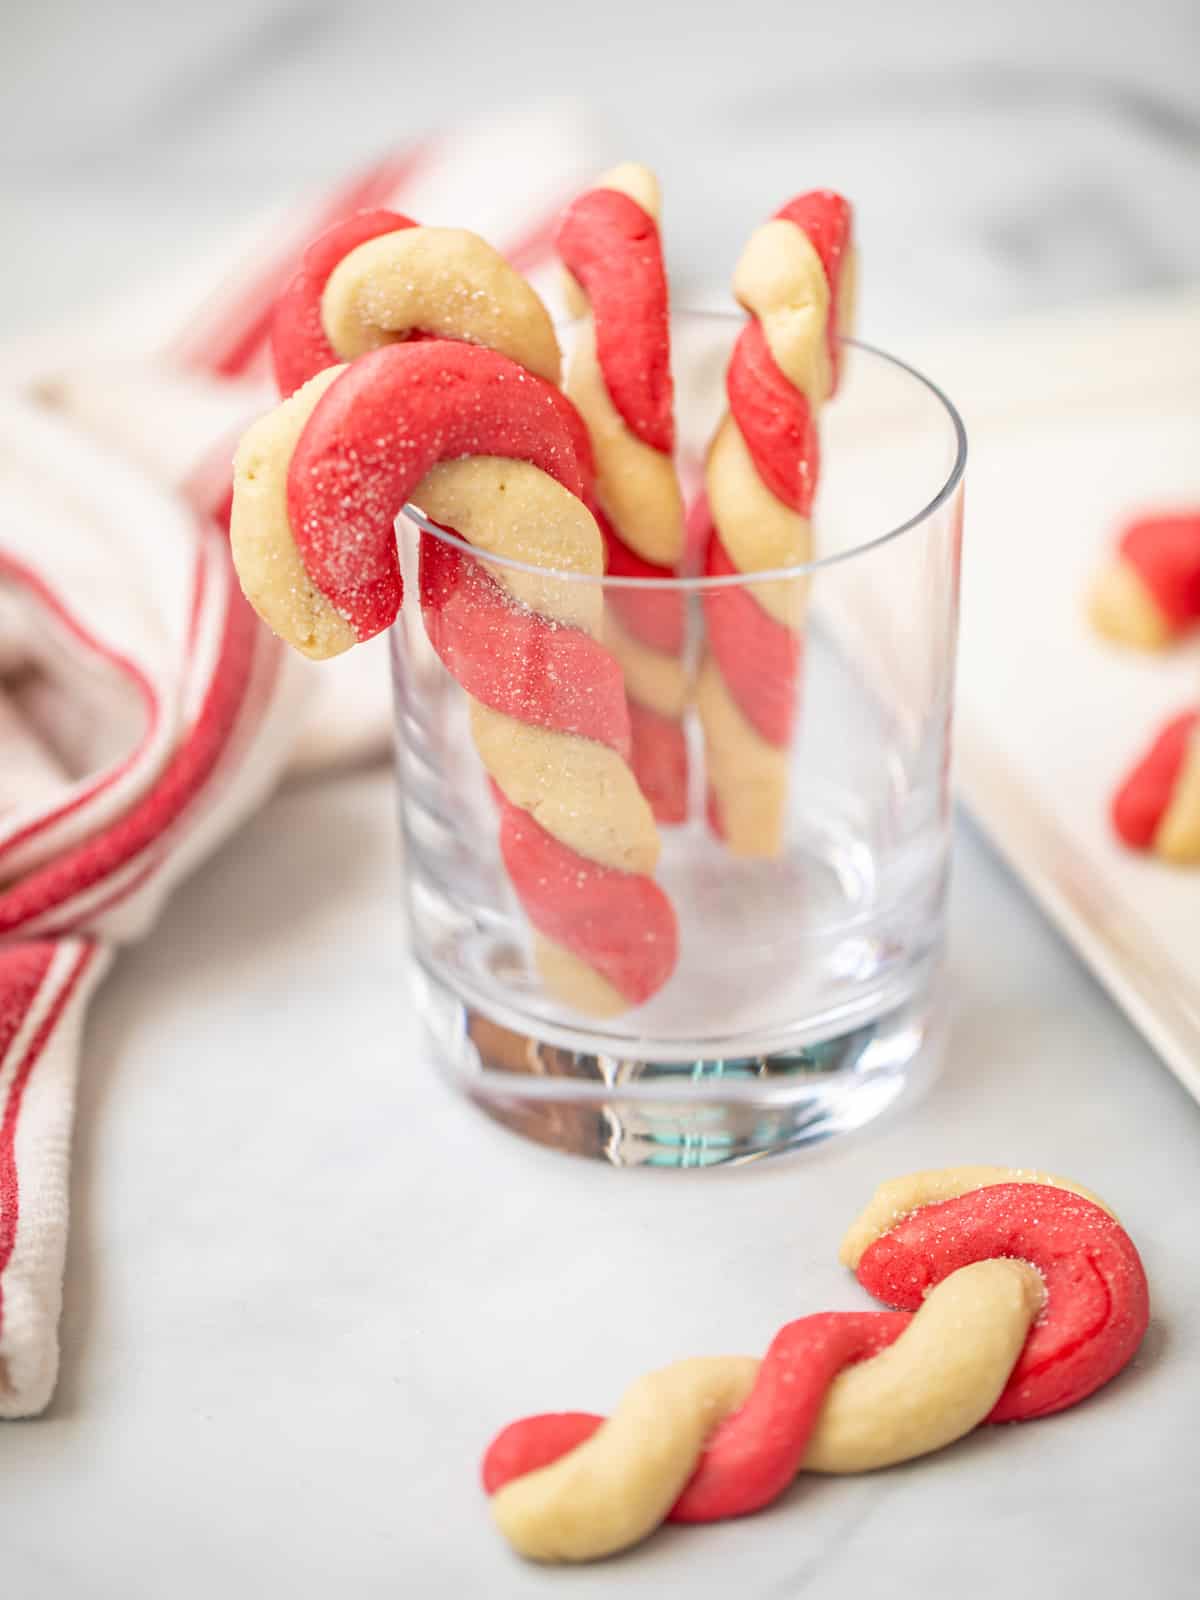
Kristen's Keys for Candy Cane Cookies
Don't be intimidated by these beautiful cookies, as they are really quite easy to make. But I do have a few tips to help achieve perfect results.
- Use room-temperature butter. It will cream together easily while trapping air, creating a light and tender cookie.
- Opt for powdered sugar over granulated sugar. It dissolves easily into the dough, keeping the texture soft and flaky.
- Use your hands to knead the red dye into the dough. It may dye your fingers a bit, but it is the best way to do make sure the dough is uniformly dyed without streaks (and without overworking the flour).
- Chill the dough at least 2 hours. This helps the dough firm up, makes shaping easier, and keeps the cookies from spreading when baked.
How to Make Candy Cane Cookies
While this candy cane cookie recipe is a bit more time-consuming than some, the process is simple and perfect for tiny helpers. Let me walk you through the steps.
Step One: Prepare Dough
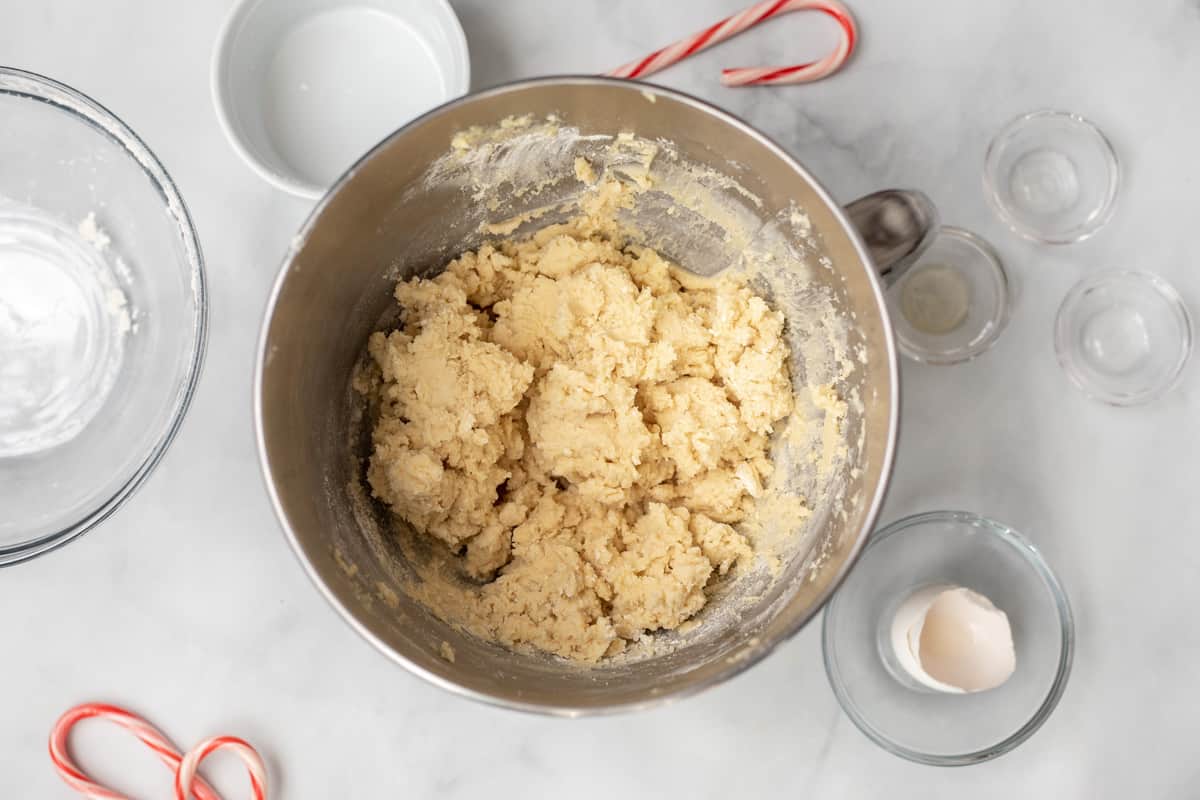
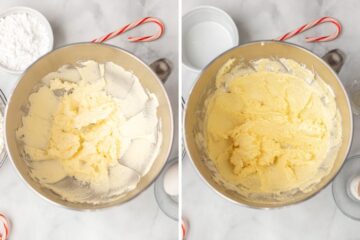
- Cream the Butter. In order to get a light and fluffy butter cookie, you want to cream the butter in a stand mixer or using a handheld mixer on medium-high speed until light and fluffy.
- Add Sugar, Extracts, and Egg. Scrape down the sides of the mixing bowl, then add in the egg, powdered sugar, vanilla extract, almond extract, and salt. Beat again on medium speed until everything is fully incorporated.
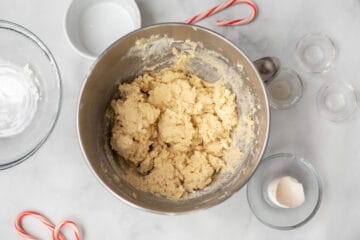
- Add Flour. Add the flour to the butter and sugar mixture and mix on low speed until JUST combined. You don't want to overwork the dough or you will end up with a tough cookie.
Step Two: Divide and Dye Dough
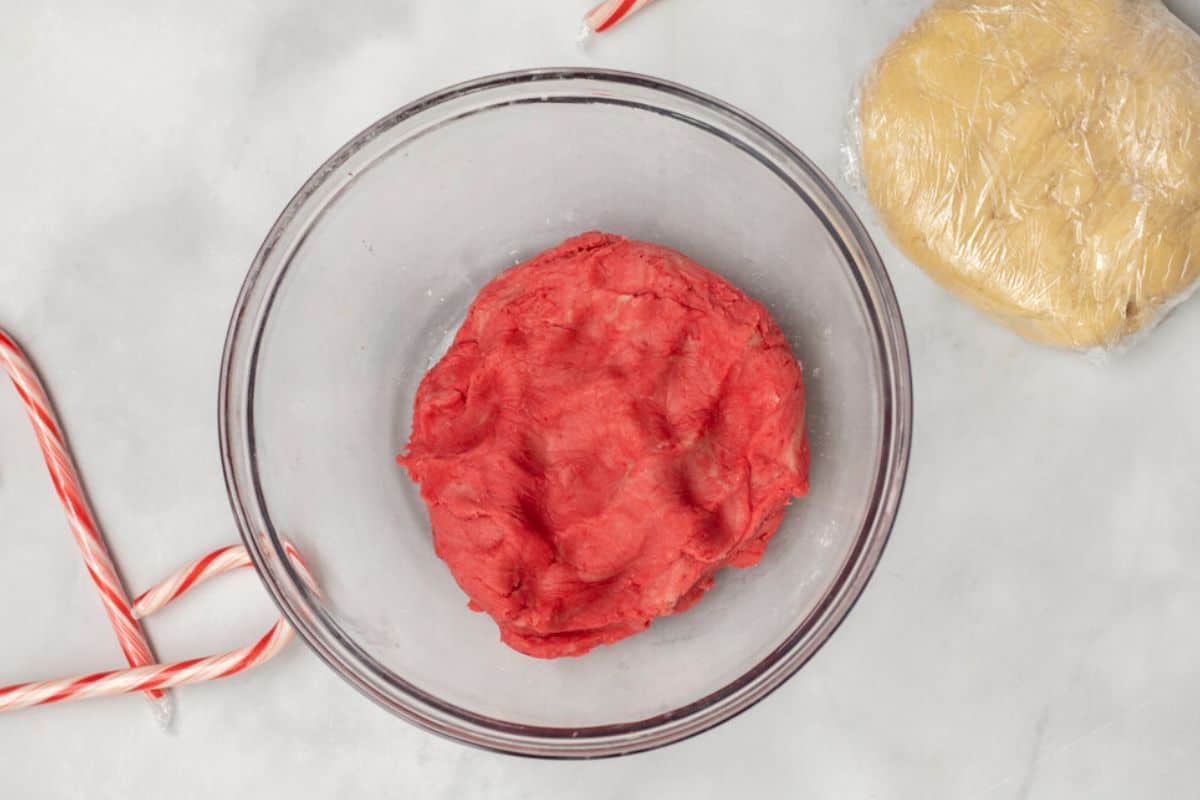
In order to achieve the red and white striped aesthetic of a classic candy cane, half the dough needs to be dyed a vibrant red color. Do this by removing half of the dough from the mixing bowl and place it in another bowl. Add several drops of red food coloring to the dough and fold together until bright and vibrant.
👉🏻Don't want to use your hands? Gently use a spatula to fold the dye into the dough. Avoid the temptation to use the mixer, as this can overwork the dough, resulting in tough cookies.
Step Three: Chill Dough
Wrap each disk of cookie dough in plastic wrap and refrigerate for at least 2 hours, or up to 48 hours.
Step Four: Shape
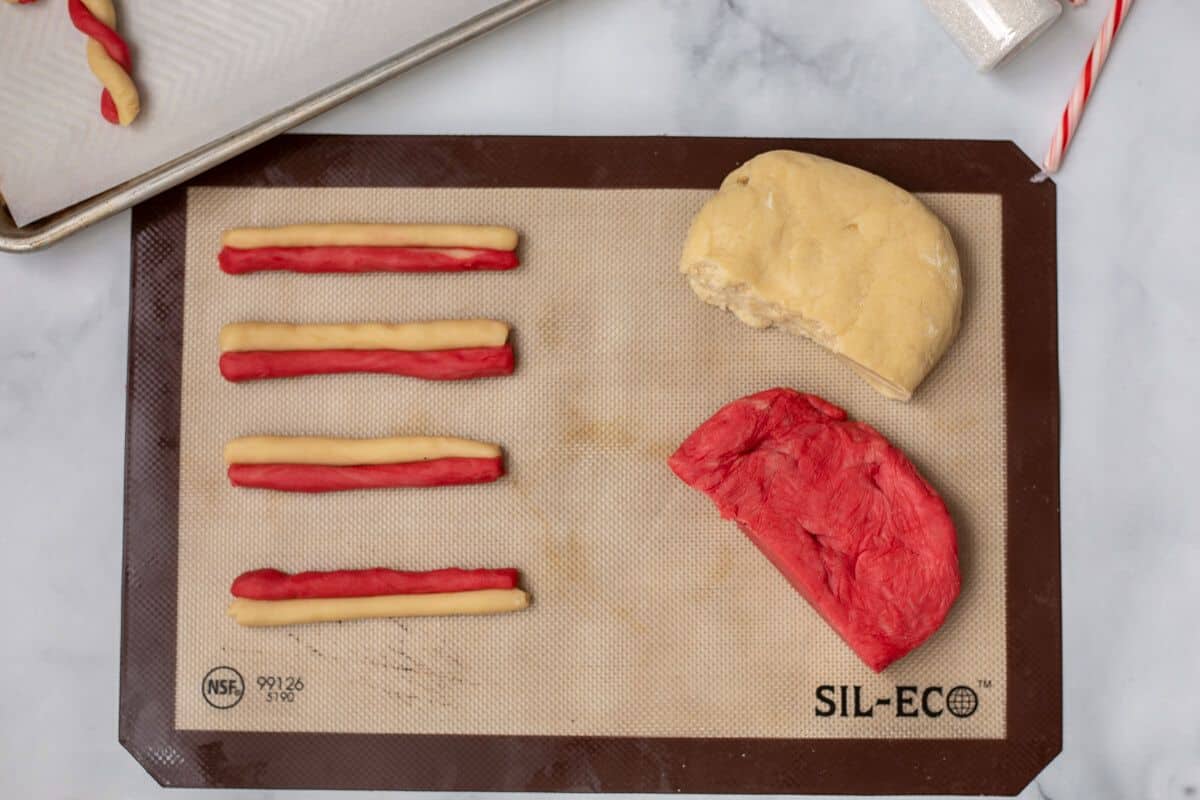
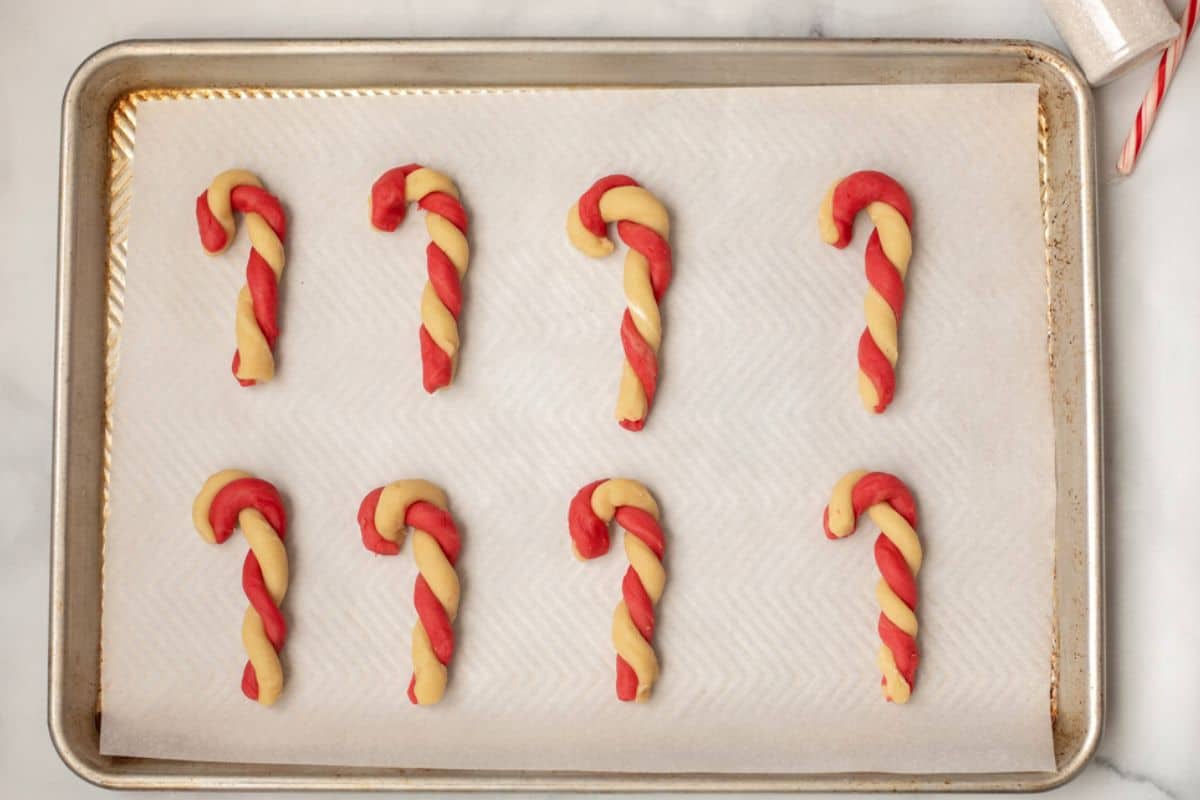
Think of this step like playing with Play-doh. It is meant to be easy and fun, it does not need to be perfect.
- Pinch off about ½ tablespoon of dough from each color.
- Roll each into thin logs about the same length and thickness and set them side-by-side.
- Gently twist and curve the top to form a cane.
- Place shaped candy cane cookies on parchment lined cookie sheet, spaced 2-inches apart.
Step Five: Chill Again
As the dough was handled and the candy cane cookies were shaped, the dough warmed up. Therefore, it is crucial to chill the shaped cookies for 15-30 minutes before baking. This will help them to hold their classic shape
Step Six: Bake
Bake the cookies until just beginning to turn a light golden on the bottom. You don't want to overbake the cookies, as they will continue to set up as they cool.
👉🏻Make the Cookies Sparkle: Sprinkle the cookies with sanding or sparkling sugar before baking.

Peppermint Candy Cane Cookies
If you would like the Candy Cane Cookies to have the a minty flavor to compliment their classic shape, replace the almond extract with ½ teaspoon peppermint extract. Skip the sparkling sugar and instead, immediately sprinkle the baked cookies with crushed candy canes when removed from the oven.

Storage Instructions
- At Room Temperature: Once fully cooled, store in an airtight container for up to 1 week.
- In the Freezer: Place baked cookies in a rigid, airtight container and freeze up to 1 month; thaw at room temperature before serving.
More Festive Christmas Recipes
From Christmas cookies to easy Christmas treats to festive, kid-friendly Christmas recipes, I have a ton of fun and festive holiday recipes guaranteed to make your holiday bright.
Candy Cane Cookies

Ingredients
- 1 cup unsalted butter, at room temperature (2 sticks)
- 1 cup powdered sugar
- 1 large egg
- 1 teaspoon vanilla extract
- ½ teaspoon almond extract
- 3 cups all-purpose flour
- ½ teaspoon table salt
- ½ to 1 teaspoon red food coloring
- 2 teaspoons sparkling sugar, optional
Instructions
- In a large mixing bowl or bowl of a stand mixer, cream 1 cup unsalted butter (softened) on medium-high speed until light and fluffy. Scrape down the sides of the mixing bowl, then add 1 large egg, 1 cup powdered sugar, 1 teaspoon vanilla extract, ½ teaspoon almond extract and ½ teaspoon table salt . Beat again on medium speed until everything is fully incorporated.

- Add 3 cups all-purpose flour to the creamed butter and sugar mixture and mix on low speed until JUST incorporated, scraping down the sides of the bowl if needed.
- Divide the dough in half and remove half the dough from the mixing bowl and pat into a 1-inch thick disk and wrap well in plastic wrap.
- To the dough left in the mixing bowl, add ½ teaspoon of red food coloring to the remaining dough left in the mixing bowl. Fold the food coloring into the dough, using a spatula or your hands until the dough is evenly dyed. If needed add up to ½ teaspoon of additional food coloring until the dough is a bright, vibrant red. Divide the dough in half and remove half the dough from the mixing bowl and pat into a 1-inch thick disk and wrap well in plastic wrap.
- Refrigerate both disks of dough for at least 2 hours or up to 48 hours to fully allow the cookie dough to chill.
- When ready to shape the cookies, line two large baking sheets or cookie sheets with parchment paper.
- Pinch off about ½ tablespoon of dough from each disk of dough, so that you have both a red and white section of dough. Using your palm, not your fingers, roll each section of dough into a thick rope about 5 inches long, ensuring that each log of dough is the same length.
- Pinch the tops of the white and red ropes together and twist them together, curving the top of the dough into a candy cane shape. Place the shaped candy cane cookie onto the parchment-lined baking sheet, spacing the cookies 2 inches apart. Repeat the process until no dough remains.
- Place the baking sheets with the shaped candy cane cookies into the refrigerator and chill for 15-30 minutes before baking. During this time, preheat the oven to 375°F/190℃.
- Once the oven has preheated and the cookies have chilled, remove the baking sheets from the refrigerator and sprinkle the sparkling sugar over the cookies.
- Bake until the bottom edges are just barely starting to turn lightly golden, about 8-10 minutes.
- Once golden, remove the cookies from the oven. Cool the cookies for 10 minutes on the baking sheet, then transfer them to wire cooling racks and cool completely.






Equipment
Notes
- Omit the almond extract and replace it with ½ teaspoon of peppermint extract to the cookie dough when you add the vanilla extract to the batter.
- Omit the sparkling sugar, and instead sprinkle the cookies with ½ cup of crushed candy canes as soon as you remove them from the oven.
Nutrition
Nutrition information is automatically calculated, so should only be used as an approximation.





I love this candy cane cookie recipe. It's so cute and delicious.
One of the cutest cookies I've tried! My family enjoyed these buttery and delicious festive cookies. I'll surely add this recipe to our Christmas treats list, thanks Kristen!
I love hearing this, Sharina! Merry Christmas to you and your family!
I made these with my kids and they were a huge hit. They loved to help and it was so much fun, thanks so much!
Aw, I love hearing you and your kids had fun making these cookies (and enjoyed eating them!)
I'm sure these'd make a welcome addition to any holiday cookie plate. They're gorgeous! I'm glad you mentioned the changes that you made; I'm always curious to see how someone puts their own stamp on a recipe.