
This post may contain affiliate links. Please see our disclosure policy.
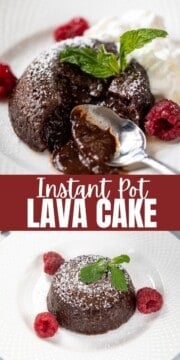
Warm, gooey, and oozing with chocolate, these Instant Pot Lava Cakes are swoon-worthy and exceptionally easy to prepare.
Instant Pot Molten Lava Cakes will satisfy the deepest chocolate craving and are exceptionally easy to make. Top with homemade whipped cream or no-churn vanilla ice cream, drizzle with homemade chocolate syrup, and dig into a little bit of heaven.
I have shared with you things I will not cook in the instant pot and cake made the list. However, Molten Lava Cakes and cheesecake are exceptions to this "rule."
Both cheesecakes and molten chocolate cakes are best when baked in a water bath or bain-marie. An electric pressure cooker creates that same moist environment and ensures even cooking, resulting in perfect Instant Pot Cheesecake and these Instant Pot Chocolate Lava Cakes.
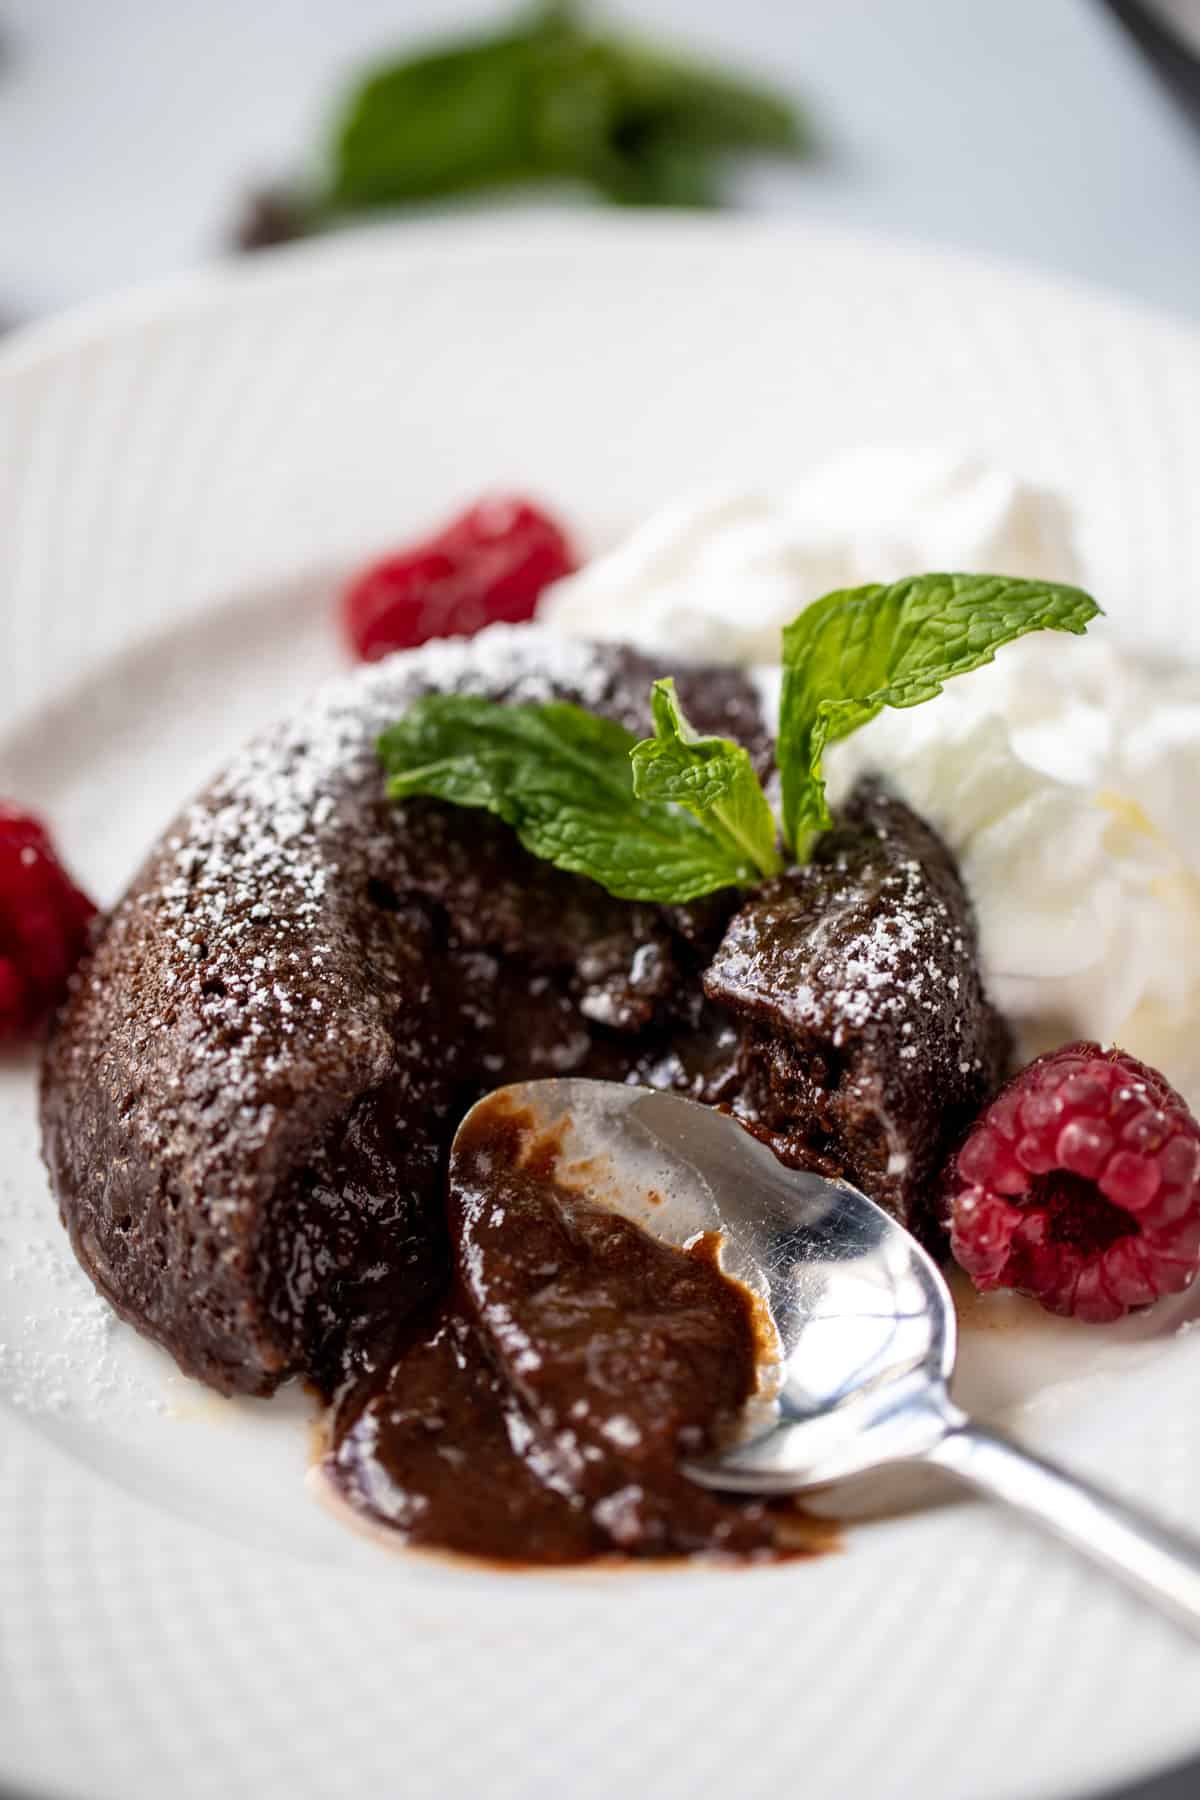
And let's take a minute to stand in awe over these Instant Pot Molten Lava Cakes. The moist heat cooks the outside of the lava cake create a delicate cake-like texture, but leaves the center slightly gooey like warm brownie batter, that oozes out like lava when cut into. It is rich, chocolatey, and beyond decadent--just like homemade fudge!
In fact, Instant Pot Chocolate Lava Cakes are one of my all-time favorite indulgences. And they happen to be rather easy to make. Which truth be told, can be dangerous😉
Notes on Ingredients and Equipment
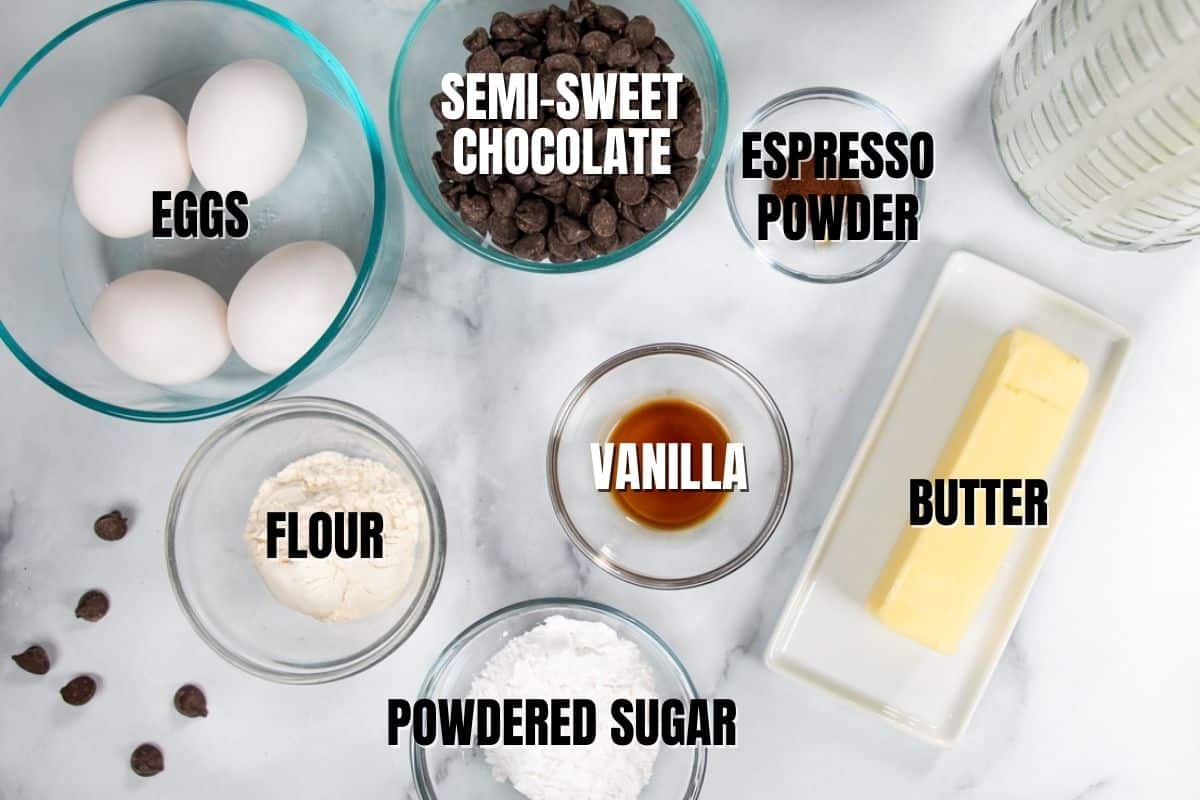
- Chocolate: Use high-quality semi-sweet chocolate for the best flavor. If using a large chocolate bar, chop up the chocolate into small pieces.
- Butter: Be sure to use unsalted butter for the best results.
- Powdered Sugar: Confectioner's sugar, or powdered sugar, dissolves easily into the batter, while granulated sugar does not, making it the best sweetener to use in this recipe.
- Espresso Powder: This is optional! The espresso powder helps to intensify the overall chocolate flavor, it does not add a coffee flavor to the dessert itself.
- Flour: This recipe calls for all-purpose flour. For a gluten-free lava cake, simply swap out the all-purpose glour for a 1:1 gluten-free flour blend.
- Ramekins: You will need four 6-ounce ramekins for this recipe.
How to Make Lava Cakes in the Instant Pot
Step One: Prepare Ramekins and Instant Pot
- Pour 1.5 cups of cold water into the inner pot of the instant pot and place a metal rack/trivet inside the inner pot.
- Spray 4 ramekins with cooking spray and then sprinkle with sugar to coat, dumping out the excess sugar. This helps the lava cake to slide out of the dish easily after it has been baked.
Step Two: Melt the Chocolate
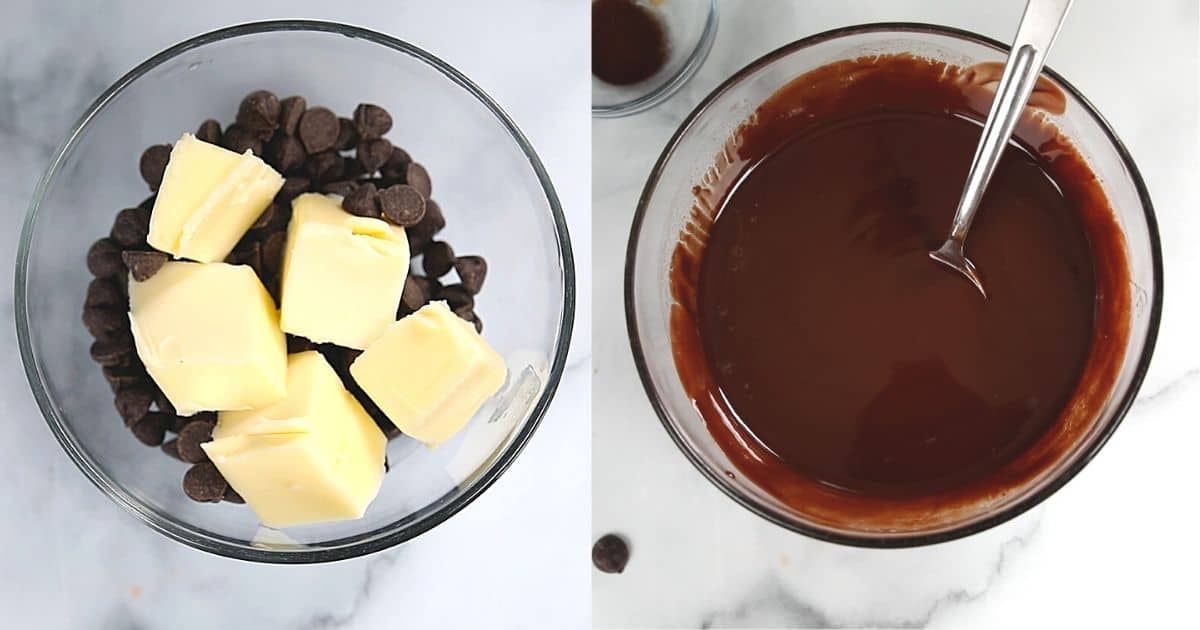
- Place the chocolate and butter into a large heat-safe mixing bowl and microwave for 45 seconds. Stir until chocolate is melted, reheating in 15-second intervals if needed.
- Stir the espresso powder into the melted, warm chocolate.
- Set the chocolate aside to cool slightly while preparing the rest of the batter.
Step Three: Prepare Batter
- Separate 2 eggs, reserving just the yolks.
- In a large mixing bowl, mix together the egg yolks, with 2 whole eggs, sugar, and vanilla until the sugar is dissolved into the eggs.
- Slowly pour in the melted chocolate, whisking well to combine. Be sure to slowly add the melted chocolate, continuously whisking, so that you don't cook your eggs.
- Using a spatula, fold the flour into the mixture until just combined.
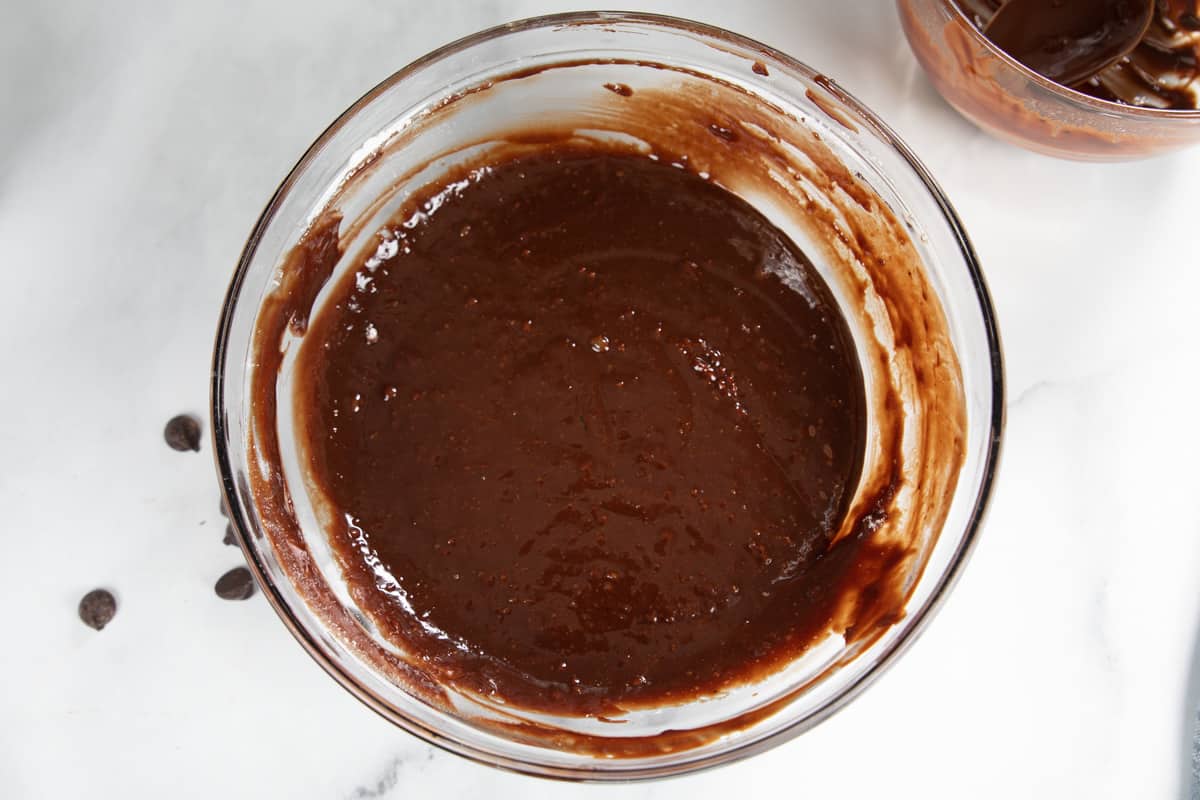
Step Four: Divide the Batter
- Evenly divide the batter between the ramekins. I find that a standard ice cream scoop is the perfect way to evenly divide the mixture without making a mess.
- Cover each ramekin with foil. This is important to keep condensation from forming inside the lava cakes.
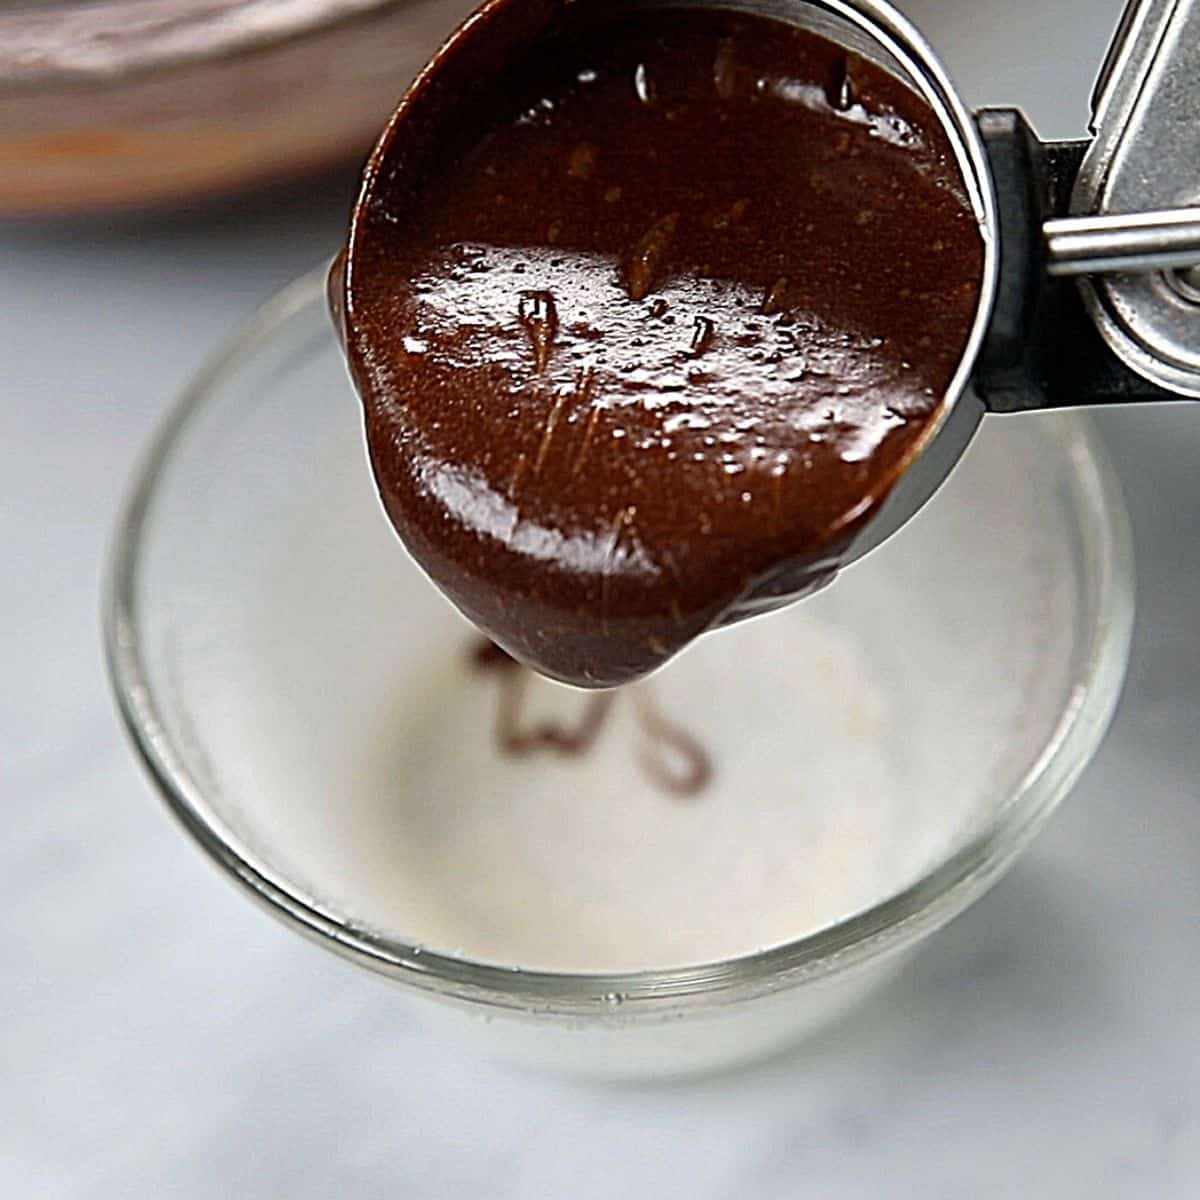
Step Five: Pressure Cook
- Place 2-3 ramekins on the trivet and then place another metal rack on top of those ramekins and place the remaining ramekins on top of the 2nd rack. If you don't have a 2nd rack, just carefully stack the ramekins on top of each other.
- Pressure cook on high pressure for 5 minutes.
- Once cook time has elapsed, let the pressure release naturally for 5 minutes. This is critical to ensure that your lava cakes cook through and retain the right consistency.
- After exactly 5 minutes have passed, do a quick release of any remaining pressure by using a long utensil to carefully knock the venting knob from the sealed to the venting position. Stand back so you don't get burned by the steam.
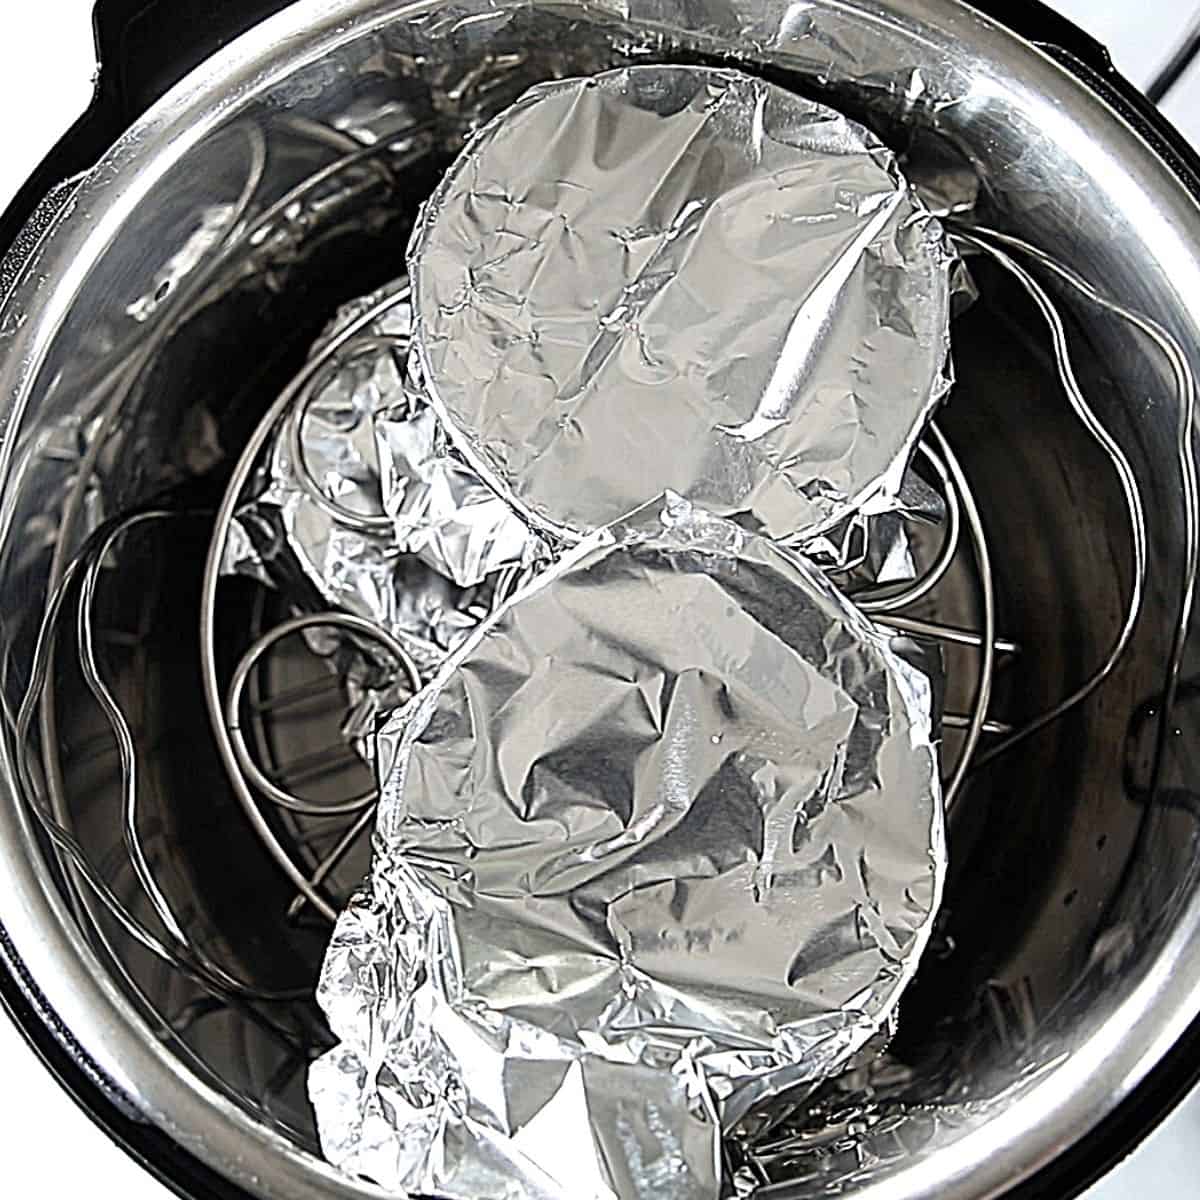
Step Six: Serve
- Carefully remove the ramekins from the inner pot and let rest for 2-3 minutes.
- Remove the foil from the ramekins and gently run a knife along the sides of the ramekin to loosen and carefully invert the cakes onto a serving plate.
- If desired, sprinkle with powdered sugar, top with homemade vanilla ice cream or whipped cream, and serve immediately.
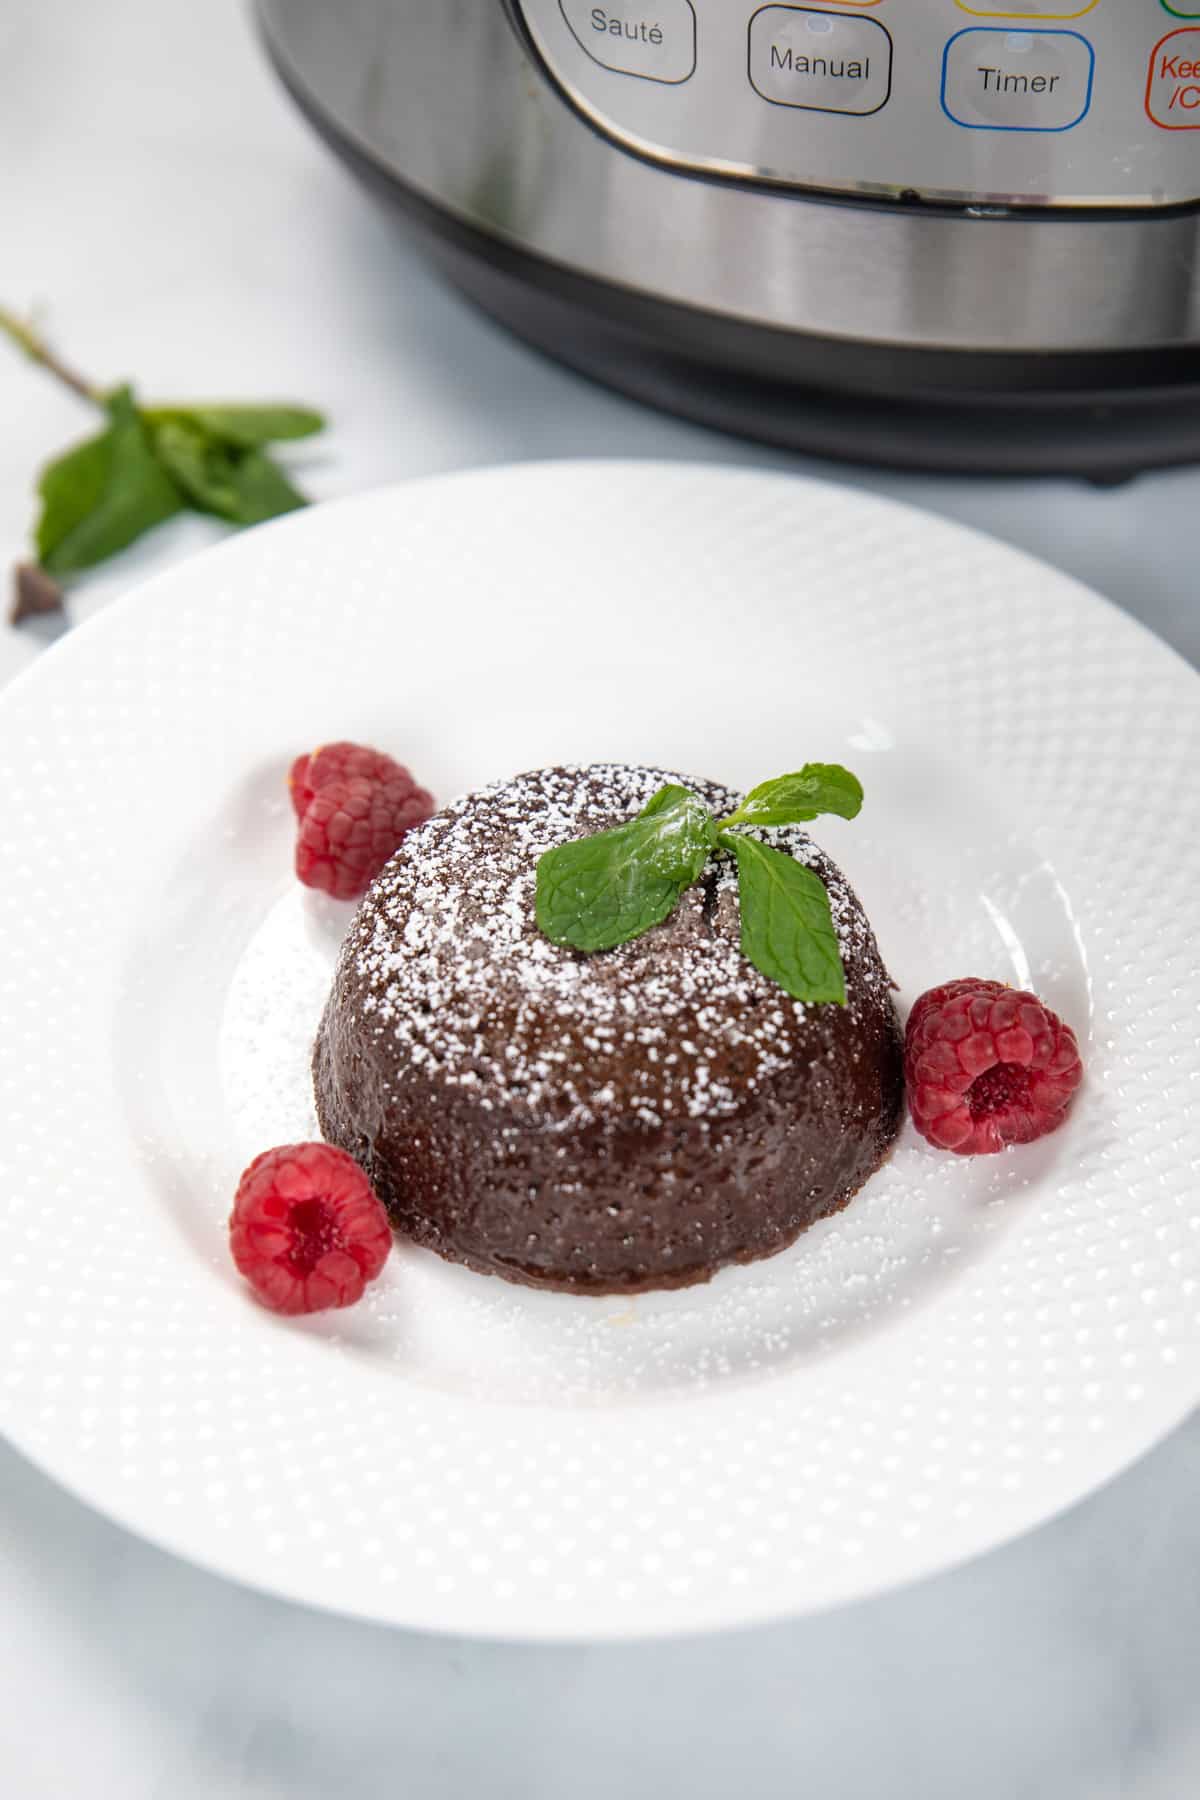
FAQs about Instant Pot Lava Cakes
I have tested this recipe dozens of times in both a 6-quart and 8-quart model with success. However, just like ovens, instant pot models can cook differently. If when you peel back the foil your lava cakes do not look solid on the sides or do have a jiggly set in the center, recover with foil and place them back in the inner pot. Cook for an additional 1 minute on high pressure with a 2-minute pressure release. There is no need to change out the water in the bottom of the inner pot.
You can prepare the batter up to days in advance. Cover tightly and refrigerate for up to 2 days. Allow the batter to come to room temperature before scooping it into greased ramekins and pressure cooking.
While Molten Lava Cakes are best served immediately, leftover cakes can be stored in the refrigerator for up to 3 days after they have been baked and cooled. Reheat for 1-2 minutes in the microwave before enjoying.
More Instant Pot Dessert Recipes
- Instant Pot Creme Brulee
- Instant Pot Chocolate Cheesecake
- Instant Pot Carrot Cake Cheesecake
- Instant Pot Pumpkin Cheesecake
- Instant Pot Cheesecake
If you enjoyed these decadent Molten Lava Cakes, please be sure to leave a comment and rating below.
Instant Pot Lava Cakes

Video
Ingredients
- cooking spray, for coating ramekins
- granulated sugar, for coating ramekins
- 6 ounces semi-sweet chocolate, chopped
- ½ cup unsalted butter
- ½ teaspoon espresso powder, optional
- 2 large eggs
- 2 large egg yolks
- ½ cup powdered sugar
- pinch of salt
- 1 teaspoon vanilla extract
- 2 tablespoons flour
Instructions
- Spray four 6-ounce heat-safe ramekins with cooking spray and then sprinkle with granulated sugar. Shake the sugar around the ramekin to coat all the sides and then shake out excess sugar into the trash or over the sink.
- Pour 1.5 cups of cold tap water into the inner pot of the instant pot and place in a trivet or rack.
- Chop 6 ounces semi-sweet chocolate into morsel size pieces. Slice ½ cup unsalted butter into several slices and then combine the chocolate and butter In a medium heat-safe bowl. Microwave for 45-seconds and then stir well. Microwave in additional 15-second intervals as needed to fully melt the chocolate. Once melted, stir in the ½ teaspoon espresso powder and set to the side to cool slightly.
- In a large mixing bowl, mix together the 2 large eggs, 2 large egg yolks, ½ cup powdered sugar, pinch of salt, and 1 teaspoon vanilla extractuntil well combined and the sugar has dissolved into the egg mixture.
- Slowly whisk in the melted chocolate to the egg mixture until combined. Fold in 2 tablespoons flour until just incorporated into the batter.
- Evenly divide the batter between the four ramekins, using an ice cream scoop for easy, even transfer. Cover each ramekin with foil.
- Place the ramekins on the trivet, stacking carefully on top of each other to fit. You can use a separate rack to place on top of the first layer of ramekins if you have it. If not, just carefully stack the second layer on top of the first layer.
- Using the manual or pressure cook button, set to cook for 5 minutes on high pressure.
- Once cook time has elapsed let the pressure release naturally for exactly 5 minutes. Then do a quick release of any remaining pressure by carefully hitting the vent knob from sealed to venting using a long wooden spoon.
- Carefully remove the ramekins from the inner pot and let sit for 2-5 minutes before serving.
- To serve the lava cakes, run a knife around the edges of the ramekin and then invert onto a plate. Dust with powdered sugar and top with ice cream or whipped cream and serve immediately.
Notes
Nutrition
Nutrition information is automatically calculated, so should only be used as an approximation.


I used smaller ramekins and they came out fully baked, no oozing lava. Any suggestions?
Hi Pam. Smaller ramekins would require less cooking time. Without experimentation, I can't tell you by how much.
I made this tonight and followed the recipe exactly, but none of the cakes set up. They were just a pile of warm goo. We still ate it with ice cream. Taste was good but it was pretty much chocolate soup not a lava cake. What could have gone wrong? Did I need to cook them longer in the instant pot? I did the 5 minute pressure cook and 5 min NR and then QR. Let the ramekins sit for 2 minutes. Still didn't work.
I am so sorry you had issues with this recipe, I tested it 10 times with success, so I would love if you could share with me the size of ramekins you used and the model of your instant pot. Also, did you use cold or warm water under the rack? I would love to perfect this for you!
Yum! I’ve always been a little intimidated to make these - but they were actually easy! They needed the extra 2 mins but were delicious. Thank you!
Can I cook this in the cake pan since I don't have ramekins?
Hi Jean. You can certainly give it a try, but I would not be able to advise on timing, as this is based on 6 ounce ramekins. I tried with 8 ounce ramekins and the timing was off significantly.
Can you make this using an air fryer?
Hi Kathy! I honestly do not know, I doubt they would turn out with the same moist perfection due to the way the air fryer cooks.
This will be the perfect dessert for Valentine's Day! Loving this instant pot version! It takes no time at all to make this gooey, chocolatey, cake!
Such a fantastic dessert! My whole family enjoyed it very much!
This lava cake is seriously my favorite quick and easy treat!!