
This post may contain affiliate links. Please see our disclosure policy.
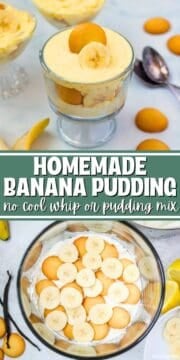
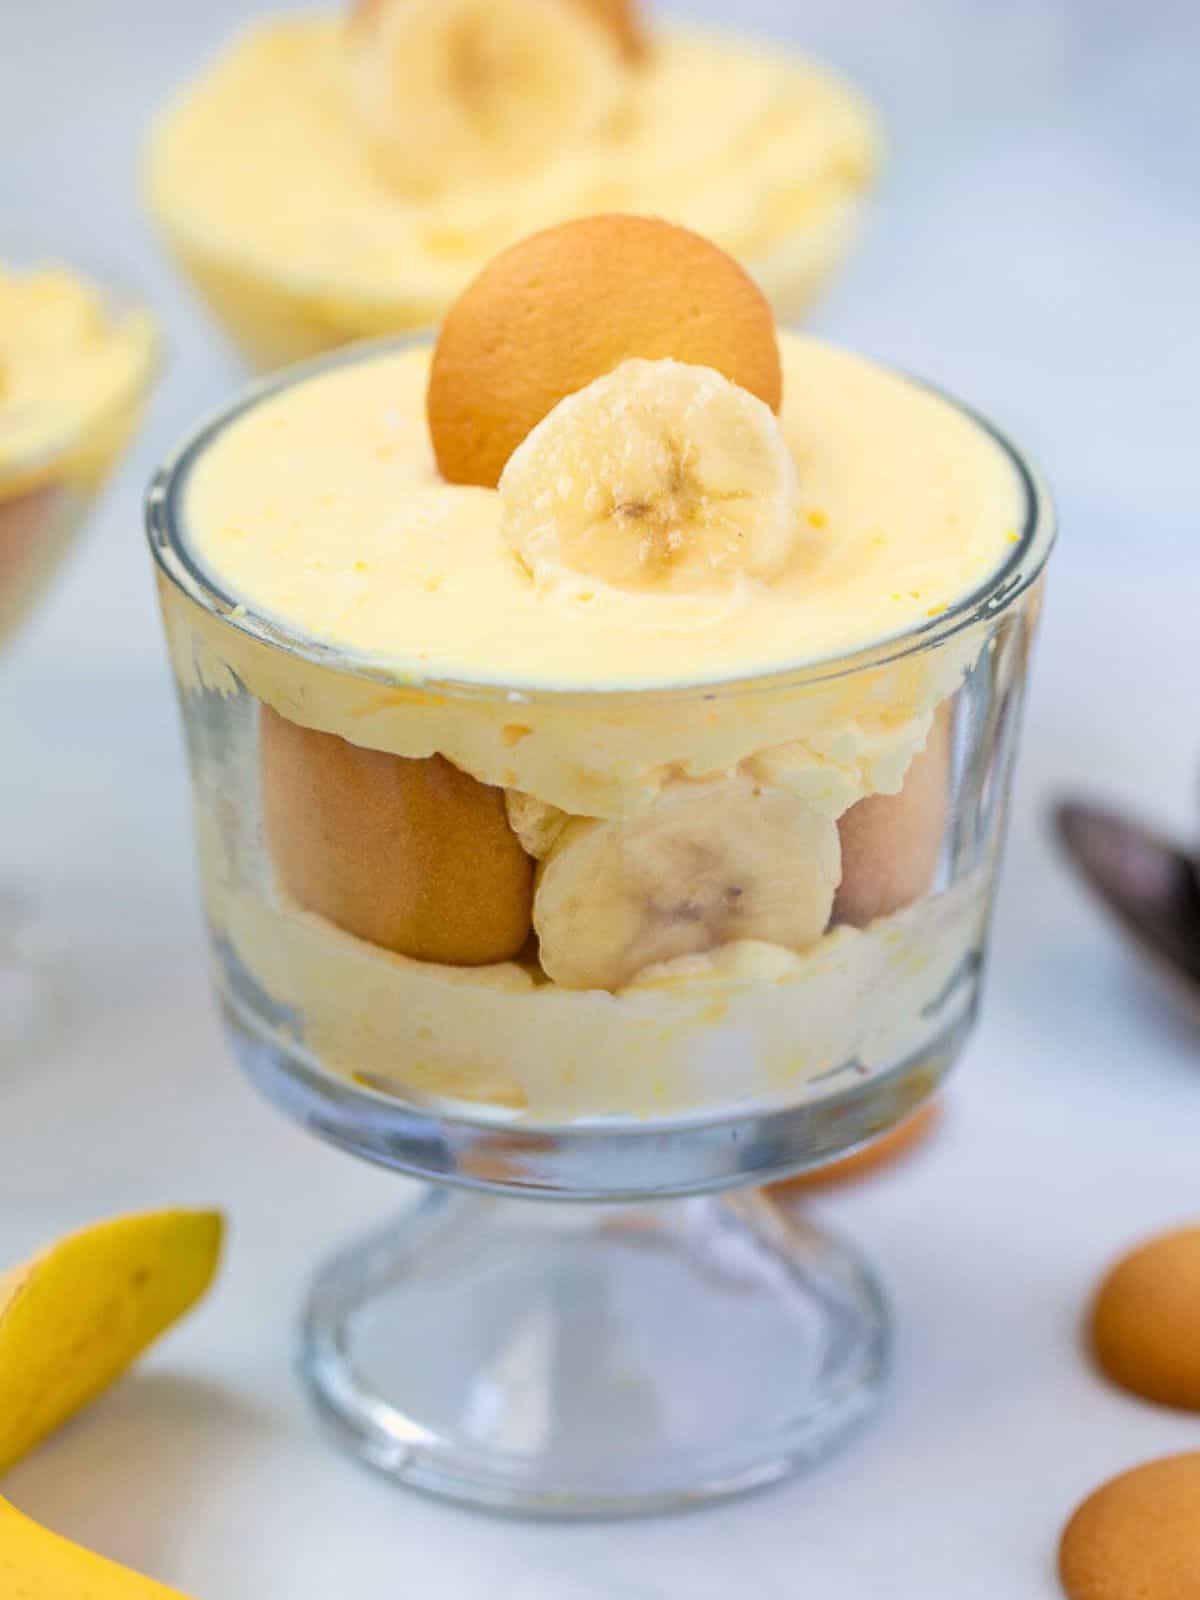
This Homemade Banana Pudding is everything old-fashioned banana pudding should be. It's rich, creamy, fluffy, and layered with from-scratch vanilla pudding, fresh whipped cream, fresh bananas, and vanilla wafers. No boxed pudding mix. No Cool Whip. Just simple ingredients and a few extra minutes that make a dramatic difference in flavor and texture.
After living in the South for nearly 25 years, where banana pudding shows up on just about every holiday and summer cookout menu, I've tried a lot of versions of this classic dessert. Yet we still keep coming back to THIS recipe. It's perfectly sweet without being cloying, while still tasting rich and decadent. And best of all, there is nothing artificial about it. I can't wait for you to try it!
Key Takeaways: Homemade Banana Pudding
- Serves: 12 and can easily be doubled or cut in half
- Prep Time: 20 minutes hands-on + 4 hours to chill
- Difficulty: Easy, even with the homemade pudding
- Simple Ingredients: Uses simple pantry staples and fresh bananas
- Stand-Out Flavor: With from-scratch pudding, fresh whipped cream, and classic vanilla wafers it's incredibly fluffy and perfectly sweet
- Why this is the Best! The texture of this pudding cannot be beat. It's the folded-in nature of the whipped cream.
Recipe Highlights
Kristen's Keys for Homemade Banana Pudding

A few small details are what makes this a banana pudding recipe that everyone will beg you to make on repeat.
- Use bananas that are just ripe. While overripe bananas are perfect for my sour cream banana cake and whole wheat banana bread, they become mushy in a layered pudding.
- Don't walk away when cooking the pudding. It is best to whisk the pudding mixture constantly until thickened. This helps prevents lumps, but more importantly allows the mixture to evenly heat without scrambling the eggs.
- Strain the pudding after cooking. Even if it looks smooth, a lump or two may form and this guarantees a silky texture.
- Chill the pudding completely before folding in the whipped cream. Warm pudding melts the cream and you lose out on that fluffy, cloud-like consistency, which makes this banana pudding stand out from others.
- Let the assembled pudding chill at least 4 hours before serving. The wafers soften, the flavors meld together, and everything transforms into that classic creamy texture people expect.
Happy Cooking! xo Kristen
5-Star REader Review
I've been wanting to make a from-scratch banana pudding for a while. So glad I stumbled across this recipe. It's perfect! Perfectly creamy and sweet, and I love all of the real ingredients. Yay, no Cool Whip or box mix pudding... -Ashleigh
Notes on Ingredients
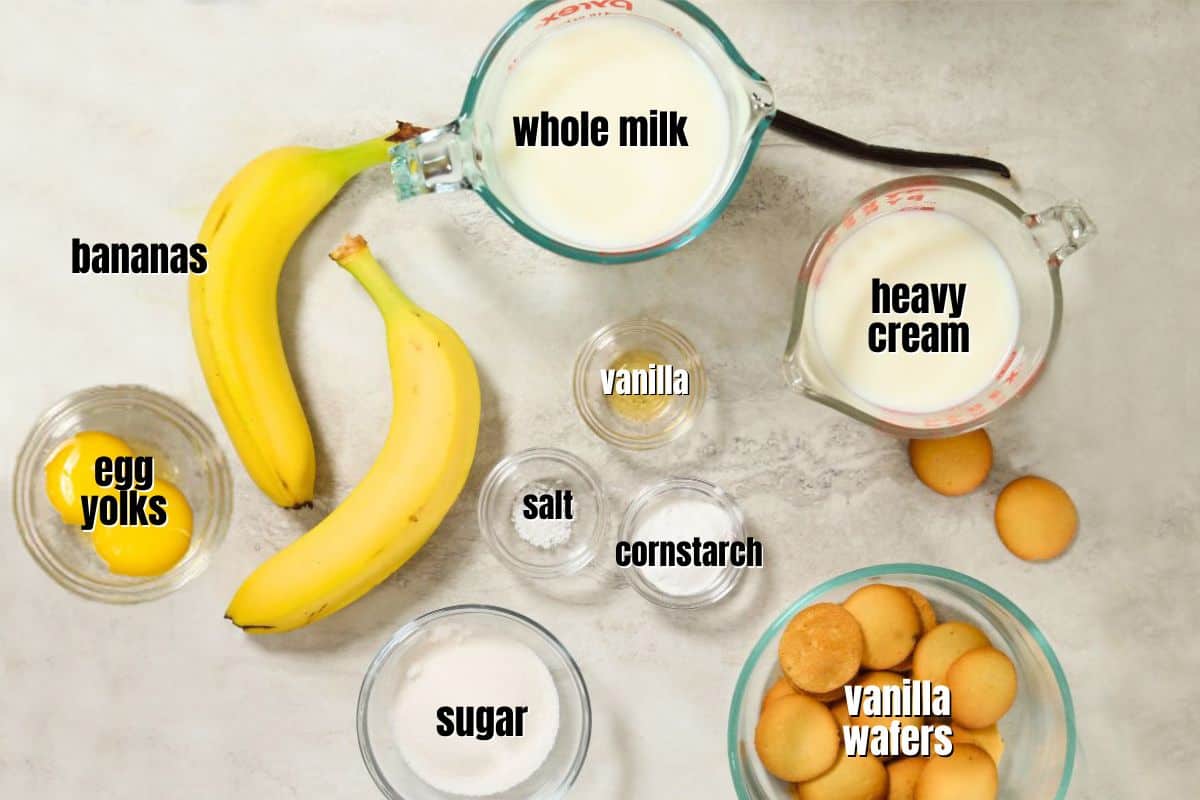
- Milk: Whole milk creates the richest pudding, but 2% milk works well too. I don't recommend skim milk here, as the pudding won't taste nearly as creamy.
- Cornstarch: Cornstarch thickens the pudding without making it heavy. If needed, arrowroot powder or tapioca starch can be substituted in equal amounts.
- Heavy Whipping Cream: Freshly whipped cream is one of the biggest upgrades in this recipe. Since the pudding itself is sweetened, unsweetened whipped cream keeps the dessert balanced instead of overly sugary.
- Bananas: Look for bananas that are just yellow (a few brown specks are fine), a bit firm, but still sweet. Avoid brown or green bananas.
- Lemon Juice: A bit of lemon juice will help prevent the bananas from browning and balance the sweetness of the dessert. While fresh works best, this is one time bottled lemon juice won't negatively impact the flavor.
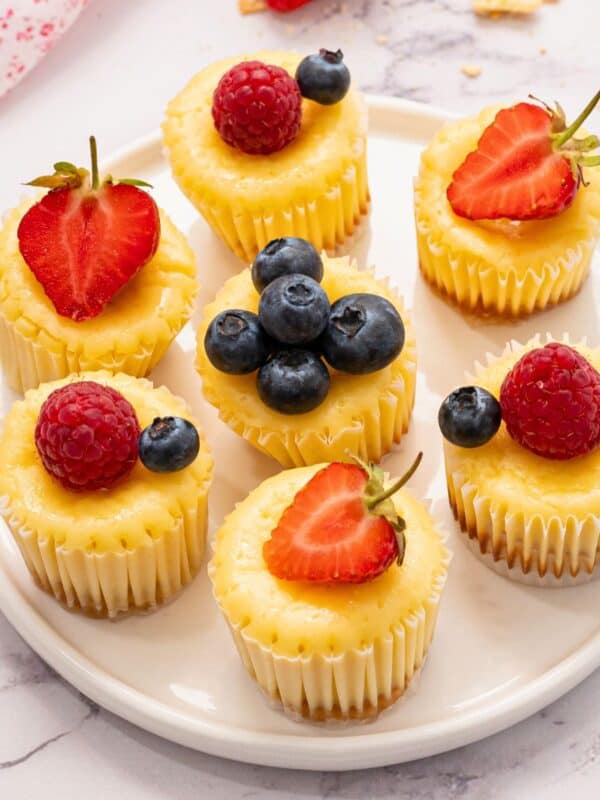
- Vanilla Wafers: Classic vanilla wafers are classic and soften beautifully as the pudding chills. If you have any leftovers, use them to make mini cheesecakes which feature a vanilla wafer crust.
Variations & Modifications
- Vary the Cookies: If desired, swap out the vanilla wafers for shortbread cookies, chess cookies, or graham crackers for a different texture and flavor.
- Gluten-Free? Use gluten-free vanilla wafers and proceed with banana pudding recipe as written.
- Corn-Free: Use arrowroot powder or tapioca starch in place of cornstarch if needed to thicken the pudding.
- Cool Whip + Store-Bought Pudding will NOT work in this recipe. The texture and sweetness will be compromised without significant tweaking.
How to Make Banana Pudding From Scratch
While the process of making banana pudding from scratch may sound intimidating, it is really quite simple. And the added 10 minutes of effort are well worth the flavor upgrade.
Step One: Prepare Vanilla Pudding Base
In a saucepan, whisk together the sugar, cornstarch, egg yolks, and the milk until smooth. Once the mixture is smooth, place the pan over medium-low heat and cook, whisking constantly, until the pudding thickens.
It will feel like it is not coming together, but trust the process. Between the 6-8 minute mark, the pudding will all of the sudden begin to thicken. At this point, give it a minute or two longer. You want to let it gently bubble until it is thick enough to coat the back of spoon.
Once thickened, turn off the heat and whisk in the vanilla extract.


Step Two: Strain & Chill Pudding
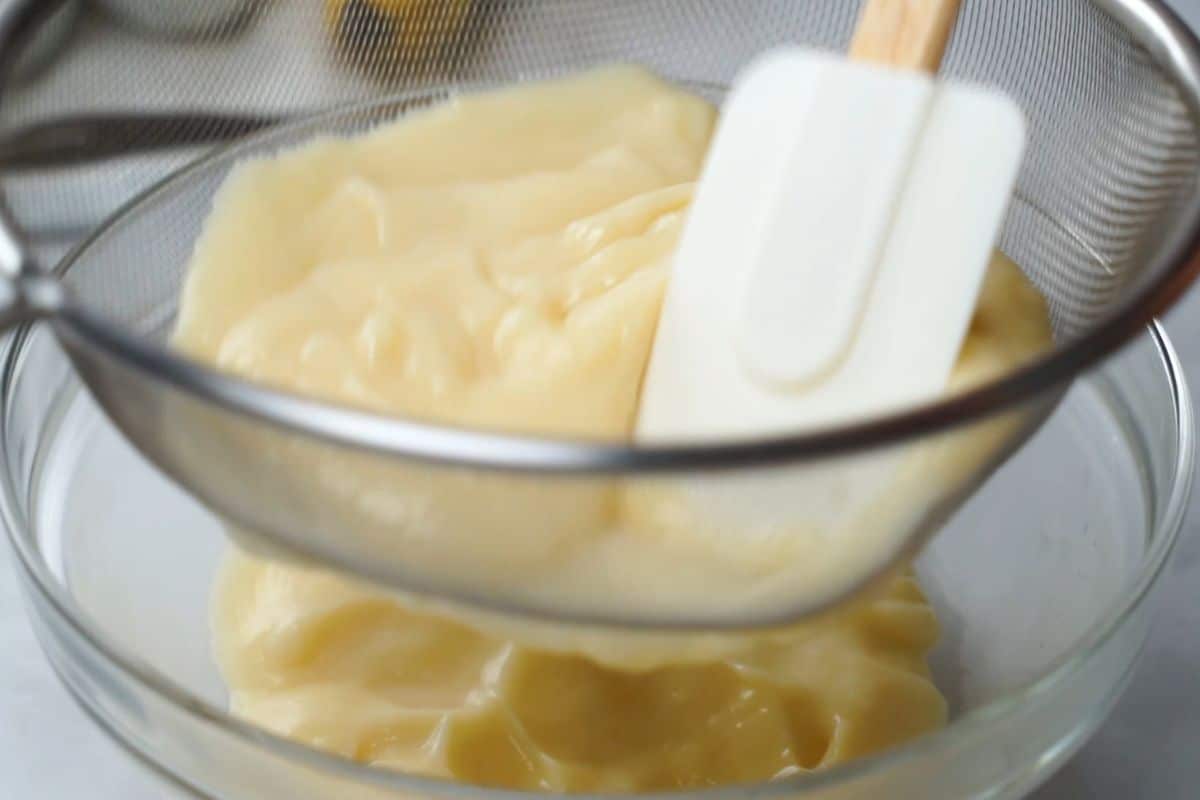
While the pudding is still warm, pour it over a fine mesh strainer that has been placed over a large mixing bowl. Use a spatula to gently push the mixture through the strainer.
Press plastic wrap directly onto the surface of the pudding to prevent a skin from forming, then refrigerate until fully chilled, about 30 minutes.
Step Three: Whip the Cream
Using a stand mixer or hand mixer, whip the heavy cream until soft peaks form. Be careful not to over whip here. You are looking for the cream to just hold it's shape when you lift the mixer out of the bowl.
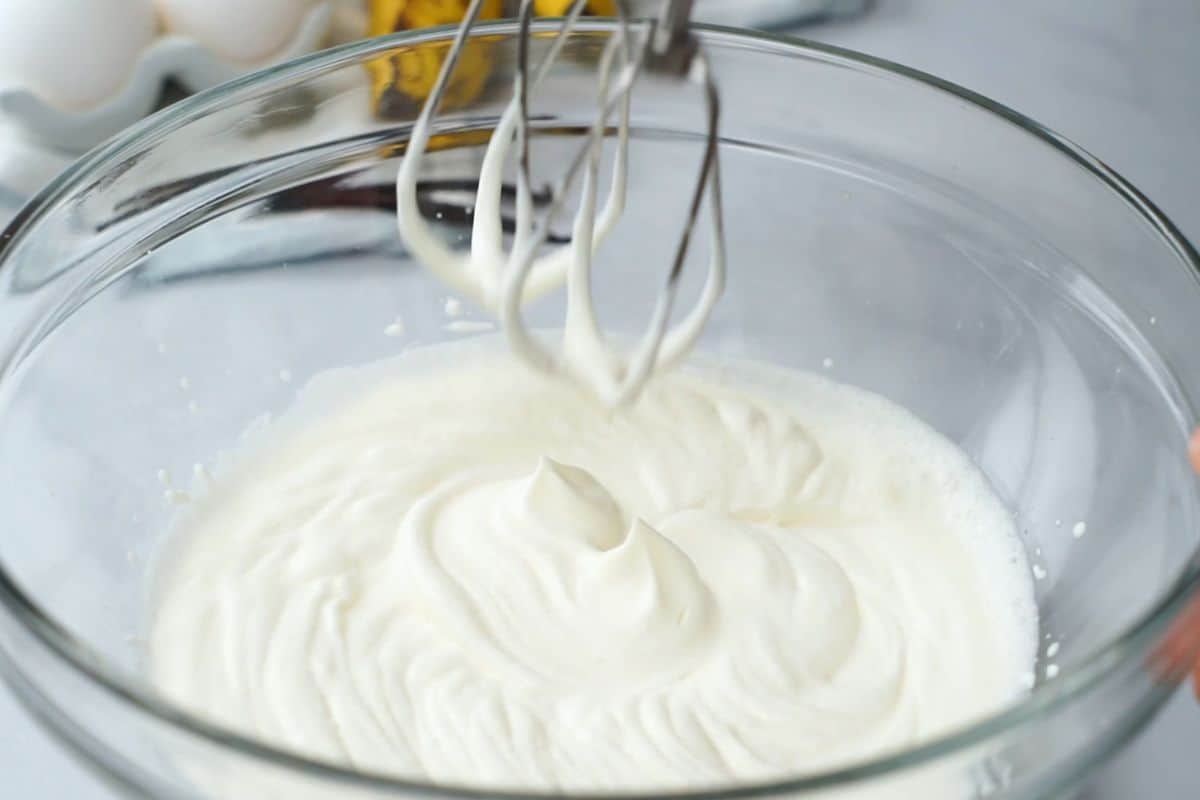
Step Four: Fold the Cream into the Pudding
Add a generous scoop of the whipped cream to the chilled pudding, then using a rubber spatula, gently fold the pudding up and over the whipped cream to gently combine.
Add the rest of the cream and repeat the process until the cream is fully incorporated into the pudding and the mixture is light and airy.


Step Five: Prepare the Bananas
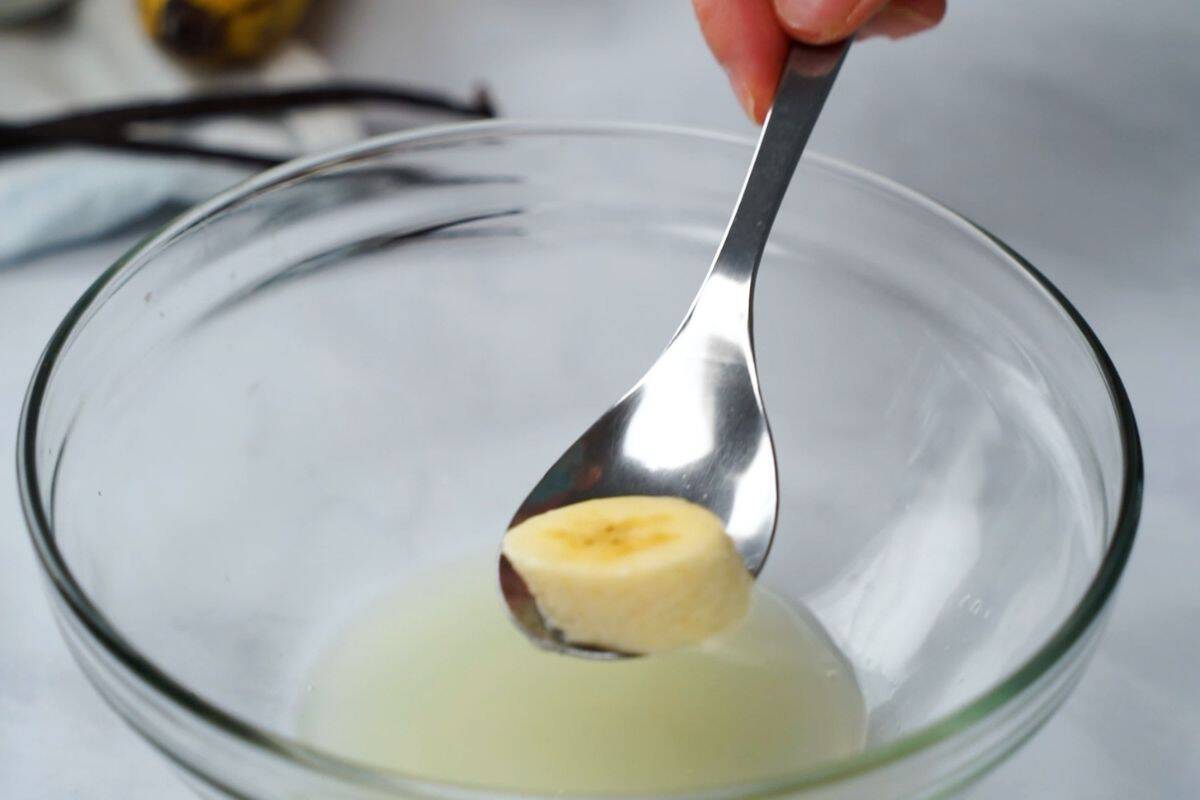
Peel and slice the bananas into ½-inch thick slices. Then dip each slice into lemon juice to lightly coat, allowing excess lemon juice to drain off the bananas.
Step Six: Layer Pudding
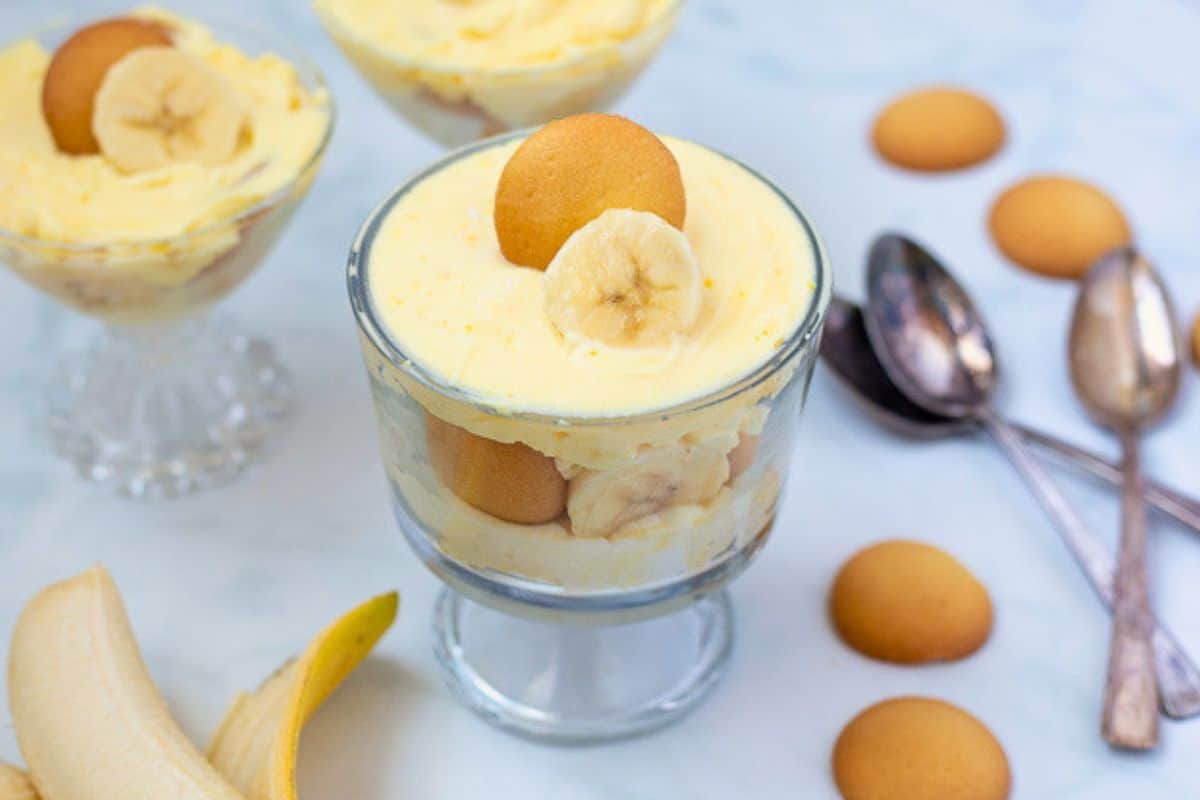
In a serving dish of your choice, spread about ⅓ of the pudding mixture into the bottom of the dish. Top with a layer of vanilla wafers, followed by a single layer of banana slices. Repeat the layers two more times, finishing with a final layer of the remaining pudding on top.
Alternatively, layer the components of the pudding into individual serving dishes or mini trifle cups.


Step Seven: Chill
Cover and refrigerate for at least 4 hours or up to 24 hours before serving, to let the flavors marry together.
Storage Instructions
How Long Does Banana Pudding Last?
Homemade Banana Pudding is best enjoyed within 48 hours of preparation. After 2 days, the whipped cream begins to wilt and the bananas brown and become mushy.
Ideas for Serving
Banana Pudding is the perfect ending to almost any meal, but we especially love it after cookout favorites like BBQ pulled chicken, homemade baked beans, or burgers. The cool, creamy texture is especially welcome after smoky or spicy meals.
For parties, serve it in:
- A large trifle bowl for dramatic presentation
- Small jars for easy grab-and-go servings
- Mini dessert cups for showers and holiday gatherings
More Crowd-Pleasing Dessert Recipes

Did you make this recipe?
If you enjoyed this recipe, please leave a comment with a 5-star review at the bottom of the post. Thank you!
Homemade Banana Pudding

Video
Ingredients
- ⅔ cup granulated sugar
- 3 tablespoons cornstarch
- ¼ teaspoon table salt
- 2 cups whole milk
- 2 large egg yolks
- 1½ teaspoon vanilla extract
- 1 cup heavy whipping cream
- 2 large bananas for slicing, firm, yet ripe
- 2-3 tablespoons lemon juice, for dipping bananas
- 24-36 vanilla wafers
Instructions
- In a medium saucepan whisk together ⅔ cup granulated sugar, 3 tablespoons cornstarch, ¼ teaspoon table salt. VERY slowly drizzle in 2 cups whole milk, whisking to combine. Add 2 large egg yolks and whisk again until everything is combined.
- Place the saucepan over medium-low heat, and cook, whisking constantly, until bubbles form on the edges of the saucepan and the mixture begins to thicken. This will take about 6-8 minutes. Once bubbling, continue to cook and whisk for 1-2 minutes, or until the mixture thickens enough to coat the back of a wooden spoon. Remove from the heat and stir in 1½ teaspoon vanilla extract.

- Place a fine-mesh strainer over a large mixing bowl and pour the warm pudding through the strainer, using a spatula to gently push the mixture through the mesh if needed. Discard any solids.

- Place a piece of plastic wrap over right on top of the pudding (this prevents a skin from forming) and refrigerate for 30 minutes, or until fully chilled.
- After the pudding has chilled, pour 1 cup heavy whipping cream into a large mixing bowl or the bowl of a stand mixer fitted with the whisk attachment. Using a handheld mixer or stand mixer, beat the cream on medium-high speed until soft peaks form. When you lift the beaters or whisk, the cream should form soft mounds that gently fold over.

- Add a scoop of the whipped cream to the chilled pudding, then using a rubber spatula, gently fold the pudding up and over the whipped cream to gently combine. Add the remaining whipped cream and repeat the process, until the fully incorporated.

- Slice the bananas into ½-inch thick slices and gently dip them into the lemon juice to lightly coat.

- In a 2-quart trifle dish, layer in ⅓ of the pudding mixture. Top with half the vanilla wafers, to just cover the pudding. Top with ½ the sliced bananas. Repeat the layers, ending with the final third of the vanilla pudding. Alternatively, layer the ingredients in individual serving dishes.

- Chill for at least 4 hours, but overnight is recommended. Serve within 2 days of preparing for best results.
Notes
Nutrition
Nutrition information is automatically calculated, so should only be used as an approximation.
This post was originally shared in 2021 and updated in 2026.




This is a great banana pudding
recipe!!
I love hearing you enjoyed this pudding. Thanks for sharing
Very good can even use in a cooked pie shell.
This is the Bestest banana pudding recipe that I have ever come across!! Thank you for sharing
I am so happy you enjoyed so much!
Our whole neighborhood loves this banana pudding. I use gluten free vanilla wafers so even gluten sensitive people can enjoy it. DELICIOUS!
I absolutely LOVE hearing this, Leslie! Thank you for sharing you enjoyed this banana pudding and how you made it for your gluten-free friends.
I’ve been wanting to make a from-scratch banana pudding for a while. So glad I stumbled across this recipe. It’s perfect! Perfectly creamy and sweet, and I love all of the real ingredients. Yay, no Cool Whip or box mix pudding! I assembled it in a 9x13 dish to make it easy to transport to a family gathering. It was a bit thin for that. Next time, I’ll either put it in a 9x9 or double it for the 9x13. Trifle dishes are pretty, but can be tricky to transport and fit into a crowded fridge. The only note I added to my recipe card, is to keep heating and stirring the custard until it starts to boil. I tried taking it off the heat too soon and it didn’t set up the first time, still too runny. Bringing it to a slight boil was enough to activate the cornstarch and make it the consistency of pudding. Thanks for a wonderful recipe! I’ll be scouring your website for more! 🙂
Thank you for sharing Ashleigh! I am so happy you enjoyed so much!
We just made this for Father's Day. It's my dads favorite!! It's so creamy & delicious!!
I love hearing that Kristyn! I made it for my husband as well.
Served the banana pudding in small cups for a party! Amazing! thank you for sharing this recipe