
This post may contain affiliate links. Please see our disclosure policy.

Perfectly sweet, a little spicy, and kissed with citrus, these Easy Candied Walnuts are perfect for snacking, gifting, or elevating any salad.
You won't believe how simple it is to candy walnuts at home. With just a handful of simple ingredients and a few minutes of actual effort, you get glossy, caramelized walnuts with an irresistible crunch.
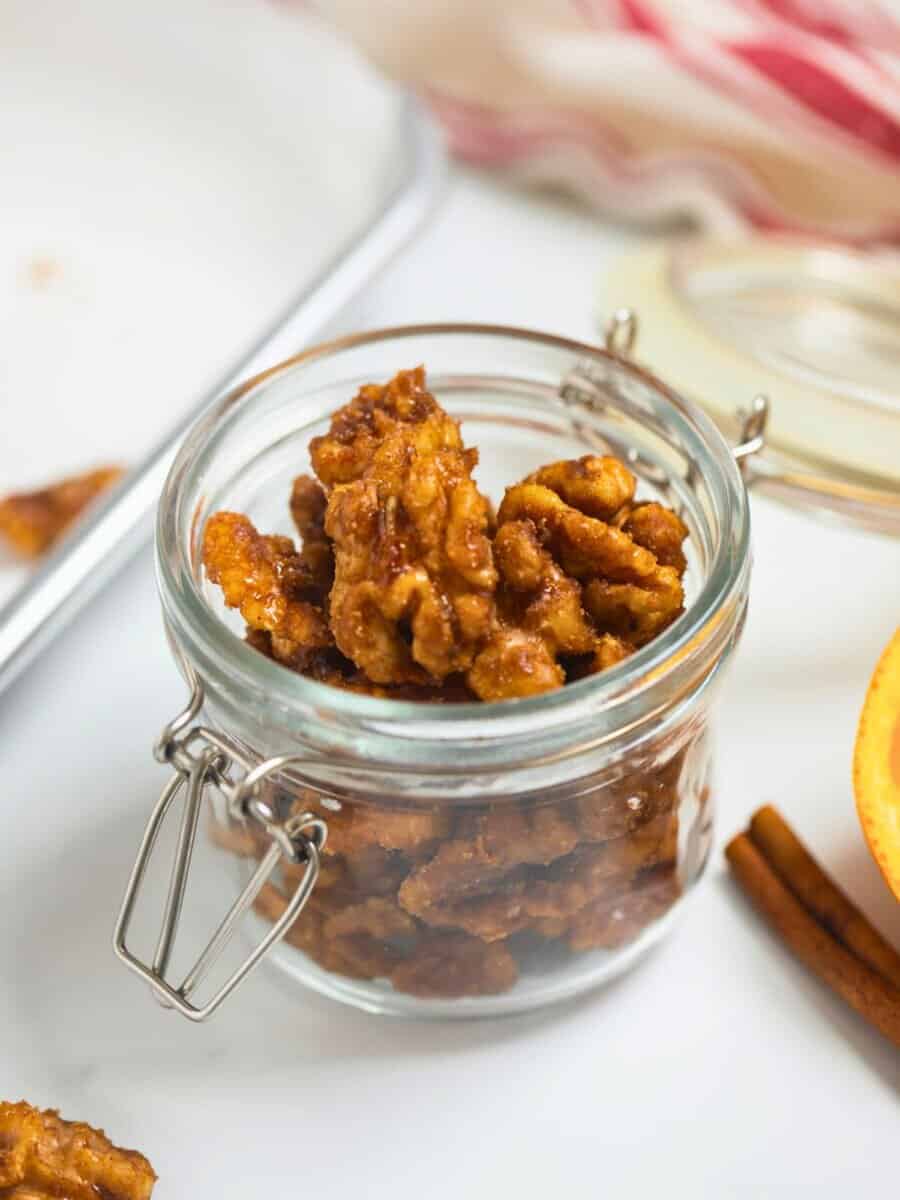
Kristen's Keys for Candied Walnuts
Before you even grab your skillet, a few things will make this recipe shine. Candied nuts go from perfect to burnt fast, so paying attention here really helps.
- Line your baking sheet first. Parchment paper makes cleanup easy and prevents the candied nuts from sticking to the pan.
- Use a heavy skillet. A heavier pan distributes heat more evenly, which keeps the sugar from scorching before it melts.
- A combination of brown sugar and granulated sugar is the best of both worlds. Brown sugar adds rich, caramel notes; granulated sugar helps the nuts achieve a crispy exterior.
- Orange juice is my secret ingredient. I love adding both orange zest and fresh orange juice to my candied walnuts, but this does result in a very citrus-forward candied nut. For a more subtle touch, use water instead of fresh orange juice.
- These candied walnuts turn out glossy and crunchy without that crystallized finish. The sweet, spiced coating clings beautifully to each nut, but unlike oven-baked versions made with egg whites, there's no flaky layer, just an even glaze.
How to Make Candied Walnuts on the Stove
Think of this section like I'm in the kitchen beside you, helping you feel confident in the results.
Step One: Prepare Your Pan
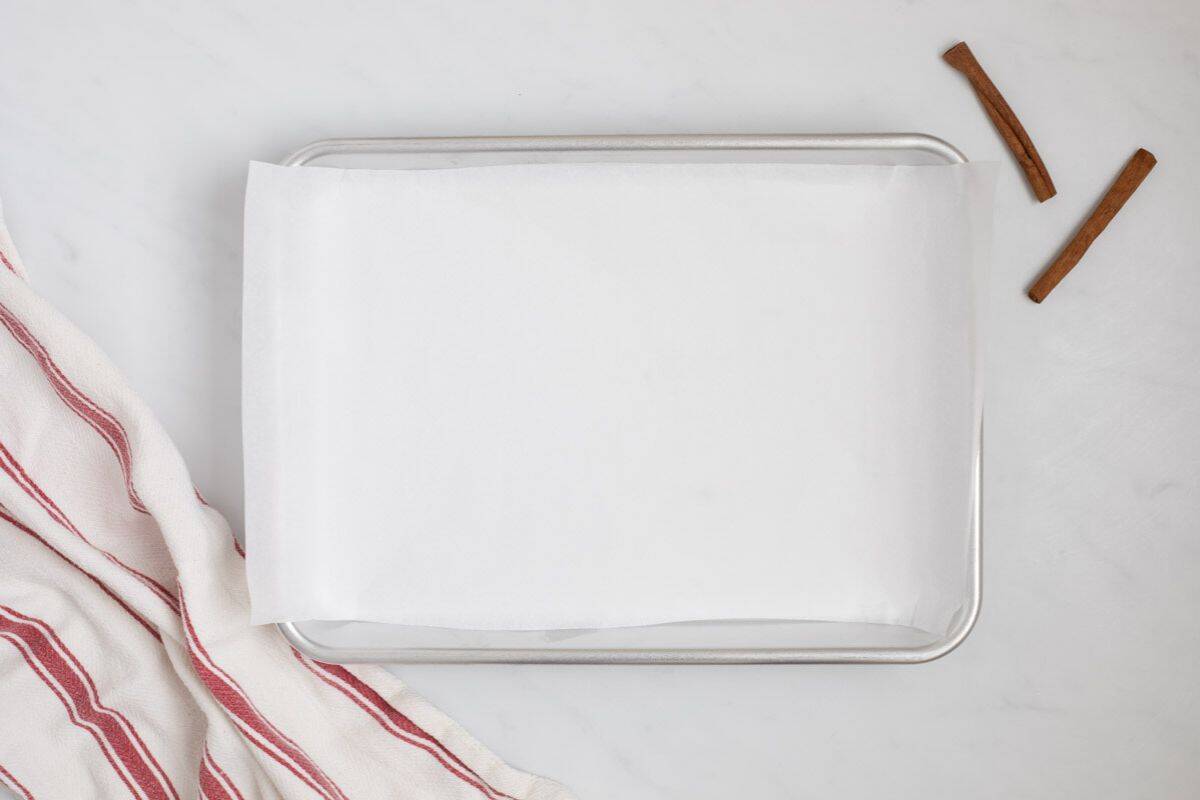
Line a rimmed baking sheet with parchment paper and set aside.
Step Two: Combine Ingredients
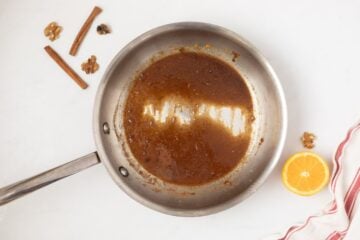
Whisk together the brown sugar, granulated sugar, cinnamon, cayenne, salt, orange zest, and orange juice (or water) until combined. Add the walnuts to the pan and toss to coat.
👉🏻Yes, add the nuts now! I have experimented with cooking the glaze until the sugar melts, then adding the nuts, and found the sugar mixture begins to crystallize before the nuts can fully toast. It is best (and easiest) to cook the mixture all together.
Step Three: Candy the Nuts
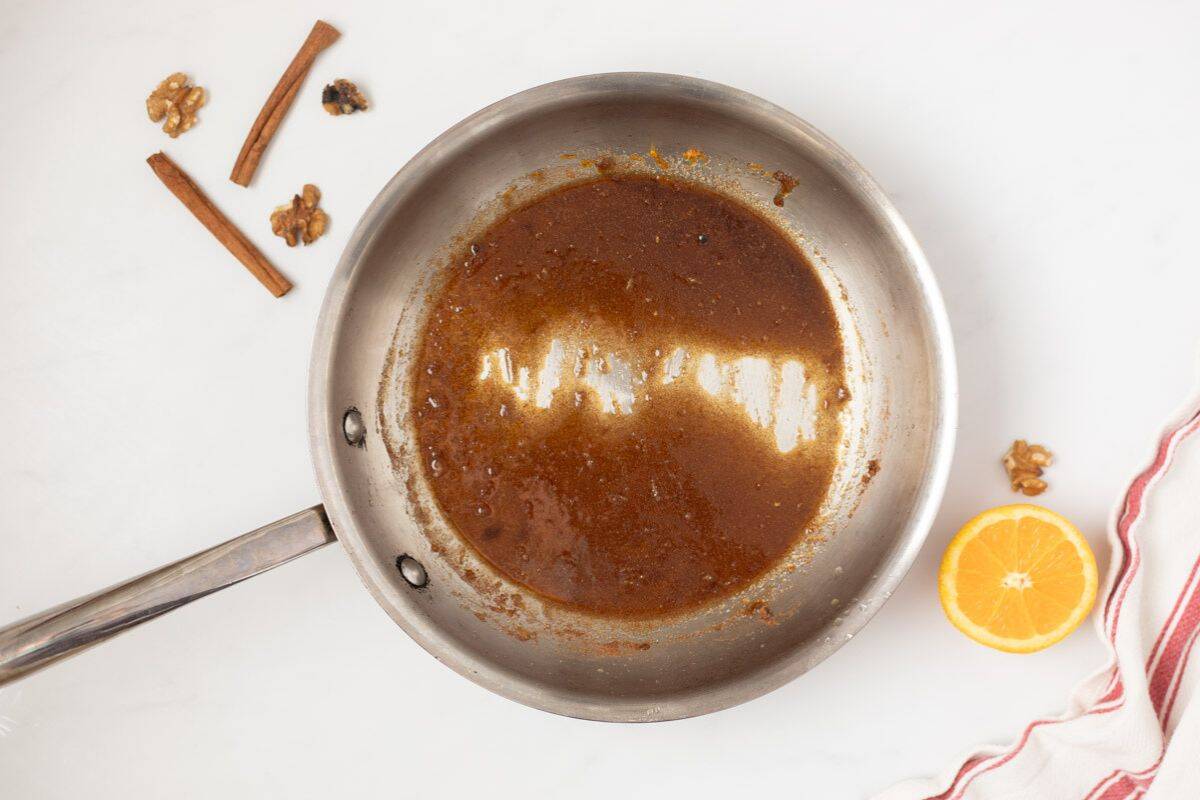
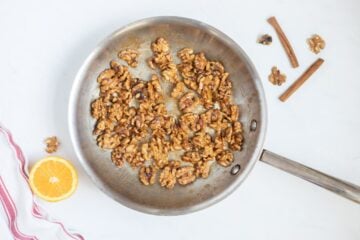
Place the skillet over medium heat and stir constantly for 3-4 minutes. The sugar will melt and coat the walnuts as they toast, enhancing their natural flavor. If your sugar mixture starts to thicken or get grainy before it coats the nuts, add a teaspoon or two of water and keep stirring to smooth it out.
👉🏻You will know the skillet is ready to remove from the heat when the sugar mixture looks glossy and lightly golden and evenly coats the nuts. Don't stop stirring and don't let the mixture go past golden, to prevent burning.
Step Four: Spread Out
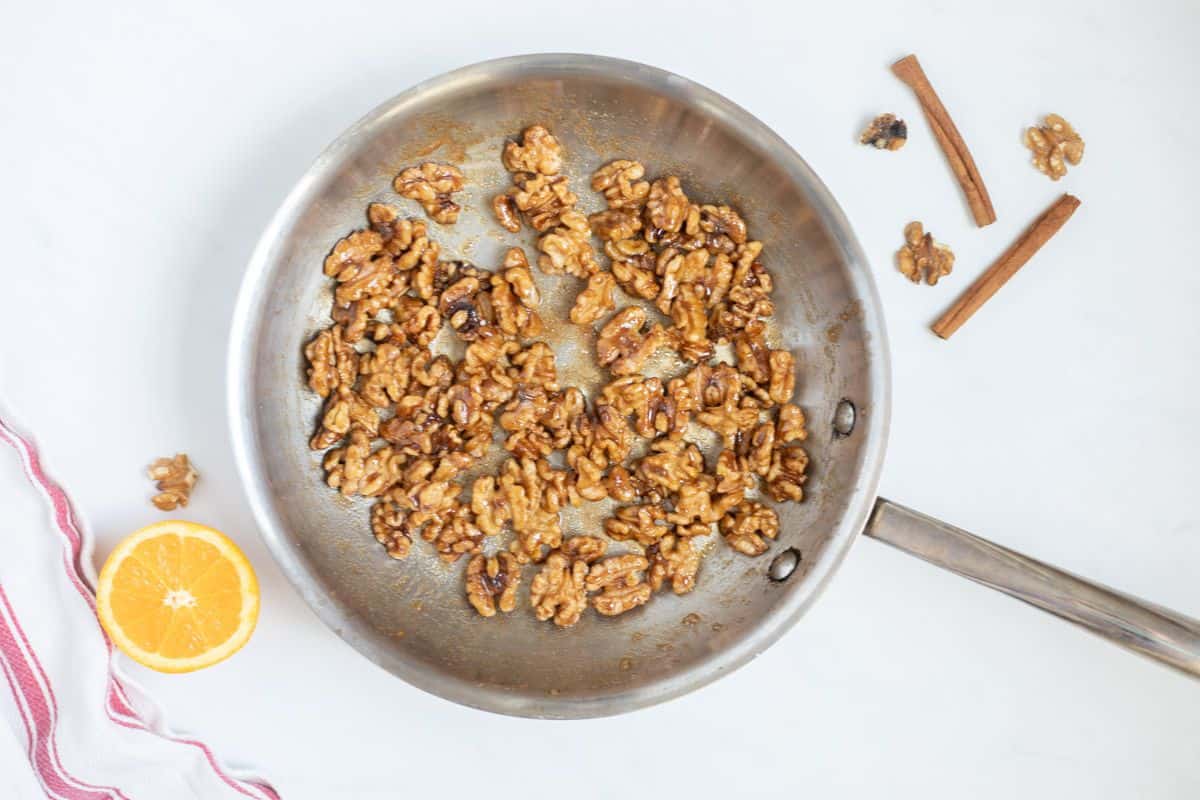
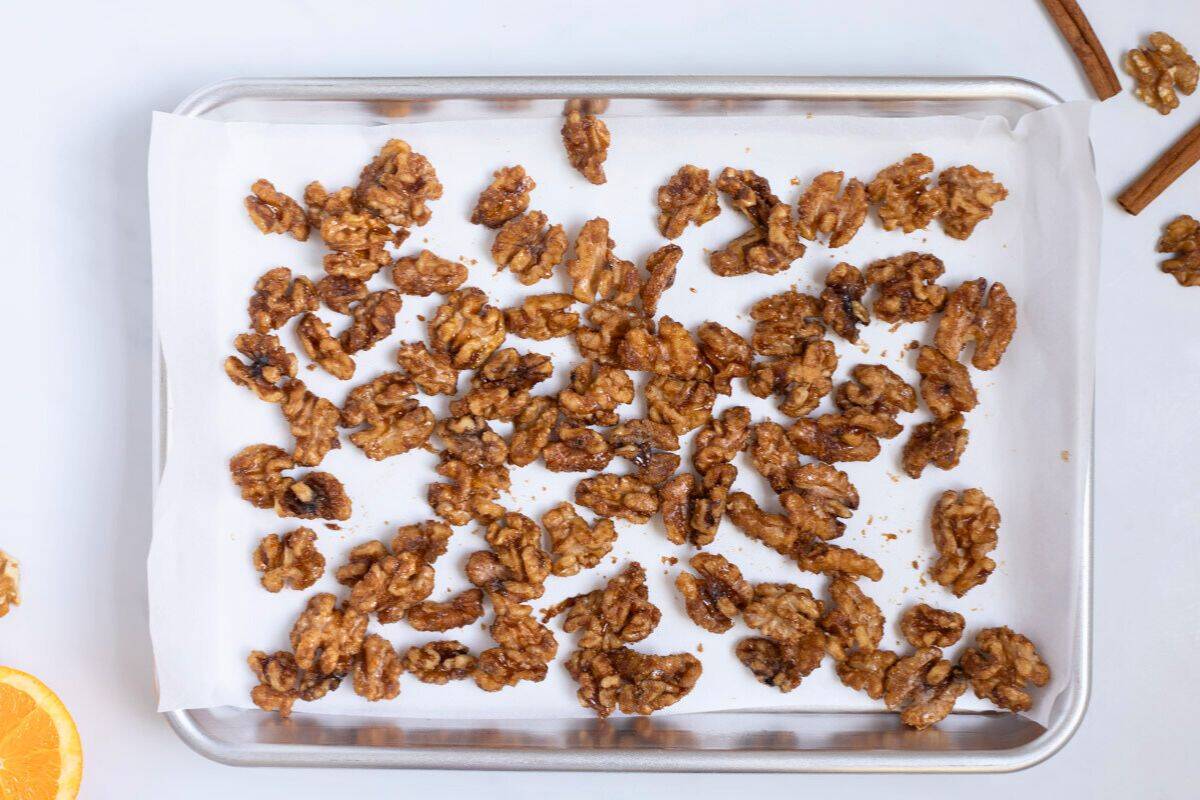
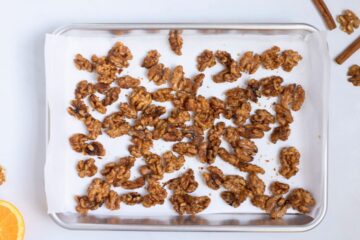
Immediately remove the nuts from the heat and dump them onto the prepared baking sheet. Use two spoons to separate the nuts so they don't clump together.
👉🏻Work quickly. Otherwise, you will end up with one giant walnut cluster instead of individually candied nuts.
Step Five: Let Harden
Let the candied walnuts harden at room temperature until completely cooled to the touch. Keep in mind the nuts will develop that irresistible crunch once the candy coating has fully cooled.
Serving + Storage Instructions
Let the nuts cool completely before transferring them to an airtight container. Then you can store them at room temperature for up to 2 weeks or pop them in the freezer for about a month.
As for how to enjoy these candied walnuts, the options are endless. Besides snacking on by the handful, below are a few of my favorite serving suggestions.
- Package in small jars to give as hostess or holiday gifts.
- Add to a trail mix for added flavor and crunch.
- Add as a topping for whipped sweet potatoes.
- Add crunch and flavor by topping yogurt or oatmeal (especially maple brown sugar crockpot oatmeal and pumpkin oatmeal) with these spiced candied walnuts.
- Add to salads. These candied nuts add the perfect finish to my Christmas salad, butternut squash salad, and Brussels sprouts salad.
Recipe Modifications
- Swap Out Walnuts. Use pecans or almonds in equal amounts.
- Control the Heat. A bit of cayenne balances out the sweetness, but feel free to omit if you are sensitive to spice. Alternatively, increase if you love a little kick.
- Omit the Orange. For a more traditional candied flavor, omit both the orange zest and orange juice and use water. My son and I LOVE the orange addition, but my husband prefers the candied nuts without.
- Play with Spices. Try replacing the cinnamon with pumpkin pie spice or apple pie spice, or use smoked paprika in place of cayenne for slightly smoky undertones.
More Easy DIY Recipes
Candied Walnuts

Video
Ingredients
- 3 tablespoons brown sugar, light or dark
- 1 tablespoon granulated sugar
- 1 teaspoon orange zest
- 1½ tablespoons fresh orange juice
- ½ teaspoon vanilla extract
- 1 teaspoon ground cinnamon
- ¼ teaspoon fine sea salt, or ½ teaspoon kosher salt
- ⅛ teaspoon cayenne pepper, optional
- 2 cups walnut halves, or pecans or almonds
Instructions
- Line a baking sheet with parchment paper and set it aside.

- In a heavy-duty skillet, whisk together 3 tablespoons brown sugar, 1 tablespoon granulated sugar, 1 teaspoon orange zest, 1½ tablespoons fresh orange juice, ½ teaspoon vanilla extract, 1 teaspoon ground cinnamon, ¼ teaspoon fine sea salt, and ⅛ teaspoon cayenne pepper until well combined.
- Add in 2 cups walnut halves and toss to evenly coat. Place the skillet over medium heat and stir constantly with a spatula for 3-4 minutes, or until the sugar fully melts and the nuts are glossy. If the sugar mixture begins to thicken too much or become grainy, add a teaspoon or two of water and keep stirring to smooth it out.
- Immediately remove the pan from the heat and dump the nuts onto the parchment paper. Using 2 spoons or 2 spatulas, quickly spread the nuts out onto the parchment paper so that each nut is separated. Let sit at room temperature for 30-60 minutes until fully hardened.
- Once hardened, transfer to an airtight container and store at room temperature for up to 2 weeks or pop in your freezer to store for a month or so.
Equipment
Notes
Nutrition
Nutrition information is automatically calculated, so should only be used as an approximation.



These never last long in the house! They are a great addition to a trail mix or to eat by the handful, lol.
Thanks for sharing! We are pretty guilty of eating them straight off the pan here.
LOVED the coating, but the pecans turned out more chewy than crunchy which was fine, but I prefer crunchy. I’m going to make again and use raw pecans and toast slightly beforehand. Yes, I used pecans vs. walnuts. Any recommendations?
Hi Kim! I am glad you loved the flavor. It sounds like you may have needed to let the mixture cook a bit longer for the coating to being to crystalize to form that crispy coating. You can try to remedy the nust you have already glazed by baking at 300°F for 10-15 minutes to help harden. And be sure to let cool fully, that helps too 🙂