
This post may contain affiliate links. Please see our disclosure policy.

Flaky, tender, and light, this homemade pie crust is surprisingly easy to make and uses just 4 simple ingredients.
Ditch the shortening and say hello to the easiest, flakiest, most flavorful pie crust made with just butter. This easy pie crust recipe comes together effortlessly in a food processor using just 4 simple ingredients. Perfect for everything from pumpkin pie to cherry crumb pie to quiche, this versatile crust is a must-have in your baking arsenal!
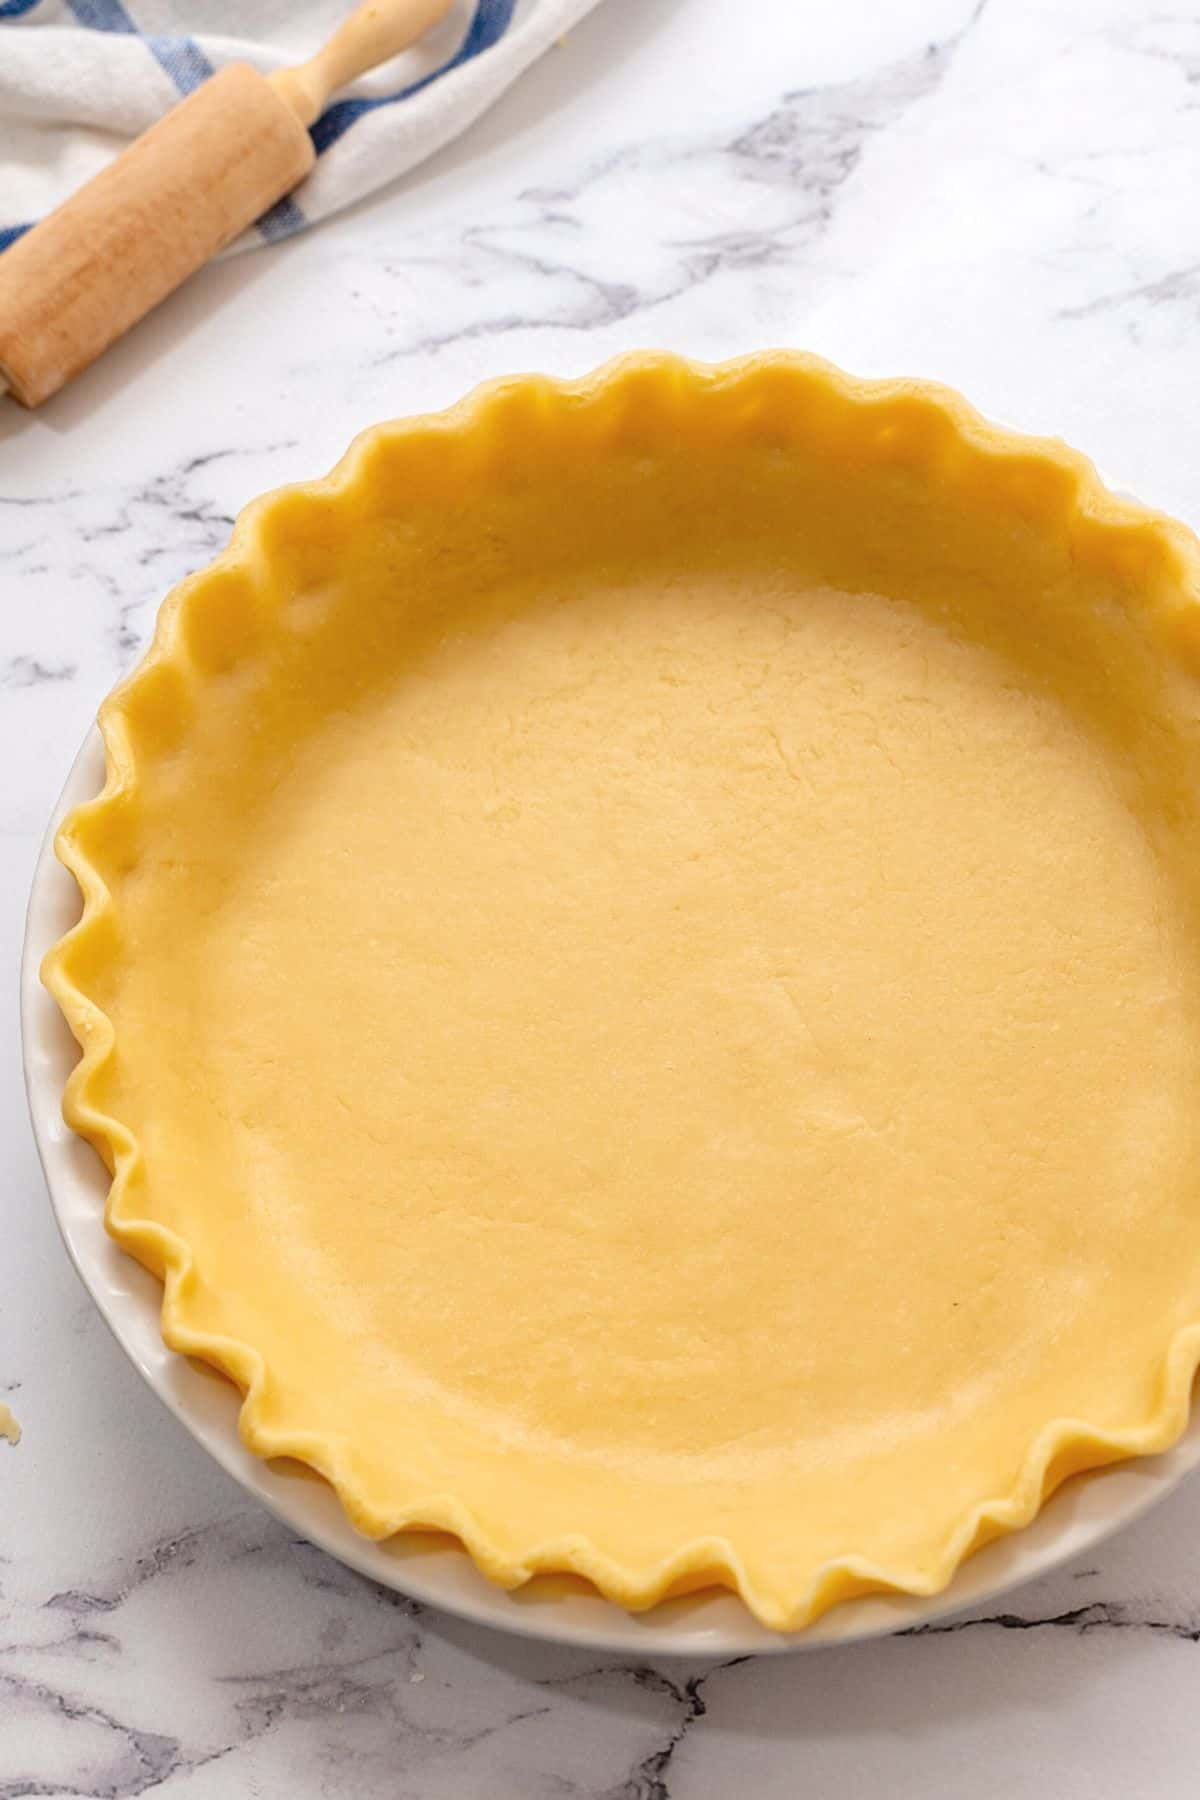
Kristen's Key Tips for Perfect Pie Crust
A lot of people are intimidated by the process of making a homemade pie crust, but this recipe proves making pie crust is actually not that hard. Just be sure to pay attention to my tips for the perfect results.
- Chill Everything! For the best texture and to prevent shrinking, chill the ingredients, food processor, dough blade, and pie dish thoroughly before making the pie crust.
- Use a Food Processor. Using a food processor to make pie crust not only make the process that much easier, but it cut downs on the chance of overworking the dough.
- Grate the Butter. You want to add small pieces of chilled butter to the flour, rather than large slices of butter. Those small pieces will create air pockets while the crust is baking, keeping the crust oh so tender and flaky!
- Use Ice Water. The difference between cold water and ice water are monumental when it comes to making a flaky pie crust.
- Chill Again! After shaping the pie crust, pop it into the fridge to chill for at least an hour. Super cold crust equals a flaky, tender pie crust!
- Bake on a Baking Stone or Metal Baking Sheet. This will help conduct the heat evenly and slowly, preventing your pie plate from cracking due to the extreme temperature differences from the fridge to the oven.
How to Make An All-Butter Pie Crust
The following tips are provided to help you achieve perfect results. You will find the ingredient quantities and detailed instructions in the recipe card at the bottom of this post.
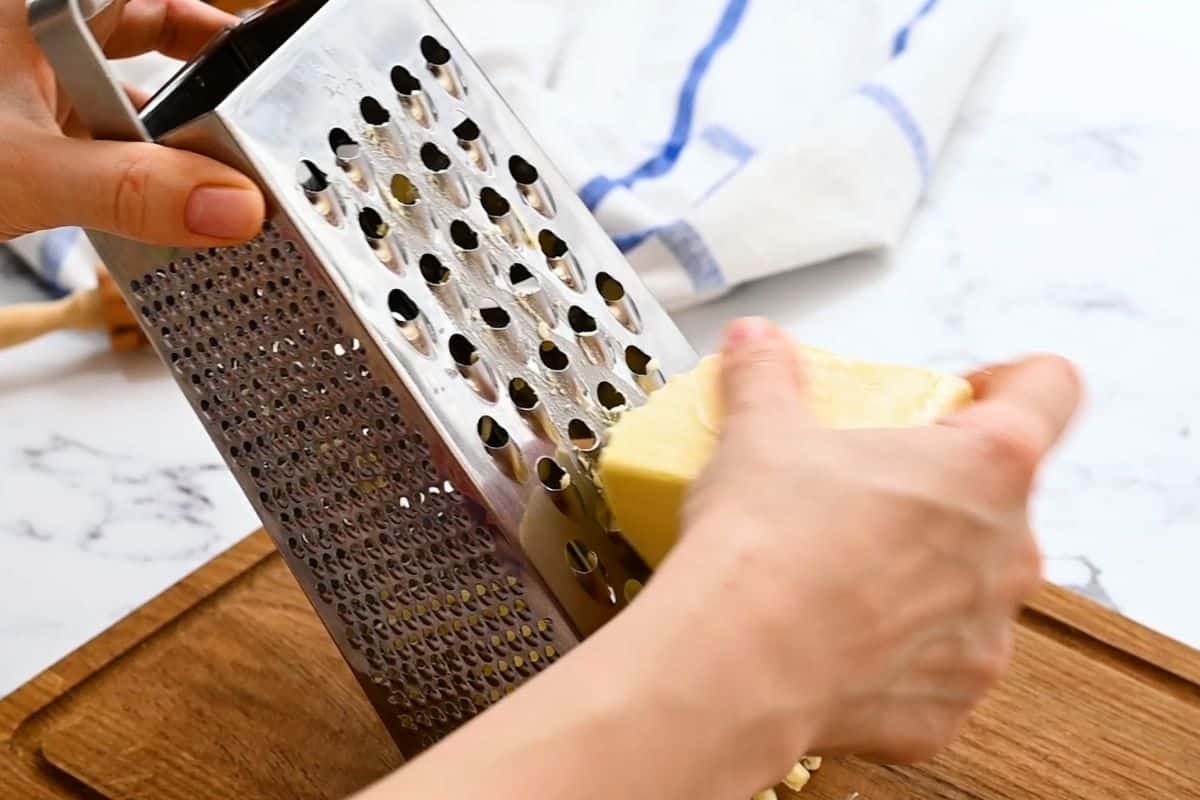
- Grate Butter. I prefer using a box grater or food processor fitted with a grating disk, to grate the butter rather than dicing the butter into small cubes with a knife. I find this helps to produce a really light and tender crust. But feel free to cube the butter into ½-inch cubes. Once grated, or cubed, pop the butter into the freezer before preparing your dough. We want everything cold, cold, cold!!!
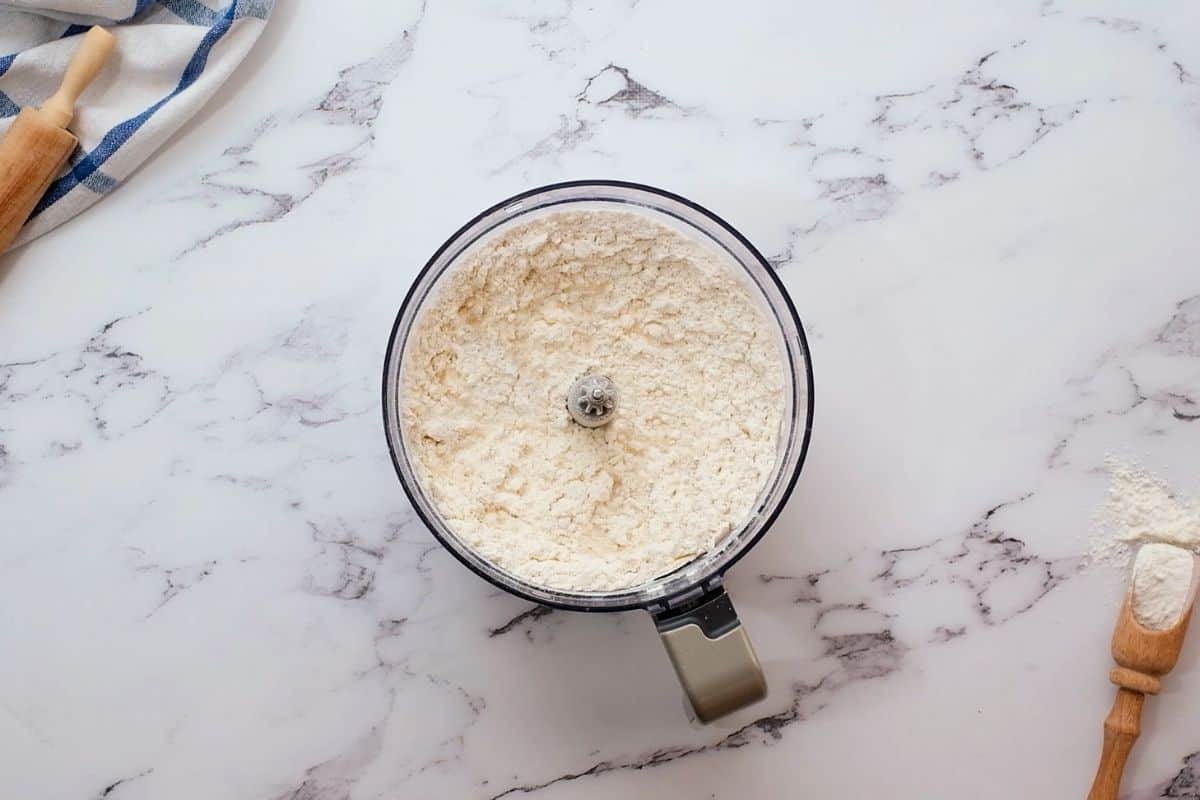
- Combine Dry Ingredients. Pulse the flour and salt together to evenly disperse the salt through the flour.
- Cut Butter into Flour. Remove the chilled butter from the freezer, add to the flour mixture, and pulse several times until the mixture resembles coarse crumbs, or the butter is distributed through the flour evenly.
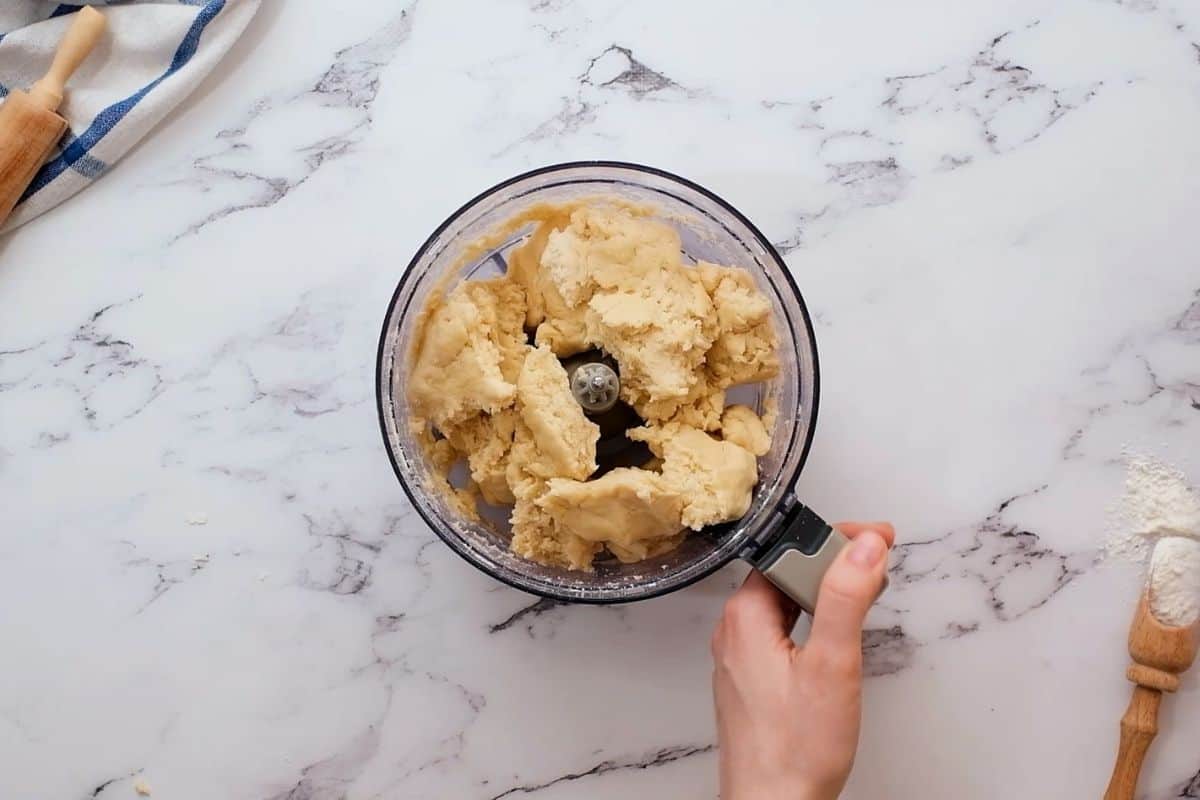
- Add Ice Water. Add 2 tablespoons of ice water at a time to the food processor, processing once after each addition. Stop adding water when the dough comes together easily and begins to form large clumps and feels moist and a little sticky, but not overly wet. The amount of water needed will depend on the moisture in your kitchen--I typically use 6-8 tablespoons of ice water.
- Divide Pie Crust Into Two Disks. Divide the dough in half and form it into two 1-inch thick disks. Wrap each disk in plastic wrap and chill for at least 2 hours before shaping crust.
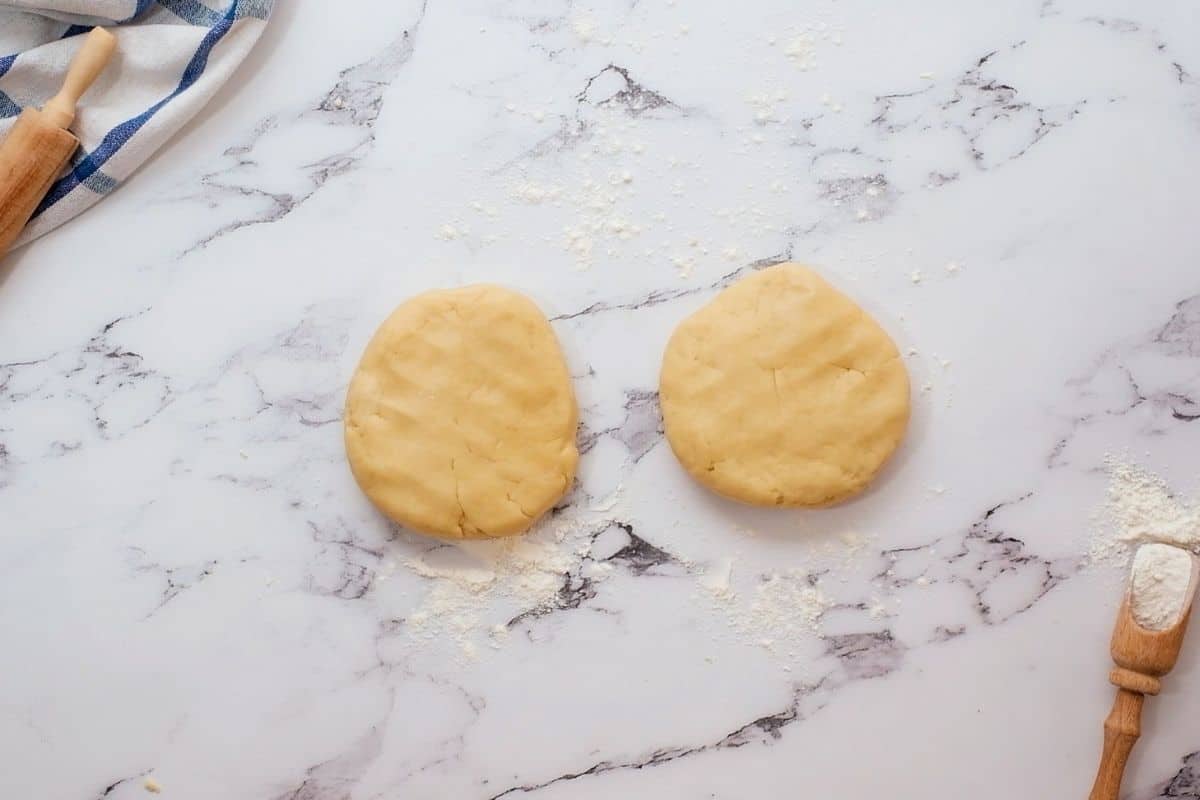
- Shape Pie Crust. Once the dough is fully chilled, remove from the refrigerator and roll each disk out into a circle that is slightly larger than your pie dish. Once rolled out, I find it best to let it sit on the counter for a few minutes before transferring it to the pie pan. That will help prevent shrinkage and less tearing of your pie dough.
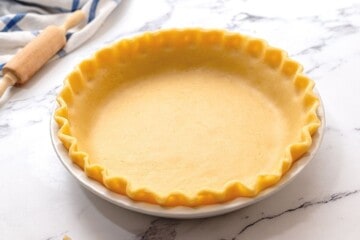
- Flute Edges. To flute the edges, use your knuckle from one finger to indent the pie crust and then two fingers from your other hand to pinch the crust, and form the fluted edge.
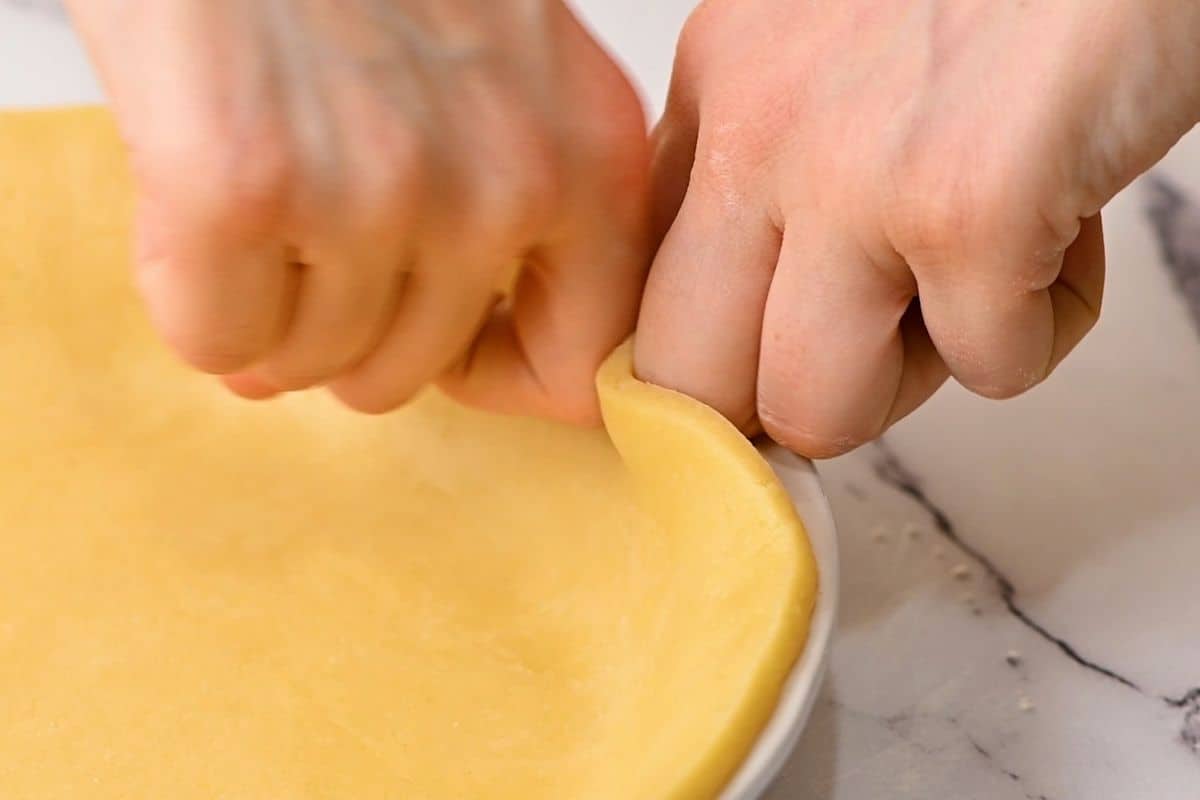
- Chill Again. Whether you intend to blind bake your crust or fill your pie crust and then bake it, you MUST chill the crust in the refrigerator for at least 1 hour.
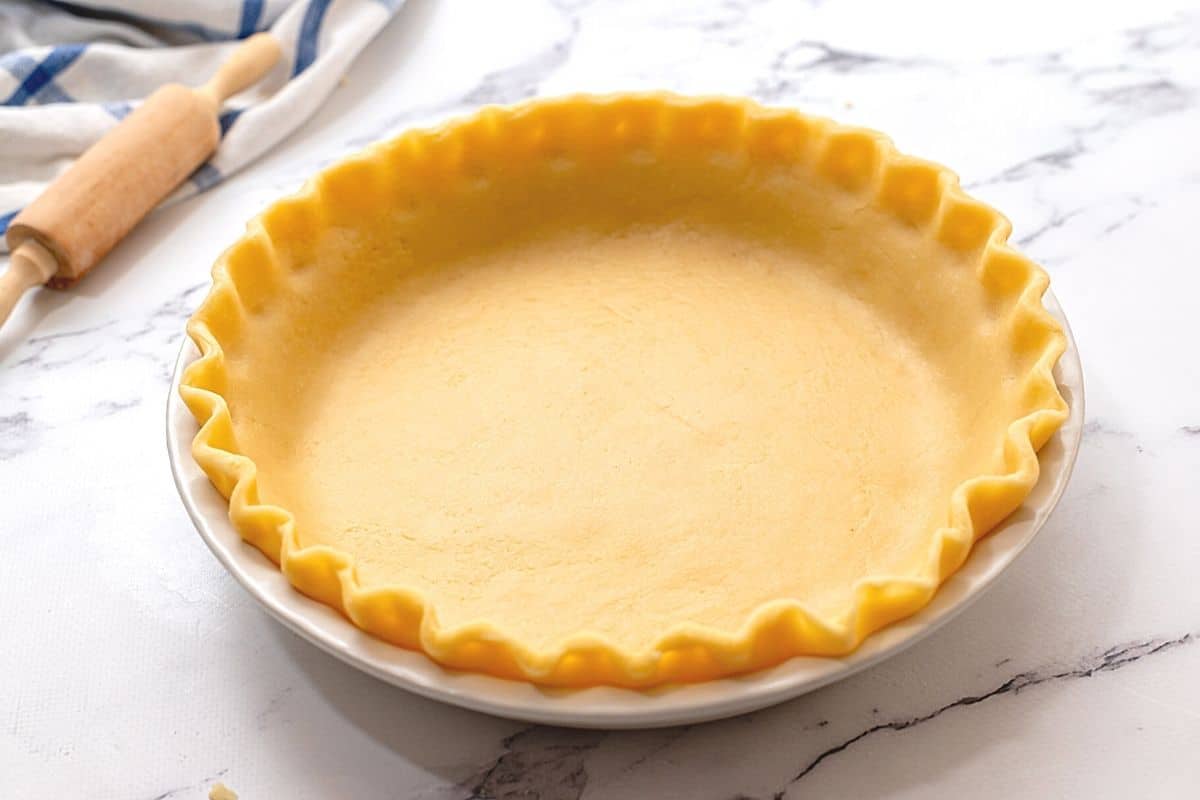
How to Blind Bake a Pie Crust
Some recipes, like Quiche Lorraine, will call for a partially baked pie crust, while others may call for a fully baked pie crust. For either option, you will need to blind bake the pie crust (the only difference is the amount of baking time.)
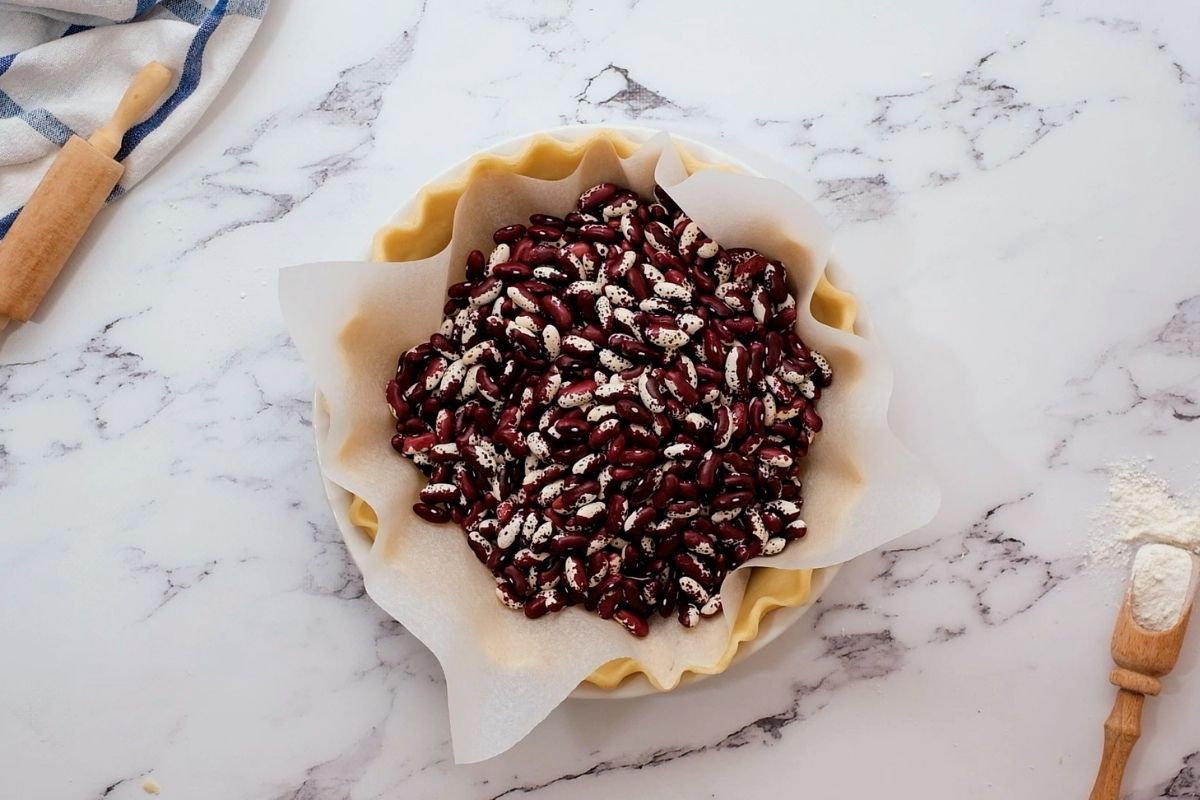
- Line Pie Crust. Remove the shaped pie dough from the refrigerator and top with a sheet of parchment paper. Add pie weights or dried beans to the top.
- Bake. Place the pie plate on a metal baking sheet (or baking stone) and bake for 15 minutes.
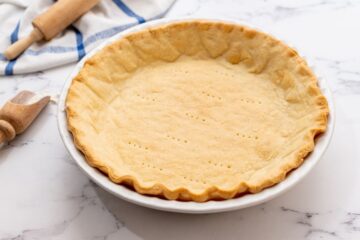
- Dock Pie Crust. Take the pie plate out of the oven and carefully remove the parchment paper with pie weights by lifting up the corners of the parchment paper. Dock the bottom of the pie crust by pricking the bottom of the empty crust with a fork several times.
- Bake Again. Return the docked pie crust to the oven and bake for 8 more minutes for a partially baked crust OR for 15-18 more minutes for a fully baked crust.
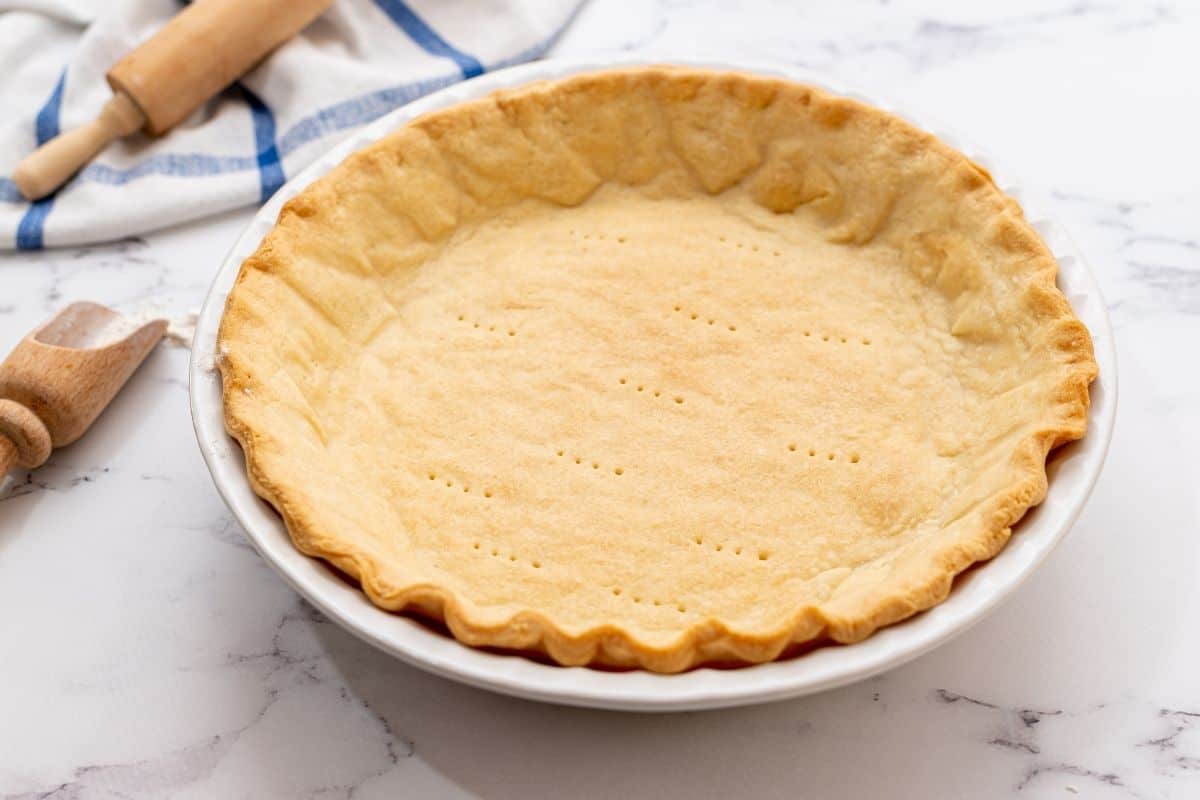
∗ A Few Final Pointers ∗
- Chill. Chill. Chill. Do not skip on the chilling time. This is key to keeping allowing the pie crust to hold its shape and remain light and tender.
- Only need one pie crust? This recipe yields two 9-inch pie crusts. If you only need one, freeze one disk after shaping to keep on hand for future use.
- Prevent burning. If you notice your edges are browning too quickly, remove the pie from the oven and use a pie crust shield or carefully cover the edges of the pie crust with foil or a pie shield.
- If you opt to use dried beans as pie weights. Be sure to label the dried beans as "pie weights" and don't try later cook with them--they will NEVER soften!
- No food processor? No problem! Use a fork or pastry cutter to prepare the dough.
- Make pie dough in advance. Wrap pie dough in plastic wrap then place it into a freezer-safe bag. Store in the refrigerator for up to 5 days or in the freezer for up to 3 months.
Recipes Using Pie Crust
If you enjoyed this recipe for Homemade Pie Crust, I would love for you to leave a review below.
Homemade Butter Pie Crust

Video
Ingredients
- 1 cup unsalted butter, (2 sticks of butter)
- 2½ cups all-purpose flour, spooned and leveled (313 grams)
- 1 teaspoon kosher salt
- 6-10 tablespoons ice water, divided
Instructions
- Place the bowl for food processor, plastic dough blade, flour, and pie dish in the refrigerator to chill thoroughly.
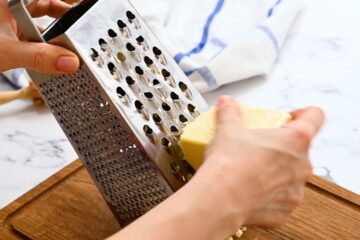
- Using a box grater, grate 1 cup unsalted butter. Alternatively, cube the butter into ½-inch cubes. Place grated/cubed butter into the freezer for 15-20 minutes.
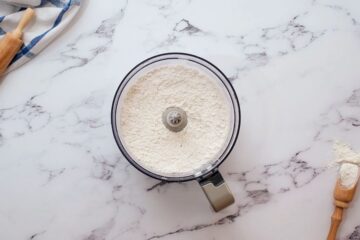
- Remove the food processor bowl, dough blade, and flour from the refrigerator and assemble the food processor with the dough blade. Place 2½ cups all-purpose flour and 1 teaspoon kosher salt in the food processor and pulse a couple times to combine.
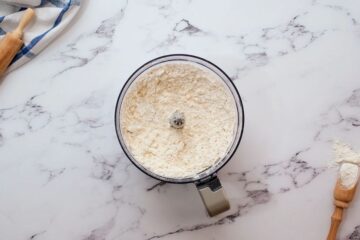
- Add the frozen grated butter to the food processor and pulse, 2-3 times until it resembles coarse crumbs, or the butter is distributed through the flour evenly.
- Through the opening, drizzle in 2 tablespoons of ice water and pulse once. If needed, add additional ice water 1 tablespoon at a time until the dough comes together easily and begins to form large clumps. The dough will feel moist and a little sticky, but not feel overly wet. For me, I typically need 6-10 tablespoons ice water to reach the perfect consistency.
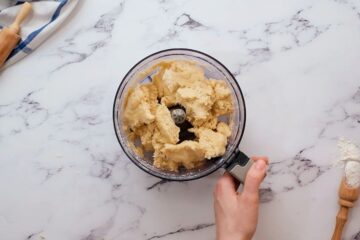
- Using floured hands, turn the dough out onto a floured workspace. Press the dough together until evenly combined and form it into a disk. Cut in half and then flatten each disk to about 1- inch thickness. Wrap each disc tightly in plastic wrap and refrigerate for at least 2 hours and up to 5 days before using.
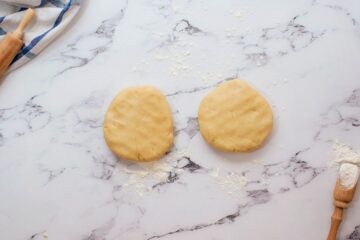
- Remove the dough from the refrigerator a couple of minutes ahead before rolling out the crust so that it is easier to work with. Lightly flour your work surface and rolling pin. Roll out the disk of dough from the center moving outward in all directions until dough is even and the diameter of the circle is about 12 inches--a couple of inches larger than your pie pan.
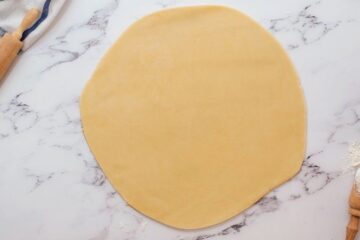
- Let the dough rest for a couple of minutes and then very carefully transfer the pie crust to the pie pan. Gently press the dough onto the sides of the pie plate and then fold under the overhanging crust so that the edge is thick and even.
- To flute the edges of the pie crust, use your knuckle from one finger to indent the pie crust and then two fingers from your other hand to pinch the crust, and form the fluted edge.
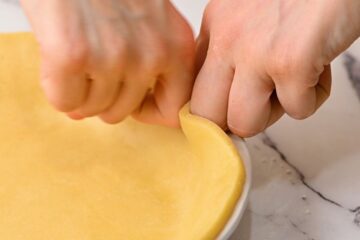
- Place the pie crust into the refrigerator for 1 hour before using it for your pie recipe. Be sure to bake the crust on a baking stone or metal baking sheet to help the heat distribute evenly and not crack your pie plate.
To Pre-Bake/Blind Bake Pie Crust
- Position an oven rack in the lower-middle portion of your oven and preheat to 375℉/190℃.
- Remove the pie plate from the refrigerator and press parchment paper into the pie shell, folding over the edges so that the entire crust is covered, as best as possible. Fill to the top of the foil with pie weights or dried beans. Place the pie plate on a baking stone or metal baking rack to help prevent the pie plate from baking.
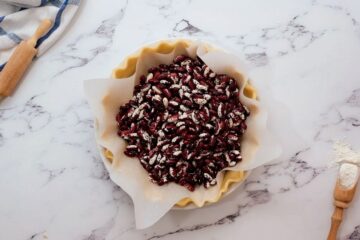
- Place the pie crust into the oven and bake for 15 minutes.
- After 15 minutes, remove the pie crust from the oven and carefully remove the parchment paper and pie weights by lifting up the corners of the parchment paper. Use a fork to dock the bottom of the pie crust several times.
- Return to the oven, and bake for 8 more minutes for a partially baked crust OR for 15-18 more minutes for a fully baked crust. If you notice your edges are browning too quickly, use a pie crust shield or cover with foil.
- Chill the crust completely if using for a no-bake pie.
Notes
Nutrition
Nutrition information is automatically calculated, so should only be used as an approximation.




Can you use this crust for an apple pie (crust cooks at same time as apples)?
Hi E! I use this pie crust for my recipe for Dutch Apple Pie. It works quite well and there is no need to pre-bake the crust, just be sure to thoroughly chill after shaping the crust before adding the apple pie filling.
I’m very confused over the recipe for all butter pie crust I print out the recipe and first it gives instructions for the food processor I read on through the instructions and I get to the last part that states to make without a food processor it says in a large bowl whisk to combine the flour sugar baking powder and salt but your recipe on page 1 does not call for the sugar baking powder and your recipe only calls for a cup of unsalted butter 2 1/2 cups of flour and a teaspoon of salt and 6-10 Tablespoons of us water. Printed instructions are not clear
Hi Nancy! All fixed. Thanks for catching that. It should read: For mixing without a food processor: In a large mixing bowl, whisk together the flour and salt.
I love making anything homemade! So excited to use this recipe when I make a pie now! So good!
It really does make pies so much better. Glad to hear you enjoy!
Easier than I thought it would be! Perfect directions and perfect crust. It really does make a difference to chill EVERYTHING! Perfect crust for my favorite peach cream & crumb pie!
I am so glad this was easier than you expected. Enjoy that peach pie--YUM!
I've always been too intimidated to make my own but this recipe was so easy to follow. Thanks for adding all of the tips too. I would've never thought to put the mixing bowl and paddle in the fridge too. Genius!
So happy to hear these tips helped you master pie crust!
While I totally agree with chilling, one must be aware of chilling glass pie pans and putting into a hot oven. I've had glass pie pans not only crack, but break entirely due to extreme temperature change.
That is a great point Phyllis. I added that note to take out of the fridge for 5-10 minutes to take the chill off.
Can I use the same process using gluten free flour?
Are there any changes other than the flour?
Thanks
Hi Betty Anne! I have made this with Bob's Mill 1:1 Gluten-Free Flour Blend with success. You should be able to use any 1:1 blend as long as it contains xanthan gum.