
This post may contain affiliate links. Please see our disclosure policy.
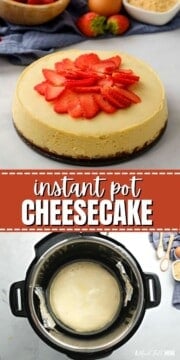
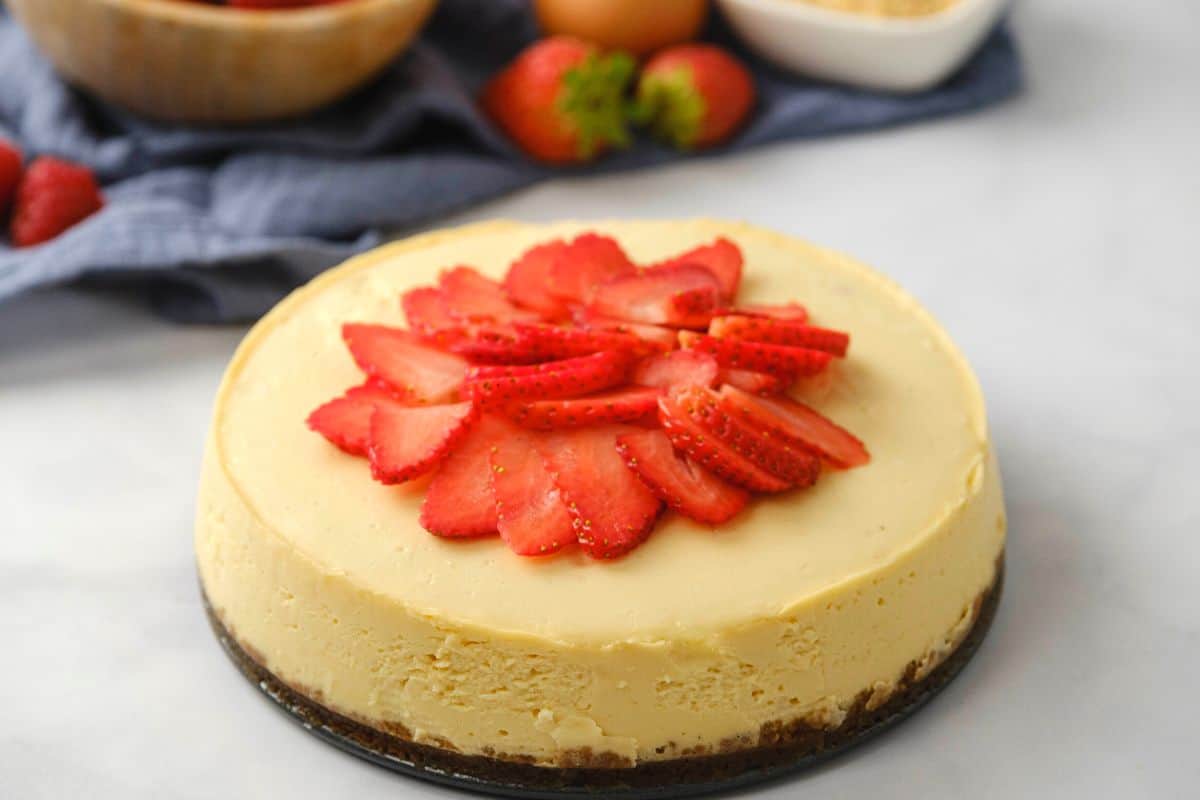
Baked in the moist heat of the Instant Pot, this Instant Pot Cheesecake recipe is guaranteed to turn out smooth, creamy, and perfect every time!
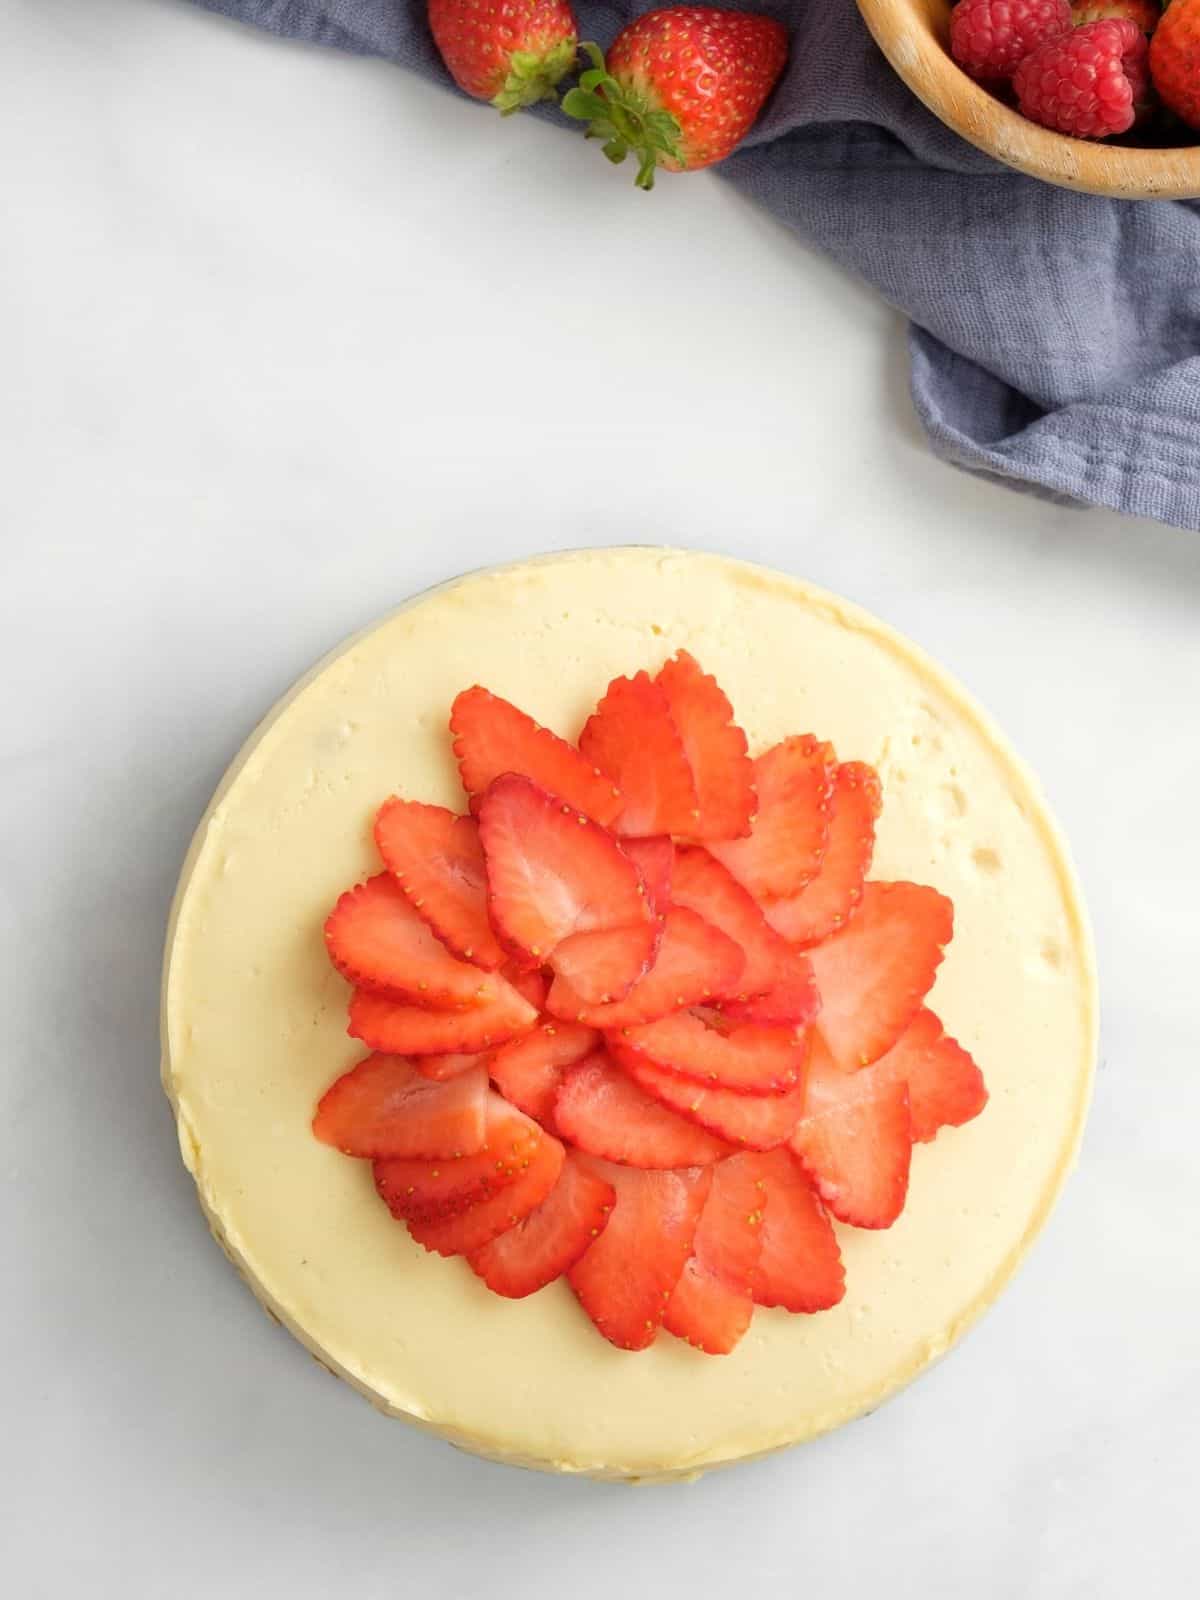
I do not believe the Instant Pot is created for all to cook ALL things. Muffins, cookies, and steak are among the recipes I recommend not cooking in the Instant Pot. But cheesecake is another story.
From Instant Pot Pumpkin Cheesecake to Instant Pot Chocolate Cheesecake to this Instant Pot Classic Cheesecake, Instant Pot Cheesecake is truly the BEST! Whether served with fresh berries, homemade whipped cream, cherry pie filling, or a drizzle of homemade chocolate syrup, everyone can agree that this Instant Pot Cheesecake is a show-stopping dessert!
Reasons to Make Instant Pot Cheesecake
- Perfect Environment. My Cheesecake with Sour Cream Topping is baked in a water bath, which provides a moist environment in the oven while the cheesecake bakes. Because pressure cookers use moist heat to cook, the Instant Pot is the perfect vessel for making a creamy cheesecake. It is like the Instant Pot was made for cheesecake recipes!
- Amazing Texture and Flavor. Made with a buttery graham cracker crust, and a sweetened cream cheese filling, this recipe for Instant Pot Cheesecake is everything a good cheesecake should be. It is rich and creamy, yet light and fluffy, and finishes with just the right combination of tang and sweetness.
- Smaller Size. Instant Pot Cheesecake is smaller than a traditional cheesecake recipe, making it perfect for smaller gatherings!
Ingredients for Instant Pot Cheesecake
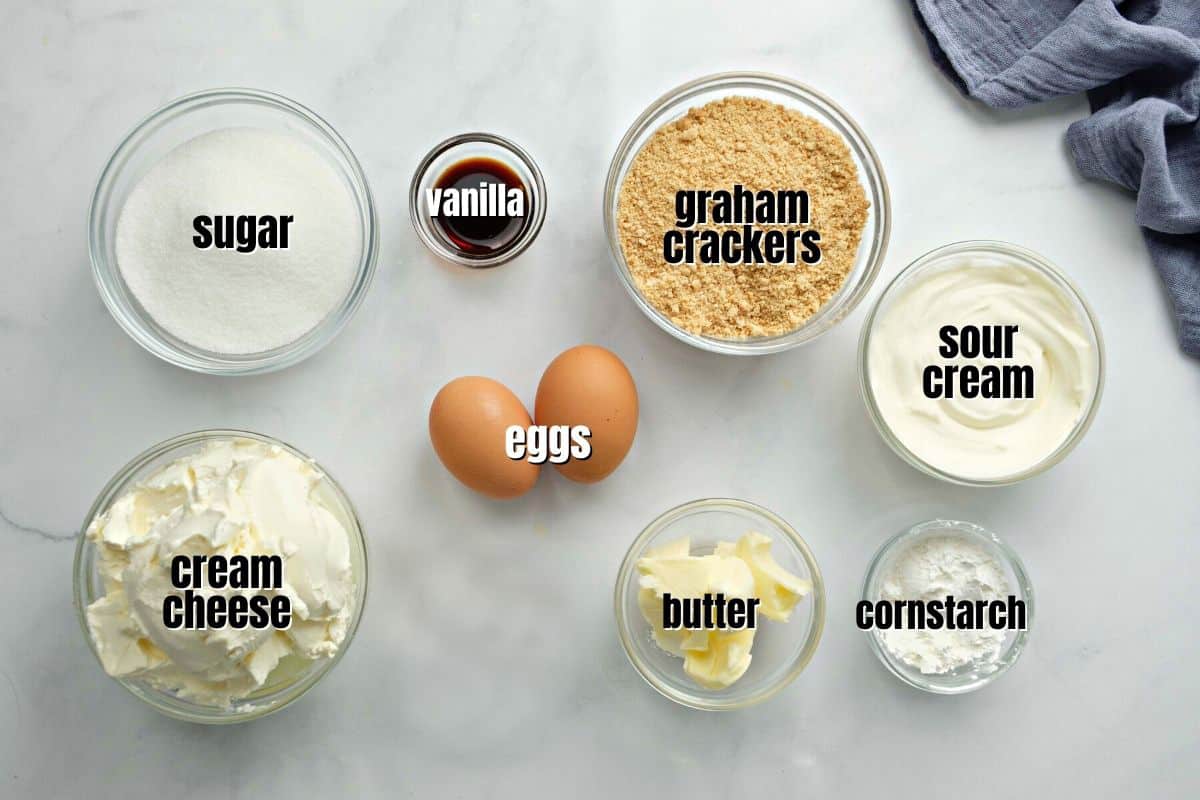
This recipe for Instant Pot Cheesecake is made with a standard graham cracker crust and creamy cheesecake batter. Just be sure to use room temperature ingredients for the best results.
How To Make Instant Pot Cheesecake
The following tips are provided to help you achieve perfect results. You will find the ingredient quantities and detailed instructions in the recipe card at the bottom of this post.
Prepare Graham Cracker Crust
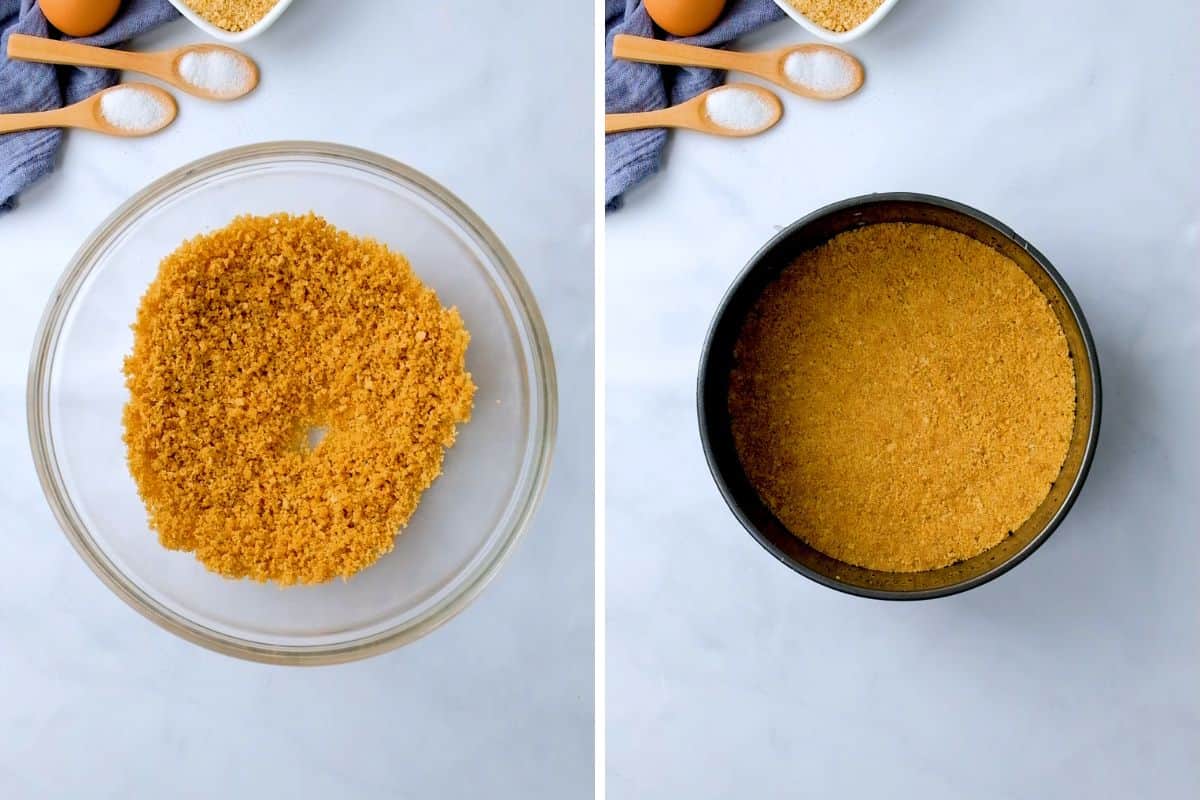
After combing the graham cracker crumbs with melted butter and a bit of sugar press the mixture into a greased 7-inch springform pan or push pan to form a firm even layer on the bottom of the pan. You can opt to freeze the crust or bake it for 15 minutes at 325 degrees F to set the crust.
Prepare Cheesecake Filling
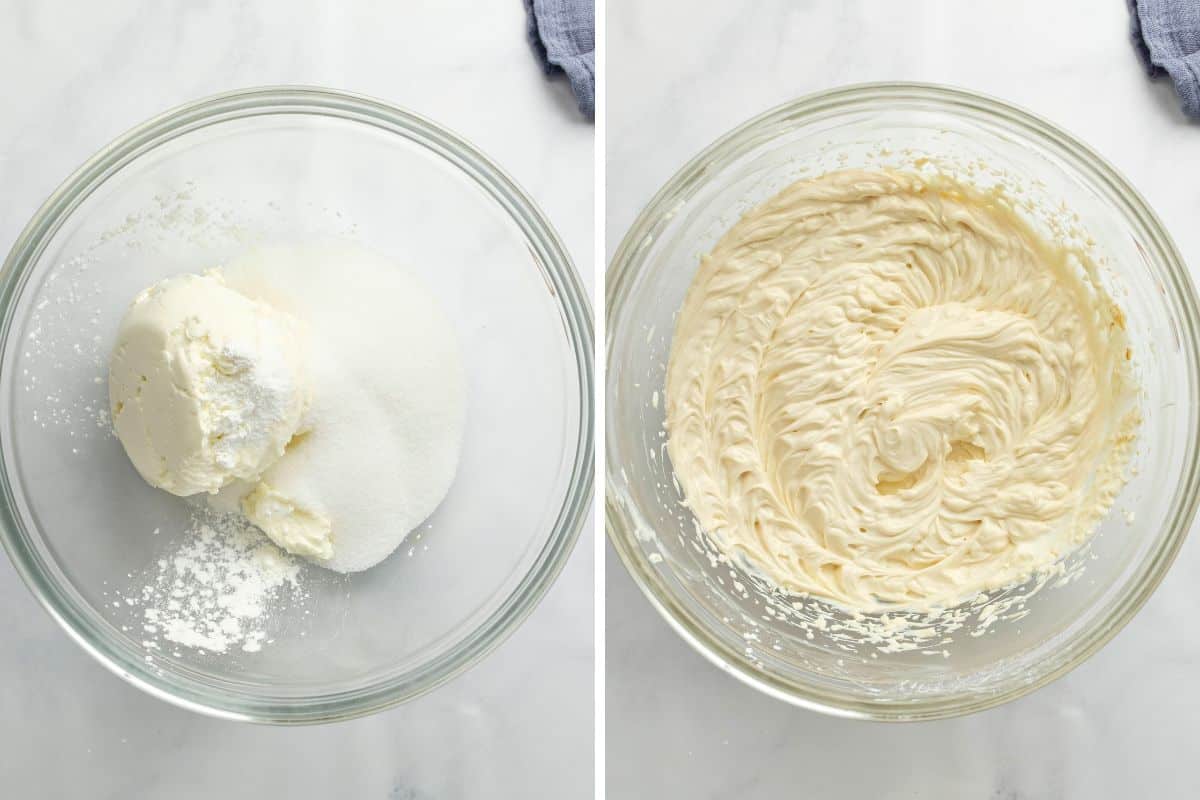
One key tip when making Instant Pot cheesecake is to not overmix the batter. It is best to combine the cream cheese, cornstarch, and sugar with a handheld mixer on medium-low speed until JUST smooth. Add the sour cream and vanilla, and mix on low speed until just combined. For the eggs, add them one at a time, and mix on low speed until just incorporated. Keep in mind that the less mixing you do the better.
Assemble Cheesecake
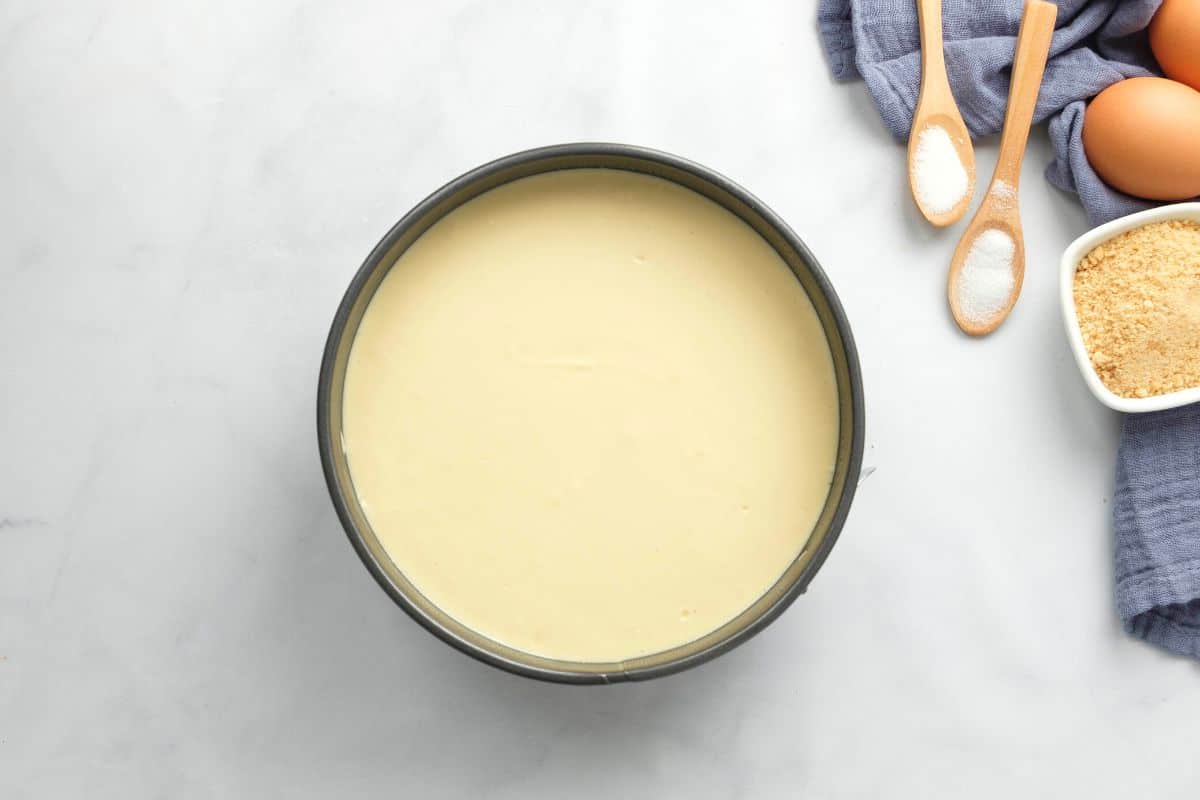
Pour the batter into the springform pan on top of the crust. Tap the filled pan gently on the counter to bring air bubbles to the surface. If air bubbles appear on the surface, use a fork or toothpick to pop them.
Pressure Cook Cheesecake
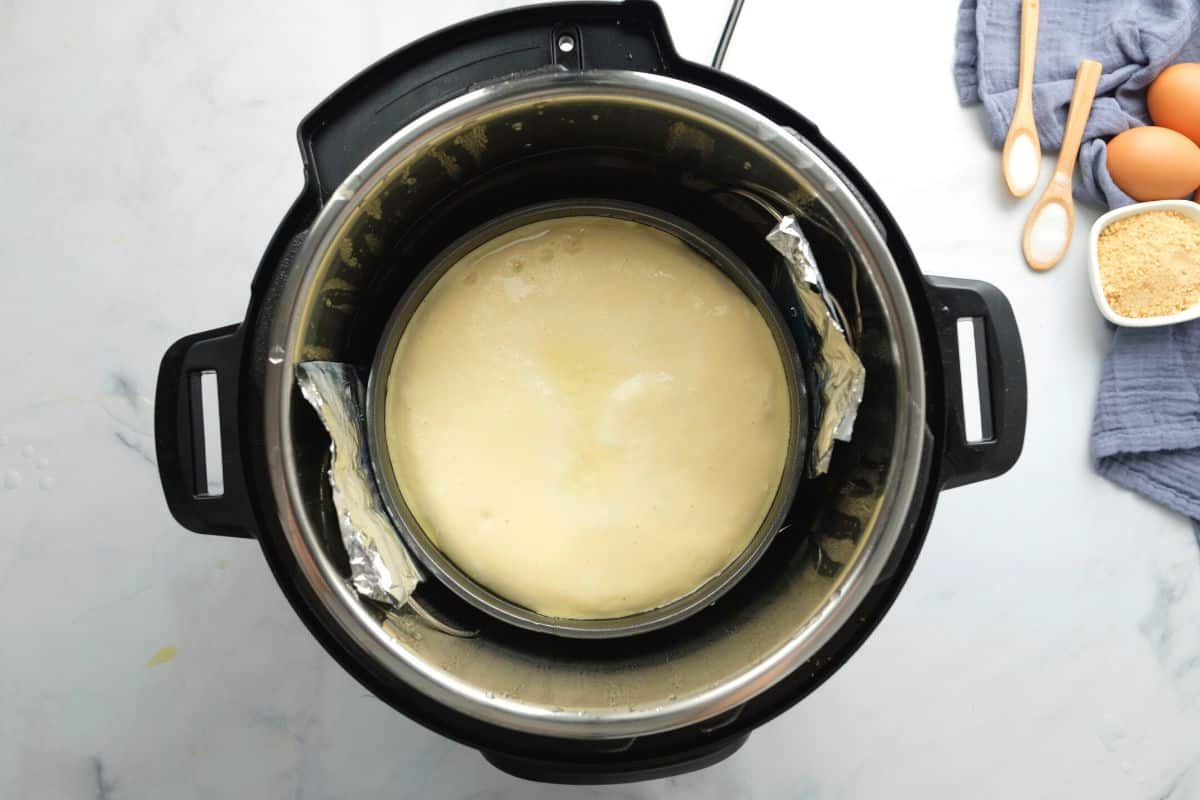
Using the pot-in-pot cooking method, place the cheesecake on a trivet over water. Set to cook on high pressure for 25 minutes. Once the cooking time has elapsed, allow pressure to release naturally on its own. This will take 10-20 minutes. DO NOT be tempted to do a quick release of pressure, as this will result in a cracked, undercooked cheesecake with a weird consistency.
Chill Cheesecake
Just like classic cheesecake, it is best to chill your Instant Pot cheesecake thoroughly before enjoying. I like to let it cool to room temperature and then cover and refrigerate 12-24 hours for the best flavor.
Serve with Toppings
It is best to remove the cheesecake from the refrigerator for 15-30 minutes and let sit at room temperature before serving. Once ready to serve, unmold the cheesecake, slice, and serve as desired. Instant Pot Cheesecake is delicious served plain or topped with fresh fruit, pie filling, chocolate syrup, whipped cream, or caramel--let your palate be your guide!
∗ Tips for the BEST Instant Pot Cheesecake ∗
- Plan to prepare 8 to 48 hours before intending to serve. Just like all cheesecake recipes, Instant Pot Cheesecake is best prepared at least 8 hours before serving. This will allow enough time for the cheesecake to fully chill and for the flavors to meld together.
- Use room temperature ingredients. I know I have already mentioned that it is crucial to use room-temperature eggs, cream cheese, and sour cream, but it is KEY to ensure the texture of the cheesecake is smooth and creamy.
- Don't overmix. Overmixing your batter, especially after adding eggs, creates air bubbles in the batter. And air bubbles are the last thing you want as they can cause your cheesecake to curdle or crack. Using room temperature ingredients and mixing at a lower speed, will help to ensure that you don't overmix the batter and that your cheesecake will have a perfect consistency.
- Use a clean inner ring. You want to ensure your inner ring is clean AND does not smell like chili or pot roast, as that can leave a lingering savory flavor to your cheesecake. I recommend having 2 sealing rings for your Instant Pot, one for savory dishes and one for sweet dishes. That way your cheesecake will not taste like Instant Pot Chili.
Recipe Modifications
- Vary the Crust. The crust for this cheesecake recipe is made with a classic graham cracker base, but you can opt to use an equal amount of vanilla wafer crumbs, chocolate graham cracker crumbs, or Biscoff cookie crumbs in place of graham crackers if desired.
- No Cornstarch? Adding a bit of cornstarch to the cheesecake batter helps insure against cracking. In place of the cornstarch, you can opt to use all-purpose flour.
- No 7-inch Pan? You can use a 6 by 4-inch cheesecake pan, but you will need to add 7 minutes to the cooking time.
Storage Instructions
- Refrigerate: You can keep the cheesecake in the fridge for up to 5 days if wrapped well in plastic wrap or stored in an airtight container.
- Freeze: If desired, you can opt to freeze your cooled cheesecake for up to 1 month. Wrap it well in two layers of plastic wrap, then two layers of heavy-duty aluminum foil, and place the wrapped cheesecake in a large freezer-safe storage bag. Defrost the cheesecake overnight in the refrigerator and enjoy the defrosted cake within 4 days.
More Favorite Dessert Recipes
- Instant Pot Lava Cakes
- Mini Cheesecakes with Vanilla Wafers
- Instant Pot Creme Brulee
- Sour Cream Banana Cake
- Lemon Cheesecake Bars
- Instant Pot Lava Cakes
If you enjoyed this Instant Pot Cheesecake, I would love for you to leave a comment and review below.
Instant Pot Cheesecake

Video
Ingredients
Cheesecake Graham Cracker Crust
- 1 cup graham cracker crumbs
- 3 tablespoons butter , melted
- 1 tablespoon sugar
- pinch of sea salt
Cheesecake Filling
- 2 (8-ounce packages) full-fat cream cheese, at room temperature
- ⅔ cup granulated sugar
- ½ cup full-fat sour cream, at room temperature
- 2 tablespoons cornstarch
- 2 teaspoons vanilla extract
- 2 large eggs, at room temperature
Instructions
For Graham Cracker Crust
- Spray a 7x3-inch springform pan with nonstick cooking spray. Set aside. If baking crust, preheat the oven to 325°F/165℃.
- Place the graham crackers in a storage bag and roll them with a rolling pin until finely ground. Measure out 1 cup graham cracker crumbs and place them into a medium mixing bowl. Add 1 tablespoon sugar and pinch of sea salt and mix until fully combined. Add in 3 tablespoons butter (melted) and mix until the mixture resembles wet sand.
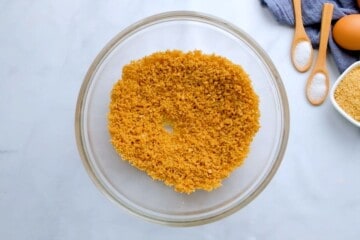
- Pour in the graham cracker crumbs mixture. Gently press down the crumbs with a cup or measuring cup to form a firm, even layer on the bottom of the pan.

- Place the crust in a 325°F/165℃ oven for 15 minutes. After baking, remove the crust from the oven and let it cool while you prepare the batter. Alternatively, place the prepared crust in the freezer while you prepare the batter rather than baking it.
Cheesecake Batter
- In a large bowl, mix 2 (8-ounce packages) full-fat cream cheese, ⅔ cup granulated sugar, and 2 tablespoons cornstarch with a handheld mixer on medium-low speed until smooth, being careful to not overmix, as this incorporates a lot of air into the cheesecake.
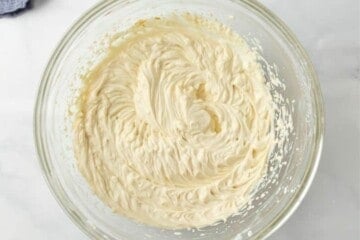
- On low speed, in the ½ cup full-fat sour cream and 2 teaspoons vanilla extract, until just combined, this should only take 15-20 seconds. Add 2 large eggs one at a time, and continue to mix until blended. Don't overmix!
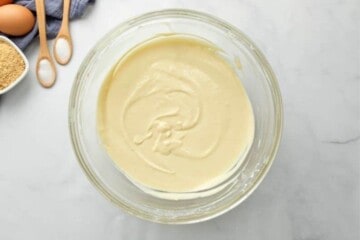
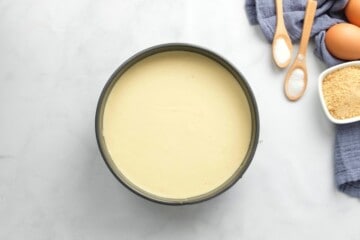
- Pour the batter into the springform pan on top of the crust. Tap the filled pan gently on the counter to bring air bubbles to the surface and pop with a fork or a toothpick.
Pressure Cook
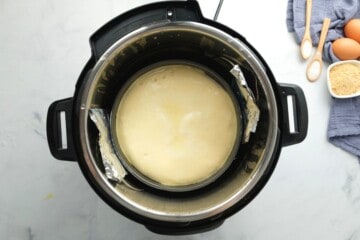
- Pour 1-½ cups of cold tap water into the inner pot of the pressure cooker. Place the metal trivet in the inner pot. Place the cheesecake pan on top of the trivet, using a foil sling under the pan if desired.
- Close the lid, be sure the vent knob is sealed, and set it to cook on high pressure for 25 minutes, using the manual or pressure cooker button.
- Once the cooking time has elapsed, allow the pressure to release naturally FULLY. Once the pressure has been released, open the lid slowly. Check the cheesecake to see if the middle is set. If the cheesecake isn't quite done, return the lid and cook at High Pressure for an additional 5 minutes, followed by a full natural release of pressure.
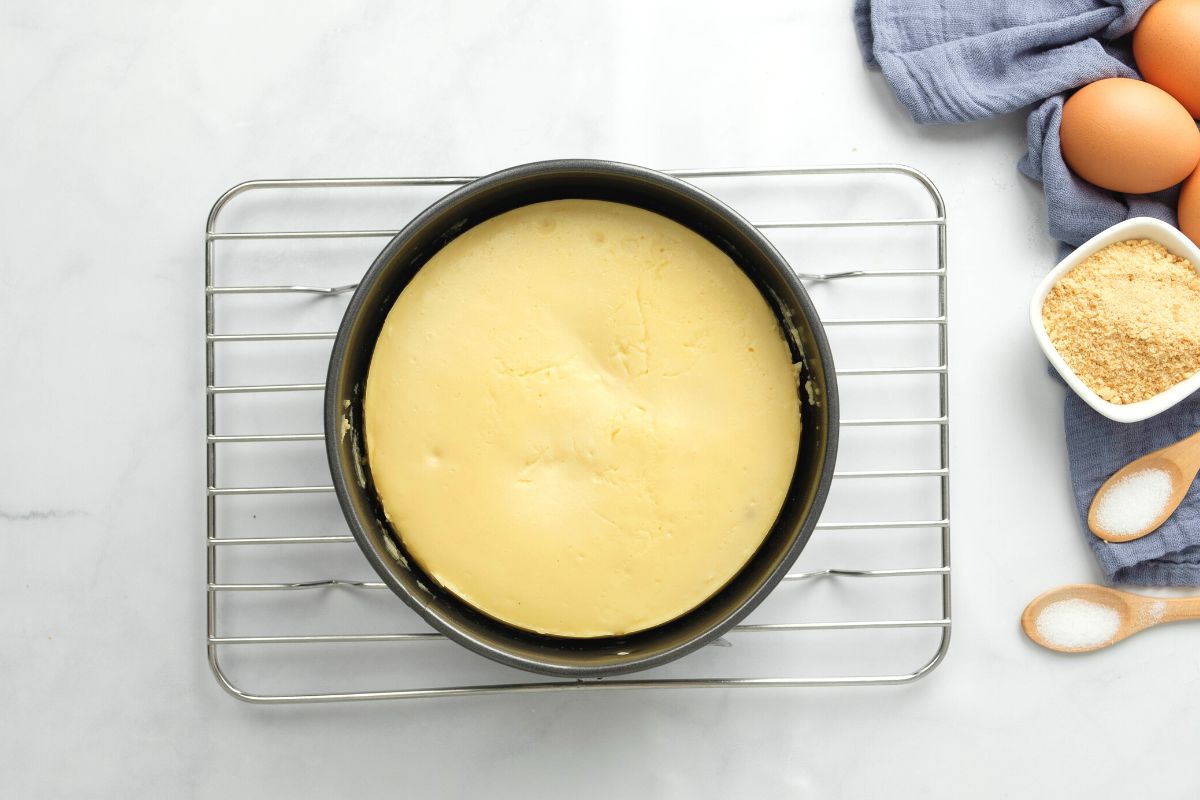
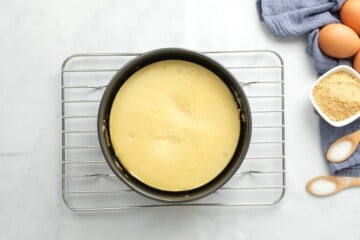
- Use a paper towel to gently absorb any condensation on the surface. Carefully, remove the cheesecake from the pot and let it cool on a wire rack. After 10 minutes, use a butter or pairing knife to loosen the sides of the cheesecake from the pan.
- Continue to allow the cheesecake to cool to room temperature. Once cooled, cover well with plastic wrap and/or foil and chill for 8-12 hours. Unmold the cheesecake, slice, and serve as desired.

Notes
Nutrition
Nutrition information is automatically calculated, so should only be used as an approximation.


This cheesecake was scrumptious.
Can I cook the cheesecake in the oven ? Temp??
Hi Joan! Here is my recipe for Oven Baked Cheesecake. Enjoy!
Can any of your recipes be made in the 3-quart Instant Pot? That's the one I've purchased for now and cheesecake is one of the dishes I want to make in my instant pot, but I'm not sure if the 3-quart is big enough. Or is there a way I can make it just a smaller cheesecake or individual cheesecakes? Thank you.
Hi Jessica! I have had people tell me they use a 6-inch pan for the 3-quart (tight fit, but works!) and add 10 minutes to cook time. I hope that helps.
Is it possible to make this without a crust? I'm looking forward to trying this recipe.
Thanks,
EJ
Hi EJ--I have never tried baking this without a crust, but I imagine it would work. If you can, let us know how it goes after you give it a try!
Hi Kristen! I made this cheesecake today. My husband and son are diabetics so I tried it with SPLENDA instead of sugar ... both in the crust and batter. It turned out great. Using a 7” springform pan, the cake cut into 8 pieces was about 9 grams of carb. I topped it with fat free/sugar free whipped cream. The recipe copy I made didn’t show the addition of the sugar called for in the ingredients so I just put it in the batter at the same time as eggs and creamed cheese. Thanks for a terrific dessert.
And thank you Pat for letting us know how it worked with Splenda! I am so happy you were able to enjoy this dessert! I double checked the recipe card--the sugar addition is there, not sure how that error occurred for you, but glad you managed 😉
Oh my gosh... this cheesecake is delicious! So light, fluffy and creamy... a real treat!
I am so glad you enjoyed Sue!
I love using my IP for EVERYTHING! Cheesecake was super good!
So glad you enjoyed Shadi! I am not for baking cakes in my Instant Pot--unless it is cheesecake 🙂