
This post may contain affiliate links. Please see our disclosure policy.
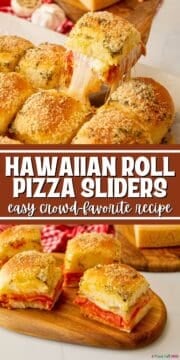
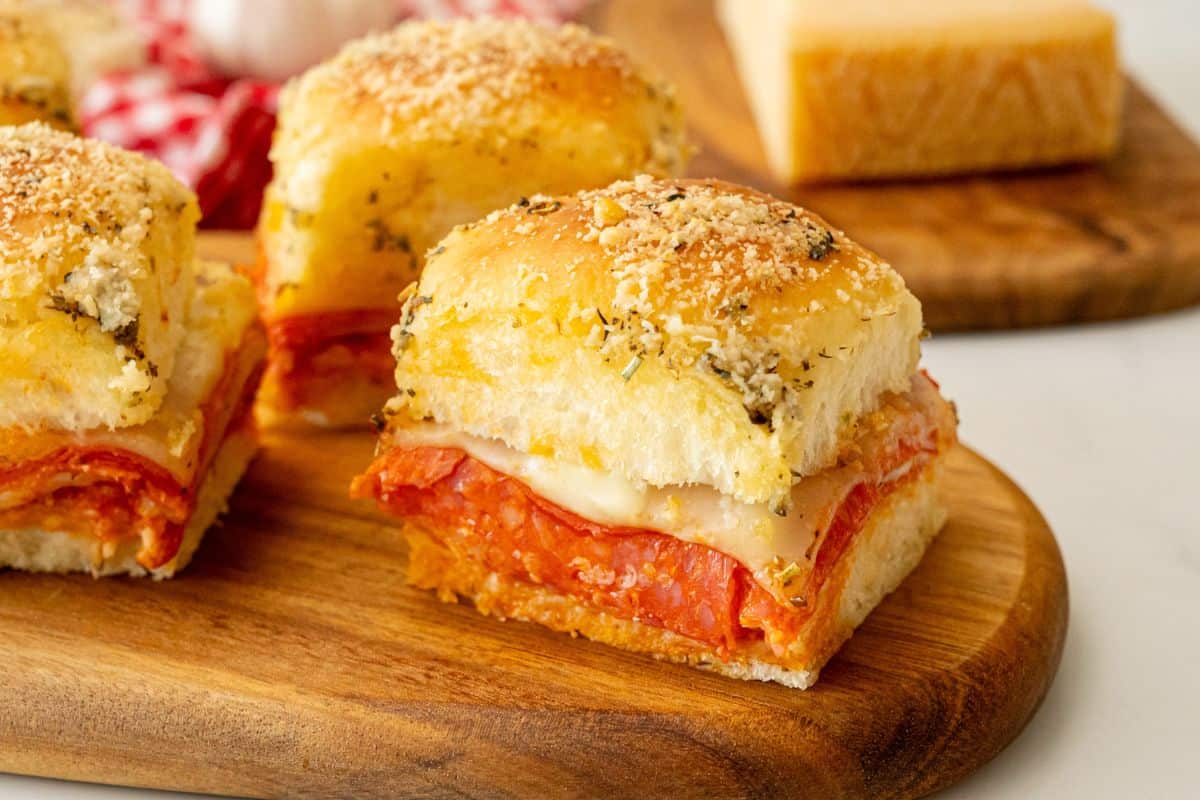
These Hawaiian Roll Pizza Sliders turn everything you love about pizza into an easy, pull-apart dinner. Pizza sauce, pepperoni, provolone, and mozzarella are layered onto soft Hawaiian rolls, then topped with garlic butter and Parmesan and baked until hot and cheesy.
These sliders are exactly the kind of recipe I pull out when I need a kid-friendly dinner that doesn't require much prep, and I am not in the mood for complaints. Pair them with raw veggies and homemade dill dip or fresh fruit and dinner is done!
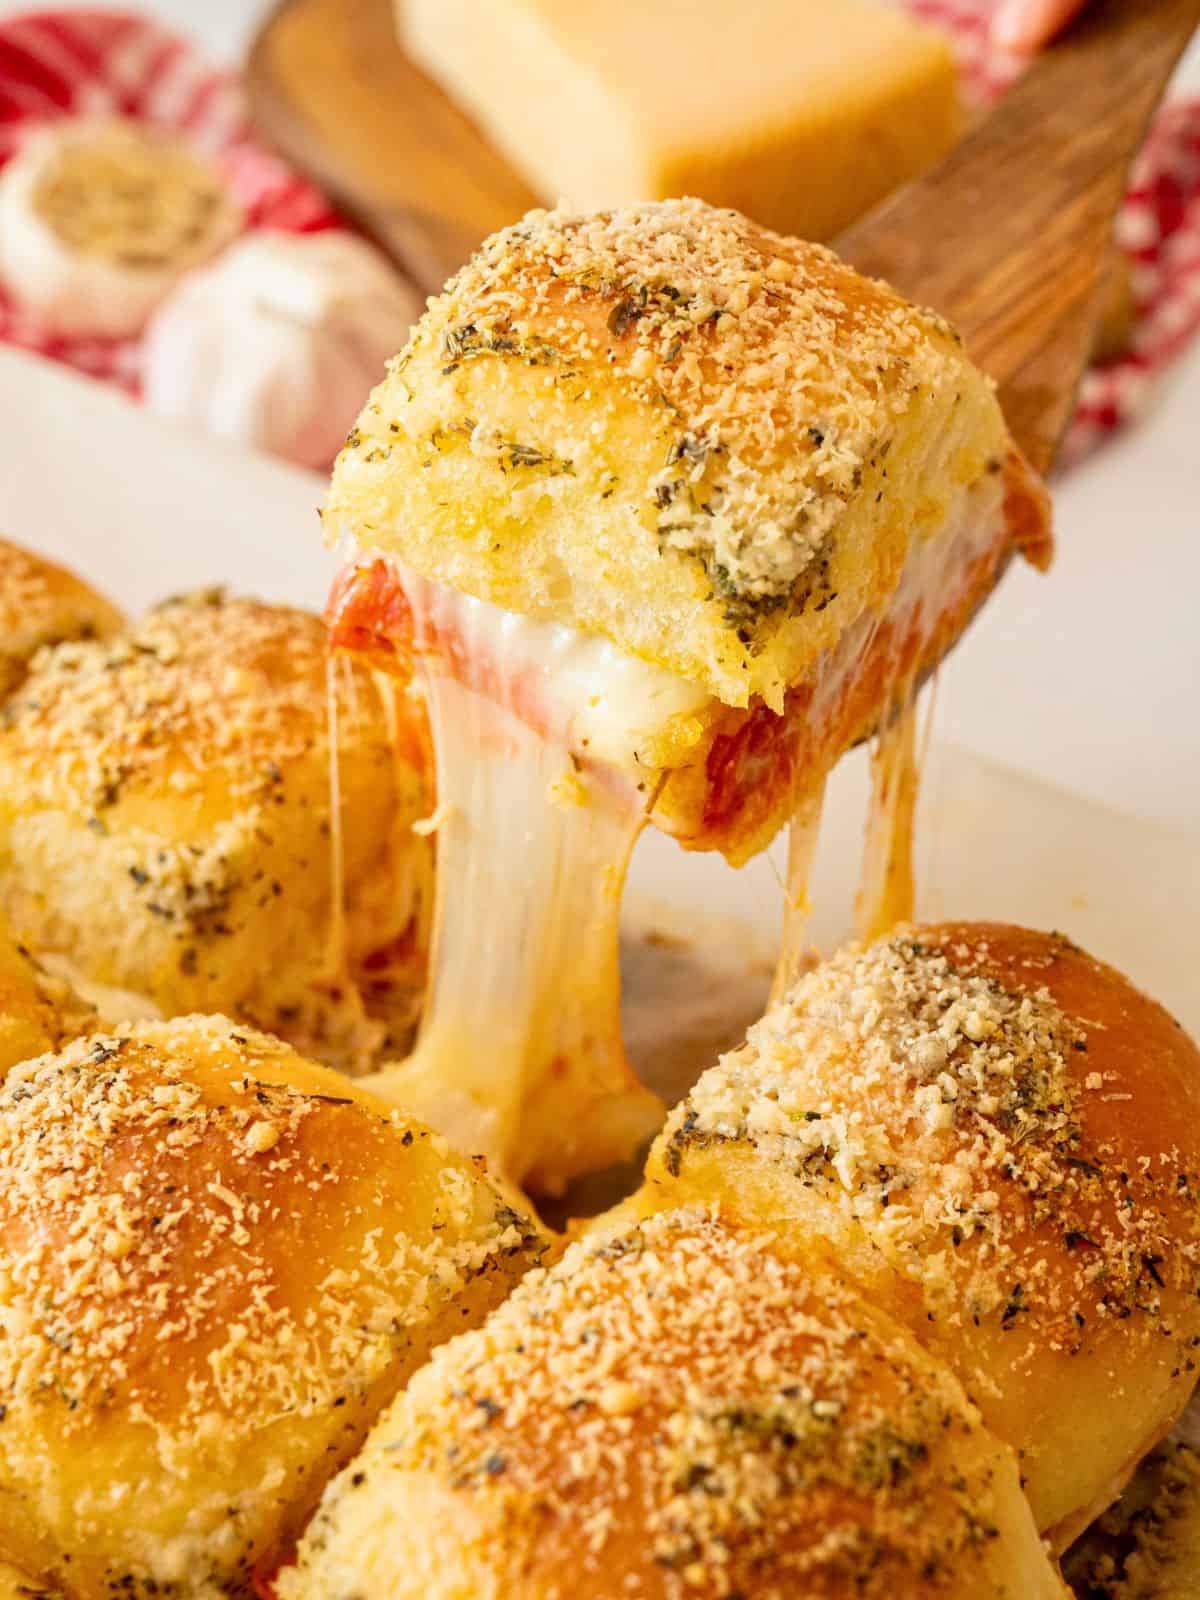
Pizza Sliders at a Glance
- Yield: 12 sliders
- Time Needed: 10 minutes to prep + 23-25 minutes of baking
- Ideal For: Kid-friendly dinners, party appetizers, game day menus, or after-school snacks
- Make-Ahead Friendly: Assemble 8 hours ahead and refrigerate; add the butter topping just before baking.
- Easy to Customize: Pepperoni is our default, but cooked sausage, salami, or vegetables work.
Kristen's Keys for Pizza Sliders

The trick to really good pizza sliders isn't piling on more toppings. It's using enough sauce and cheese to give you pizza flavor without adding so much moisture that those soft rolls turn soggy. Paying attention to these details will help you get that ratio right.
- Go easy on the pizza sauce. Too much sauce soaks into the bread as the sliders bake, so a thin layer here is all you need. I like to serve extra sauce on the side for dipping, but that is optional and truly not needed.
- Skip fresh mozzarella. Fresh mozzarella has a high moisture content that can leave sliders soggy. Low-moisture deli-style sliced or shredded mozzarella melts beautifully without releasing excess liquid.
- Watch the moisture in your toppings. If using mushrooms, onions, or peppers, sauté them first and blot away excess moisture. Drain and blot ingredients such as olives, banana peppers, or roasted red peppers before adding them.
- Cut the sliders after baking. Keeping the rolls intact makes layering much faster and helps everything stay put. After baking, let them rest for 3-5 minutes, then slice and serve. I use the same method when making my Ham and Cheese Sliders and Breakfast Sliders.
Happy Cooking! xo Kristen
Note on Ingredients
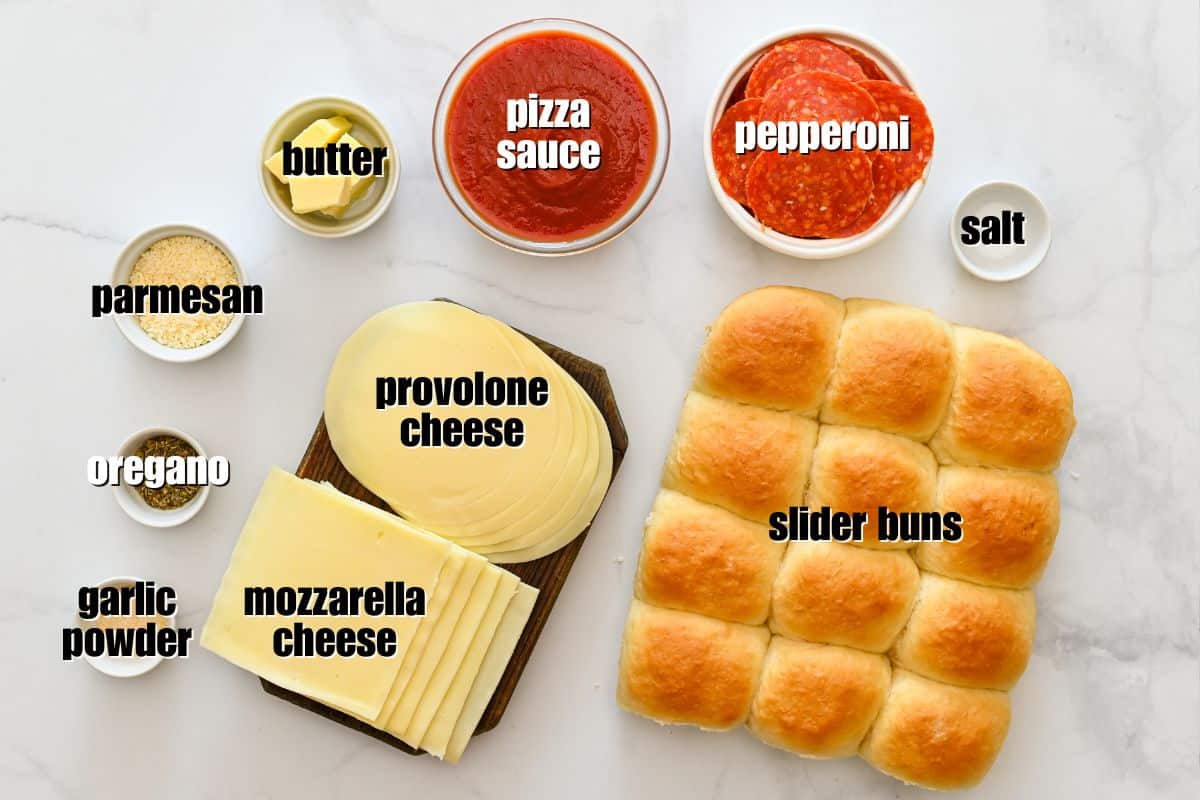
- Hawaiian Rolls: I love the slightly sweet original Hawaiian rolls against the savory pizza filling and garlic butter. Savory butter Hawaiian rolls or another package of 12 slider-size rolls will work too.
- Pizza Sauce: Use your favorite prepared or homemade pizza sauce, but remember that you only need a thin layer inside the sliders. Reserve the rest for dipping.
- Sliced Cheese: I like using a combination of both provolone and mozzarella. The provolone adds more flavor, while the mozzarella gives you that classic pizza cheese pull. And while shredded cheese works, I recommend deli-sliced cheese, as it makes layering easier.
- Pepperoni: Standard sliced pepperoni works perfectly. You can omit it for cheese pizza sliders or substitute salami or cooked and crumbled Italian sausage.
- Garlic Butter: Melted butter with garlic powder and Italian seasoning helps the rolls brown beautifully and add flavor.
How to Make Pizza Sliders with Hawaiian Rolls
Step One: Slice Rolls
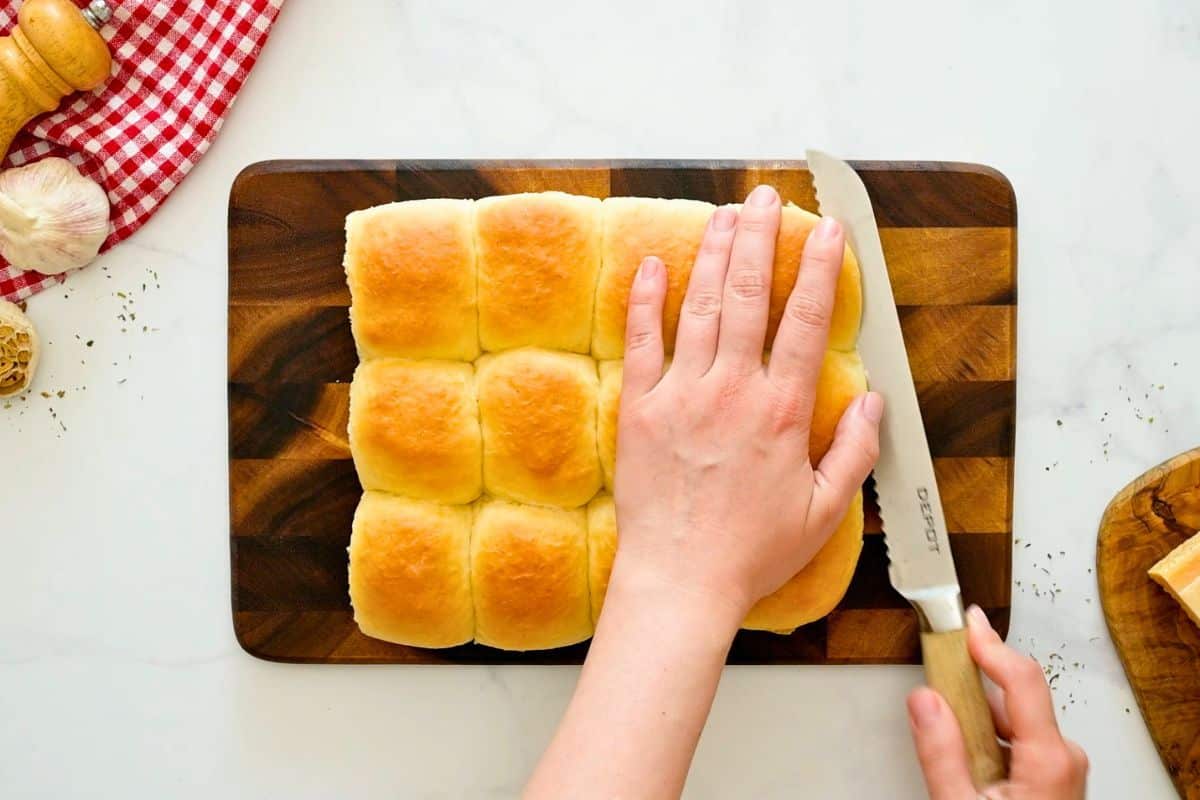
Without separating them, use a serrated knife to slice the entire package horizontally, then place the bottom half of the rolls into a baking dish lined with parchment paper or greased with cooking spray.
I find that a standard pack of slider buns fits nicely into a 7-by-11-inch baking dish, but if you don't have that size, cut the slab of rolls and rearrange them to fit in a 9-by-9-inch pan or use a larger pan. They won't fill the entire pan, but they'll bake just fine.
Step Two: Layer Sliders
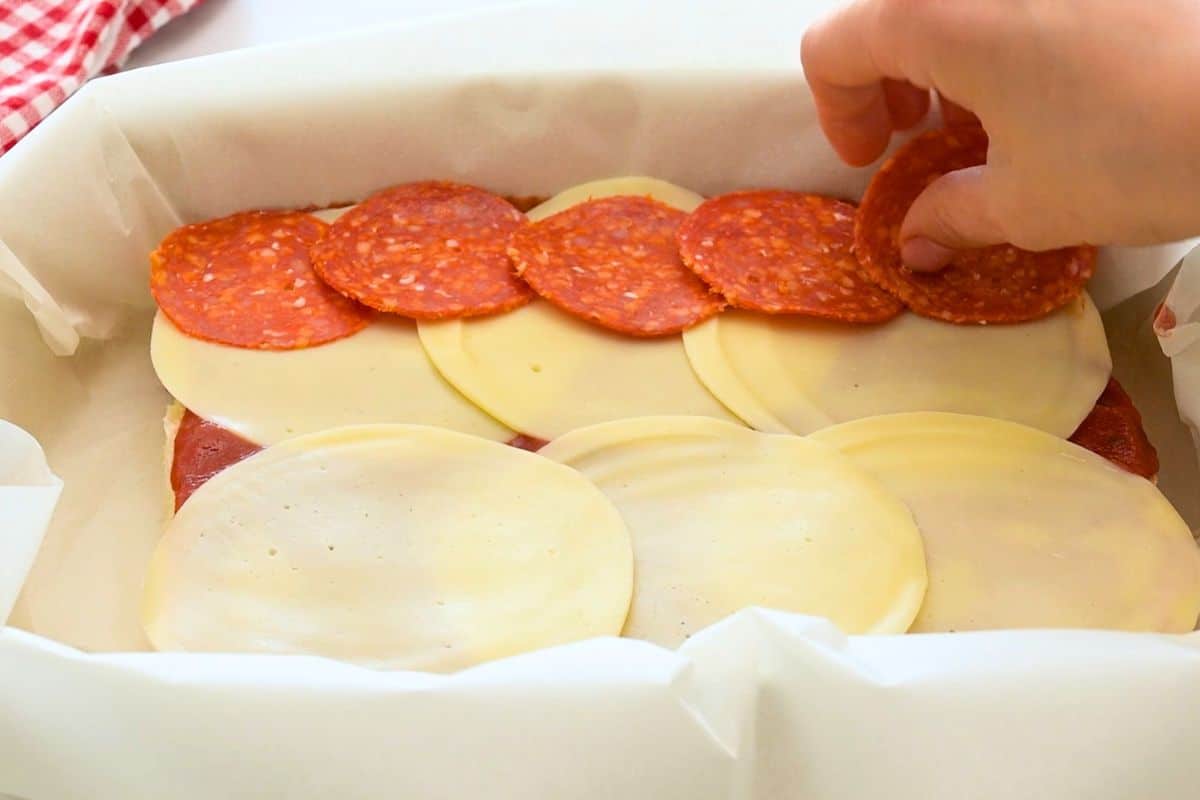
Spread a thin layer of pizza sauce over the bottom of the rolls. Remember, a light layer is better here. I think of it like spreading mayo on bread when making a sandwich.
Top with sliced provolone, followed by pepperoni (or any other toppings you like), a layer of sliced mozzarella, and finally the tops of the buns.
Step Three: Add Garlic Butter
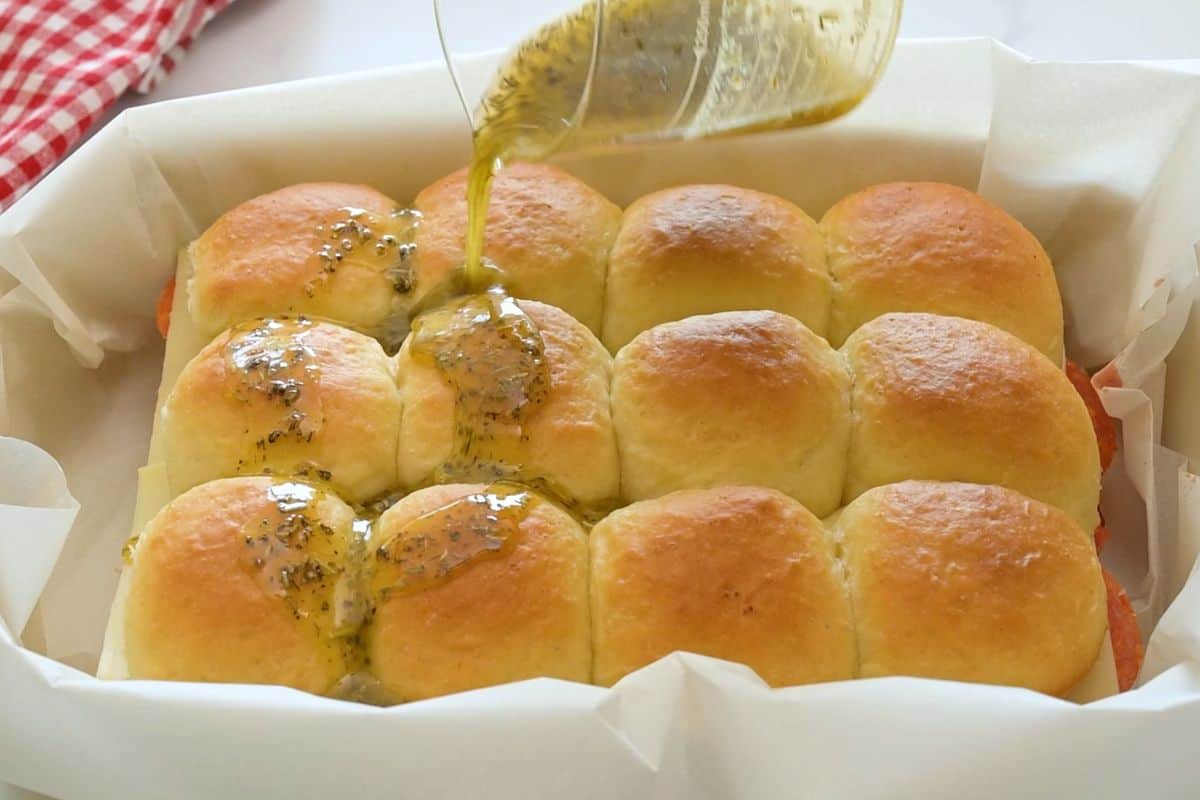
Mix melted butter, garlic powder, Italian seasoning, and salt. I like to do this right in a glass measuring cup, which makes pouring over the sliders super easy, but a bowl works too.
Drizzle the butter slowly over the rolls and use a spatula or pastry brush to spread it evenly if needed.
Step Four: Bake
Cover with foil and bake at 350°F for 20 minutes. This gives the cheese time to melt before the tops get too dark.
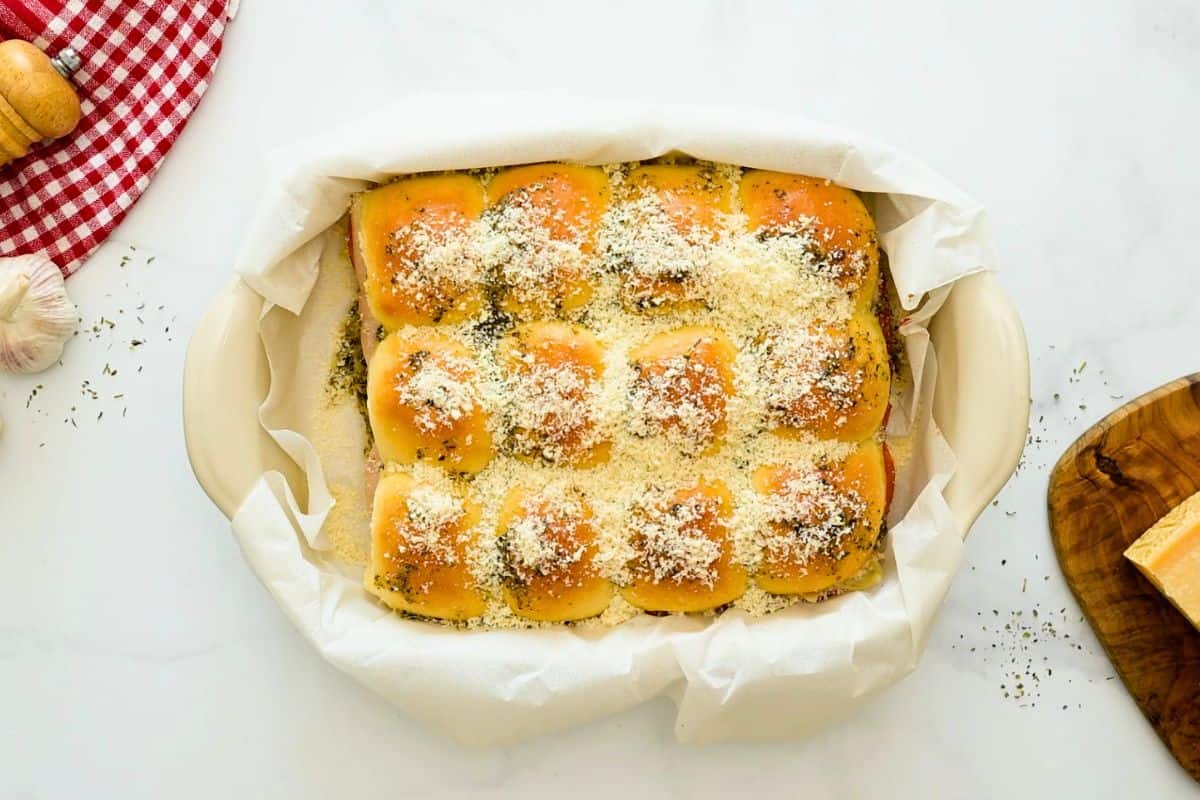
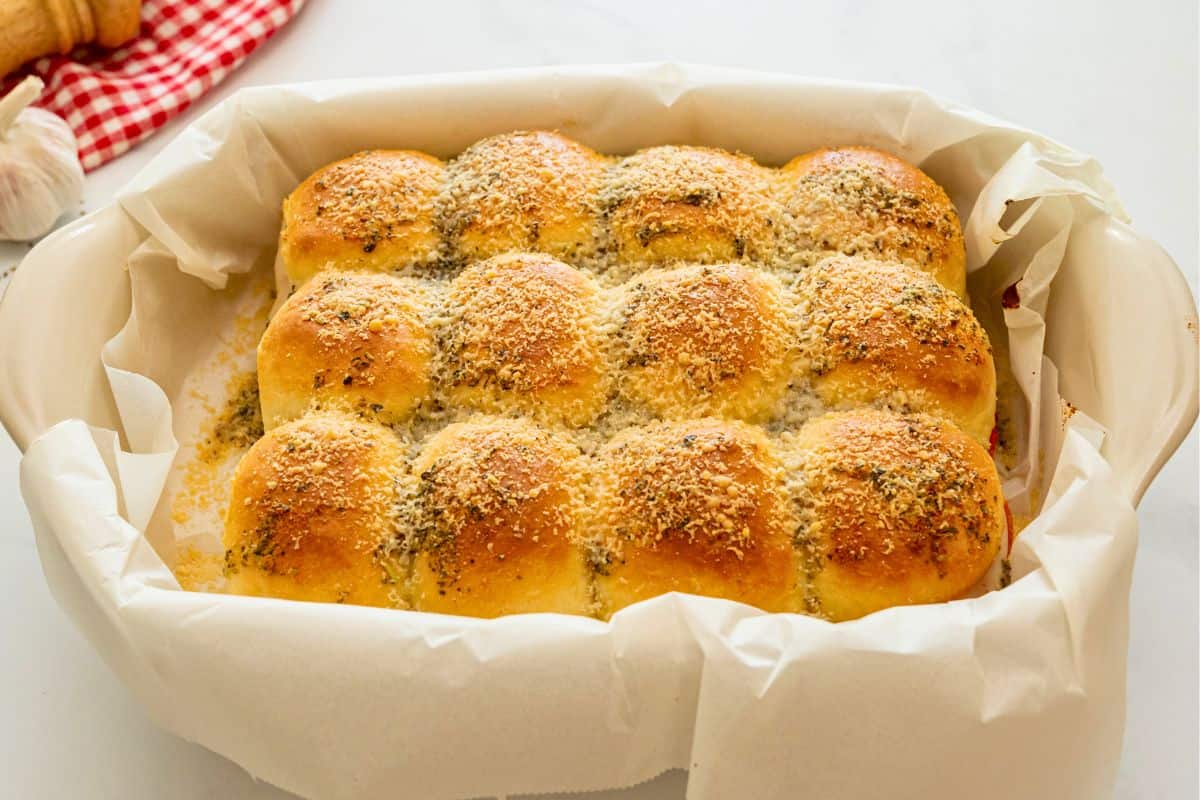
After 20 minutes, remove the foil, sprinkle with Parmesan, then return to the oven for 3-5 minutes, or until the slider tops are lightly golden.
Step Five: Rest and Serve
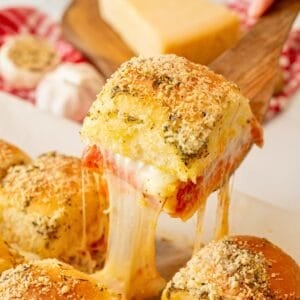
Let the sliders rest for 3-5 minutes before cutting. This gives the melted cheese a chance to settle so it stays inside the sliders instead of sliding out with the first bite.
Use the parchment paper to lift the sliders out of the pan, then use a sharp knife to cut the rolls into individual sliders and serve. I find that a sharp chef's knife works better over a serrated knife here.
Pizza Slider Variations
Most pizza toppings work here, but don't overload the rolls. A thin layer of toppings gives you the best balance of melted cheese, filling, and soft bread.
- Cheese Pizza Sliders: Leave off the pepperoni.
- Sausage Pizza Sliders: Replace pepperoni with fully cooked, crumbled Italian sausage.
- Supreme Pizza Sliders: Add a thin layer of cooked peppers, onions, and mushrooms.
- Pepperoni Banana Pepper Sliders: Add well-drained sliced banana peppers on top of the pepperoni.
Storage + Make-Ahead Tips
- Leftovers: Store leftover sliders in an airtight container in the fridge for up to 3 days. To reheat, cover with foil and warm in a 300°F oven for 15-20 minutes so the sliders heat through without drying out. For a quick reheat, heat at 50% power for 30-60 seconds in the microwave. The bread will simply be softer than it was straight from the oven.
- Make-Ahead Instructions: Assemble, cover, and refrigerate for up to 8 hours. Add the garlic butter just before baking. If baking straight from the refrigerator, the sliders may need a few extra minutes to heat through.
More Easy Pizza-Inspired Recipes
- Easy Pull-Apart Pizza Bread
- Pizza Grilled Cheese
- Easy Pizza Roll-Ups
- Pizza Dip
- English Muffin Pizzas

Did you make this recipe?
If you enjoyed this recipe, please leave a comment with a 5-star review at the bottom of the post. Thank you!
Summarize and Save This Recipe Content On:
Hawaiian Roll Pizza Sliders
Video
Ingredients
- 1 (12-ounce) package Hawaiian sweet rolls, 12 rolls
- ¼ cup pizza sauce, + more for dipping
- 3-4 ounces sliced pepperoni, enough for a single layer
- 4 ounces sliced provolone cheese, about 6 standard slices
- 4 ounces sliced low-moisture mozzarella cheese, about 6 standard slices
- ¼ cup unsalted butter, melted
- 1 teaspoon garlic powder
- 1 teaspoon Italian seasoning
- ⅛ teaspoon kosher salt, omit if butter is salted
- ¼ cup grated parmesan cheese
Instructions
- Arrange a rack in the center of the oven and preheat to 350°F. Line a 7x11-inch baking dish with parchment paper, leaving enough overhang to lift the sliders out after baking.
- Without separating the rolls, use a large serrated knife to cut them in half horizontally, creating a top and bottom layer.
- Place the bottom half of the rolls in the prepared pan. Spread with a thin layer of pizza sauce. Layer with provolone, pepperoni, and mozzarella, then replace the top half of the rolls.
- In a glass measuring cup or heat-safe bowl, microwave the butter until melted, about 30-60 seconds. Add the garlic powder, Italian seasoning, and salt, and whisk to combine.
- Slowly drizzle the butter mixture over the rolls. Use a spatula or pastry brush to gently spread it evenly over the tops.
- Cover with foil and bake for 20 minutes. Uncover, sprinkle evenly with Parmesan, and bake for another 3-5 minutes, or until the tops are lightly golden.
- Let rest for 3-5 minutes. Lift the sliders from the pan using the parchment paper, cut into individual sliders with a sharp knife, and serve warm with additional pizza sauce for dipping.
Equipment
Notes
Nutrition
Nutrition information is automatically calculated, so should only be used as an approximation.



I made these with your homemade pizza sauce to enjoy while I watched Notre Dame vs Wisconsin last night. A win for my Irish, and a win for me! These pizza sliders are amazing! With a little extra sauce for dipping, melty cheese and pepperoni they sure hit the spot. Another great dinner idea. Thank you.
Hi Kate! Congratulations on the win -- the Fighting Irish look strong this year 🙂 And thanks for sharing your review on the pizza sliders, it is appreciated.
Made it for my family of 5- we all loved it! It’s got cheesy goodness and the topping really takes it to the next level. It’ll be on our monthly meal rotation. 😋 Thanks for sharing!
I love it when the whole family approves! Even better when it is loved enough to be on the monthly meal plan. I appreciate you taking the time to leave a review.