
This post may contain affiliate links. Please see our disclosure policy.
Instant Pot Brown Rice is everything good rice should be! Fluffy, nutty, and perfectly cooked, this foolproof method delivers perfectly cooked brown rice every single time!
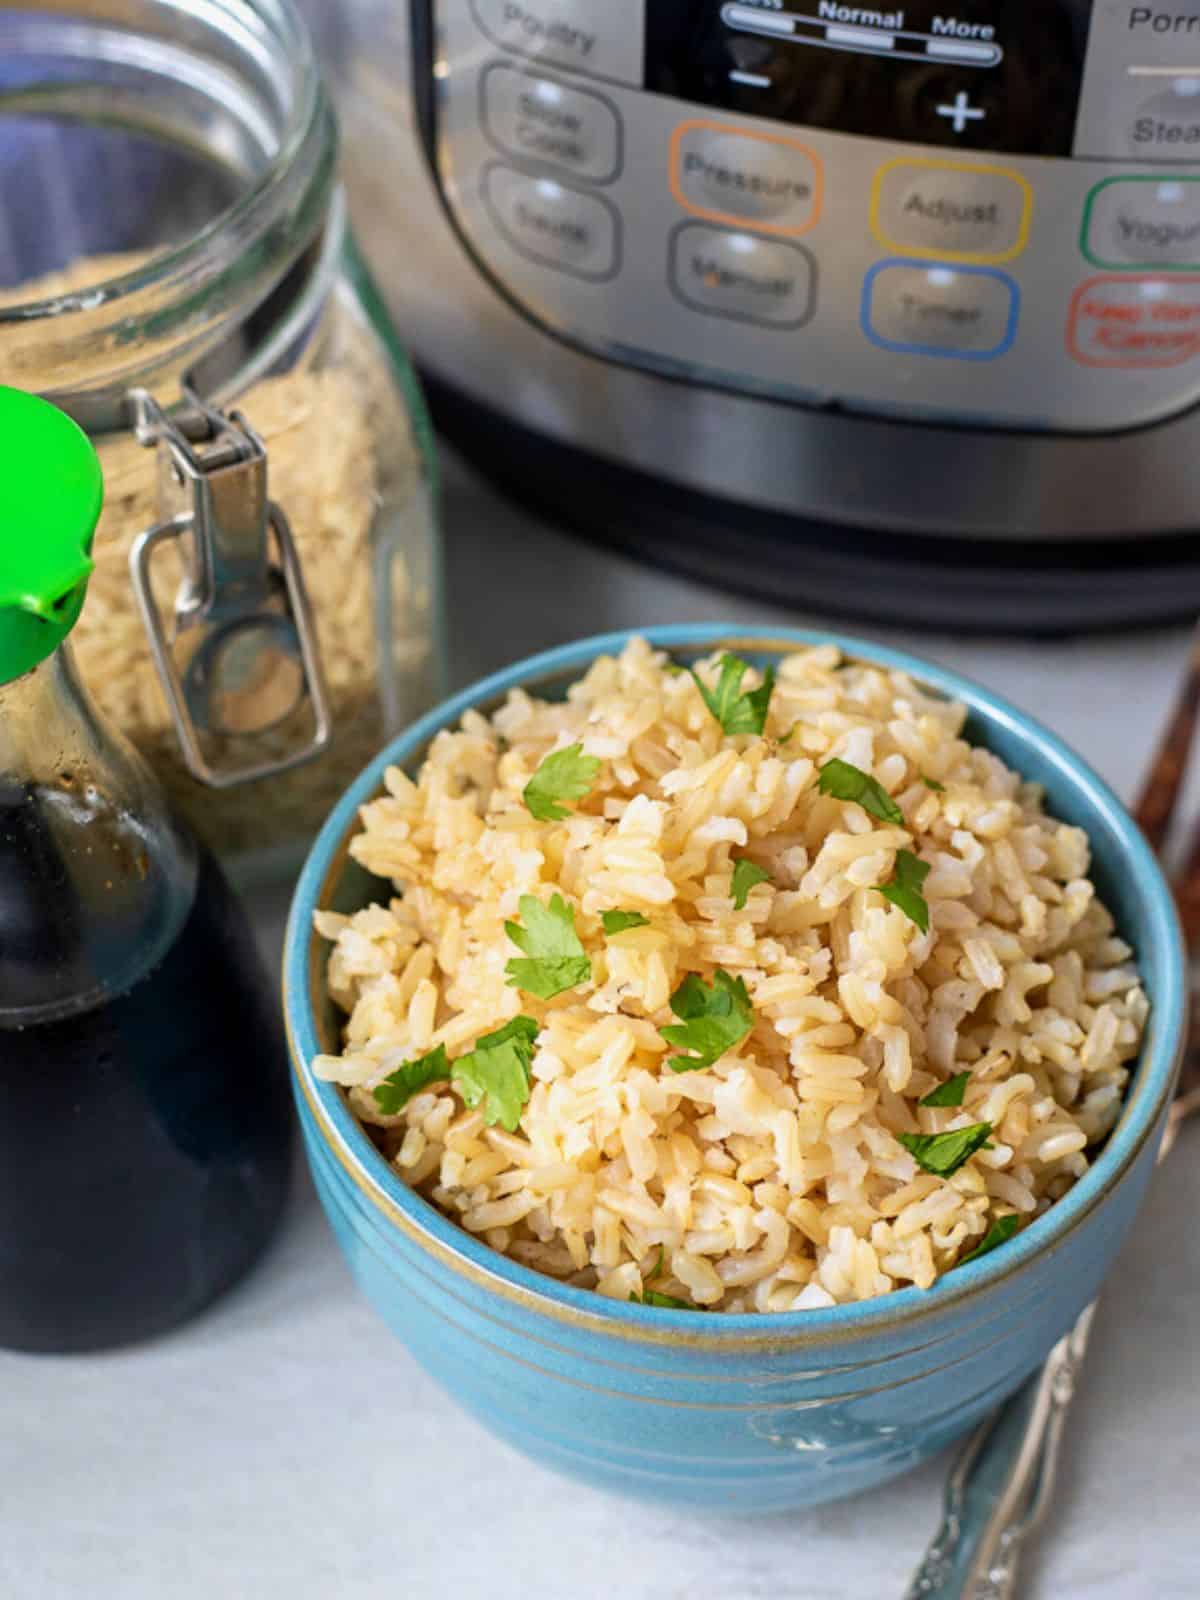
Kristen's Keys for Perfect Instant Pot Brown Rice
A few small details make a big difference here. Paying attention to these tips is ensures your rice is soft, yet perfectly chewy rather than mushy or crunchy.
- Rinse the rice. Rinse the rice well. Brown rice carries surface starch and skipping this step leads to clumping and mushy rice. A quick 1-2 minute rinse keeps the grains separate and fluffy.
- Stick to a 1:1 rice-to-liquid ratio. The Instant Pot doesn't lose liquid like stovetop cooking, so more liquid = mushy rice.
- Skip the rice button. Not all rice is created equal, and the preset doesn't know what's in your pot. Manual pressure puts you in charge, making the results more reliable.
- Let the pressure release naturally. This allows the rice to absorb any remaining moisture and firm up properly AND prevent a starchy mess from spewing out the vent knob!
- Never fill inner pot more than halfway. Whenever cooking starchy items, like rice, you should not fill the inner pot more than halfway full.
5-star Reader Review
I hardly ever feel compelled to leave a recipe review, but this recipe is awesome. My stovetop brown rice always comes out mushy and split and this is nothing like that. Each rice kernel is full, nutty, separate, tender--amazing. I thought this would be too long to cook rice, but it's perfect. My husband and I both love white rice, but we both agreed we'd eat more brown rice if it comes out like this. -Carol
How To Make Brown Rice in the Instant Pot
I have walked you through how to make white rice before, but today is specifically about brown rice. This section will guide you through the process whether you are just learning to use the Instant Pot or a seasoned user.
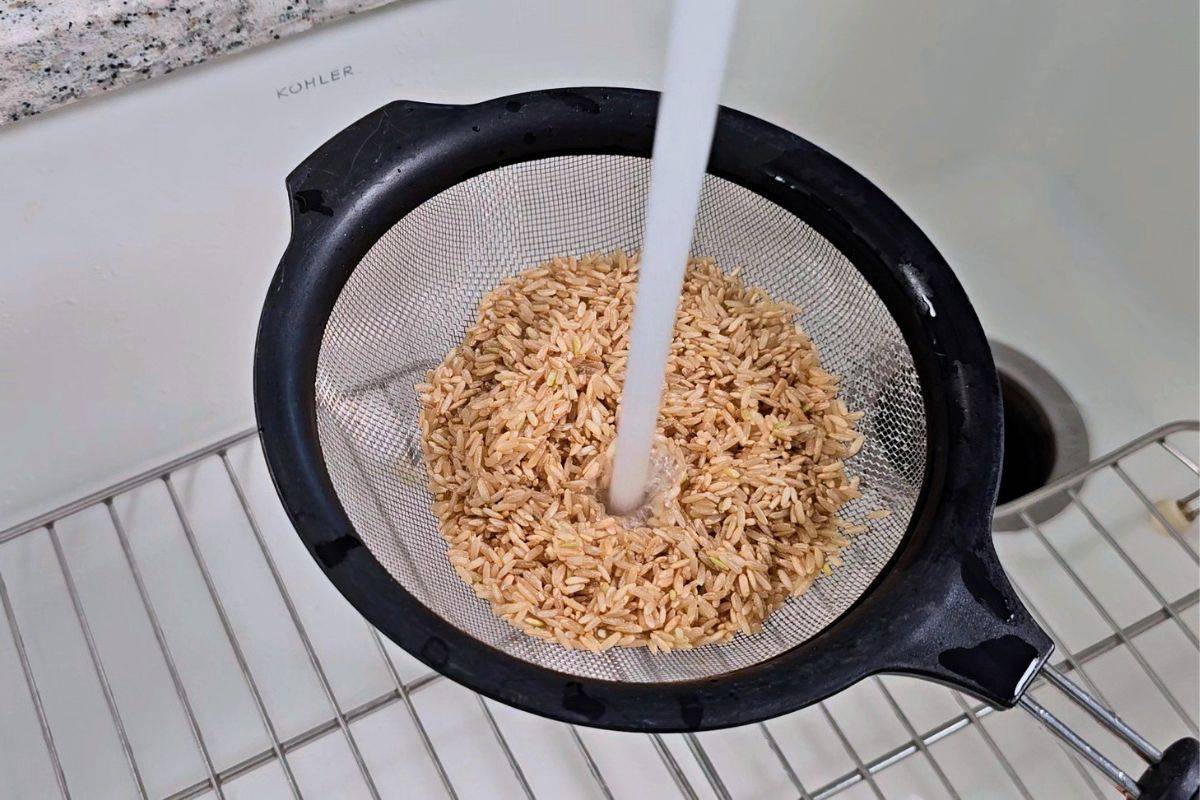
Step One: Rinse Rice
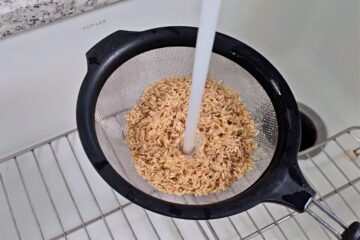
Place your rice in a fine-mesh strainer and rinse under running water for 1-2 minutes. Alternatively, place the rice inside a large bowl, cover with water, drain the water off and repeat 2-3 times until the water runs clear.
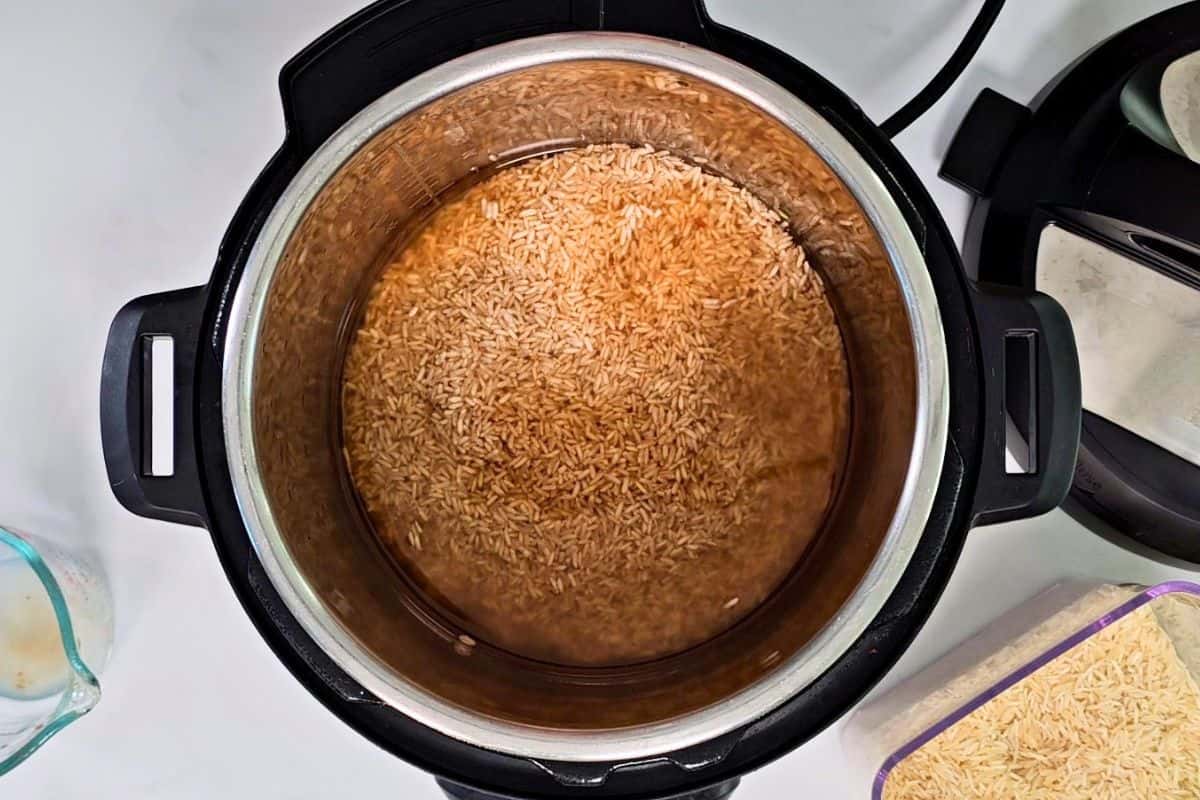
Step Two: Add Rice + Liquid
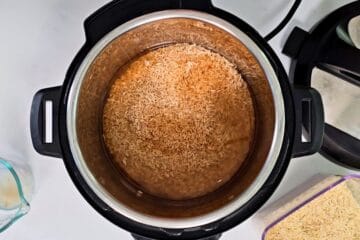
Add the rinsed rice to the inner pot. For every 1 cup of rice, add 1 cup of liquid. You can keep it simple with water or use broth for a bit more flavor. Add a pinch of salt if desired and then use a spoon to gently push the rice down into the liquid, so that it is fully submerged.
Step Three: Pressure Cook
Using the pressure cook or manual button, set the cook time to 22 minutes on high pressure for long-grain brown rice (most common) or 24 minutes on high pressure for short-grain brown rice.
👉🏻Do not use the rice function! I said it before, but it is worth mentioning again. Using the manual or pressure cook button will give you consistent heat across all models. The rice button will not.
Step Four: Let Pressure Release
When the cook time ends, don't do ANYTHING! Just leave the Instant Pot be for at least 15 minutes. It will often default to the keep warm function, which is fine. Releasing pressure too early leads to crunchy, undercooked rice AND a starchy mess on your counter.
Step Five: Fluff and Serve
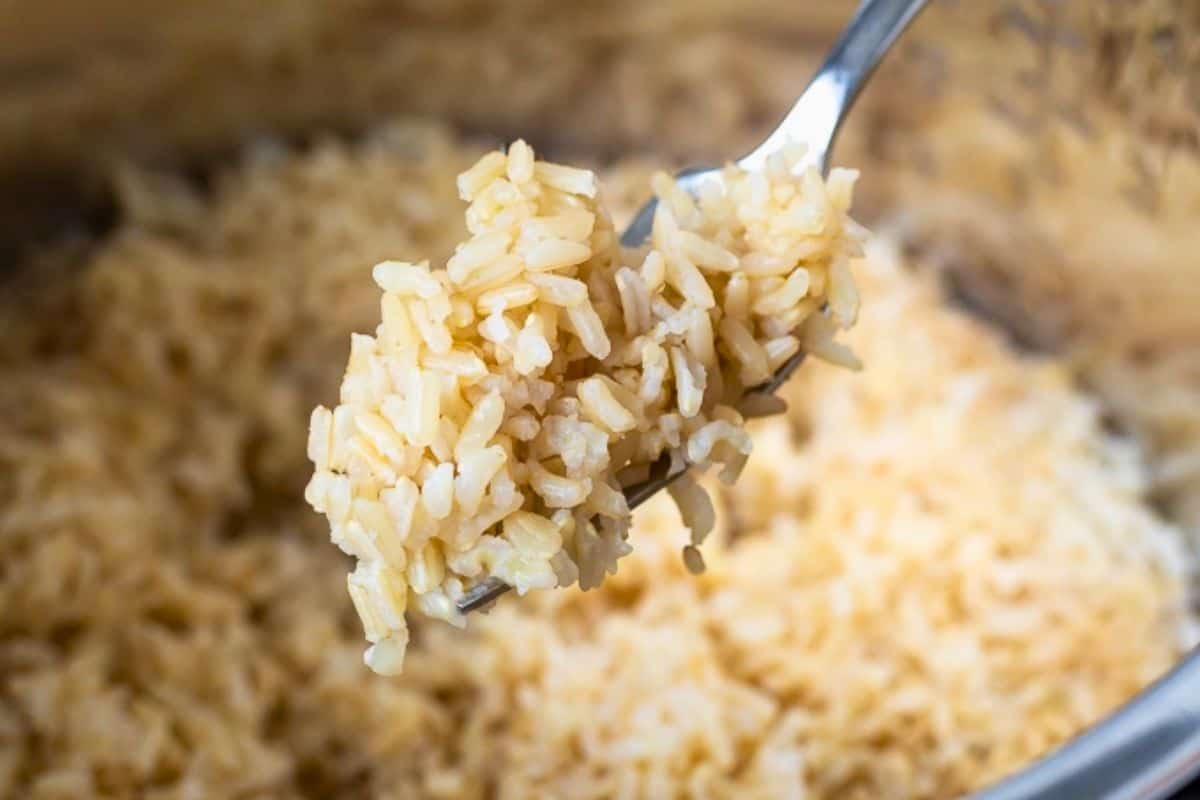
Open the Instant Pot, and use a fork, not a spoon, to fluff the rice. A fork gently separates the grains without smashing them together. This small step keeps the rice light instead of dense.
Options for Seasoning
This recipe is intentionally simple, which makes it a great base for stir-fries, bowls, or casseroles, like broccoli cheese casserole or cheesy chicken and rice. If you want to add flavor before cooking, here are a few easy options:
- Dried Onion Soup Mix: Add 1 tablespoon of Dried Onion Soup Mix to the rice before pressure cooking, for a rich oniony taste.
- Butter: For a rich, buttery taste you can opt to add 1 to 3 tablespoons of butter before or after pressure cooking. If adding before cooking, place it on top to avoid a burn notice.
- Taco Seasoning: Add 2-3 teaspoons of taco seasoning for a simple, Tex-Mex style rice.
- Cajun Seasoning: Add 2-3 teaspoons of Cajun seasoning before cooking, then finish with a little hot sauce if your crew likes heat.
Notes on Storing Rice Safely
Keep in mind that rice should be cooled before transferred to a storage container, but also should not be left at room temperature long. I recommend spreading the cooked rice out on a shallow dish to cool quickly (5-10 minutes), then transfer to an airtight container. Once cooled, follow the following instructions:
- Refrigerate: Store in an airtight container for up to 4 days.
- Freeze: Freeze for up to 3 months. Thaw overnight in the fridge.
- Reheat: Add a splash of water or broth, cover with a damp paper towel, and microwave in 1-minute intervals until warmed through.
More Instant Pot Rice Variations
Instant Pot Brown Rice

Video
Ingredients
- 2 cups brown rice, long-grain or short-grain
- 2 cups liquid, broth or water
- ½ teaspoon kosher salt, optional
Instructions
- Measure out 2 cups brown rice and place it into a fine mesh colander. Rinse under cold water for 1-2 minutes until the water runs clear. Alternatively, place the rice inside a large bowl, cover with water, drain the water off and repeat 2-3 times until the water runs clear.
- Place the rinsed rice into the inner pot of the pressure cooker. Pour 2 cups liquid of choice over the rice and add in ½ teaspoon kosher salt if using. Gently push the rice down so that it is fully and evenly submerged in the liquid.
- Place the lid on the Instant Pot and be sure the vent knob is sealed. Hit the manual or pressure cook button and set to cook on high pressure for 22 minutes for long-grain brown rice or 24 minutes for short-grain brown rice. Do not use the rice function!
- Once the cooking time has elapsed, allow the pressure to release naturally. This takes about 15-20 minutes, depending on how much rice you prepared.
- Once the pressure is fully released, remove the lid from the pressure cooker and gently fluff the rice with a fork. Serve as desired.
Notes
Nutrition
Nutrition information is automatically calculated, so should only be used as an approximation.
This post was originally posted in 2017 and updated in 2025.




I have used your recipe a number of with great success whether it’s brown or white rice……however each time the rice sticks to the bottom of the pot and is quite diffficult to then fluff the rice! Should I add a litttle more water to prevent this?
Hi Margie! Thrilled you have success. As for sticking, I wouldn't add additional water. Instead, be sure to REALLY rinse the rice to remove excess starch and/or add a small amount oil to the pot before cooking. Another tip, is to not leave on the keep warm function as the pressure releases. Sometimes that extra heat can make the rice stick (especially if left a longer period of time.)
Perfect every time!
When could additions such as mushrooms or peas be added to the rice?
Hi Denny! I would add peas (frozen is fine) after pressure cooking. While you fluff the rice with a fork, the peas will begin to warm through. You can also pop the lid on the Instant Pot to finish cooking the peas. As for mushrooms, I would saute first using the saute function. Then add in the liquid, (scrape up any browned bits), rice and cook as directed.
This came out perfect compared to the other high rated ones I’ve already tried
Fabulous! Thanks for sharing, Matt!
I hardly ever feel compelled to leave a recipe review, but this recipe is awesome. My stovetop brown rice always comes out mushy and split and this is nothing like that. Each rice kernel is full, nutty, separate, tender--amazing. I thought this would be too long to cook rice, but it's perfect. My husband and I both love white rice, but we both agreed we'd eat more brown rice if it comes out like this.
Yay! Thank you so much for taking the time to leave a review. I am honored you felt compelled and of course, thrilled you enjoyed the rice.
I usually prefer Basmati white rice because it tastes better. (It cooks great in the Instant Pot in 6 minutes.) My wife would like me to eat brown rice because it is healthier. This recipe rinses the raw rice. Everything that I have ever read claims that rinsing the rice will wash away nutrients. At that point, the brown rice might not be a healthier choice. ????
Hi Phil! Some varieties of white rice have been sprayed with nutrients. So technically, that will rinse away those vitamins. However, rinsing rice will not remove rice's natural nutrients and benefits. So in terms of nutrition and fiber, brown rice is better for you overall.
We prefer brown to white rice nowadays. Do you have a recipe for chicken and rice (or other meats and rice) that uses brown rice?
Hi Ed! I fully understand you would prefer to eat brown rice. To use brown rice for this recipe, follow the recipe as stated, omitting the chicken and using brown rice instead of white rice. Cook for 22 minutes on HIGH pressure. Once the cooking time has elapsed, allow pressure to release naturally and stir in precooked chicken AFTER pressure cooking.
I made brown rice this morning with this recipe as directed and it came out perfectly. I’ve been looking for a good rice recipe that uses a ‘cooker’, since that’s the only way I’ve ever made rice, ever since I tossed my plastic steamer a couple of years ago. I haven’t been happy with any of them until today. Thank you so much!
You are so incredibly welcome! I am so happy to help you master making brown rice.