
This post may contain affiliate links. Please see our disclosure policy.
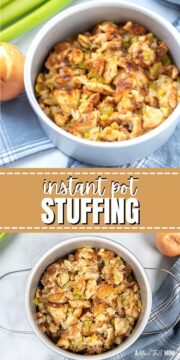
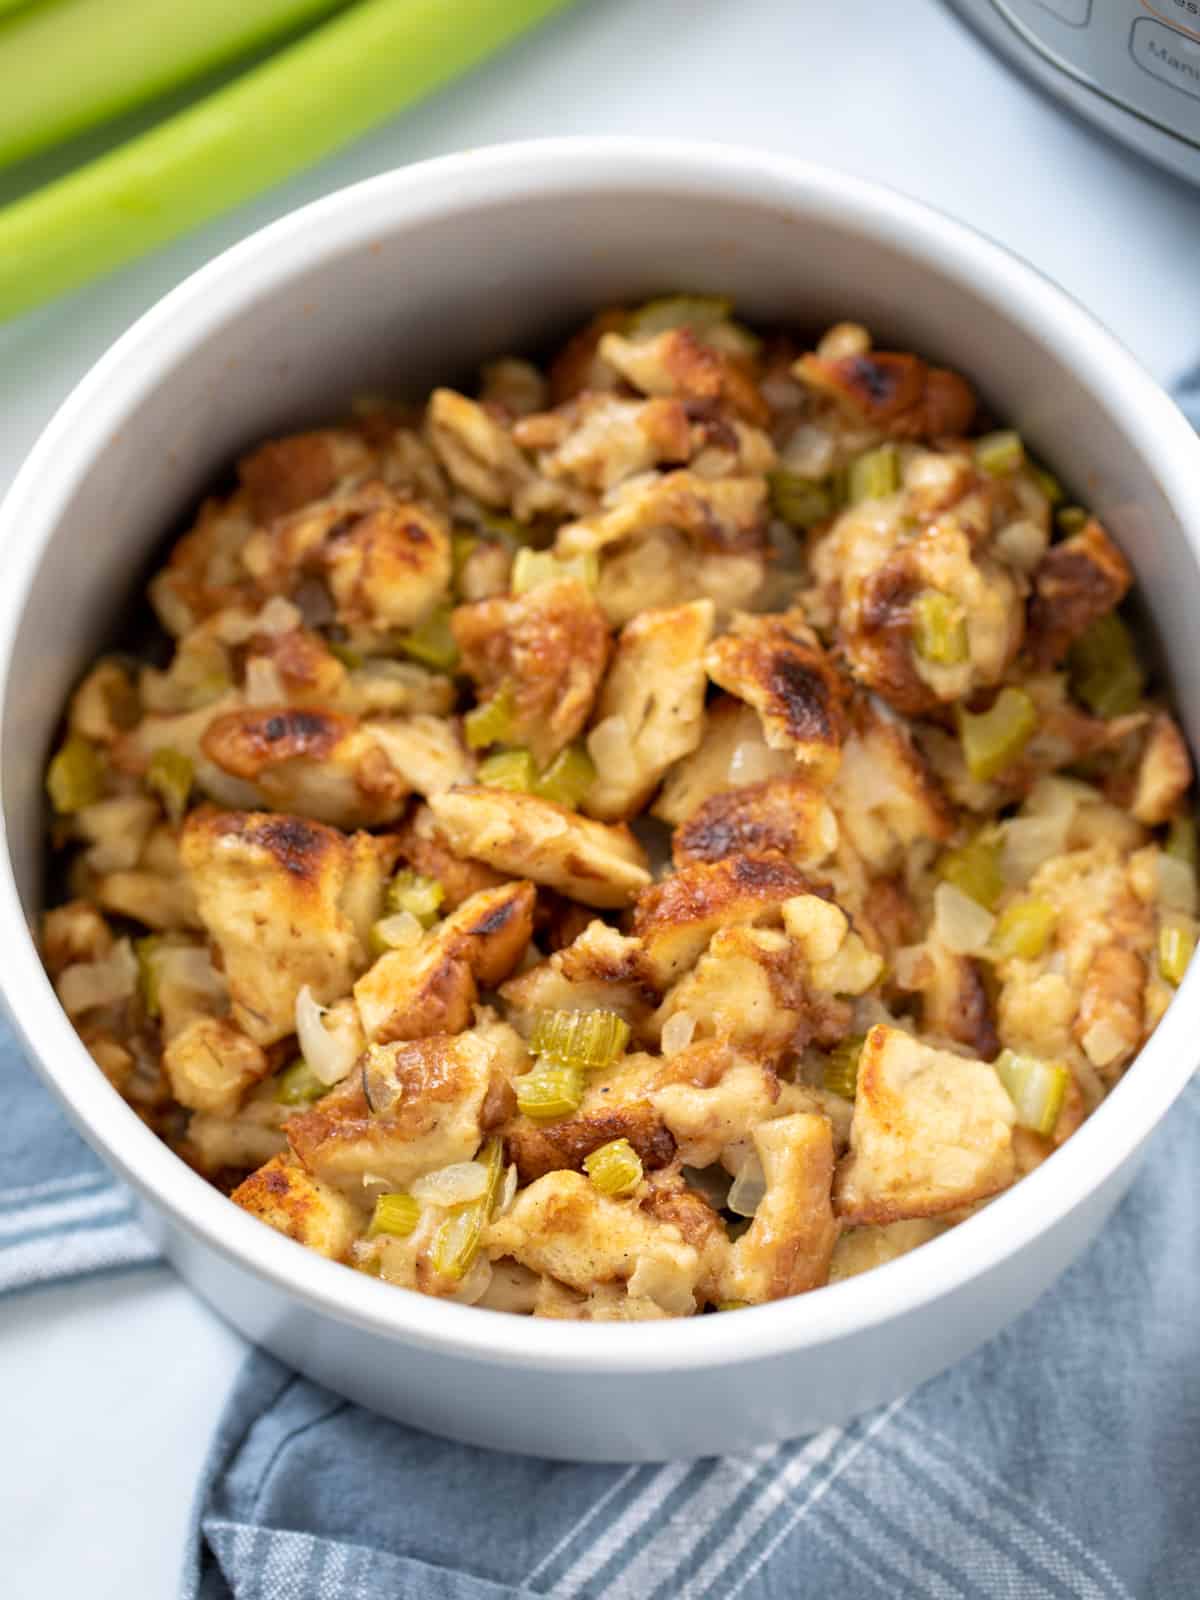
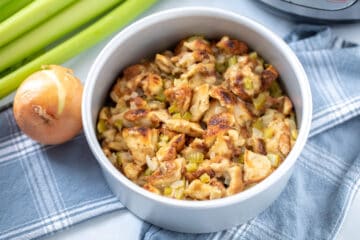
Instant Pot Stuffing is buttery, savory, and just as moist as if it were stuffed inside a turkey. Not to mention it frees up your oven for other holiday dishes.
If you're juggling a full holiday menu and limited oven space, this method is a lifesaver. Instant Pot Stuffing turns out moist, flavorful, and every bit as nostalgic as classic bread stuffing.
Kristen's Keys for Instant Pot Stuffing
A few tips help to ensure your Instant Pot Stuffing turns out perfectly.
- Use white bread. Choose plain white bread--sandwich bread, Italian, or sourdough. Avoid seeds or multigrain bread that can distract from the texture or is overwhelming in flavor.
- Dry out your bread. This is non-negotiable. Dry bread soaks up the butter and broth instead of turning soggy. Let it sit out overnight, or dry it in a 300°F oven for about 10-15 minutes.
- Don't skip sautéing the onions and celery. This quick step builds the flavor base. The Instant Pot sauté function works perfectly here and saves you another dirty pan.
- Use a pot-in-pot dish. Stuffing doesn't have enough liquid to pressure cook directly on the bottom of the pot. A 7-inch heat-safe dish is perfect.
How to Make Instant Pot Stuffing
Whether you are an seasoned Instant Pot user or just learning how to use an Instant Pot, this section helps ensure perfect results.
Step One: Prepare Bread
Dice the bread into 1-inch cubes and let the bread dry out. The drier the bread, the better it absorbs the buttery broth mixture.
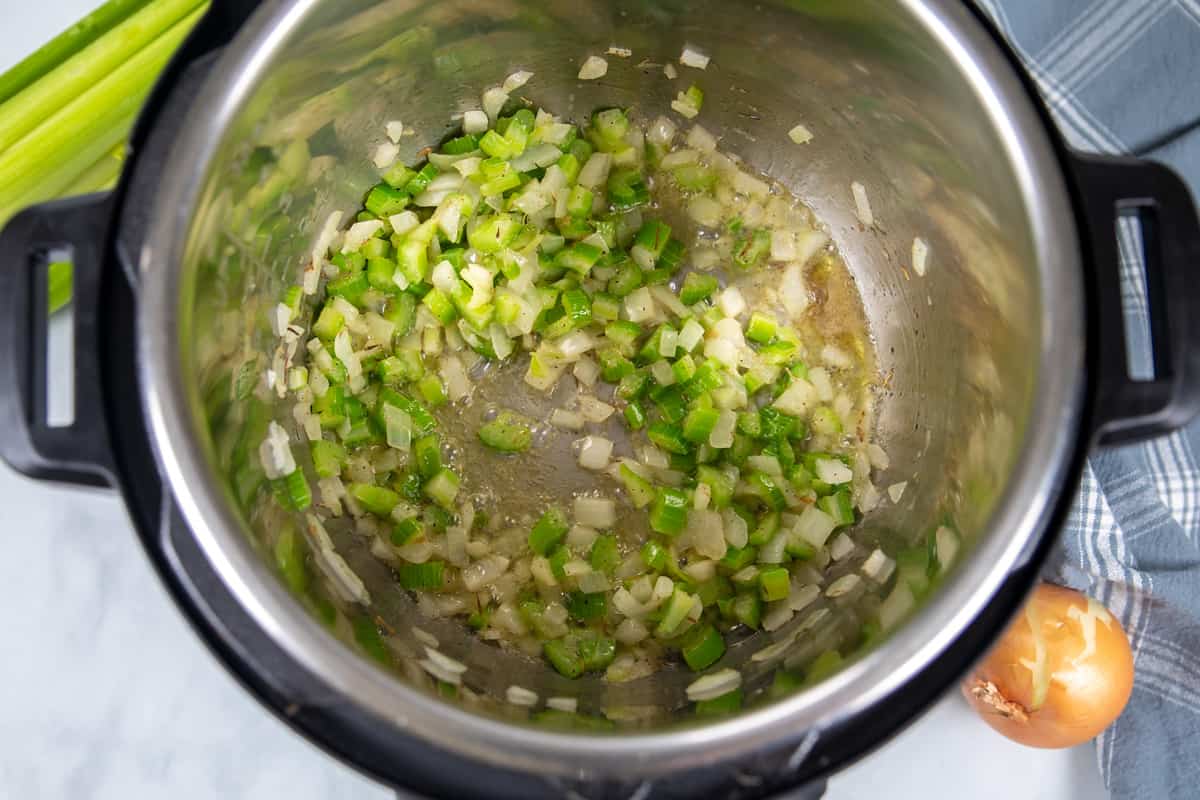
Step Two: Sauté the Aromatics
Turn the Instant Pot to Sauté. Melt the butter, then add diced onions and celery. Cook for 5-6 minutes, until softened. This step gives the stuffing depth and keeps the texture from feeling too soft once cooked.
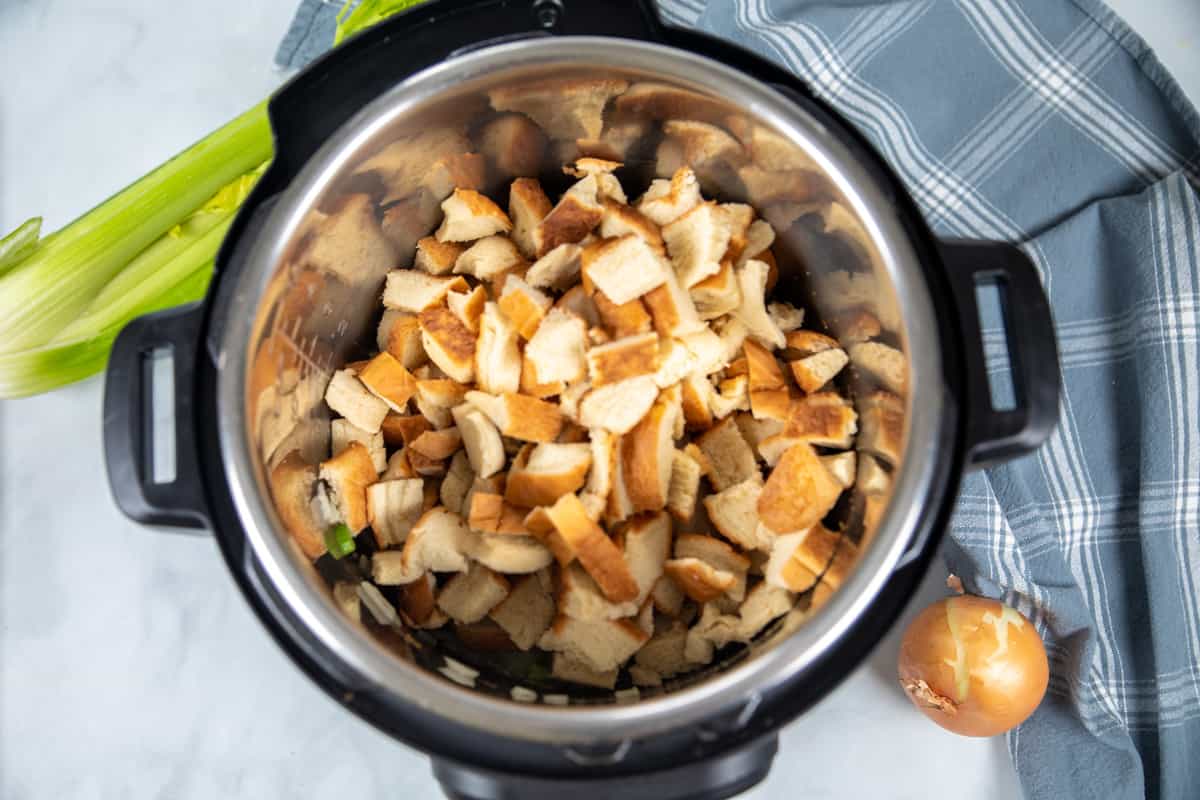
Step Three: Mix Stuffing in the Inner Pot
Turn off the sauté function and add your dried bread cubes, salt, pepper, thyme, and 1½ cups of broth. Gently fold everything together. Add additional broth a little at a time until every cube is lightly moistened but still holding shape.
👉🏻Adjust the stock to your bread. Every loaf dries out differently. Plan on 1½-2 cups of broth, adding just enough so all the cubes are moistened but not swimming.
Step Four: Transfer Stuffing to Pan
Grease a 7-inch baking dish and spoon the stuffing mixture in. Cover tightly with foil to keep excess moisture out during cooking.
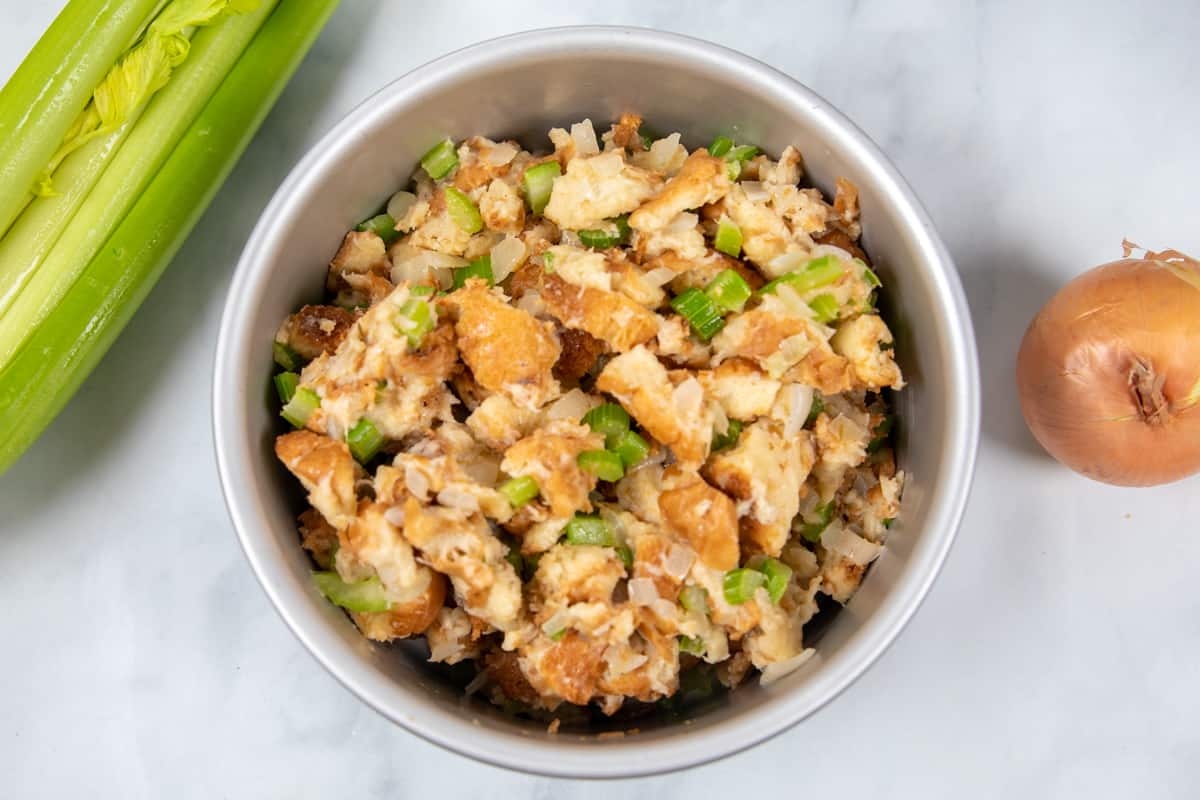
Step Five: Set up the Instant Pot
Add water to the inner pot and use a spatula to scrape up any browned bits off the bottom of the inner pot (this will prevent a burn notice since we sautéed the onions and celery right in the inner pot). Add the trivet and place the pan with the stuffing inside the inner pot.
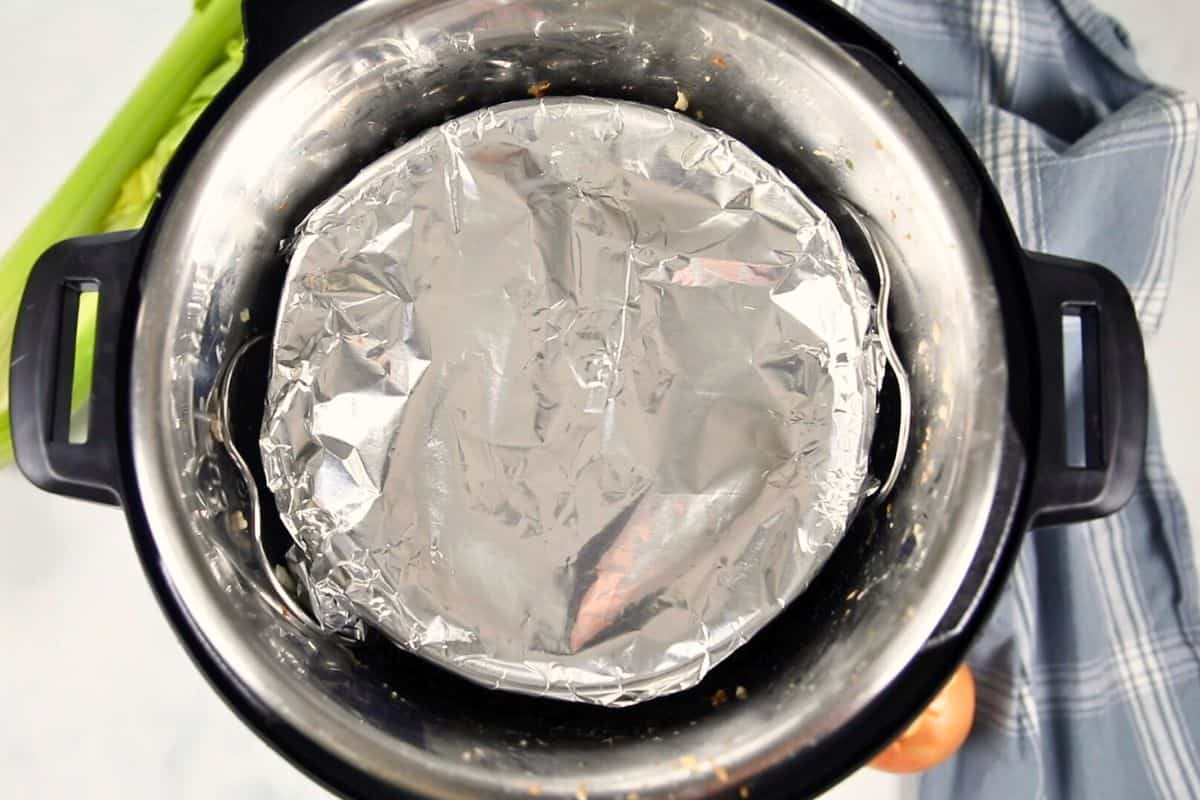
Step Six: Pressure Cook
Cook on High Pressure for 15 minutes, then let the pressure release naturally for 10 minutes. This gentle release keeps the stuffing soft and fluffy.
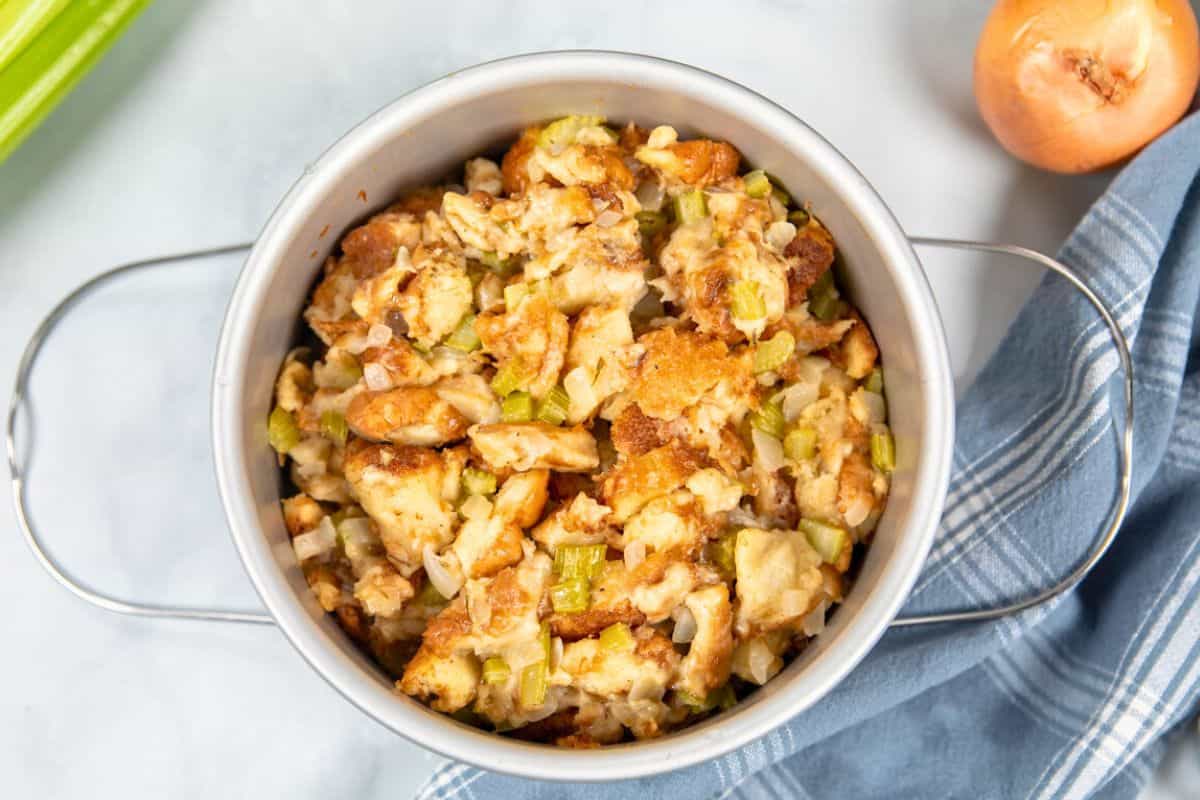
Step Seven: Brown if Desired
If you're a crispy edges person, pop the dish under the broiler for 3-5 minutes or use an air fryer lid until lightly browned.
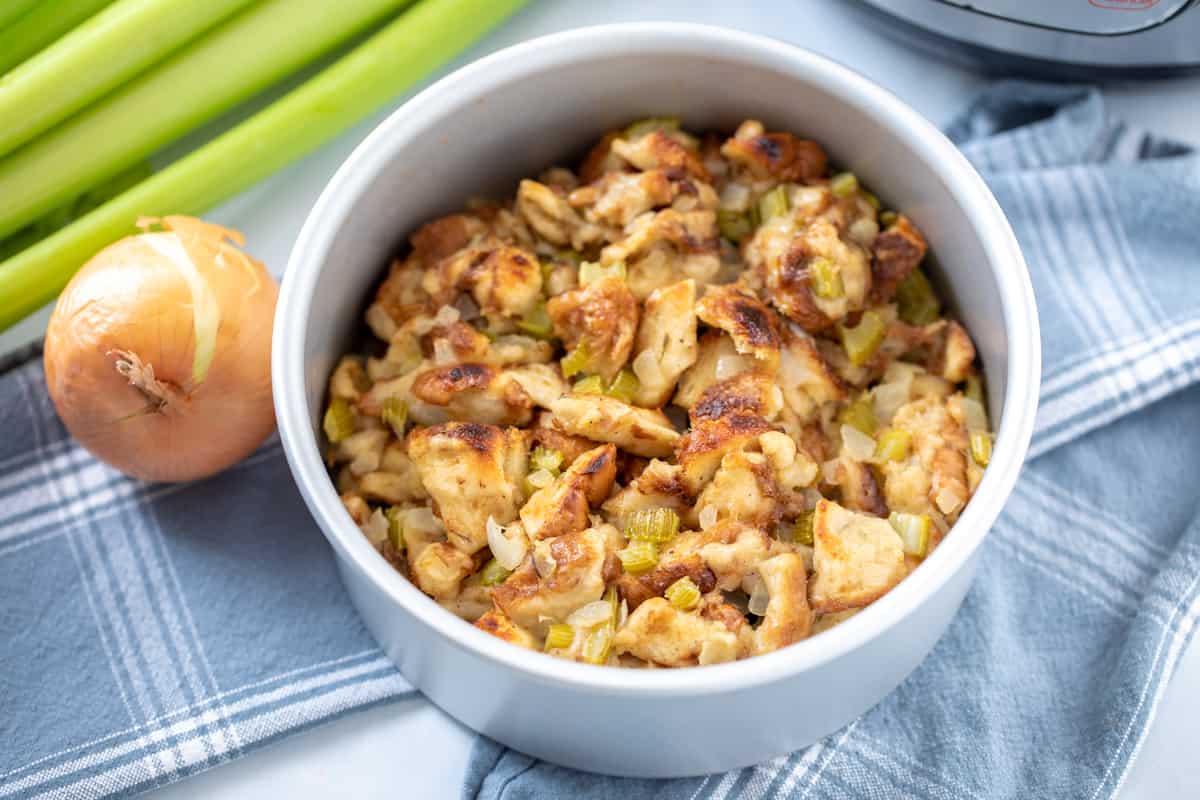
Recipe Modifications & Notes
- Dairy-Free: Swap the butter for your favorite plant-based stick butter.
- Flavor Boosts: Add up to 1 teaspoon poultry seasoning for a classic boxed-stuffing vibe, or swap chicken broth for vegetable broth to keep things vegetarian.
- Storage: Store leftovers in an airtight container in the refrigerator for up to 4 days. Reheat as desired or put to use in a creative Thanksgiving leftover recipes--Thanksgiving Egg Rolls, anyone?
More Instant Pot Thanksgiving Recipes
Browse my collection of Instant Pot Thanksgiving recipes to complete your holiday meal, or grab one or two of my favorites below.
Instant Pot Stuffing

Video
Ingredients
- 1 pound bread
- 4 tablespoons butter, plus more for greasing pound
- 1 cup minced onion, about 1 large onion
- 1 cup diced celery, about 2-3 stalks of celery
- ½ teaspoon kosher salt
- ½ teaspoon black pepper
- ½ teaspoon dried thyme leaves, not ground thyme
- 1½-2¼ cups low-sodium chicken stock
Instructions
- Cube 1 pound bread into 1-inch cubes and spread it out evenly in a single layer onto a sheet pan. To dry out the bread, you have two options. You can cover the sheet pan, and with a clean kitchen towel and leave it out to dry overnight. Alternatively, you can toast the bread in a 350℉ (175℃) oven for 10-15 minutes to dry out
- When ready to prepare the stuffing, turn the Instant Pot to saute, add in 4 tablespoons butter, and let melt. Once the butter has melted, add in the 1 cup minced onion and 1 cup diced celery and saute the mixture until the onions begin to soften about 3-4 minutes. Once the onion is softened, add in the ½ teaspoon kosher salt, ½ teaspoon black pepper, and ½ teaspoon dried thyme leaves and saute for just a minute or two longer to toast the spices. Then turn the saute function off.

- Add in 1 cup of stock into the inner pot and scrape up any browned bits on the bottom of the inner pot.
- Add in the cubed, dried bread and give everything a good stir, adding ¼ cup more stock at a time as needed, until the bread is fully moistened, but not soggy.

- Grease a 7-inch cake pan or 7-inch bundt pan with butter. Transfer the stuffing mixture to the pan and cover tightly with foil.
- Pour 1.5 cups of cold water into the inner pot of the instant pot. Place the metal rack or trivet in the inner pot and then place the pan on the rack.
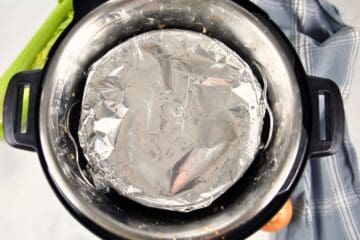
- Place the lid on the inner pot and be sure the vent knob is sealed. Set the cooking time for 20 minutes on high pressure if using a cake pan, or 15 minutes on high pressure if using a bundt pan.
- Once the cooking time has elapsed, you can allow pressure to release on its own or carefully do a quick release of pressure. This is one recipe it won't make a difference if you do a quick release or natural release of pressure.
- Remove the pan of stuffing from the inner pot and remove the foil.

- To achieve a browned, golden exterior, pop the pan of stuffing under a preheated broiler for 3-5 minutes, until golden. Alternatively, use an air fryer lid to brown the stuffing.
Notes
Nutrition
Nutrition information is automatically calculated, so should only be used as an approximation.





Hi, could I just wrap this in foil without a pan?
Hi Monica! Hmm, I haven't tried that, but I don't see why it wouldn't work. Just be sure to place on the trivet. And shape in a 7-inch circle so the cooking time is consistent to the timing in the recipe card.
I was so frustrated by the pop-ups trying to even read through this article that I gave up!
Hi Lynn! I am so sorry you were having issues with pop-ups. There should only ever be one pop-up and that is for an email sign up that can be immediately "x-ed" out. I do have a video player that runs, but that is at the top of the page, to prevent it from interfering with the content. I will investigate this further with my ad company.
Hello - Can I make this the day before?
Hi Addie! You can assemble up to pressure cooking. Tightly wrap in plastic wrap and refrigerate overnight. Let it come to room temperature for 30 minutes, remove plastic wrap, cover with foil and pressure cook as directed. Alternatively, you can prepare as the recipe states let cool slightly after pressure cooking and then cover and refrigerate. But then you would need to reheat in the oven or in a microwave safe dish in the microwave to warm through.
Thanks very much, Kristen, and Happy Thanksgiving!Addie
Delish so good as is. Next time wanted to do crumbled sausage with mushrooms like my mom used to make. How would I incorporate this? Thank you so much
I am so happy to hear you enjoyed, Shelly! I would recommend sauteeing the sausage with the onions and celery until nearly cooked through. Add the mushrooms and saute for another 5 minutes or the mushrooms soften and the meat is fully cooked. Then proceed with the recipe as written!
Where do I find a 7” pot. How high should it be? I am anxious to try this recipe.
Hi Cee! You can use a 7x3 or 6x4 pan. I use this one, which you can purchase off Amazon.
I made this tonight and it was DELICIOUS!! So easy and soooo yummy!!
ooooh, what a great idea! This looks amazing! I can't wait to try it!
I'm so happy to find this instant pot stuffing recipe. Because all my other cooking methods will be in use (crockpot, oven, stove top burners, and air fryer.) This is PERFECTLY timed and exactly what we need. Thanks for this recipe!