This post may contain affiliate links. Please see our disclosure policy.

Made with just 5 ingredients, this dump-and-cook recipe for Instant Pot Chicken Tacos delivers juicy, flavorful shredded chicken with very little effort. Perfect for tacos, burritos, enchiladas and more!
Forget to thaw your chicken and dinner needs to be on the table? No need to stress! Just like my recipes for Instant Pot chicken breast and Instant Pot chicken thighs, this recipe works with fresh OR frozen chicken. Another reason to love the Instant Pot!

Kristen Key's for Instant Pot Chicken Tacos
Paying attention to these tips will ensure tender, perfectly cooked, and flavorful chicken.
- Mix the seasoning with the broth first. This ensures the chicken is evenly seasoned from the start, even when starting with frozen chicken.
- Layer the salsa on top of the chicken. It flavors the chicken without causing a burn notice.
- Base the cook time on the size of the chicken, not how much you are cooking. Smaller breasts will need less time than larger breasts. Just keep in mind that the cook time will remain the same, whether you are cooking 1 or 6 chicken breasts.
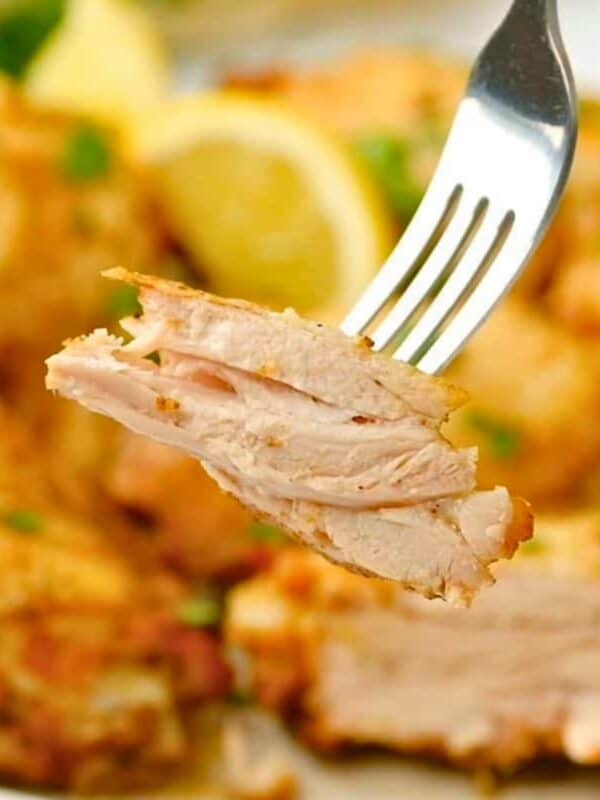
- Finish with lime. Adding the zest and juice of a fresh lime wakes up all the flavors and prevents the chicken from tasting flat.
5-Star Reader Review
These Chicken Tacos have insanely good flavor!! I made them using homemade Taco Seasoning, and I could not believe the flavors that came alive. My four picky eaters devoured these and asked for more. Everyone of them thanked me for making dinner which rarely happens. This recipe got placed on our family top ten list by the kids tonight. Very easy and quick to make on a busy evening!! Thanks as always. -CJ
How to Make Instant Pot Chicken Tacos
Whether you are just learning how to use an Instant Pot or are a seasoned pro, this section will walk you through making chicken taco meat using your Instant Pot.
Step One: Layer Ingredients
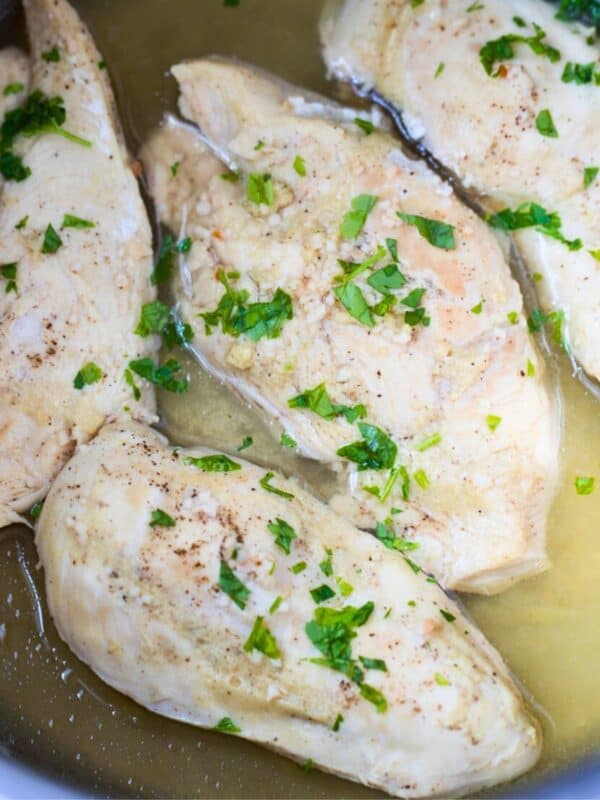
Add the chicken stock and taco seasoning to the inner pot and whisk to combine. Add the chicken, then top with salsa.
👉🏻Important Reminder: Don't stir the salsa into the broth. Simply spoon or dump over the chicken and pressure cook as directed. Stirring the salsa into the liquid can cause a burn notice.

Step Two: Pressure Cook
The cooking time will be determined by the size of the chicken breasts or thighs and whether or not your chicken is fresh or frozen.
- Small chicken breasts or thighs: 6 minutes on High Pressure or 10 minutes if frozen
- Average chicken breasts or thighs: 7 minutes on High Pressure or 11 minutes if frozen
- Large chicken breasts or thighs: 8 minutes on High Pressure or 12 minutes if frozen
Step Three: Let Pressure Release
Letting the pressure release for at least 10 minutes after the cook time has elapsed keeps the chicken tender and juicy and finishes cooking it beautifully. Doing a quick release can cause the chicken to seize up and become tough.

Step Four: Shred Chicken
I find it easiest to remove the chicken from the inner pot, place it in a large bowl, add the zest and juice of a lime, and shred with two forks or a handheld mixer.
👉🏻Not eating right away? Place the seasoned chicken back into the Instant Pot and leave it on the Keep Warm setting. This is especially helpful for entertaining or on those nights when dinner happens in shifts after-school activities.

Step Five: Serve
The obvious choice is to use this shredded chicken as you would classic taco meat to make tacos. But don't stop there, use the chicken to make chicken enchilada casserole, taco pizza, add to bean burritos, and more!
👉🏻Serving Tip: Use a slotted spoon to scoop the chicken into your tortillas or taco shells. This keeps excess liquid out of your tortillas so tacos stay intact and not soggy halfway through dinner.

Recipe Modifications
- No Instant Pot? Use my recipe for stovetop shredded chicken tacos or crockpot salsa chicken recipe.
- Control the Spice: Adjust the heat level by choosing mild, medium, or hot salsa, or tweaking the cayenne in the homemade taco seasoning.
- No Salsa on Hand? A can of diced tomatoes with green chiles works in a pinch and still delivers solid flavor. Homemade blender salsa works here too.
Meal Prep + Storage Suggestions
This Instant Pot Chicken Taco meat is one of my favorite recipes to prep ahead because it holds up beautifully and works in so many meals. Make a batch on Sunday, and you're set for tacos one night, burrito bowls or salads the next, and quesadillas or enchiladas later in the week. Same chicken, but the meals feel different.
- To Double: You can make up to 2 pounds of shredded Mexican chicken without increasing the liquid. Simply double the taco seasoning and salsa, and keep the lime as-is; the zest and juice of one lime is still enough to brighten the entire batch.
- To Store: Let the chicken cool slightly, then transfer it to an airtight container. Refrigerate for up to 4 days or freeze for up to 3 months.
More Tex-Mex Instant Pot Chicken Recipes
Instant Pot Chicken Tacos

Video
Ingredients
- 1½ cups low-sodium chicken broth
- 2 teaspoons taco seasoning
- 1 pound boneless, skinless chicken breasts, or chicken thighs
- ⅓ cup salsa
- 1 medium lime, optional, but highly encouraged
Instructions
- Combine 1½ cups low-sodium chicken broth with 2 teaspoons taco seasoning in the inner pot of your pressure cooker. Nestle 1 pound boneless, skinless chicken breasts into the liquid. Dollop ⅓ cup salsa evenly over the chicken. DO NOT STIR!
- Place the lid on the pressure cooker, being sure the vent knob is sealed and/or the lid is locked. Using the manual or pressure cook button, select the desired cooking time.For SMALL chicken breasts/chicken thighs (~6 ounces each): Cook for 6 minutes on high pressure OR 10 minutes if frozen.For AVERAGE chicken breasts/chicken thighs (~8 ounces each): Cook for 7 minutes on high pressure OR and 11 minutes if frozen.For LARGE chicken breasts/chicken thighs (~10 ounces each): Cook for 8 minutes on high pressure OR 12 minutes if frozen.
- Once the cooking time has elapsed, let the pressure release naturally for at least 10 minutes.
- Once the pressure has been released, remove the lid from the pressure cooker. Transfer the chicken to a large bowl and then shred the meat using 2 forks or a handheld kitchen mixer on low speed.
- Once shredded, add the zest and juice of 1 medium lime and stir well to incorporate. Serve as desired.
Notes
Nutrition
Nutrition information is automatically calculated, so should only be used as an approximation.
This post was originally posted in 2019 and updated in 2026.


If tripling the recipe with chicken breast, how much time do I set for the instant pot?
Hi Donna! When tripling this recipe, leave the cook time the same. It will take longer to come to pressure and work to cook everything perfectly! Enjoy!
I only used 1 cup of broth and it was still too watery. Do you think using only 1/2 cup with frozen chicken would work?
Hi Sharon! In a 6-quart it likely would (especially if your salsa has a lot of liquid). Keep in mind that you can always strain off some of the liquid--use it to cook rice! YUM!
The broth is amazing, once I have tacos one day, I add corn, beans, cheese, sour cream and make delicious tortilla or chicken taco soup....I go heavy so I can make soup 😁
I love this recipe and also highly recommend adding the lime.
If I make this with chicken tenders, how long would it take in the instant pot? My family loves your recipes!!
Hi Mary! I love hearing you all enjoy my recipes! I would recommend 6 minutes with a natural pressure release.
I would like to make this chicken taco, but I have question for you. For Christmas my husband got me a 3 quart instant pot because it's just him and me now. Our girls have places of their own. My question is this in most recipes what size instant pot is the recipe given for? I asking so I'll know if I have to reduce the amount of ingredients.
I have all your instructions on instant pots. My didn't come with any,other to tell what was on the lid and the other buttons
Thank you
God bless.
Hi Jan! What a great gift from your husband. Most recipes are designed for a 6-quart instant pot. However, as long as you don't fill the inner pot more than 2/3rd of the way full, you can make the full recipe using your 3-quart. If you want to cut a recipe in half, be sure to still use at least 3/4 cup of thin liquid to ensure pressure is reached. I am happy to help you reduce recipes on my site if needed. Just reach out 🙂