
This post may contain affiliate links. Please see our disclosure policy.


This Instant Pot White Chicken Chili is creamy, hearty, and full of flavor without being overly spicy. You can use fresh or frozen chicken, and my simple trick of blending softened cream cheese with the hot broth creates a silky, creamy chili without lumps.
Inspired by my Crockpot White Chicken Chili, this Instant Pot version delivers the same tender chicken, mildly spiced broth, and creamy white beans, but adds a rich, luxurious finish with cream cheese.

Instant Pot White Chicken Chili at a Glance
- Time Needed: About 1 hour total, including pressure build-up and release
- Pressure Cook: 15 minutes for fresh chicken; 20 minutes for frozen
- Serves: 8
- Flavor: Creamy, savory, mildly spiced
- Texture: Creamy and broth-forward, with an easy option to make it thicker.
- Kristen's Tested Trick: Blend softened cream cheese with hot broth before stirring it into the chili for the smoothest texture.
Kristen's Keys for Instant Pot White Chicken Chili

Given that this is one of my family's favorite chili recipes, I have made this Instant Pot White Chicken Chili countless times. Through the years, here is what I have found impacts the results.
- Sautéing is worth the extra few minutes. You can make white chicken chili as a dump-and-go recipe, but I've found sautéing the onion and green chiles and briefly toasting the garlic and spices gives the finished chili noticeably more flavor.
- Allow for a natural release of pressure. I use at least a 15-minute natural release. It gives the chicken time to relax so it stays tender and also keeps a pot full of hot chili broth from spraying through the pressure valve.
- For truly creamy chili, blend the cream cheese. I blend softened cream cheese with a cup or two of hot broth, then return it to the pot. Unlike my Instant Pot Buffalo Chicken Chili, I remove the chicken to shred first, so you can blend the broth and cream cheese without worrying about blending the chicken.
Happy Cooking! xo Kristen
Notes on Ingredients
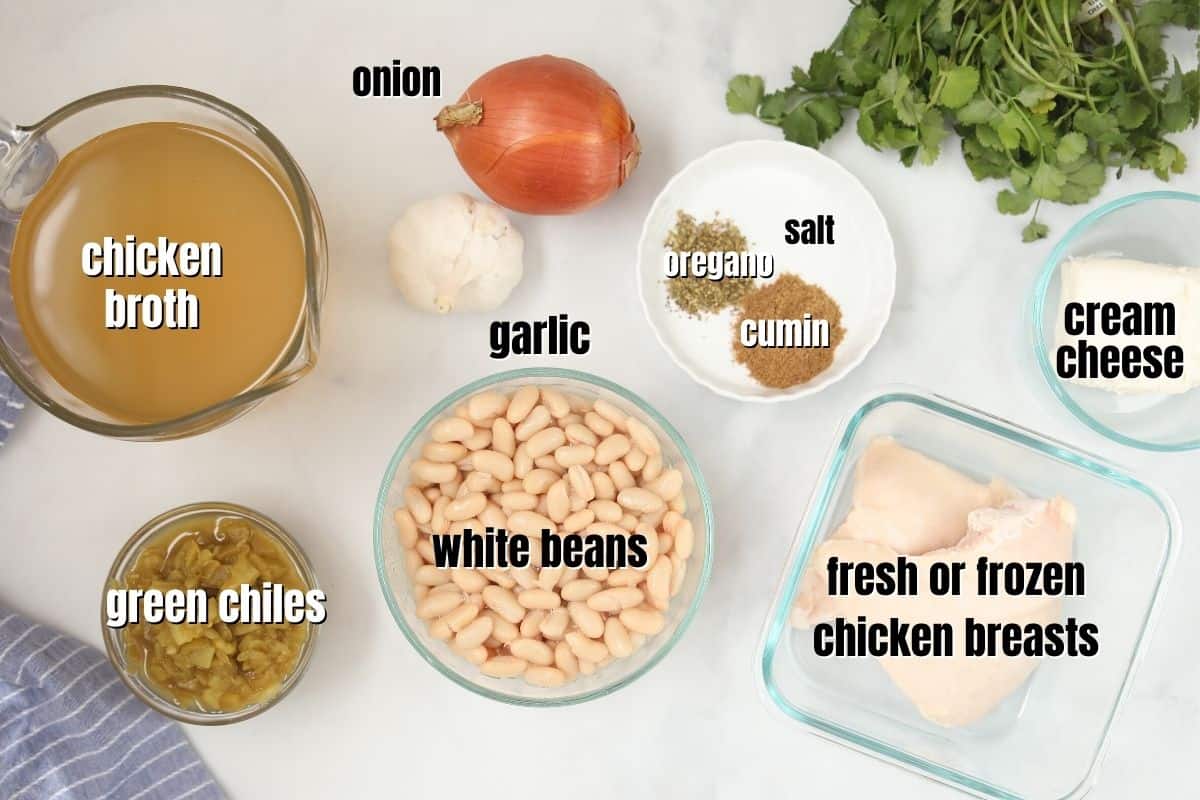
- Chicken: I prefer boneless, skinless chicken breasts over thighs, as they shred beautifully after pressure cooking. I have included timing for using fresh or frozen chicken breasts, just as I do in my Instant Pot chicken breast recipe.
- White Beans: You can use cannellini or Great Northern beans. I personally like Great Northern beans, as they soften more than cannellini, which is not a bad thing when making a creamy white chicken chili.
- Chicken Stock/Broth: I recommend using low-sodium stock or broth so you can control the sodium level yourself. This recipe uses 4 cups of stock for a creamy, broth-forward chili. See the variations below if you prefer a thicker consistency.
- Green Chiles: Use mild canned green chiles for family-friendly heat. Medium green chiles add more kick.
- Cream Cheese: I recommend avoiding fat-free cream cheese, as it isn't as rich and creamy as full-fat or reduced-fat. I also recommend letting it sit at room temperature while the chili pressure cooks, so it combines much easier
How to Make Instant Pot White Chicken Chili
- Sauté the onions and chiles. Heat a bit of oil using the Instant Pot's Sauté function. Once heated, add in the minced onions and green chiles and cook, stirring often, until the onion begins to soften.
- Toast the spices. Add in the garlic, cumin, and oregano, and cook for just 30-60 seconds, until fragrant. Then, hit Cancel to turn off the Sauté function.
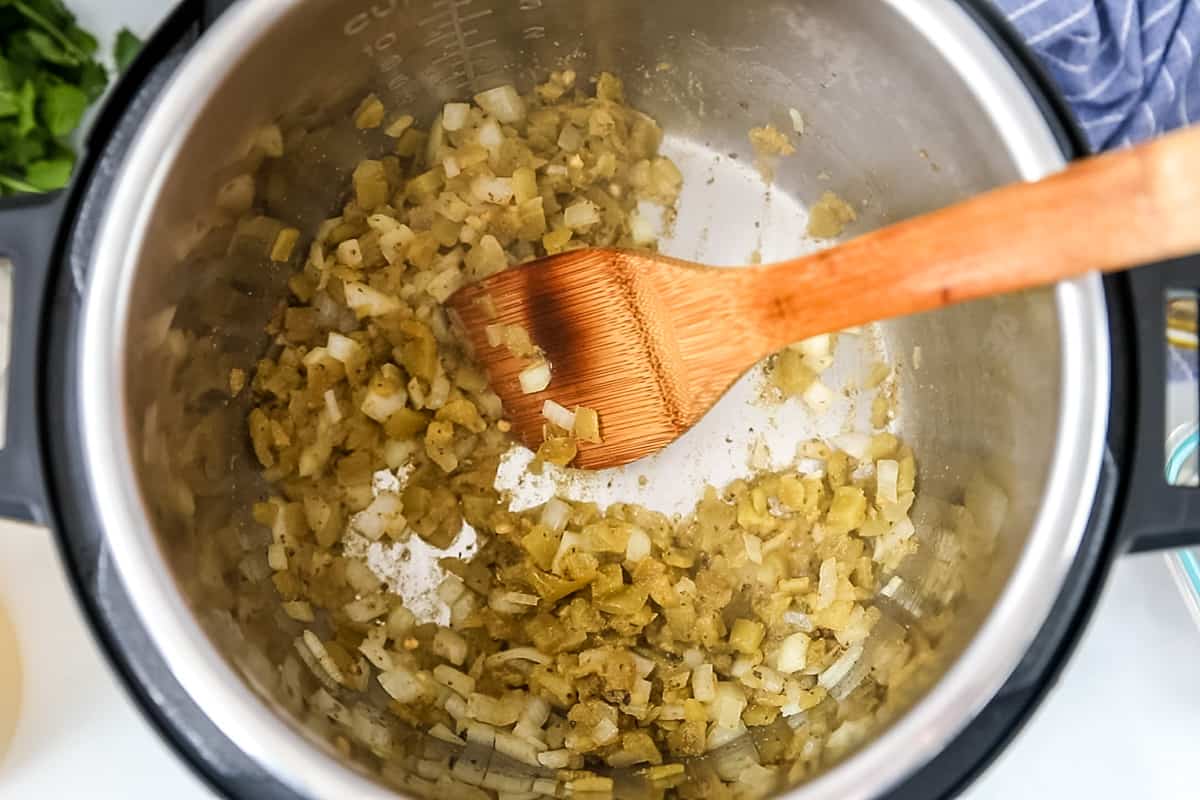
- Deglaze inner pot. After sautéing, pour in about ½ cup of broth and scrape the bottom of the pot completely clean. Any browned bits stuck to the bottom can trigger a Burn warning.
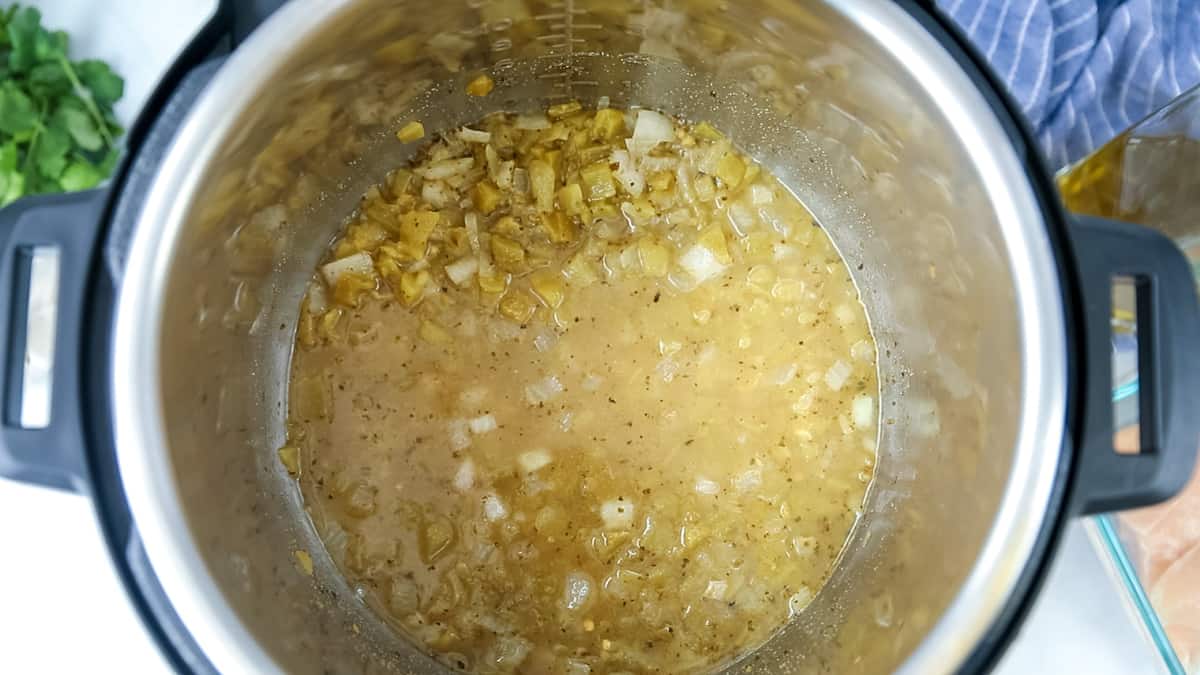
- Layer ingredients. Pour in the remaining chicken stock, then stir in the drained beans and salt. Nestle the fresh or frozen chicken breasts right into the liquid inside the inner pot.
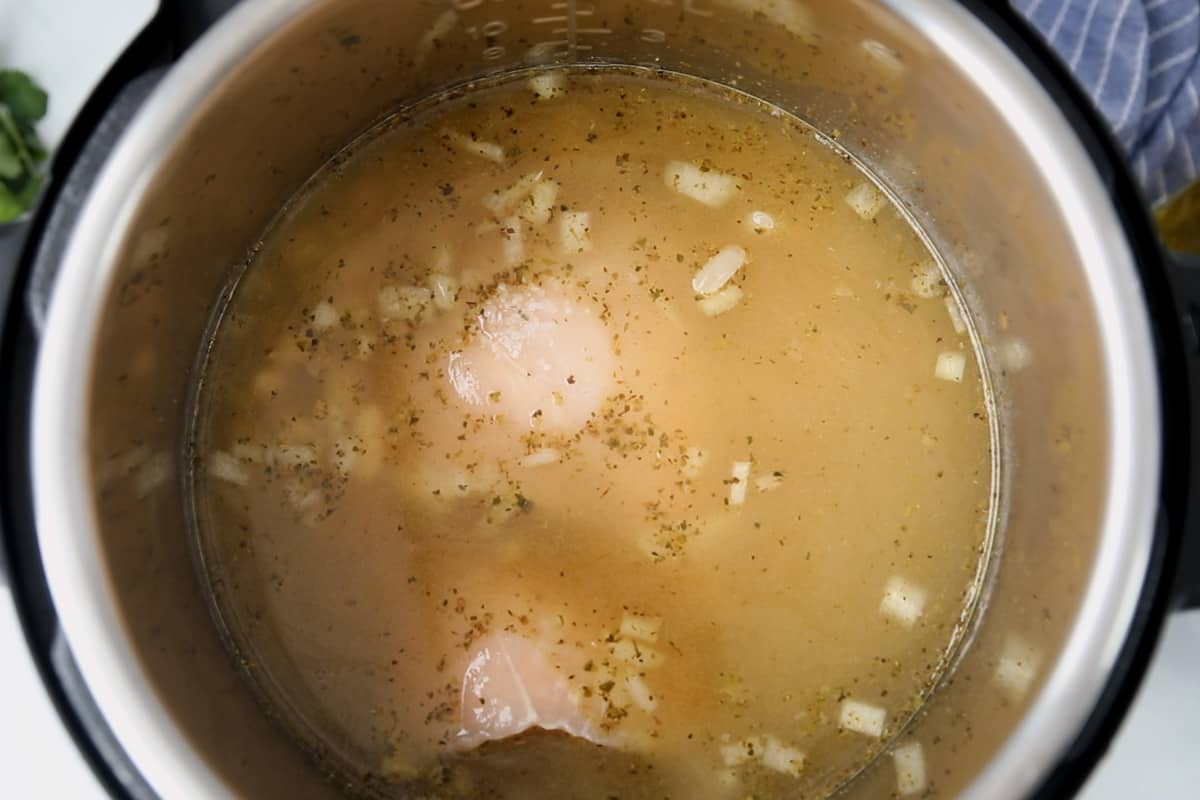
- Pressure cook. Place the lid on the Instant Pot, ensure the vent knob is sealed, then use the Pressure Cook or Manual button to cook on high pressure for 15 minutes for fresh or thawed chicken and 20 minutes for frozen chicken.
- Let pressure release naturally. I recommend letting the pressure release naturally for at least 15 minutes. This will keep the chicken tender and prevent hot liquid from spewing out of the vent knob.
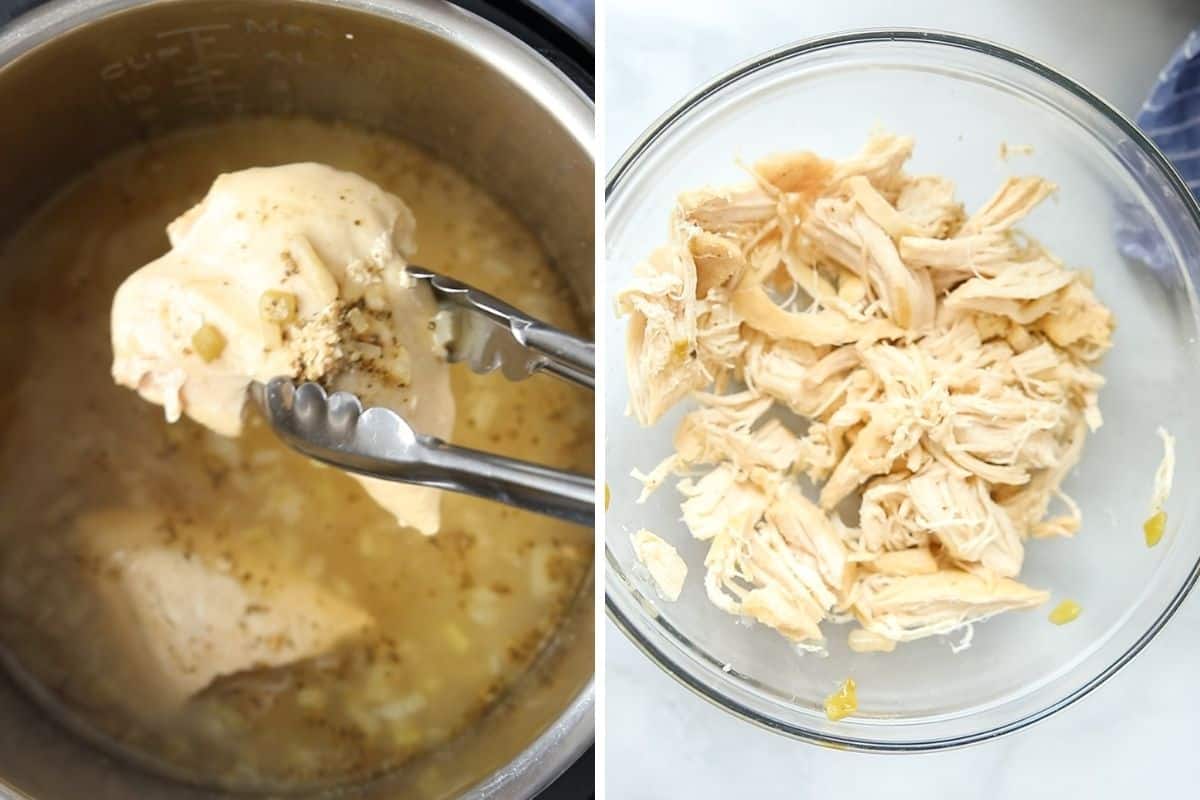
- Remove and shred the chicken. After releasing pressure, remove the lid, then remove the cooked chicken breasts from the liquid and place them in a large bowl. Shred with 2 forks and set aside to add back to the chili after adding the cream cheese.
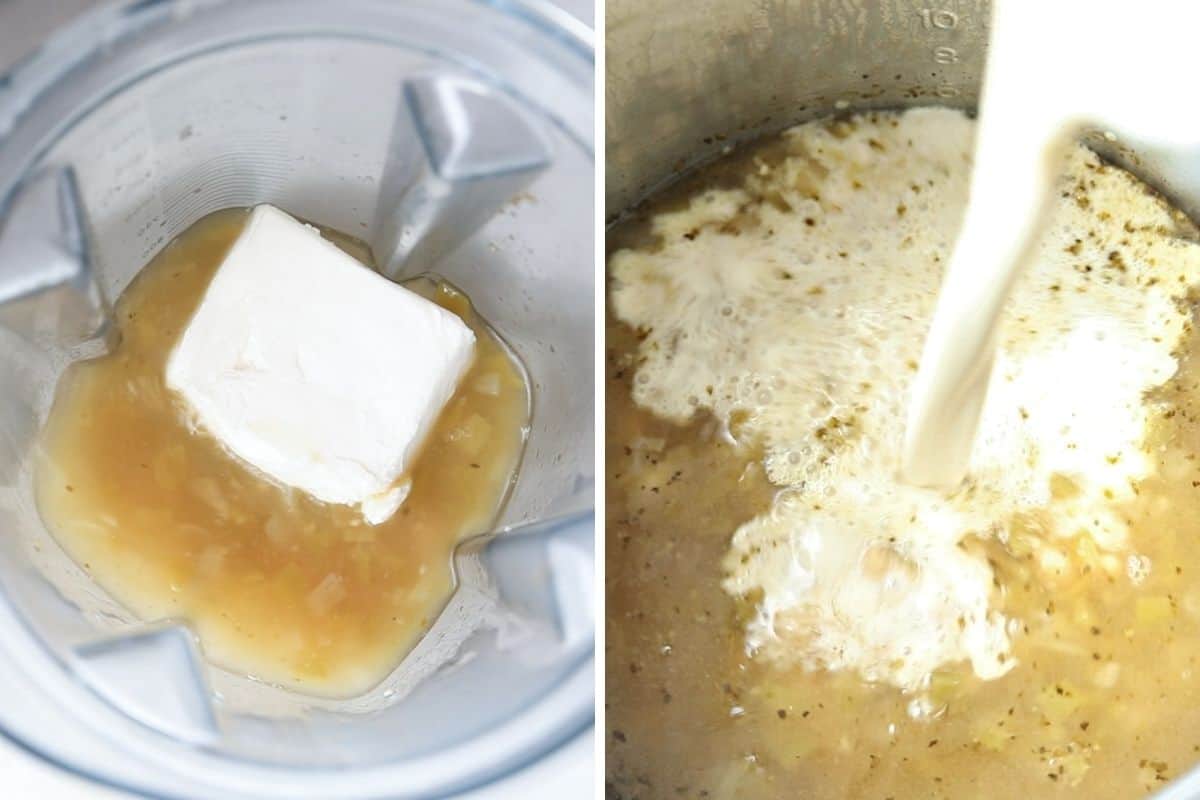
- Add cream cheese. Remove 1-2 cups of the hot broth (it's okay if you get some beans in there) and place it into the base of a blender. Add the cream cheese to the blender, and blend until smooth.
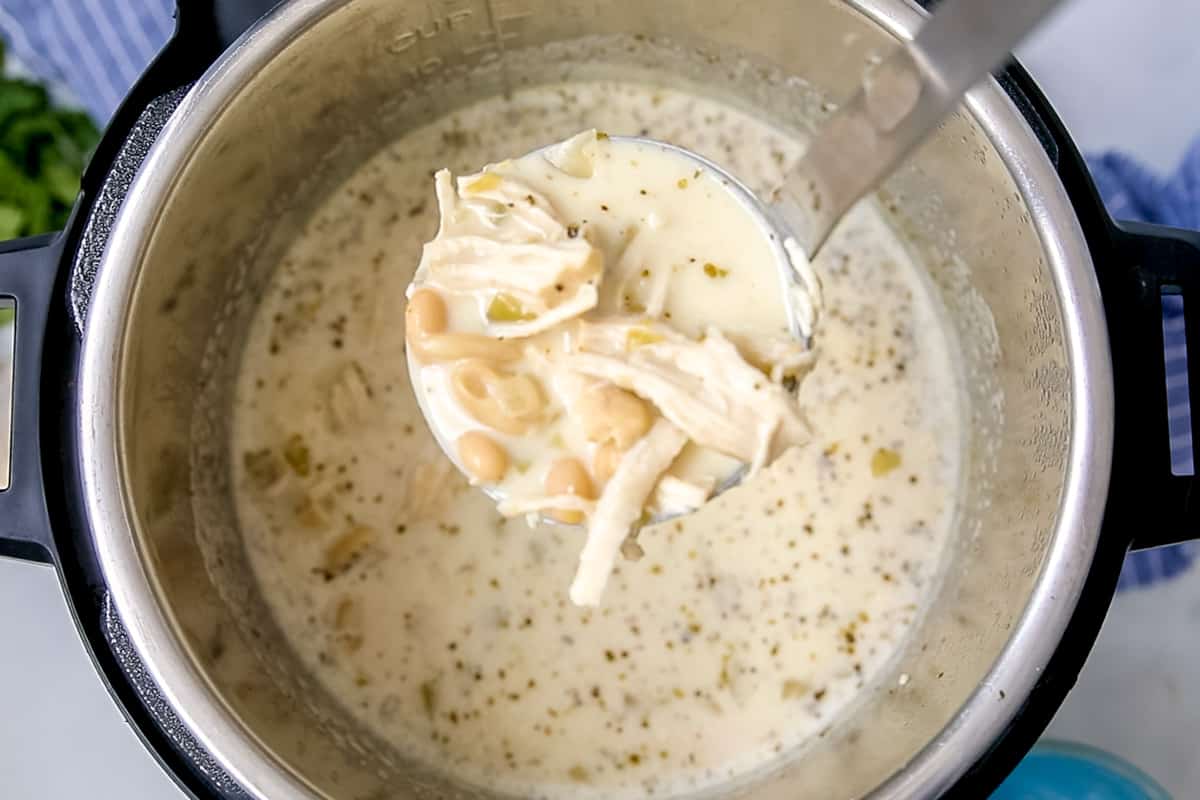
- Combine. Add the blended cream cheese mixture and shredded chicken back to the Instant Pot and stir to combine.
- Serve. Top this chili with shredded cheese, diced avocado, pickled jalapeños, sour cream, cilantro, and corn chips or a side of Homemade Cornbread. I personally love adding a squeeze of fresh lime juice, which really brightens up the flavors.
Recipe Variations
- Make it Thick: Reduce the broth from 4 cups to 2 and reduce the salt to just ½ teaspoon. Keep in mind this will likely yield closer to 4-6 servings rather than a full 8.
- Add Corn: Unlike many white chicken chili recipes, I skip corn here and let the creamy white beans, green chiles, and cumin define the chili. But if you love corn, add up to 2 cups of frozen corn kernels before pressure cooking.
- Dairy-Free: Omit the cream cheese. For a naturally creamy texture, blend about 1½-2 cups of the chili broth with some of the cooked white beans, then stir it back into the pot.
- Start with Dried Beans: Use my Instant Pot Dried beans recipe to cook your dried white beans as directed. Drain the beans, wipe out the inner pot, and proceed with the recipe as directed, using 3½ cups of cooked white beans.
Storage Instructions
- Refrigerate: Once the white chicken chili has cooled, store it in an airtight container in the refrigerator for up to 4 days.
- Freezing: You can freeze white chicken chili for up to 1 month, but be warned that when thawed, the cream cheese will separate slightly. That said, it still tastes delicious.
- Reheat: If needed, thaw overnight in the refrigerator, then reheat individual servings in a heat-safe bowl, covered with a damp paper towel, in the microwave in 30-second intervals until warmed through.
More Instant Pot Chili Recipes




Did you make this recipe?
If you enjoyed this recipe, please leave a comment with a 5-star review at the bottom of the post. Thank you!
Summarize and Save This Recipe Content On:
Instant Pot White Chicken Chili

Video
Ingredients
- 1 teaspoon olive oil
- 1 small yellow onion, minced
- 2 (4.5 oz) cans chopped green chiles, mild heat level, drained
- 2 teaspoons minced garlic
- 2 teaspoons cumin
- 1 teaspoon dried oregano
- 1 teaspoon kosher salt
- 4 cups low-sodium chicken stock, *see note in recipe card
- 2 (15.5 oz) can cooked great northern beans, rinsed and drained
- 1 pound boneless, skinless chicken breasts, fresh or frozen
- 4 ounces cream cheese, softened
Instructions
- Before you start cooking, take the cream cheese out of the fridge and leave it on the counter to soften. This will help it blend beautifully into the chili.
- Turn on the Instant Pot's Sauté function, add the oil, and heat for 30-60 seconds. Once heated, add in the diced onions and green chiles. Sauté for 3-4 minutes, or until the onion begins to soften. Add 2 teaspoons minced garlic, 2 teaspoons cumin, and 1 teaspoon dried oregano, and sauté for 1 minute longer, or until fragrant. Hit Cancel to turn off the Instant Pot.
- Pour in about ½ cup of the broth and scrape off any browned bits from the bottom of the Instant Pot. Add the remaining broth to the inner pot.
- Stir in 1 teaspoon kosher salt and the rinsed and drained beans. Nestle the chicken into the cooking liquid.
- Close the Instant Pot and be sure the vent knob is sealed. Using the Manual or Pressure Cook function, set the cook time to 15 minutes on HIGH pressure for fresh or thawed chicken, or 20 minutes on HIGH pressure for frozen chicken.
- Once the cooking time elapses, let the pressure release for at least 15 minutes. After 15 minutes, you can do a quick release of any remaining pressure by knocking the vent knob from the sealed to venting position, or you can continue to let the pressure release naturally.
- Once the pressure has been released, remove the chicken from the inner pot to a cutting board and let rest for a few minutes, before shredding with 2 forks or chopping into bite-sized pieces.
- Remove 1-2 cups of the cooking liquid (it is okay if there are beans in the liquid) from the inner pot and place it into a blender. Add the softened cream cheese to the blender. Blend until well combined, leaving the vent on the blender lid partially open to let the steam escape while blending.
- Add the blended liquid and shredded or diced chicken back to the inner pot, and stir. Taste and adjust seasonings if needed.
- Serve as desired with any toppings you like, such as sour cream, shredded cheese, pickled jalapenos, diced avocado, fresh lime juice, and/or cilantro.
Notes
Nutrition
Nutrition information is automatically calculated, so should only be used as an approximation.





If you use fresh chicken with the canned beans and also decrease the liquids is it still 8 servings?
Hi Jenna! Yes, this will still be 8 servings. The extra liquid is needed because the dried beans will absorb those liquids as they cook. I hope you enjoy!
Garlic goes w onion right???
Yes😉
Hi! You mention cooking it for 35 minutes on high but then mention doing it 10 for fresh chicken and 15 for frozen. Which one do you recommend? Thanks!
Hi Megan! It is 35 minutes high pressure for dried beans, 10 minutes for fresh chicken and canned beans and 15 minutes for frozen chicken and canned beans. Hope that helps clear it up for you!
I followed the directions to a T, but my dry beans weren't even close to being done in the end. Ideas?
Sorry about that Cindy, that can be frustrating. If that happens again, put lid back on pressure cooker and cook for another 10 minutes on high (it won't take as long to come to pressure the next time). It may be a couple things that caused this recipe to not work for you. One, you may just like your beans very soft (like canned beans), if that is the case you will always need to add an extra 10-15 minutes. Two, do not ever do a quick release as that will cause the beans to seize up (like meat) and loose some of their soft texture.
Good flavor but more like a soup than chili. Next time I will reduce the liquid and mash some of the beans
Great idea for a thicker "chili" This has always been a thinner chili, but we still called it chili 😉
This is such a hearty comforting meal for the winter time! Yum!
I am so glad you enjoyed Abeer!
White chicken chili is one of my favorites! Love this instant pot version!
It makes dinner incredibly easy to make any night of the week.
Perfect flavor, as expected with every recipe from a mindful mom!! I cut the liquid to 3 cups and used a can of corn since I only had one can of beans. Thank you!!
I am so glad you enjoyed Jenn (and that you are enjoying all my recipes!) I appreciate you leaving a review.