
This post may contain affiliate links. Please see our disclosure policy.
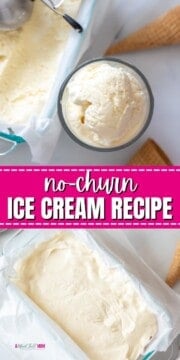
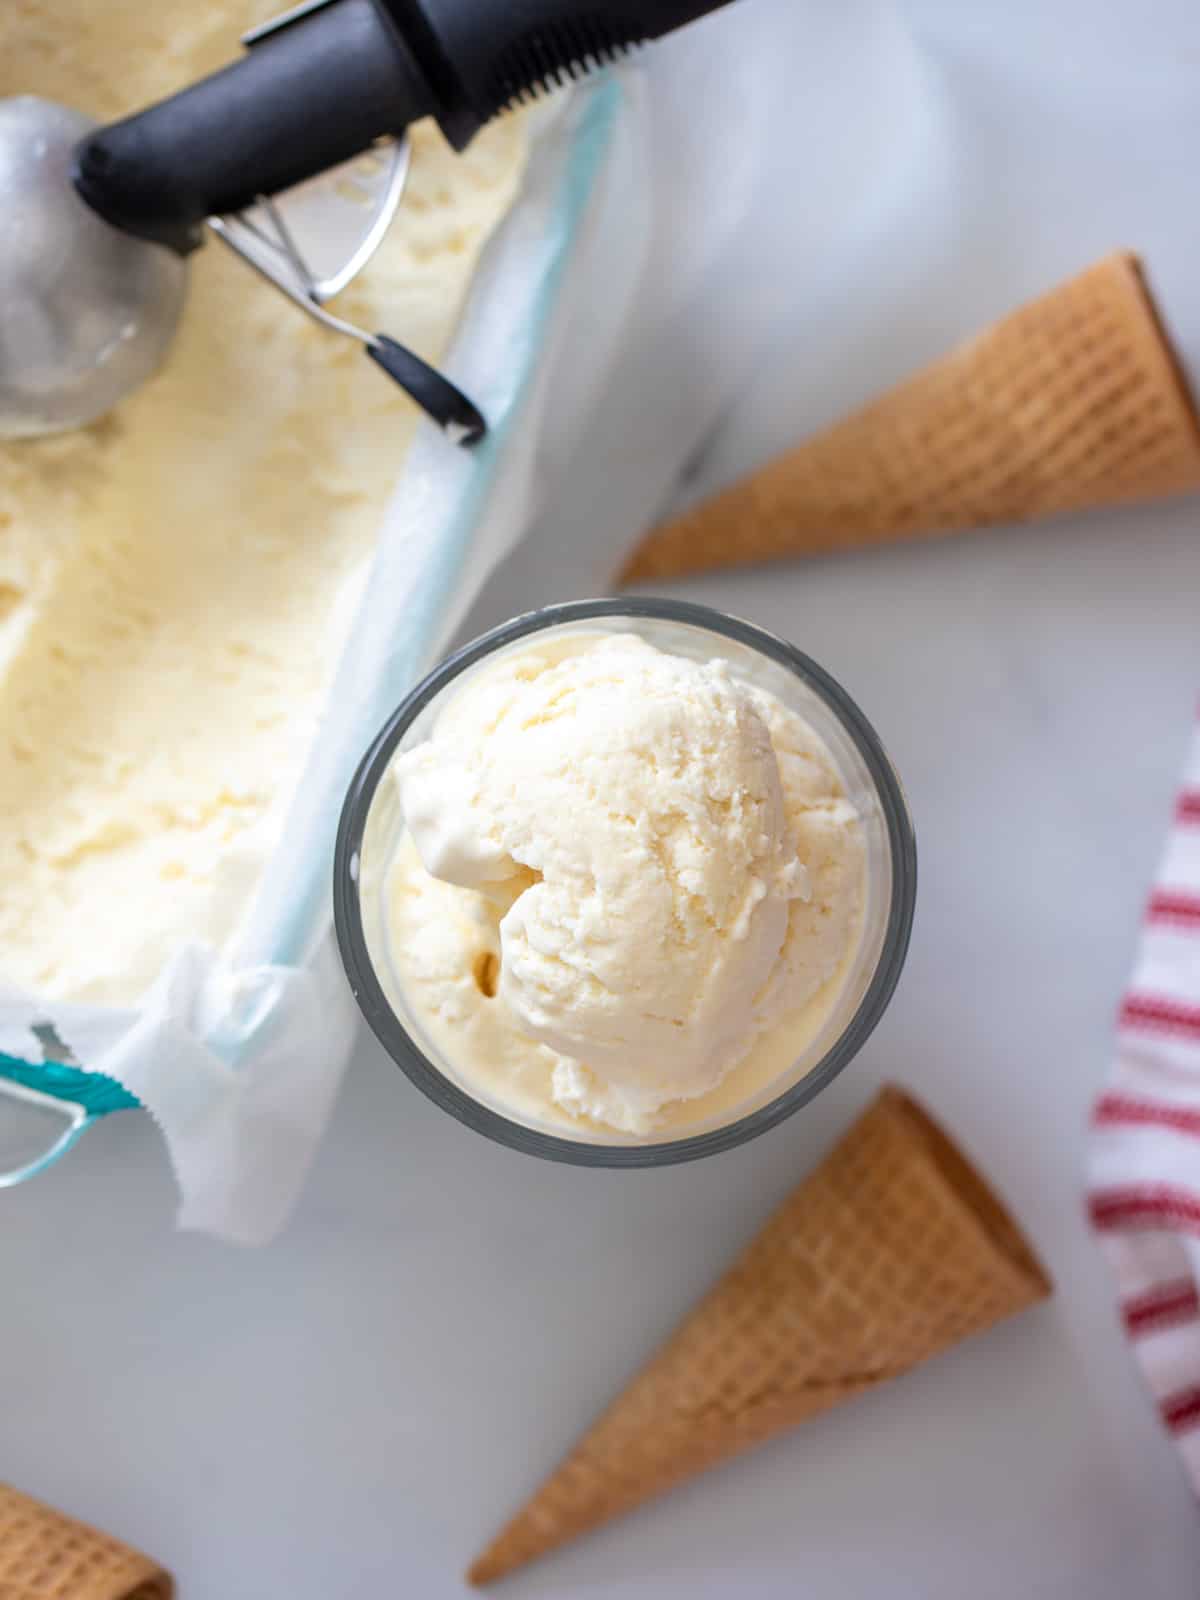
This No-Churn Vanilla Ice Cream recipe proves you can have delicious, creamy ice cream without an ice cream maker! Made with just three ingredients and endless flavor options, it is the easiest way to enjoy rich and creamy homemade ice cream.
While I love my classic vanilla ice cream, this is the recipe I make most often because it's so quick and easy, and it always turns out incredibly creamy. Topped with homemade hot fudge sauce and fresh whipped cream, it makes the ultimate summer treat.
No-Churn Vanilla Ice Cream at a Glance
- Serves: About 10 servings
- Time: 10 minutes of prep, then freeze for about 4 hours.
- Difficulty: Easy. No cooking and no ice cream maker required.
- Make It Your Way: Start with a vanilla base and mix in your favorite toppings for endless flavor variations.
- Why You'll Love It: Just 3 ingredients create rich, creamy homemade ice cream without specialty ingredients or pricey equipment.
Recipe Highlights
Kristen's Key Tips for No-Churn Ice Cream

After making this ice cream countless times over the years, here are a few tips to help ensure your no-churn ice cream turns out just as rich and creamy as ice cream made with an ice cream maker.
- Use cold heavy whipping cream. It whips faster and creates the light, airy texture that makes this ice cream so creamy.
- Fold gently. Carefully folding the whipped cream into the sweetened condensed milk keeps the mixture light and airy.
- Freeze the pan first. Chilling the loaf pan helps the ice cream begin setting as soon as it's poured in.
- Cover the surface. To prevent ice crystals from forming, place a layer of plastic wrap directly over the ice cream, then cover with a lid or foil.
Happy Cooking! xo Kristen
Notes on Ingredients
Just three simple ingredients are all you need to make rich, creamy homemade ice cream, no eggs or ice cream maker required.
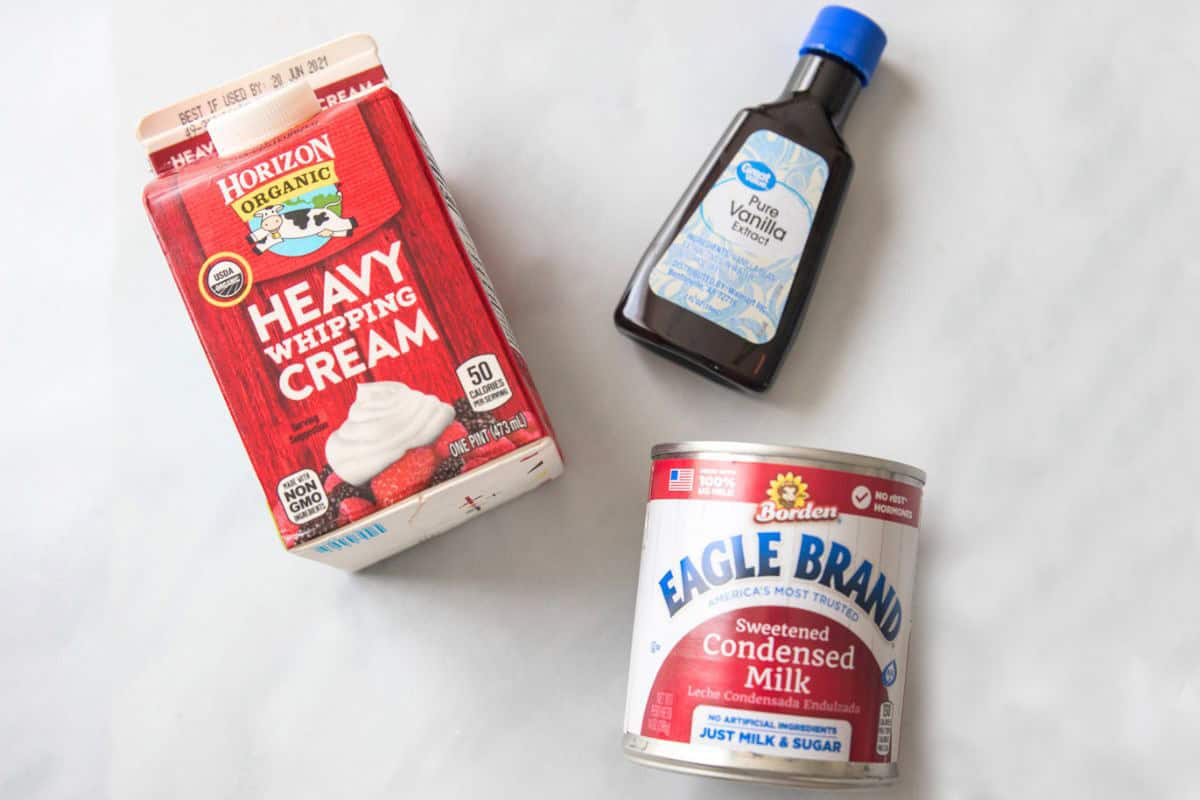
- Heavy Whipping Cream: Be sure you select heavy creamy or heavy whipping cream, not half and half, light cream, or a product simply labeled cream.
- Sweetened Condensed Milk: Perfectly sweet and easy to use. Fat-free or regular work equally well here.
- Vanilla Extract: Use pure, not imitation vanilla extract, for a rich vanilla flavor. Omit for a plain ice cream base.
How to Make Vanilla No-Churn Ice Cream
Homemade ice cream doesn't get much easier than this. Simply whip, fold, and freeze.
- Prepare a Loaf Pan. Line a 9x5 freezer-safe loaf pan with parchment paper, then place it in the freezer while you prepare the ice cream.
- Whip Heavy Whipping Cream. Use a hand mixer or a stand mixer to whip the cream until soft peaks form. When you lift the beaters, the peaks should hold their shape but gently curl over at the tip.
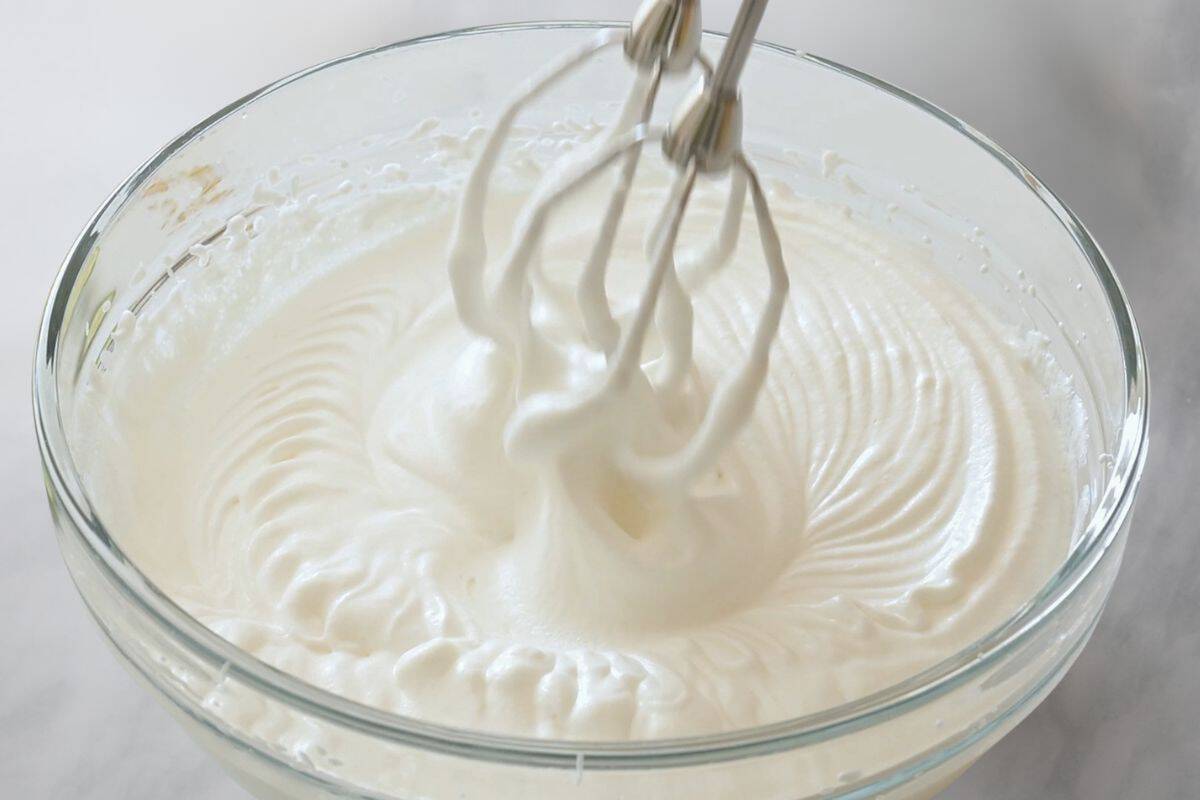
- Fold Whipped Cream into Sweetened Condensed Milk. Folding whipped cream into the sweetened condensed milk incorporates air into the mixture, creating a light, creamy texture without an ice cream maker. Fold gently so you don't deflate the whipped cream.
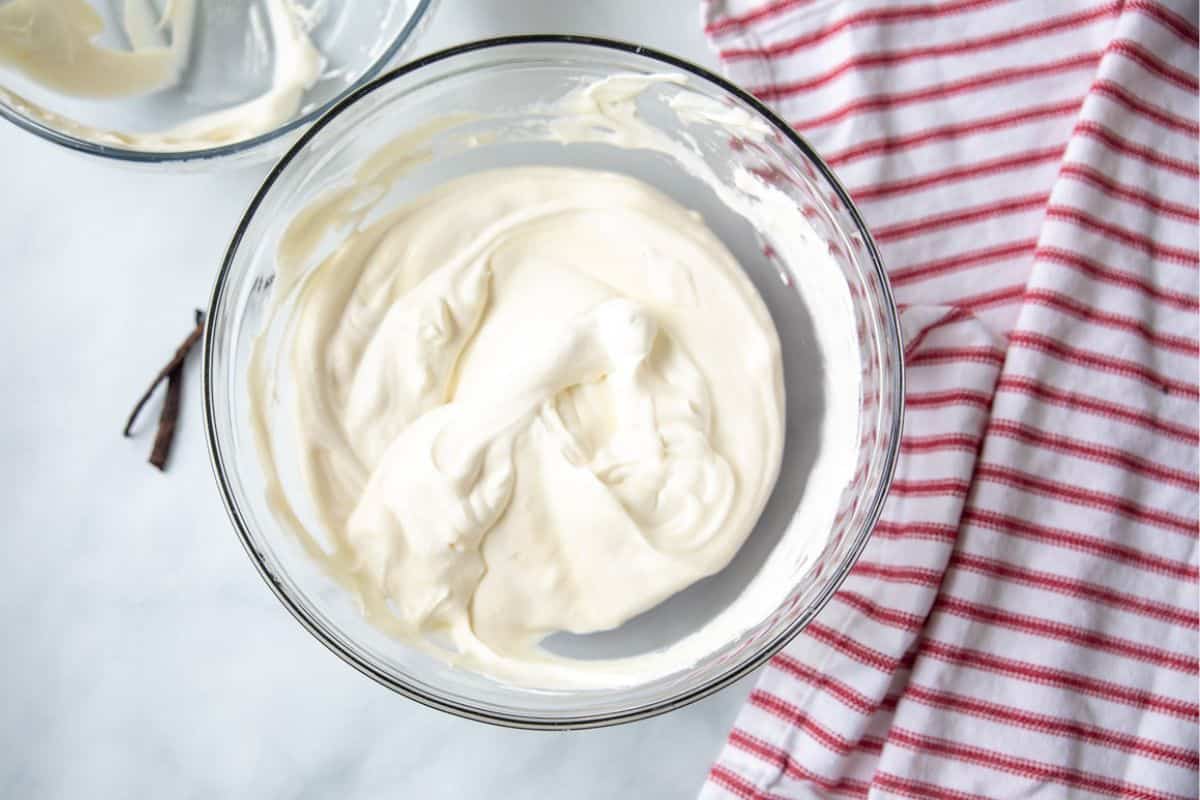
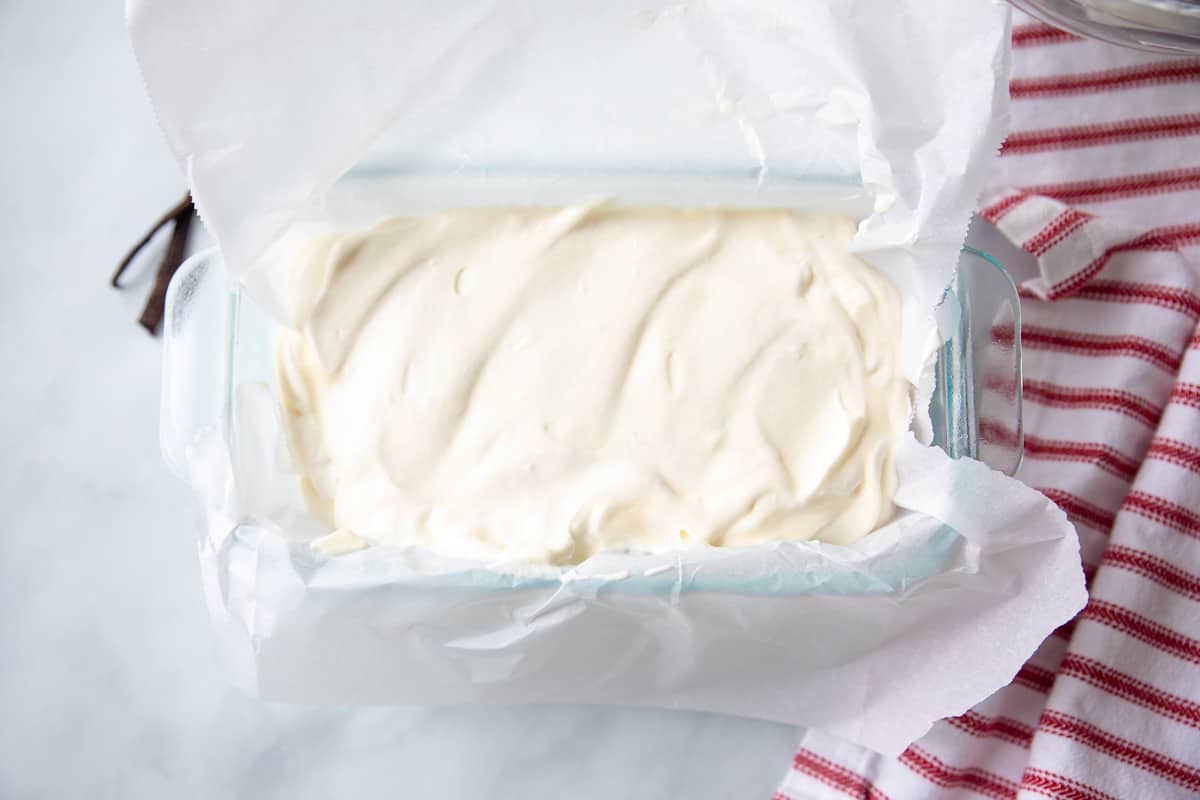
- Freeze Until Set. Transfer the ice cream mixture to the prepared loaf pan. Cover with plastic wrap and place the ice cream into the freezer until set. This typically takes about 4 hours.
Flavor Variations
Use your imagination to flavor your no-churn ice cream the way you like and swirl in toppings to your heart's content. Below are a few of my favorite options:
- Chocolate No-Churn Ice Cream: Whisk ½ cup of unsweetened cocoa powder with the sweetened condensed milk and vanilla extract.
- Cookies and Cream: Add up to 1 cup of broken sandwich cookies to the ice cream base before freezing.
- Fudge Swirled: Swirl homemade hot fudge into the ice cream before freezing. You can even add chopped homemade fudge for a really decadent treat.
- Add Fruit: Add up to 1 cup of chopped fresh strawberries, blueberries, or pitted, chopped cherries to the ice cream base before freezing.
- Peanut Butter: Gently swirl up to ½ cup of peanut butter into the ice cream base before freezing.
- Add Candy: Fold up to 1 cup of your favorite candy, like M&Ms, Reese's Pieces, homemade peanut butter cups, broken-up candy bars, or gummy bears into the ice cream base before freezing. My family votes for peanut butter cups every single time.
- Smores: Add ¼ cup of graham cracker crumbs, ¼ cup of mini marshmallows, and ⅓ cup of chocolate chips to the ice cream base before freezing.
Storage Tips
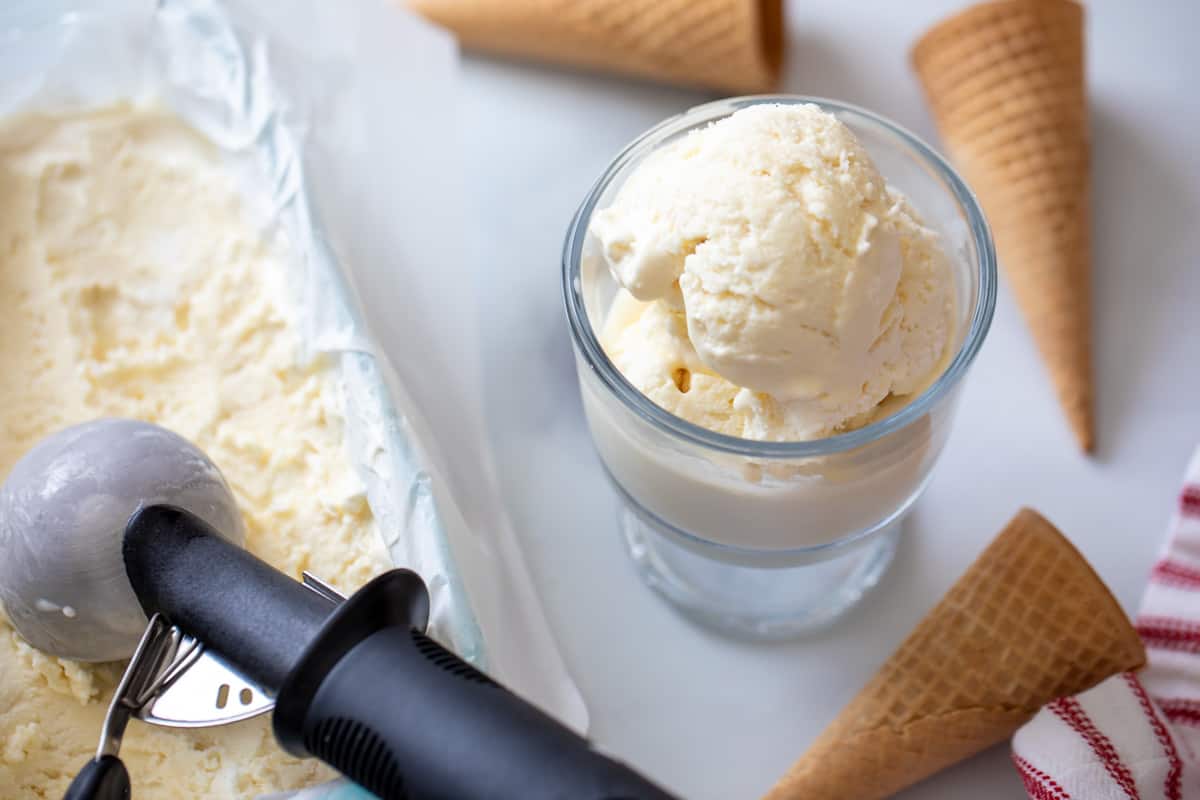
Remember to press plastic wrap directly onto the ice cream before covering the pan to prevent ice crystals from forming.
Freeze for up to 2 months, though I think the flavor and texture are best within the first month.
Serving Suggestions
While you can never go wrong with a simple bowl of ice cream or ice cream cone, vanilla ice cream is the ultimate finishing touch to endless desserts.
- Make a brownie sundae: Top copycat Ghirardelli brownies with a scoop of no-churn vanilla ice cream, homemade chocolate syrup or hot fudge sauce, and homemade whipped cream.
- Finish off fruit desserts: Turn Baked Apples or warm Grilled Peaches into a simple dessert with a scoop of this vanilla ice cream.
- Complete your crisp: Old Fashioned Apple Crisp, Homemade Peach Crisp, and my Blackberry Crisp recipe all benefit from being served warm with a generous scoop of ice cream.
- Make a nostalgic treat: Add the ice cream to a sugar cone, top with melted chocolate and chopped nuts to make easy Copycat Drumstick Ice Cream Cones.
- Serve with cake: A scoop of ice cream alongside Instant Pot Lava Cakes, Texas Sheet Cake, Chocolate Bundt Cake, or Hot Milk Cake is always a good idea.

Did you make this recipe?
If you enjoyed this recipe, please leave a comment with a 5-star review at the bottom of the post. Thank you!
No-Churn Vanilla Ice Cream

Video
Ingredients
- 2 cups heavy whipping cream
- 14 ounces sweetened condensed milk
- 1 teaspoon vanilla extract
Instructions
- Line a 9x5 loaf pan with parchment paper. Place in the freezer while you prepare the ice cream.
- In a large bowl, whisk 14 ounces sweetened condensed milk with 1 teaspoon vanilla extract and set aside.
- In a separate large bowl, use a hand mixer or a stand mixer to whip 2 cups heavy whipping cream until soft peaks form, being careful not to overwhip. When you lift the beaters, the peaks should hold their shape but gently curl over at the tip.
- Using a spatula, gently fold the whipped cream into the sweetened condensed milk mixture. You want to slowly and carefully incorporate the two mixtures together so the whipped cream stays light and aerated.
- If desired, gently fold in up to 1 cup of mix-ins to the mixture now.
- Pour into prepared pan, cover with plastic wrap and freeze at least 4 hours or overnight.
Notes
Nutrition
Nutrition information is automatically calculated, so should only be used as an approximation.




Do you just leave this ice cream stored in the loaf pan?
Hi Kate! I typically do. Just keep it well covered to prevent ice crystals. That said, you can transfer to an airtight container if you need access to your loaf pan.
Can you add cocoa to make it chocolate ?
Absolutely! Whisk in 1/2 cup unsweetened natural cocoa powder with the sweetened condensed milk and vanilla until dissolved and then fold in the whipped cream.
Is it possible to make this without vanilla extract and get the same result? I'm wondering if the extract is for flavor only, or if it somehow reacts with the other ingredients contributing to its texture. Times are tough and I'm trying to minimize my use of everything! Thank you!
Hi Grace! I understand cutting back! Vanilla extract will give it its vanilla flavor, but if you like sweet cream flavor there is NO need to add it!
This is a must summer treat! Incredibly delicious, super easy, and a great way to beat the heat!
This is the easiest recipe for ice cream & it makes it so creamy! I love that you don't need an ice cream maker. We will be making this all summer long!
Thrilled to hear you will be enjoying this ice cream☺️
Way less mess too. 😁. Yum!.now if we could speed up the freezing step! It's worth waiting for!
Thanks,Shell
LOL! That would be nice! Happy to hear you enjoyed this!
This is great. I like the idea of not having to get the ice cream freezer out! Thanks for sharing and HAPPY BIRTHDAY!!
Thank you so much Theresa!