
This post may contain affiliate links. Please see our disclosure policy.
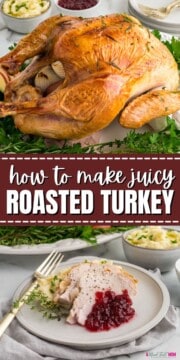
Cooking a turkey doesn't have to be stressful or complicated. This easy roast turkey recipe requires very little effort yet produces a juicy, perfectly golden bird your guests will rave about. No basting required!
Whether this is your first time hosting Thanksgiving or you're just looking for a turkey recipe that's actually worthy of being the star of your holiday dinner, this is it. The method is simple, reliable, and delivers incredible results. No dried-out turkey here!
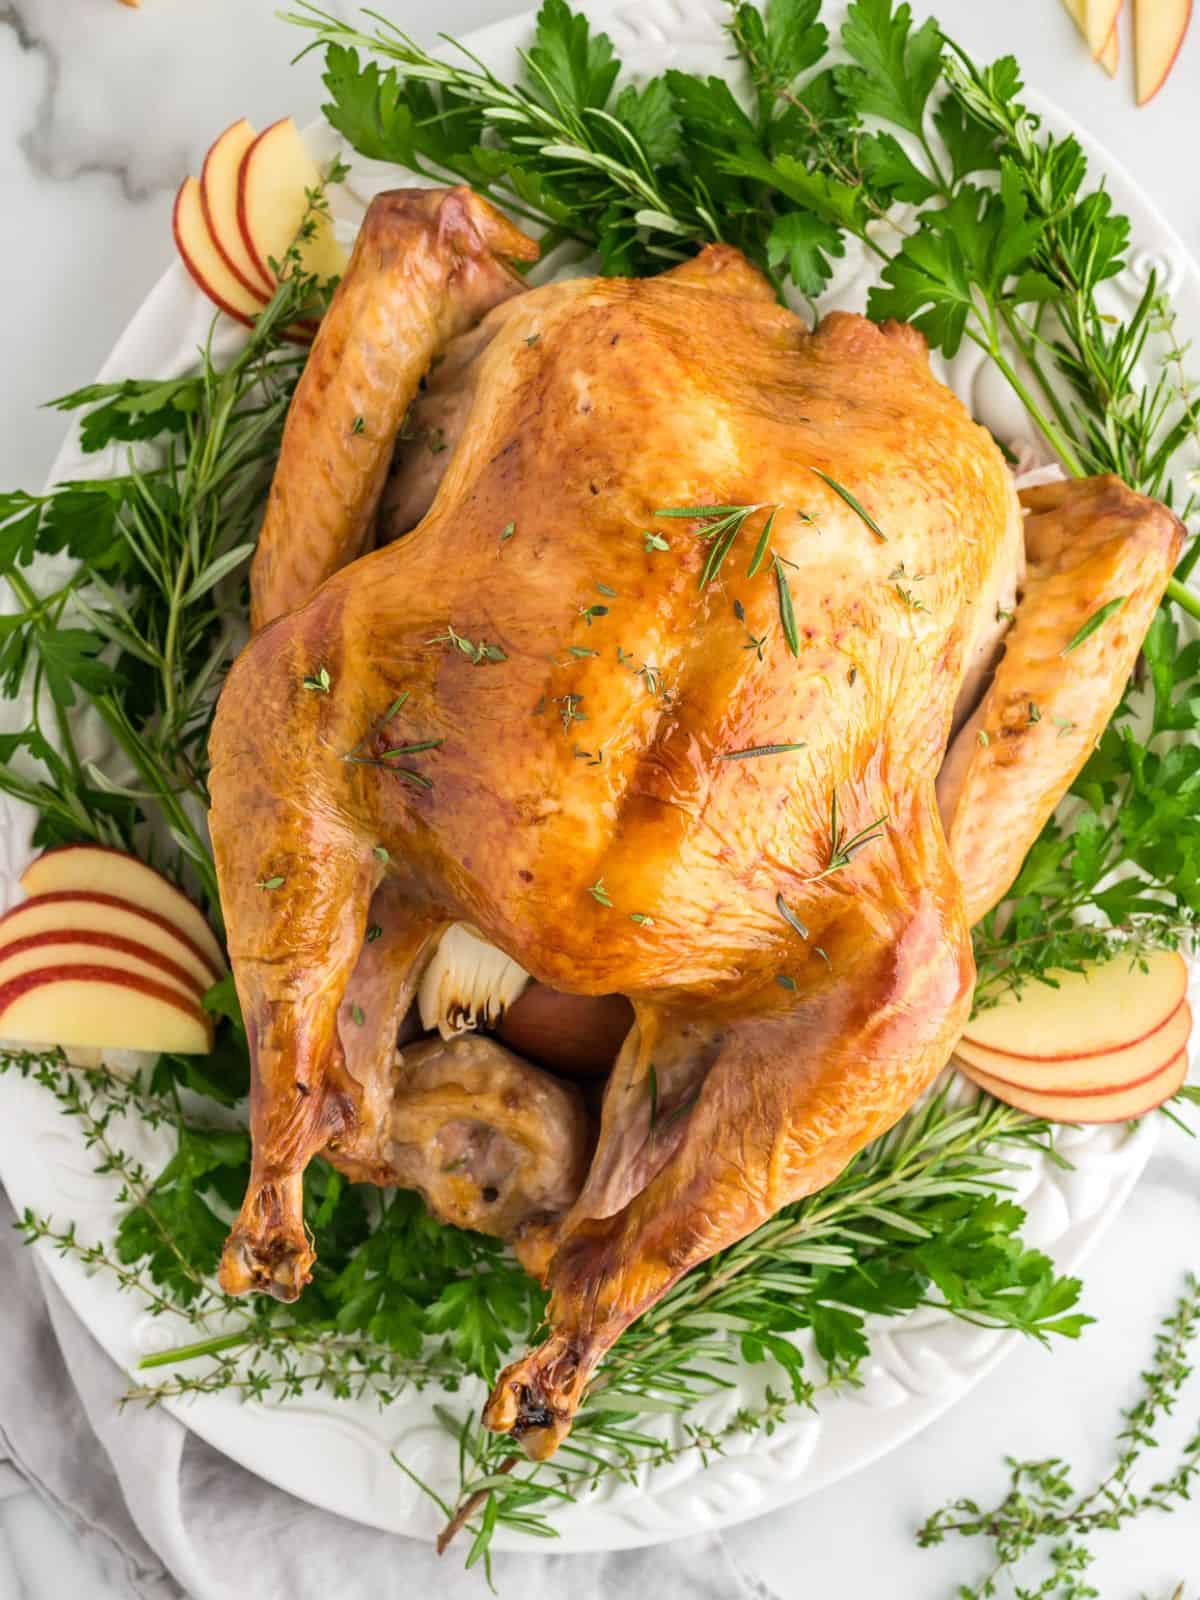
Kristen's Keys for Perfect Roast Turkey
After decades of making turkey using this exact method, I have a few key tips to remember to help make the process as easy and successful as possible.
- This simple method works for any turkey. Brined or not, big or small. You can even use this recipe to roast a turkey with success.
- You MUST fully defrost a frozen turkey before roasting. This ensures even cooking, which is critical for juicy results.
- An oven-safe thermometer is essential for perfectly cooked turkey. I can't stress this enough! While I can give you estimated roasting times, every oven and every turkey is a bit different and the best (really, the ONLY) way to ensure that your turkey is fully cooked, without being overcooked is to use an oven-safe digital thermometer. Same goes with my homemade rotisserie chicken recipe.
- Use a roasting pan that is fitted with a roasting rack. You don't need an expensive pan, but be sure you select a pan that will fit your turkey.
- Start in a VERY hot oven. Roasting the turkey at a high temperature for the first 30 minutes allows the skin to turn a beautiful brown and lock in all the juices.
5-Star Reader Review
Tried roasting a whole turkey for the first time! Followed the steps, brined it overnight for extra juiciness. The skin turned out crispy, the meat was juicy and flavorful. Perfect! -Macky ⭐⭐⭐⭐⭐
Thaw Your Turkey (Don't Skip This Part)
Again let me stress how critical it is to start with a fully thawed turkey. Roasting a frozen or partially frozen turkey is a sure-fire way to ruin it. So unless you are using a FRESH turkey, you must first fully defrost your frozen turkey.
For every 5 pounds of turkey, plan for 24 hours in the fridge.
That means for a 20-pound turkey, count on 4 FULL days in the fridge to defrost. If you want to brine your turkey before roasting it (which I strongly recommend), you will want to tack on an extra 12-24 hours to that timeline.
How to Roast a Turkey the Easy Way
Now that your turkey is defrosted, it is time to roast it. And while that may feel intimidating, this easy step-by-step guide will make it foolproof.
Step One: Prep the Turkey
Remove packaging, the giblets, and that unreliable pop-up timer. (We're using a thermometer that actually works.) Place the turkey breast-side up on the roasting rack.
👉🏻Want to Brine Your Turkey? Use my easy turkey brine recipe to brine your turkey for 8-18 hours before roasting for extra flavor. After the turkey is brined, remove it from the brine, place breast-side up on the roasting pan, and proceed with this method as written.
Step Two: Pat Dry
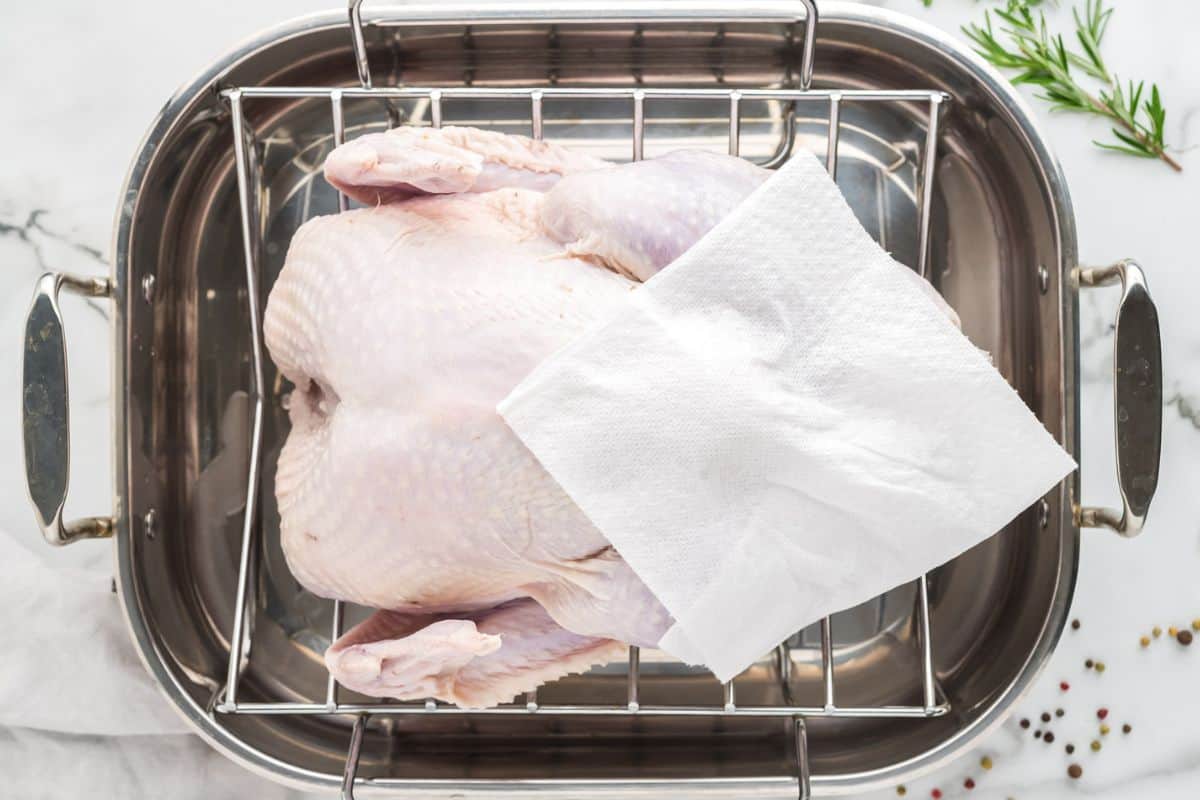
Whether you brined your turkey or not, you want to pat the skin dry with paper towels. This will help the skin crisp and brown beautifully.
Step Three: Season the Turkey
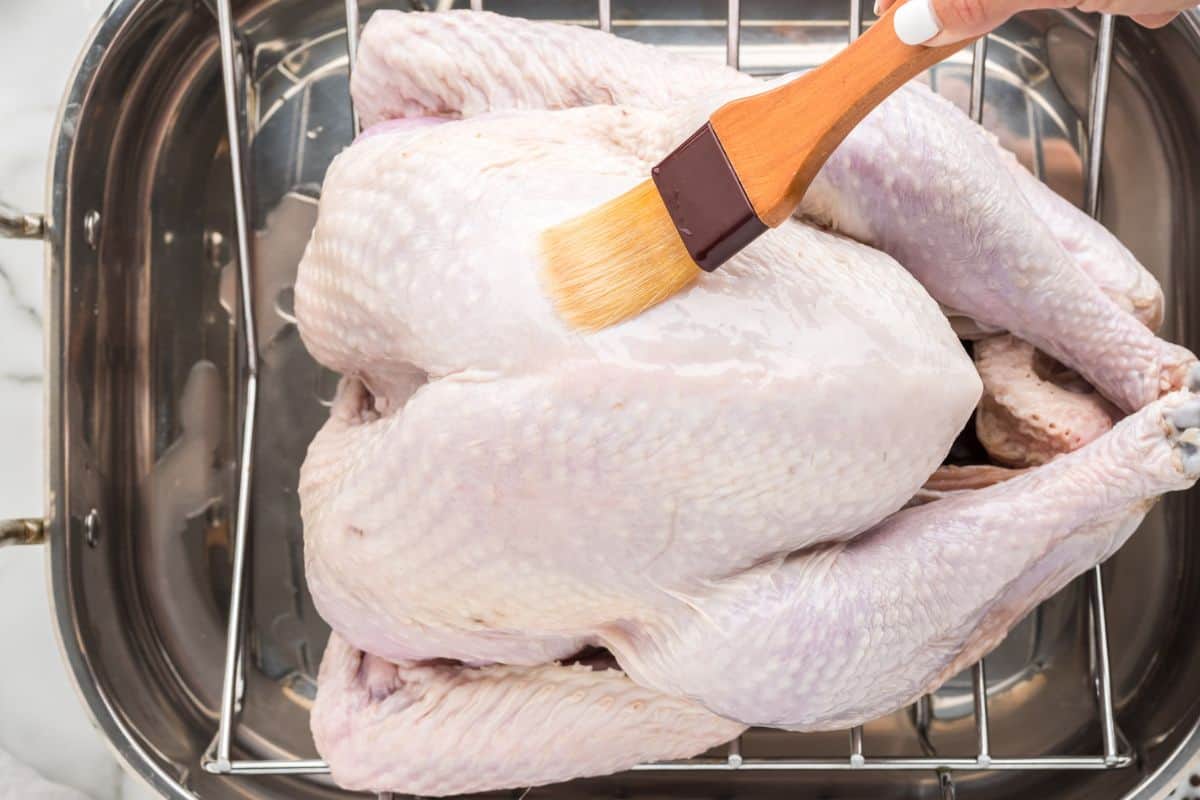
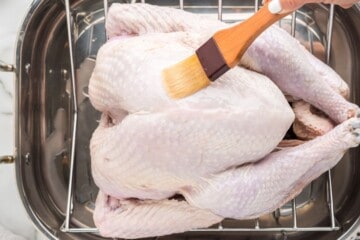
Brush the turkey liberally with canola oil. If your turkey isn't brined, sprinkle generously with salt and pepper or poultry seasoning. If desired, tuck apple slices, celery, and onion into the cavity for added flavor.
👉🏻Skip the Butter! It is best to use canola oil (or vegetable oil) to coat the skin. Not butter, as the high heat at the start will scorch it.
Step Four: Preheat Oven
Wait to preheat the oven until after seasoning the turkey, as it is best to let it come to room temperature for 30-60 minutes before popping it in the oven. This will help the skin to crisp up AND the turkey to cook evenly.
Step Five: Roast the Turkey at Two Temperatures
This sounds complicated, it is really incredibly simple and one of the reasons this easy method produces incredible results.
- Roast the turkey 500°F for 30 minutes. If your oven does not reach 500°F, set it to a minimum of 450°F.
- After 30 minutes, lower the oven to 350°F.
- Insert your thermometer into the thickest part of the breast and set it to alert at 162°F.
👉🏻 What Temperature is best for Turkey? Turkey should reach 165°F before eating. But because it will continue to rise a few degrees after being removed from the oven, it is best to remove the turkey from the oven once the breast reaches 162°F. This ensures your turkey stays juicy AND is safe to eat.
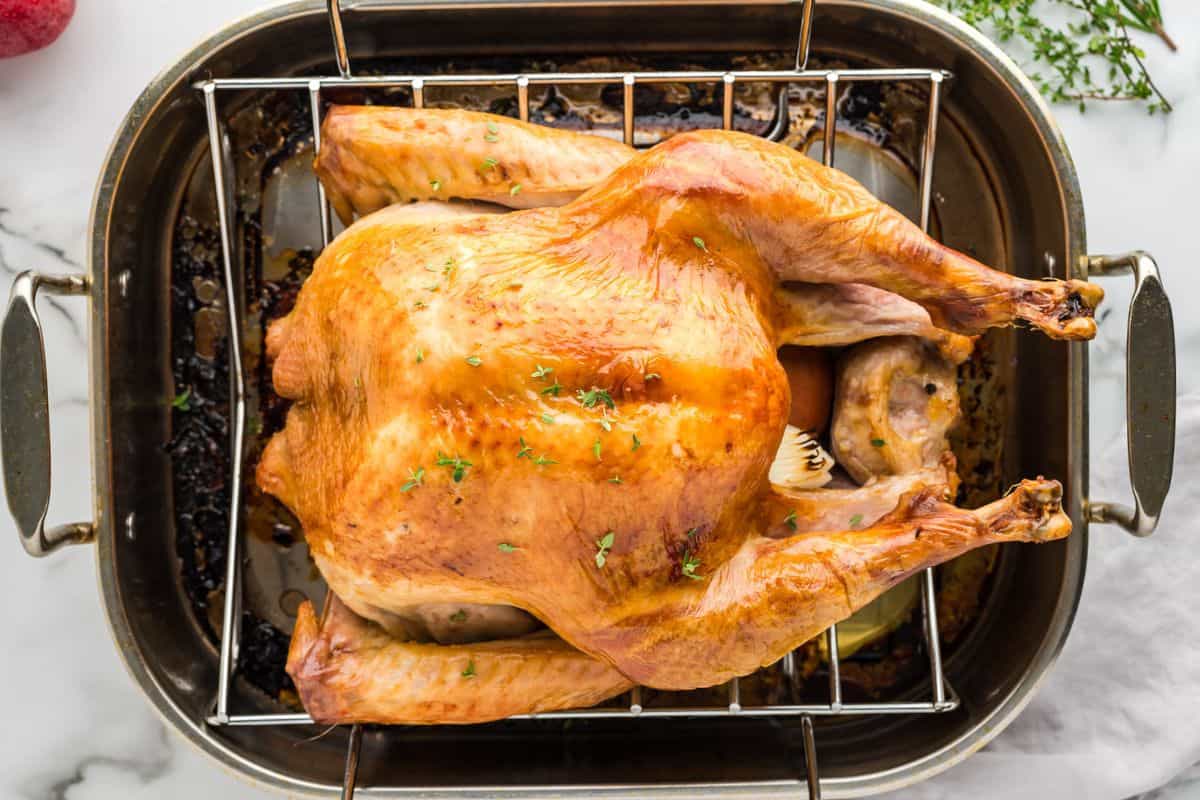
Step Six: Rest the Turkey (Don't Skip This!)
Let your turkey rest for at least 30 minute (up to 60 minutes is fine!), tented with foil. This allows the juices to redistribute and keeps your meat tender and moist. It's the perfect window to make turkey gravy, bake homemade whole wheat rolls, or warm your side dishes.
Step Seven: Carve
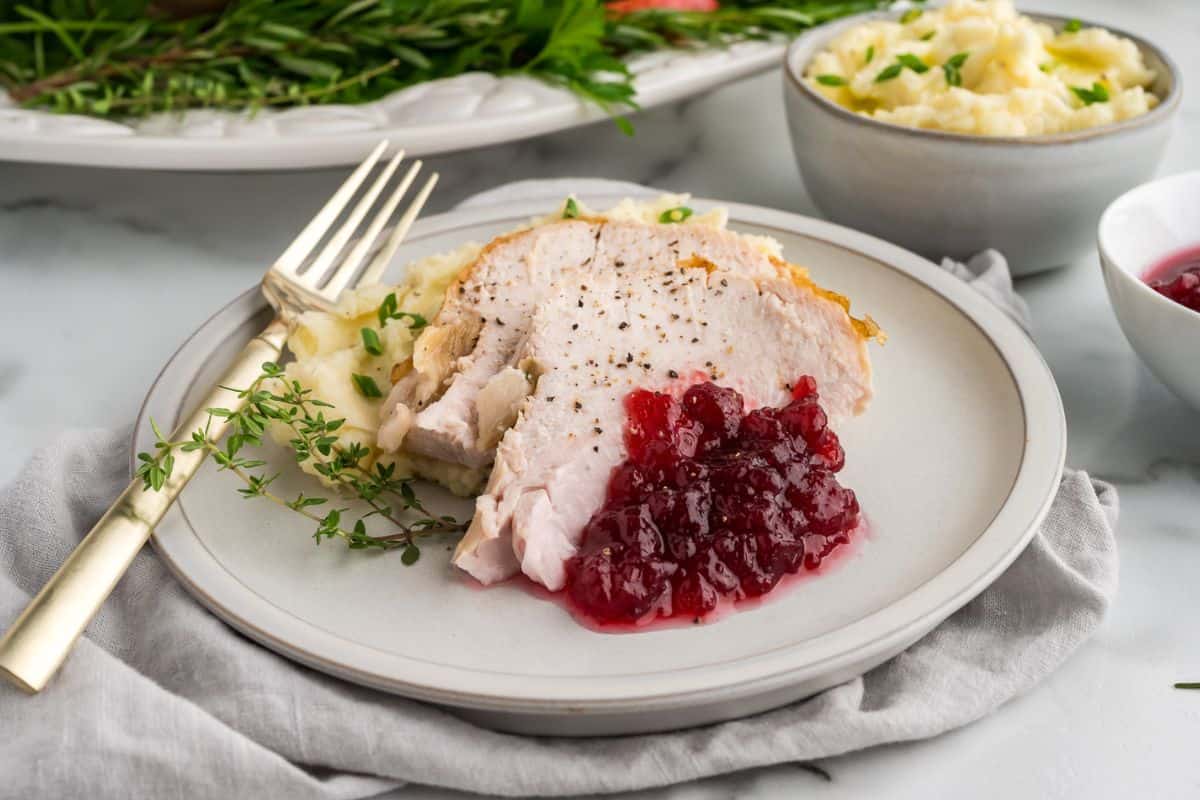
Carving a turkey can feel intimidating, but it's really just like carving a large chicken. All you need is a sharp knife and a bit of confidence. But remember, even if your carving isn't magazine-worthy it's still going to taste amazing.
- Remove the wings and thighs first by popping out the joints and slicing through them. Separate thighs and drumsticks if you'd like.
- Cut the breast meat from the rib cage, keeping the knife close to the bones. Slice crosswise for even, juicy pieces.
Roasting Turkey FAQs
To help answer all your turkey cooking-related questions, here is a quick overview of the most frequently asked questions. If you still need help, drop a comment and I will do my best to help.
Plan for 1 to 1½ pounds per adult and ½ to 1 pound per child under 12.
Plan for 30 minutes at 500°F then roughly 10-13 minutes per pound at 350°F. Don't forget to include preheating and resting time (~ an additional 60 minutes).
No! This method keeps it juicy without basting, especially if you've brined it.
In my expert opinion, no. While the drippings from the turkey certainly add flavor, you will set yourself up for failure if you stuff your turkey. When the turkey is done cooking, your stuffing will not be safe to eat. If you cook your turkey long enough so that the stuffing is safe to eat as well, your turkey will be dried out. It is better to prepare Instant Pot Stuffing or Old-Fashioned Bread Stuffing in the oven and ensure your turkey stays moist and you don't end up with food poisoning.
Storage Tips
If you have leftover turkey, you are lucky! It shines in many of my leftover Thanksgiving recipes and is especially delicious in a turkey apple sandwich, southwest turkey soup or in my from-scratch turkey tetrazzini recipe.
- Refrigerate: Carve the turkey as desired, or pull off the turkey meat from the carcass of the bird. Place the turkey meat into an airtight container and store it in the refrigerator for up to 4 days.
- Freeze: Place carved turkey meat into a freezer-safe bag, remove the excess air, and store it in the freezer for up to 3 months.
- Turkey Bones: Save your turkey bones to make delicious turkey stock by using my recipe for homemade chicken stock or Instant Pot chicken stock, swapping out the chicken bones for the turkey bones.
Complete Your Holiday Meal
You did it! And your guests are going to sing your praises after you serve them this delicious roasted turkey. Just be warned--you may be permanently put in charge of the turkey from here on out! Good thing this recipe keeps it easy.😉 Finish up your impressive meal with the following sides.
Easy Roast Turkey

Ingredients
- 1 whole turkey, full thawed if needed
- 1 recipe turkey brine, optional
- ¼ cup canola oil
- kosher salt and pepper
- 1 large quartered yellow onion, optional
- 1 large quartered apple, any variety, optional
- 2 stalks celery, optional
Instructions
- Remove the turkey from the packaging. Remove the giblets (which could be in either the body or neck cavity) and remove and discard the plastic pop-up timer as well.
- Place the turkey on a roasting pan fitted with a rack, breast-side up. Pat the turkey dry with paper towels.
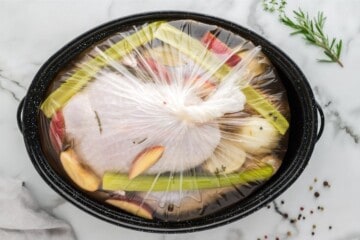
- If desired, add the quartered onion, apple, and celery stick to the cavity of the turkey. Brush the skin liberally with canola oil. If you did NOT brine your turkey, liberally sprinkle your turkey with salt and pepper. Tuck the wings under the turkey.
- Let the turkey rest at room temperature for 30-60 minutes, while you preheat the oven. Position a rack on the lowest section of the oven and preheat to 500°F (260℃). If your oven does not reach 500°F, set it to a minimum of 450°F (232℃).
- Roast the turkey at 500°F (260℃) for 30 minutes. After 30 minutes, reduce the oven to 350°F (175℃) and insert an oven-safe digital probe thermometer into the thickest part of the breast.
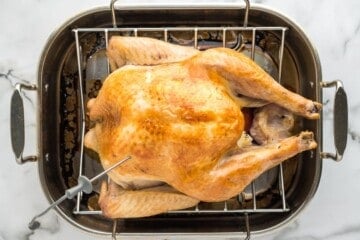
- Cook the turkey until the thermometer reaches 162℉ (72℃). If you notice your turkey breasts are browning too quickly, carefully tent them with foil, leaving the legs and thighs exposed. Plan for approximately 10-13 minutes of cooking time per pound of turkey.
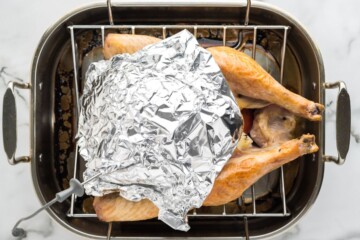
- Once the turkey breast reaches 162℉ (72℃), remove the turkey from the oven and check the temperature in the thickest part of the thigh. If not at 165℉ (74℃), place the turkey back in the oven for another 10 minutes, then recheck the temperature.
- Remove the turkey from the oven and tent it with foil. Allow the turkey to rest for at least 30 minutes or up to 60 minutes if needed.
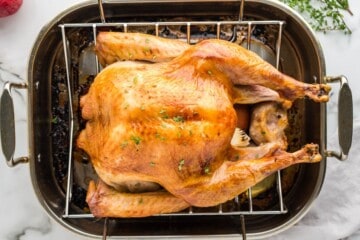
- After resting the turkey, carve and serve the turkey. To carve the turkey, remove the wings and then the thighs first by popping out the joints that adhere the wings and thighs to the bird and then cut straight through the joint. Separate the thighs and drumsticks if desired. To carve the turkey breasts, slice the meat off the rib cage, cutting as close to the rib bones as possible. Cut the breast meat into individual slices if desired.
Notes
Nutrition
Nutrition information is automatically calculated, so should only be used as an approximation.





Tried roasting a whole turkey for the first time! Followed the steps, brined it overnight for extra juiciness. The skin turned out crispy, the meat was juicy and flavorful. Perfect!
Wonderful thank you for sharing!
Used this method for Thanksgiving this year and it turned out amazing! So juicy and tender.
Thanks for sharing, Abby!
So many great tips that helped me. I love the tip about letting your turkey rest after removing it, this made a difference.
Hi Melissa! I am thrilled to hear the tips helped you enjoy your Turkey 🙂
We had this for Thanksgiving and everyone liked it! We almost had no leftover! So tender and juicy. I'm keeping this!
That's wonderful! Thank you for sharing!
I love all your tips!! I have never been the turkey maker, but your recipe is fool-proof & makes the best turkey!!
this has become the most anxiety-relieving recipe, thank you so much for sharing this recipe to calm my nerves of making turkey for the first time
YAY! So happy I calmed your nerves! Happy Thanksgiving!
Such great tips! Brining made a big difference in the juiciness of the turkey - thanks!
It really does make a huge difference!