
This post may contain affiliate links. Please see our disclosure policy.

Instant Pot Corn on the Cob is the easiest, most foolproof way to cook perfectly sweet, juicy corn with or without the husks.
If you've never cooked corn on the cob in the Instant Pot, you're in for a treat. It cooks perfectly every time, frees up your stovetop, and is almost completely hands-off. I love serving it alongside burgers, grilled BBQ chicken breasts, or Instant Pot ribs for the ultimate summer meal.

Instant Pot Corn on the Cob at a Glance
- Yields: 1-10 ears (depending on the size of your Instant Pot)
- Time: About 20 minutes, including pressure build-up & release
- Best For: Fresh or frozen corn with or without the husks
- Why You'll Love It: Foolproof, completely hands-off, and every ear comes out sweet, juicy, and perfectly cooked.
Kristen's Keys for Perfect Instant Pot Corn on the Cob

I have experimented with making husked, unhusked, and frozen corn in several Instant Pot models. Here is what I learned is important across the board:
- Use a trivet. That allows the corn to sit above the water and steam, rather than boil. I tested this recipe both ways, and the trivet consistently produced sweeter corn with a better texture.
- You can cook corn with or without the husks. The husks actually peel off more easily after pressure cooking.
- Adjust timing based on husks and thickness of the corn. Husked corn needs 2 minutes; ears of corn in the husks need 3 minutes, or 4 minutes if on the thicker side.
- Use cold water and the correct amount for your Instant Pot. Because corn cooks so quickly, both the temperature and amount of water affect the cook time.
- Natural pressure release matters. Allow a 5-minute natural release so the kernels stay juicy instead of bursting.
Happy Cooking! xo Kristen
5-star Reader Review
Got some fresh corn from the Amish market, here in northern Indiana. They always have wonderful bi colored corn. I made six ears in my 8 qt. Instant Pot, and as you said, it was great! Won't make it any other way, from now on. Thanks for all the work you do on your site! You've never disappointed! -Robin
How to Cook Corn on the Cob in the Instant Pot
Whether you use fresh, frozen, husked, or unhusked corn, you can't go wrong making corn in the Instant Pot. It is easier than grilled corn on the cob or air-fried corn on the cob and tastier than boiled corn.
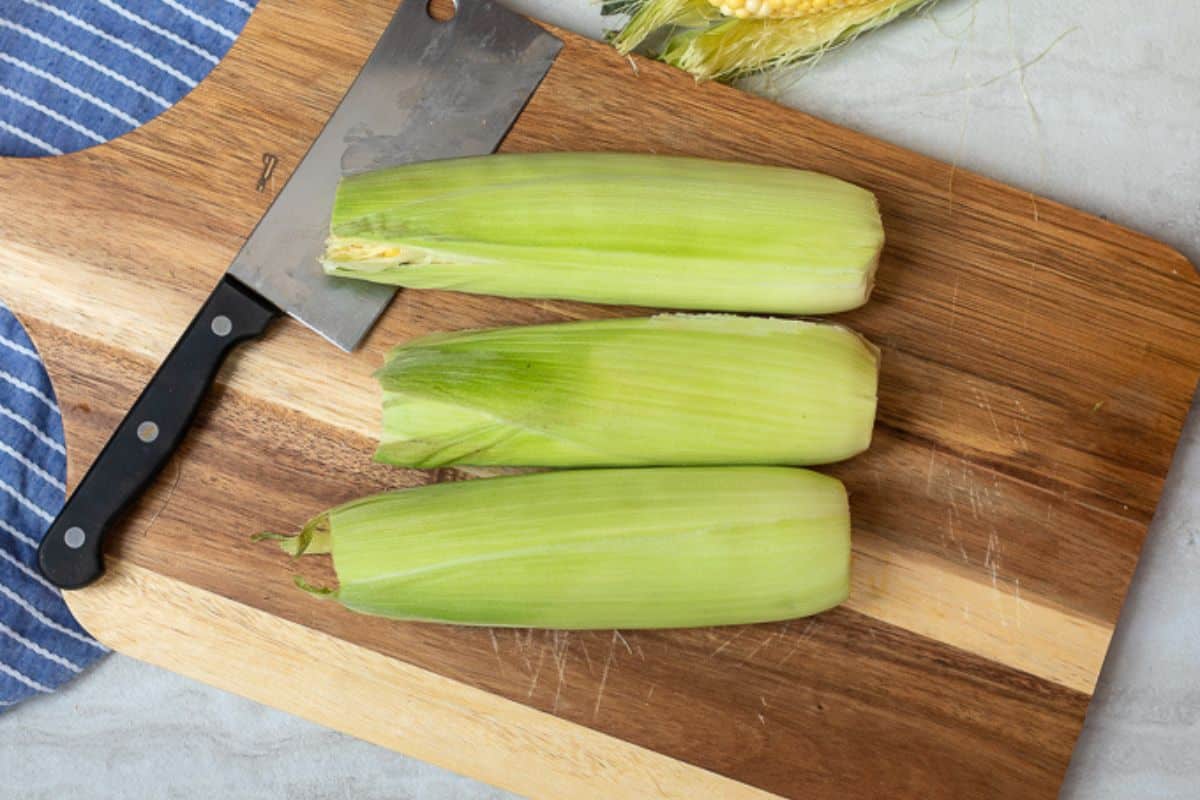
- Prepare the corn. Use husked or unhusked corn. If leaving the husks on, trim the stem and tip as needed so the ears fit inside the Instant Pot.
- Add water. Pour cold water into the inner pot, using the following amounts
- For a 3- or 6-quart Instant Pot: 1 cup of cold tap water
- For an 8-quart Instant Pot: 1½ cups of cold tap water
- For a 10-quart Instant Pot: 2 cups of cold tap water
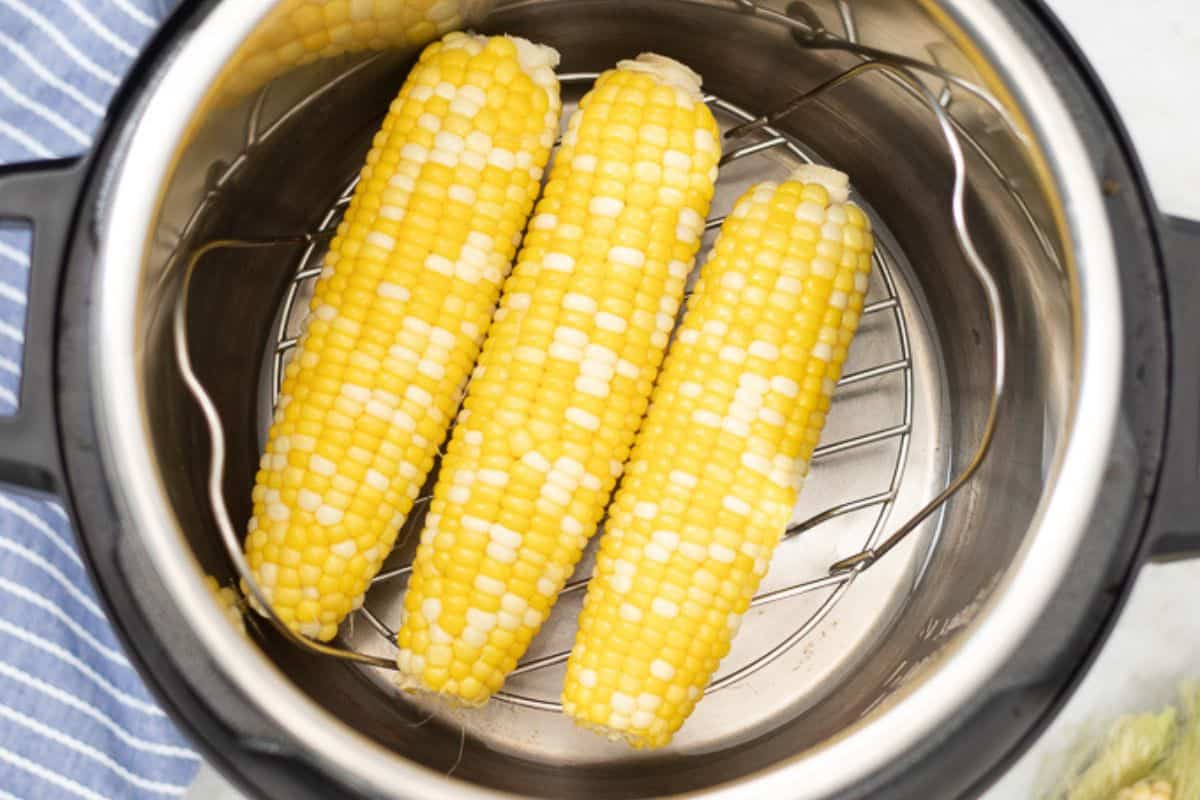
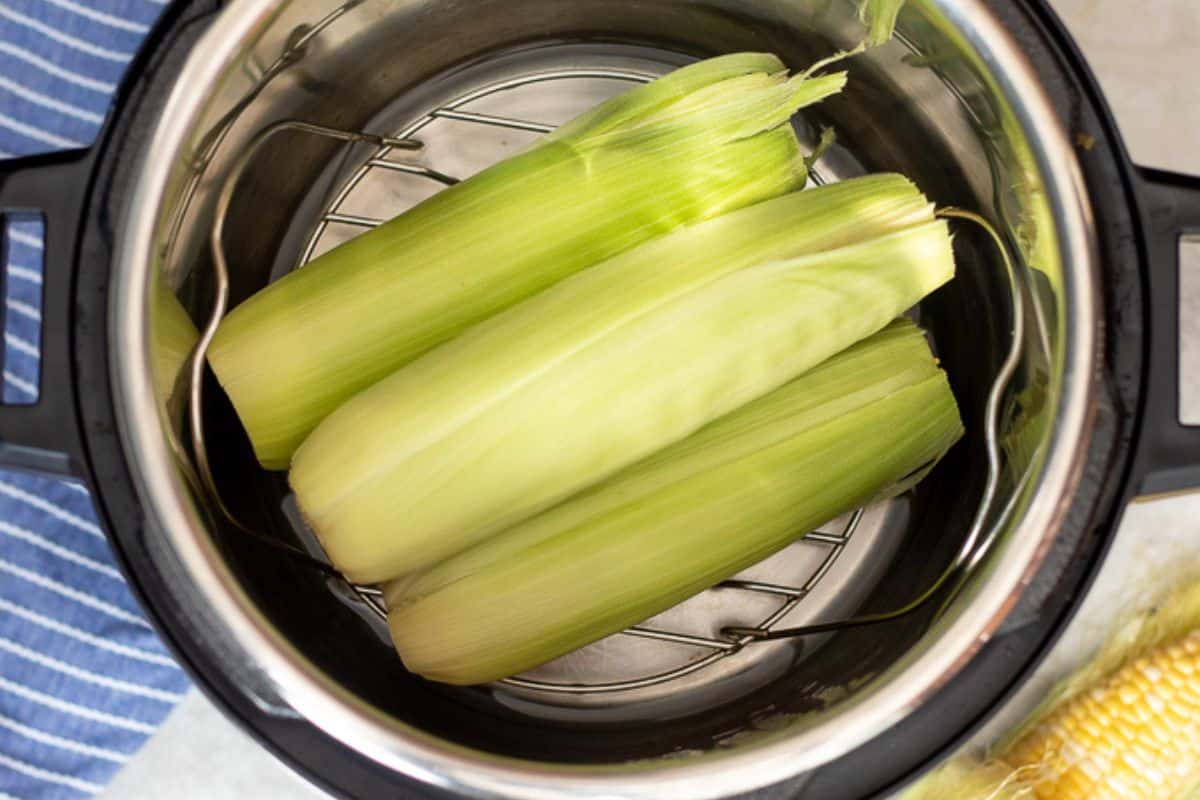
- Place the corn on the trivet. Add a trivet inside the inner pot and stack the corn on the cob on top of it. It will not impact the cook time if you stack multiple ears of corn on top of each other.
- Pressure cook. The cooking time varies depending on whether your corn is husked or frozen.
- Husked corn: 2 minutes on high pressure
- Corn in husk: 3 minutes on high pressure or 4 minutes for large, thick ears (think larger than 4 inches across)
- Frozen corn on the cob: 4 minutes on high pressure
- Let the pressure release for 5 minutes. After the cook time, leave the Instant Pot alone for 5 minutes. Unlike Instant Pot Hard-Boiled Eggs, the timing doesn't need to be exact. Just avoid letting the corn sit much longer than 5 minutes, or it can become overly soft.
- Release pressure. After 5 minutes, carefully perform a quick release using a long utensil to move the vent knob from the sealed to the venting position. Stand back to protect your face from steam.
- Serve. If needed, let the corn cool slightly, then remove husks and silk. Serve immediately with your favorite toppings.

Serving Suggestions
Whether you keep it simple with butter and salt or dress it up with bold flavors, this corn pairs well with just about any summer meal.
- Cilantro Lime Corn: Season melted butter with lime zest, lime juice, and cilantro, and slather over corn.
- Mexican Street Corn: Slather with mayo, sprinkle with chili powder, and drizzle with crema. Or cut it off the cob to make Mexican street corn salad.
- Top with Fresh Herbs: Brush the corn on the cob with yogurt, butter, or mayonnaise, then sprinkle with chopped parsley, chives, or fresh dill.
- Top with Parmesan: Spread the corn with butter or brush it with extra-virgin olive oil, then grate fresh Parmesan cheese over the corn.
- Turn Into a Salsa or Salad: Cut the corn off the cob and use it to make hot corn dip, black bean corn salsa, or corn and tomato salad.
Instant Pot Corn on the Cob FAQs
It is best to use something to raise the corn above the water so it steams rather than boils. If you don't have a trivet, you can use crumpled foil balls in its place. Otherwise, you can place husked corn directly in the water.
That will vary based on the size of your pressure cooker. Keep in mind that you can stack ears of corn on top of each other. Because corn doesn't expand while cooking, you can safely stack the ears past the maximum fill line, as long as the lid closes properly. On average, I can fit 4 in my 3-quart model, 6 ears in my 6-quart model, and 8-10 in my 8-quart model.
Choose ears with bright green husks that fit tightly around the cob, plump kernels packed closely together, and silk that feels slightly sticky rather than dry.
I don't recommend it. Butter is at its best when used to season the corn after it's been pressure-cooked.
More Instant Pot Vegetable Recipes
- Instant Pot Green Beans
- Instant Pot Sweet Potatoes
- Instant Pot Spaghetti Squash
- Instant Pot Baked Potatoes
- Instant Pot Creamed Corn
- Instant Pot Glazed Carrots
- Instant Pot Artichokes

Did you make this recipe?
If you enjoyed this recipe, please leave a comment with a 5-star review at the bottom of the post. Thank you!
Instant Pot Corn on the Cob

Video
Ingredients
- 1 to 12 ears corn on the cob
- 1 to 2 cups cold tap water for pressure cooking, see recipe card for exact amount
Instructions
- Trim off the tip of the corn cob and remove the long stem at the bottom of your corn cobs, so that the corn will fit inside the Instant Pot. If desired, remove the husks and silk from the corn.
- Pour cold tap water into the inner pot, using the following amounts based on the size of your Instant Pot: For a 3 or 6-quart Instant Pot: Add 1 cup of cold tap waterFor 8-Quart Instant Pot: Add 1½ cups of cold tap waterFor 10-quart Instant Pot: Add 2 cups of cold tap water
- Add a trivet to the inner pot, then place corn cobs directly on the trivet, stacking to fit. Just be sure the lid still fits securely on the Instant Pot -- it is okay to go past the max fill line here.
- Place the lid on the pressure cooker and ensure the lid is sealed and the vent knob is closed or pointed towards "seal."
- Using the Pressure Cook or Manual function, set to cook on High pressure using the following times: Husked Corn: Cook for 2 minutes on high pressureUnhusked Corn: Cook for 3-4 minutes on high pressure. I recommend 4 minutes if your corn cobs are really thick.Frozen Corn on the Cob: Cook for 4 minutes on high pressure.
- Once the cooking time has elapsed, let the pressure release naturally for 5 minutes. After 5 minutes, release the remaining pressure by knocking the venting knob from the sealed to the vent position with a long wooden spoon. Stand back a bit to prevent yourself from getting burned by the steam.
- Serve corn as desired.
Notes
Nutrition
Nutrition information is automatically calculated, so should only be used as an approximation.




this was exactly the post that I was needing! I have a large barbecue for dinner and made these and it was the easiest thing you could ever do! thank you so much for sharing this informational recipe!
Excellent!!
Thanks for all of your great recipes, as well as your helpful hints and tips to help us get the most from our InstantPots!
So glad I found you right after I got mine!
I am so glad you are enjoying my recipes AND your instant pot 🙂
We've made it twice this week in the instant pot sooo good! Thank you Kristen!
You are so welcome!
Easy to understand, gave the option of shucking the corn or not. I usually don’t watch the video associated with a method, but found this very helpful.
I am glad this was easy to understand and that you found the video helpful.
The Insta Pot and the Vortex Air Fryer Plus are now a staple in my house.
This corn was better than the microwave or the grill. As a matter of fact, almost everything I cook in either appliance is better than the grill. My husband has not touched the bbq this season.
WAHOO!!! I love that you are enjoying so much Karen!
Turned out perfect. Thanks
Wonderful!
we have a family of 7...Can I place the corn on cobs on end inside instant pot, instead of laying them on their sides?
Yes! The bottoms will be submerged in water, but the cooking time will work.
We love corn and love that we can make it in our IP with this easy recipe. Thanks for sharing!
So glad you found this recipe to be helpful Ashley!
I'm making this for the weekend, I bet everyone is going to devour it!